
Free Christmas Gift Tags SVG Bundle
Make Gift Tags with this Free Christmas Gift Tags SVG Bundle
This post may contain affiliate links. As an Amazon Associate, I earn from qualifying purchases. Please see my privacy policy for full details.

If you’re like me, you’ve got a stash of cardstock scraps you just can’t bear to toss. This week, I tackled a project to put those scraps to good use while creating something practical for the holidays—Christmas gift tags! With this free Christmas Gift Tags SVG bundle, I’ll show you how to cut and assemble these festive tags using your Cricut. In the tutorial, I used various colors of cardstock (mostly scraps!) to demonstrate the process, but I’ve also included images of gift tags I made using beautiful All-American red cardstock from 12 x 12 Cardstock shop for a classic holiday look. These tags are fun, customizable, and the perfect way to add a personal touch to your holiday gifting!
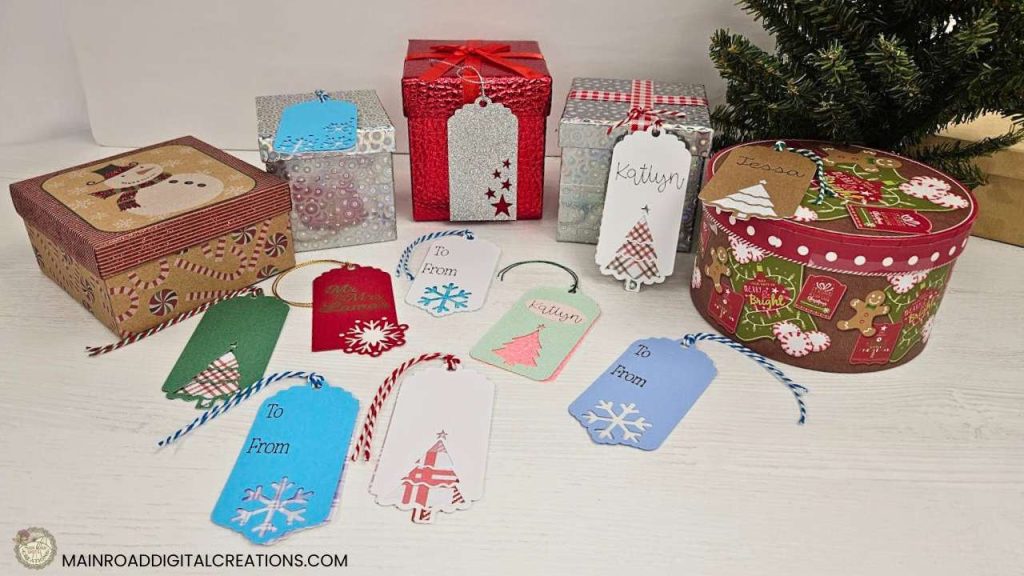
Whether you’re cutting these with a Cricut Explore Air 2 (like I used) or a Maker, Cricut Joy or Joy Xtra, these tags are easy to personalize. Change the cardstock colors, add names with your Cricut pen, or make them pop with adhesive vinyl. Let me show you how to bring these adorable tags to life!
Supplies to Make Your Christmas Gift Tags
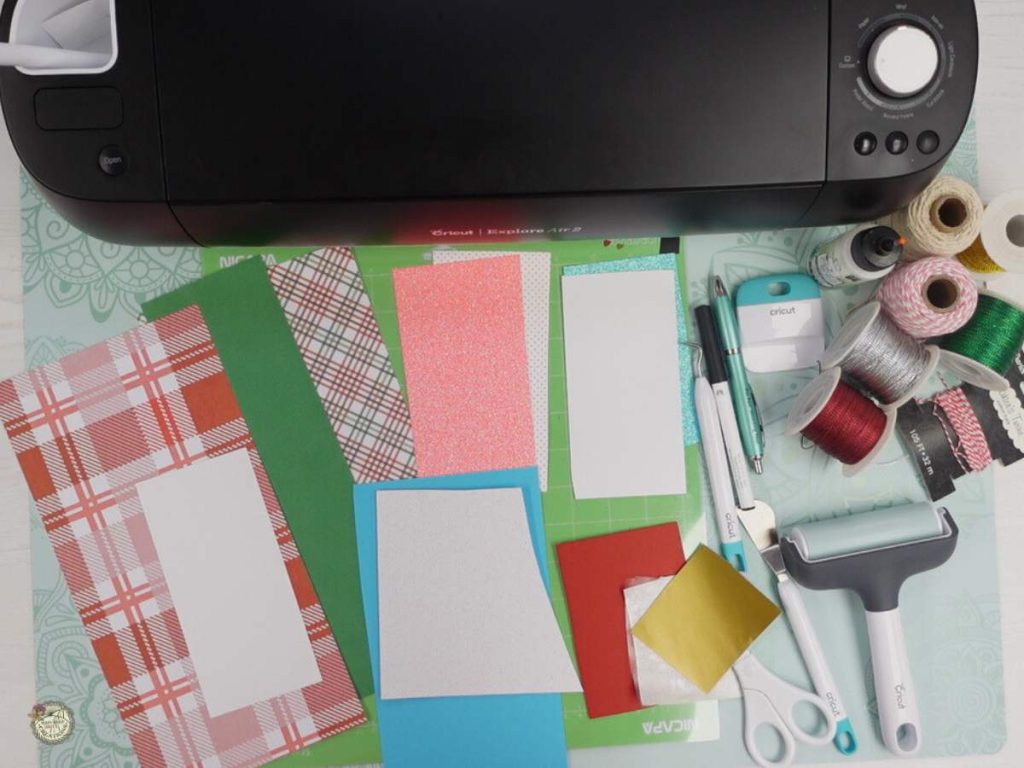
You’ll need a few basics like cardstock, a cutting mat, a brayer, and weeding tools!
- Cricut – I used my Explore Air 2
- Standard or Light Grip Mat
- Cardstock
- Adhesive Vinyl (optional)
- Cricut Pen -I used the 0.4 mm (optional)
- Brayer
- Weeding Tools – Pin Pen
- Squeegee
- Glue (optional)
- Contact Paper (for applying adhesive vinyl)
- Hangers for your gift tags
Why You’ll Love These Christmas Tag SVG Files
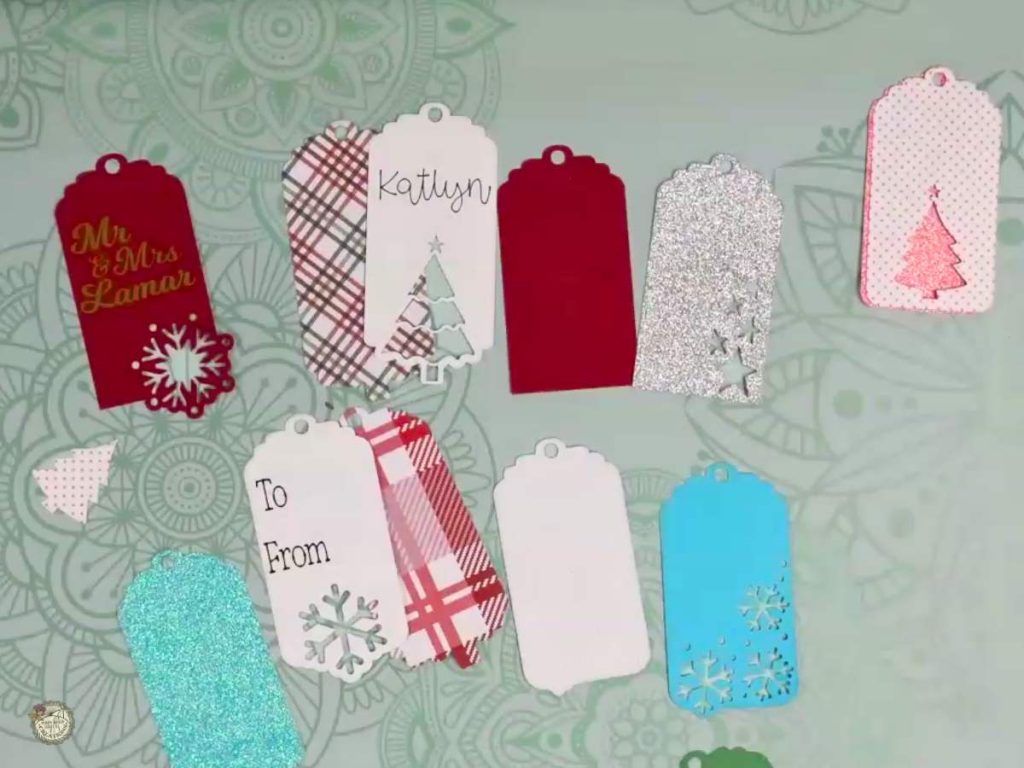
These Christmas tags come in a two-piece design—a front and a back—giving you the choice to layer them for a colorful background or leave them open for a minimalist look. They aren’t just functional; they’re fun to make and add a personal touch to your holiday gifting. With six different designs in the bundle, you can match every recipient’s style. Plus, using your Cricut pen to add a handwritten look makes them extra special.
Step-by-Step: How to Make Your Christmas Gift Tags
Here’s a step-by-step guide on how to make Christmas gift tags. For the complete video tutorial, check it out below to see these steps in action!
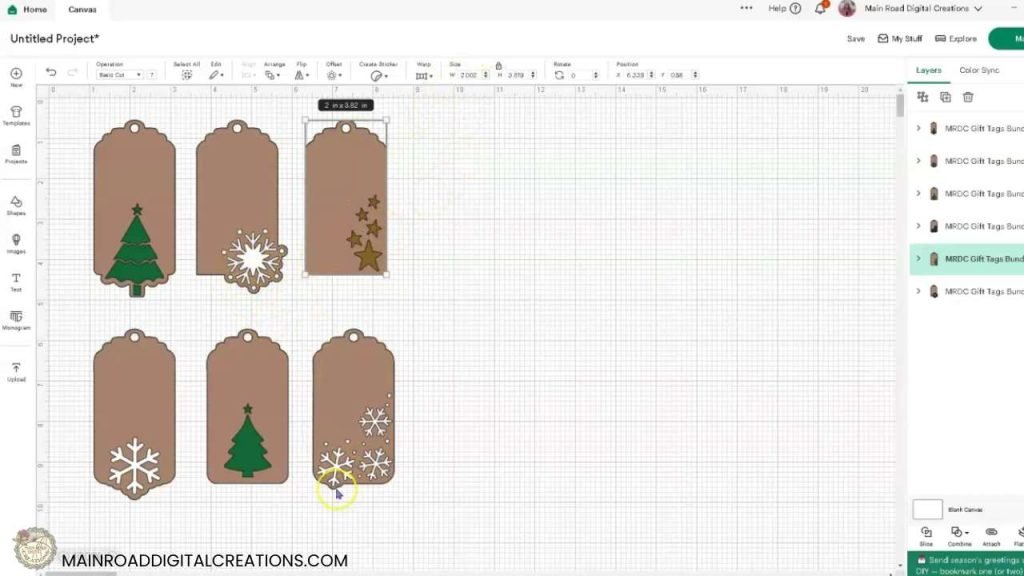
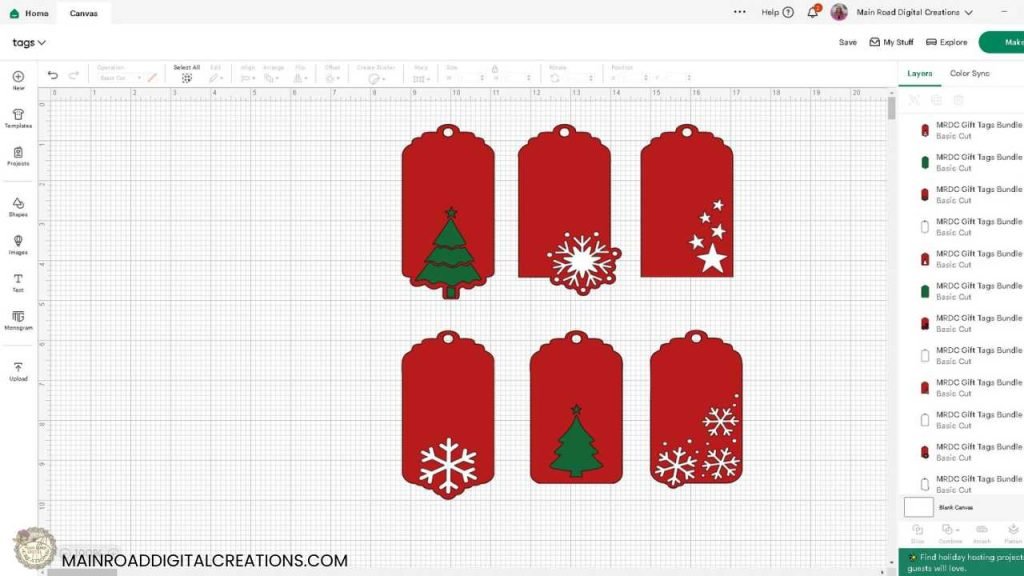
This is how your free Christmas tag SVG bundle will look on your Design Space screen. You can easily change the colors to fit your style! For the tutorial, I made my tags in various colors! These tags are an excellent project for using up your cardstock scraps!
Step 1: Upload and Personalize Your Tags in Cricut Design Space
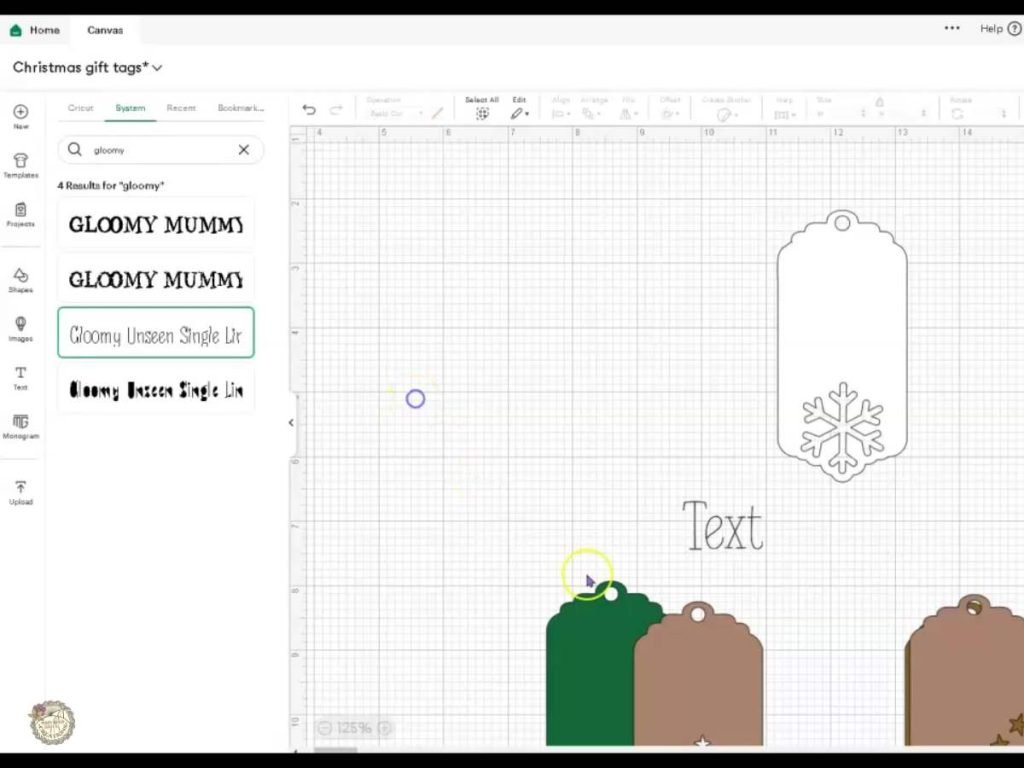
Download the free Christmas Tag SVG bundle from the Freebie Library and upload it to Cricut Design Space. Once it’s on your canvas, ungroup the tags to work with each piece individually. Personalize your tags by adding text with a writing font, like “To” and “From,” or include names for a custom touch. Make sure to use a writing font so the Cricut pen creates clean, single-line text. Watch the video tutorial below to see how to attach your text to your tag!
Step 2: Prepare the Cricut for Writing and Cutting
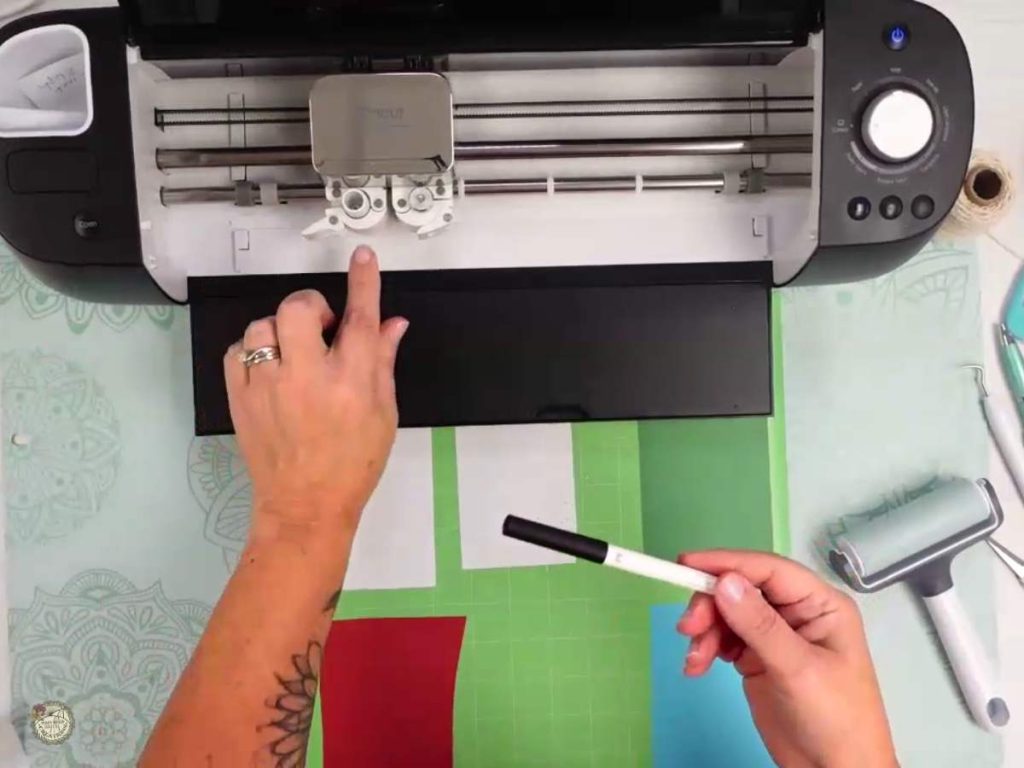
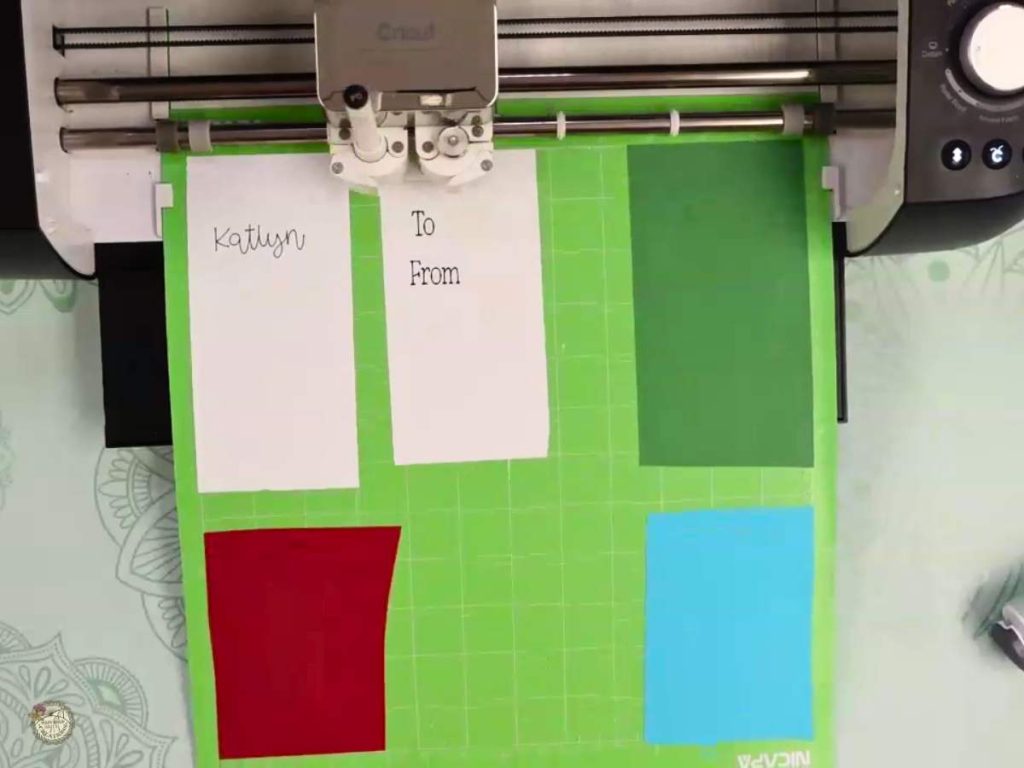
Insert your Cricut pen into Clamp A, ensuring it clicks into place. Load the mat with your cardstock onto the machine. The pen will write first, creating your text, and then the blade will cut out the tags.
Step 3: Cutting the Cardstock and Removing It from the Mat
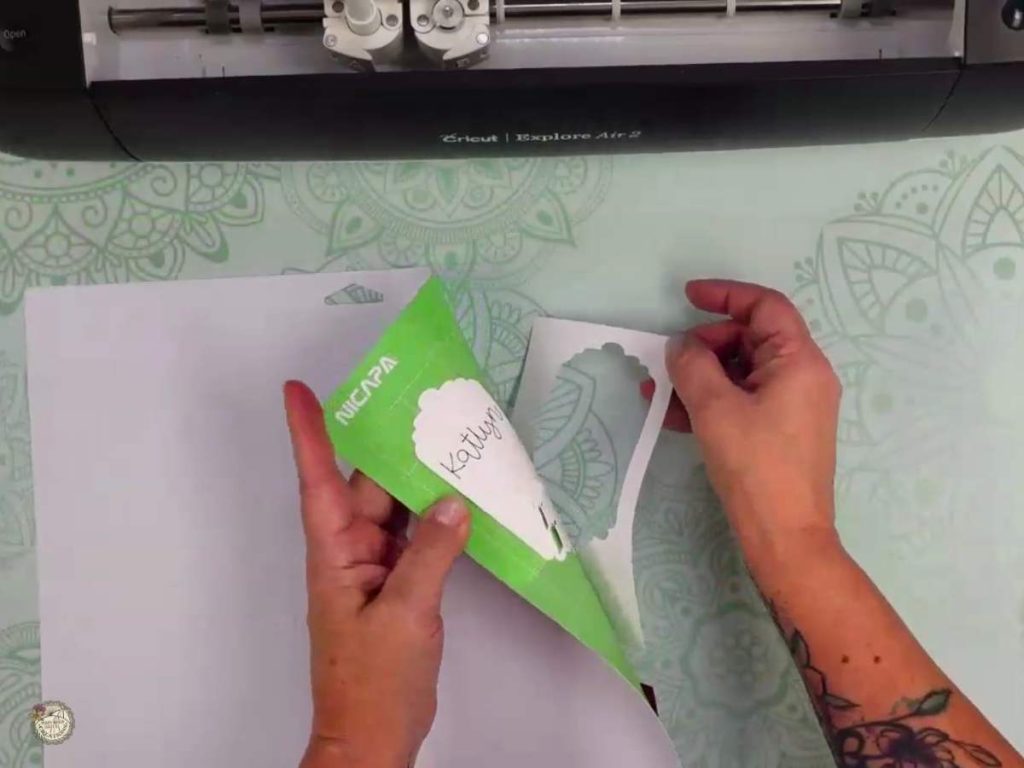
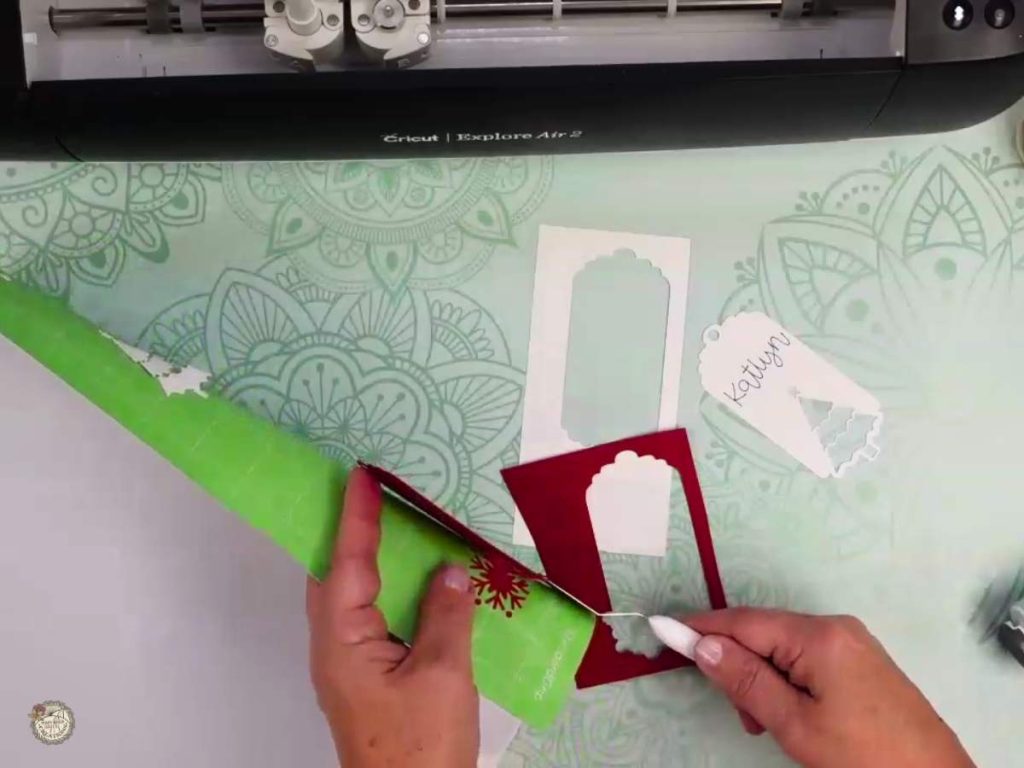
Cut your cardstock using your Cricut. Once finished, carefully remove the cardstock from the mat by flipping it over and peeling it back to avoid curling. Use your weeding tool to remove any small leftover pieces from the cutouts.
Adding Adhesive Vinyl to Your Christmas Gift Tags
This step is optional, but it’s a great way to make your gift tags look beautiful!
Step 4: Cutting, Weeding, and Applying Vinyl to the Tags
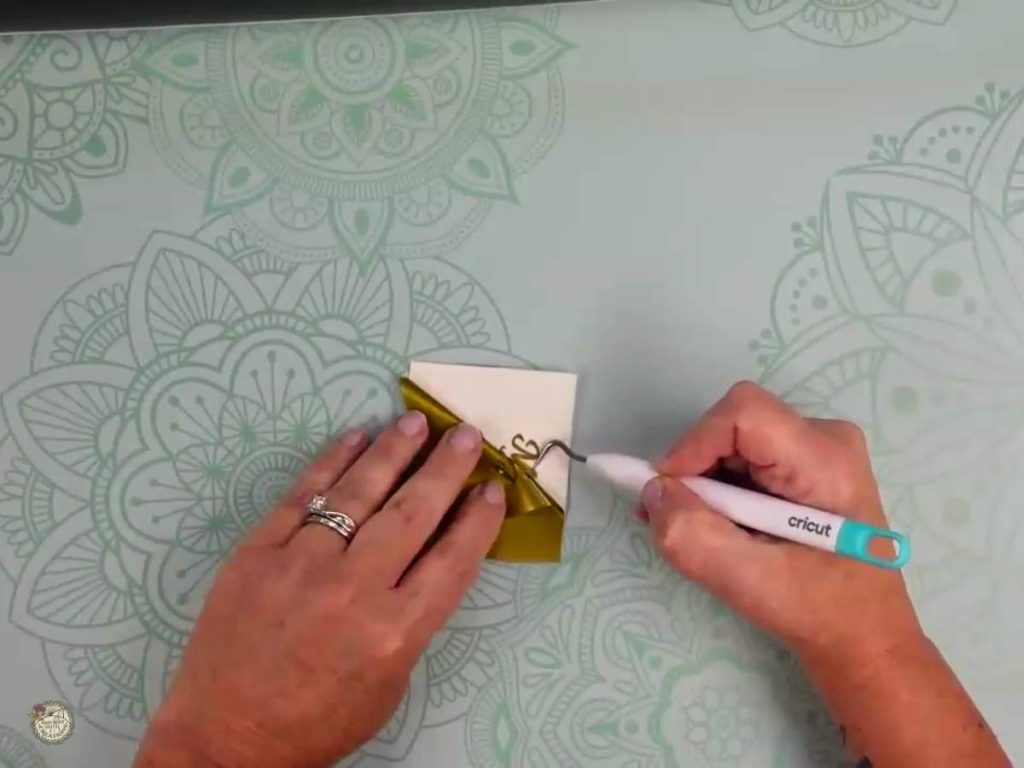
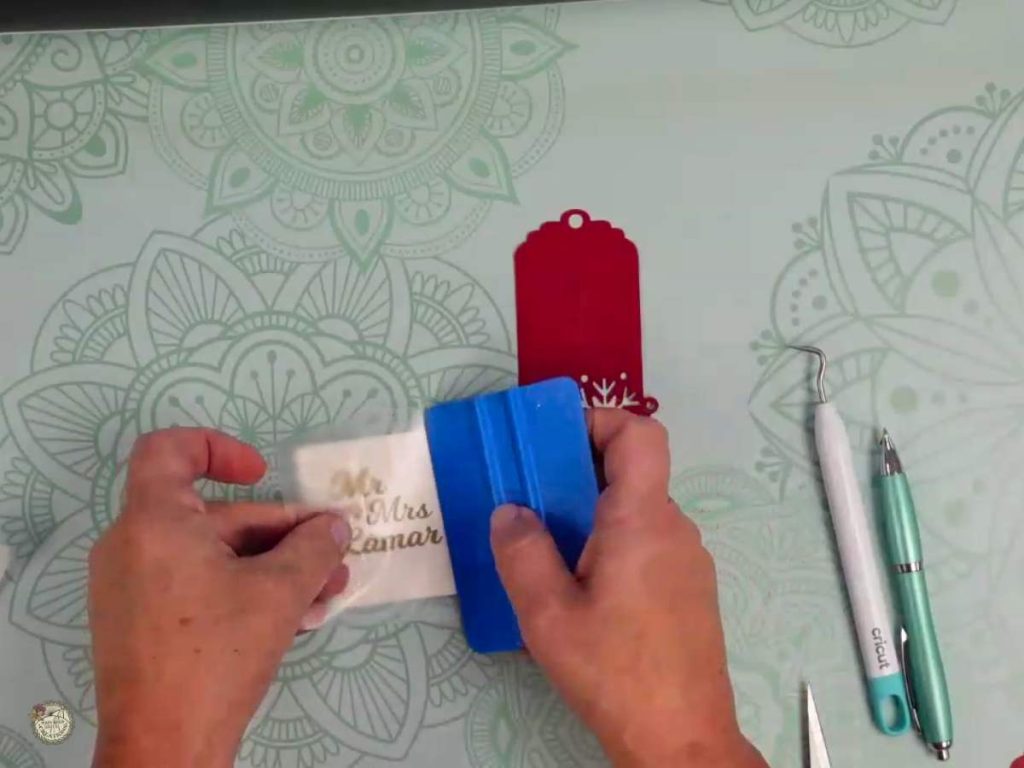
Cut the adhesive vinyl for any names or embellishments you’re adding. Carefully weed the vinyl to remove excess pieces, ensuring clean details. Then, use contact paper to transfer the vinyl onto the cardstock tag. Burnish the vinyl onto the contact paper, align it on the tag, and slowly peel back the contact paper to leave the vinyl in place without damaging the cardstock.
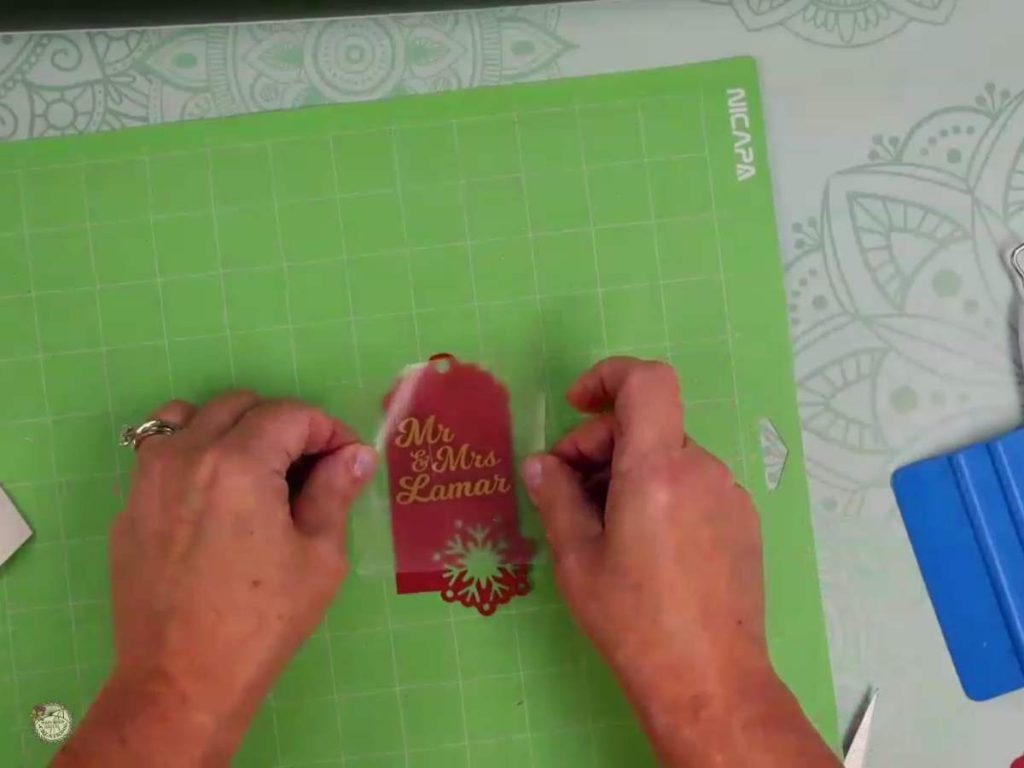
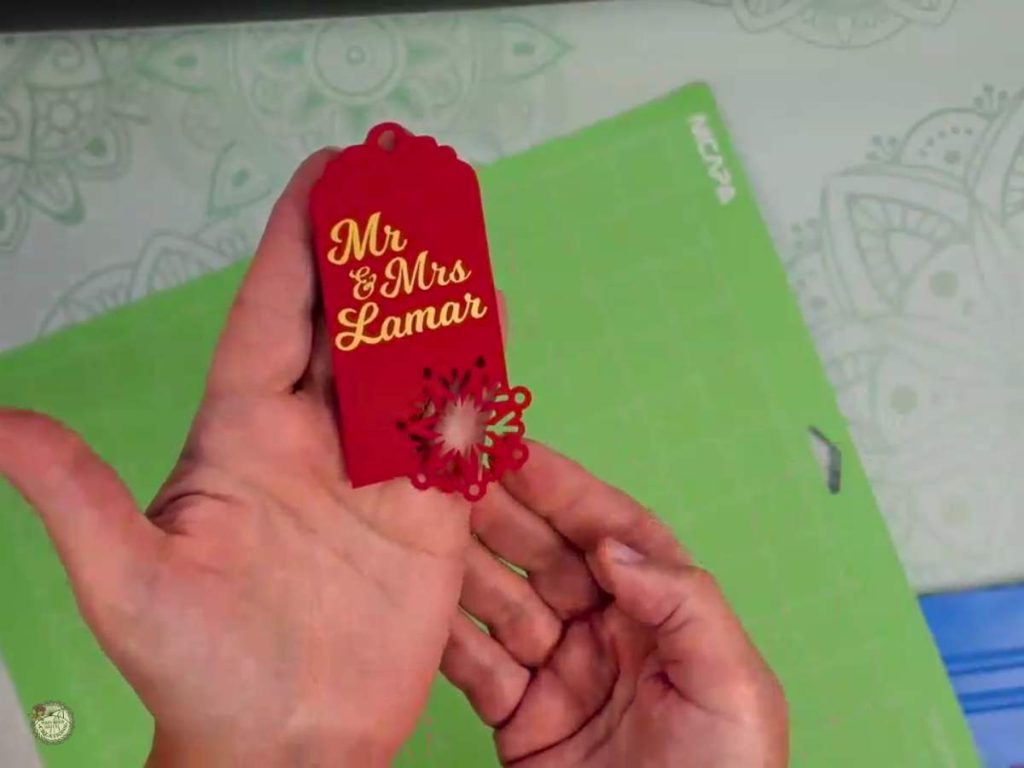
Step 5: Assemble Your Christmas Gift Tags
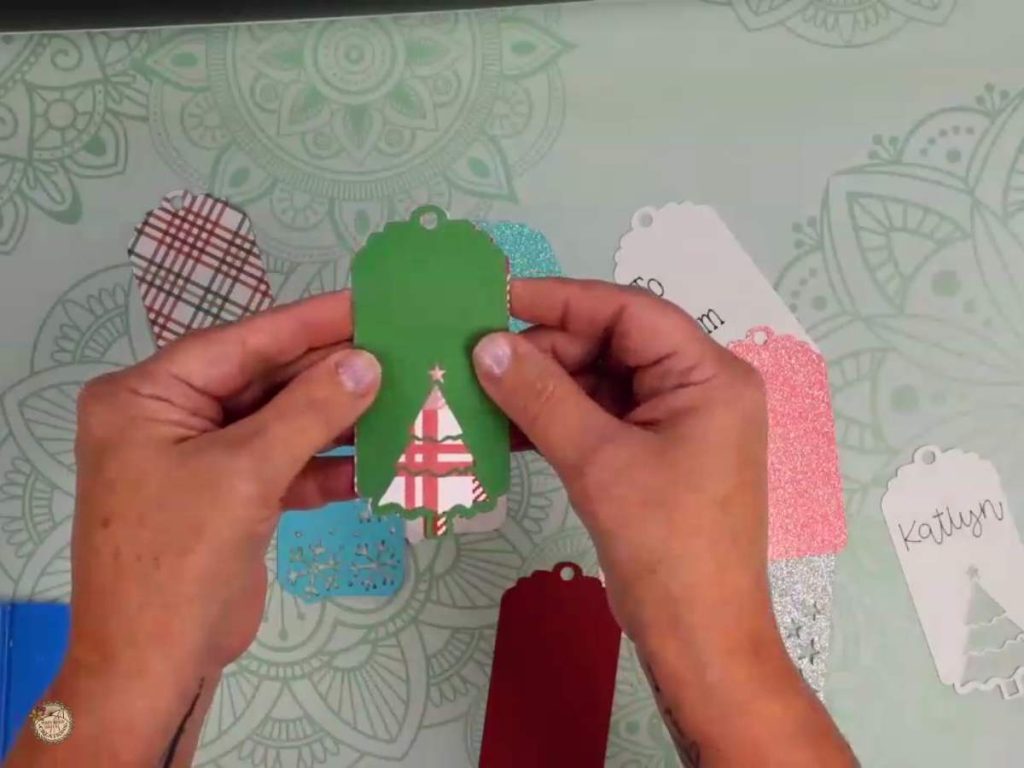
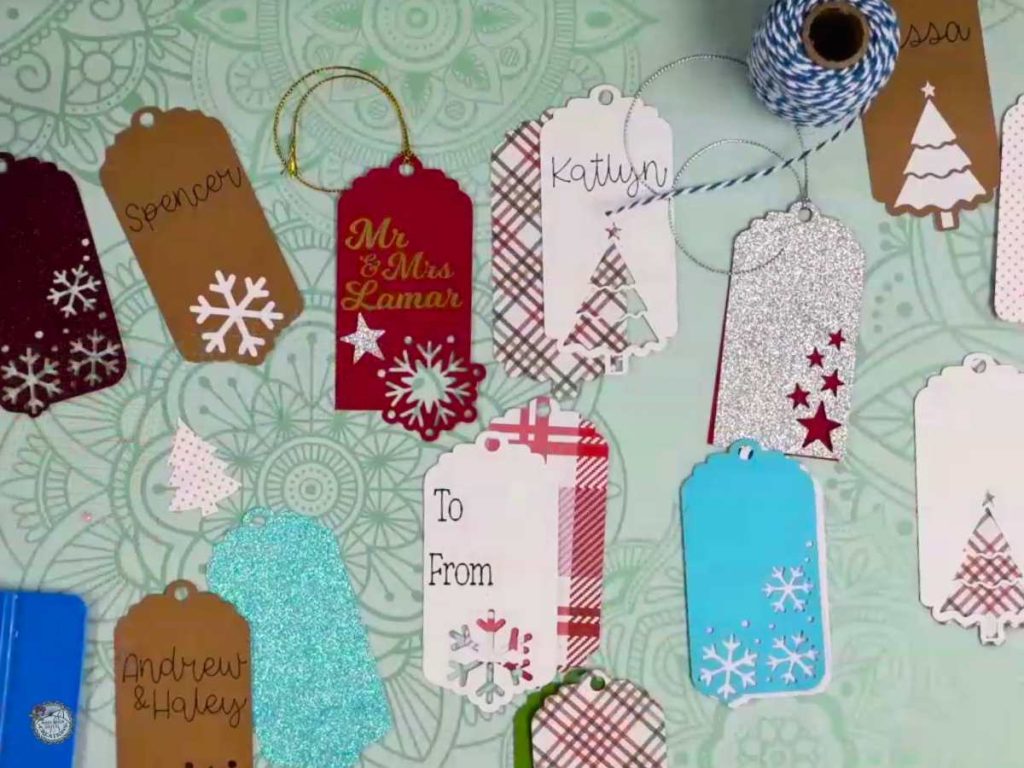
Decide if you want to layer the front and back pieces or leave them separate. Add cord or Baker’s twine through the tag hole for a polished finish. Mix and match colors and styles for a personalized touch!
Video Tutorial: How to Make Christmas Gift Card Tags
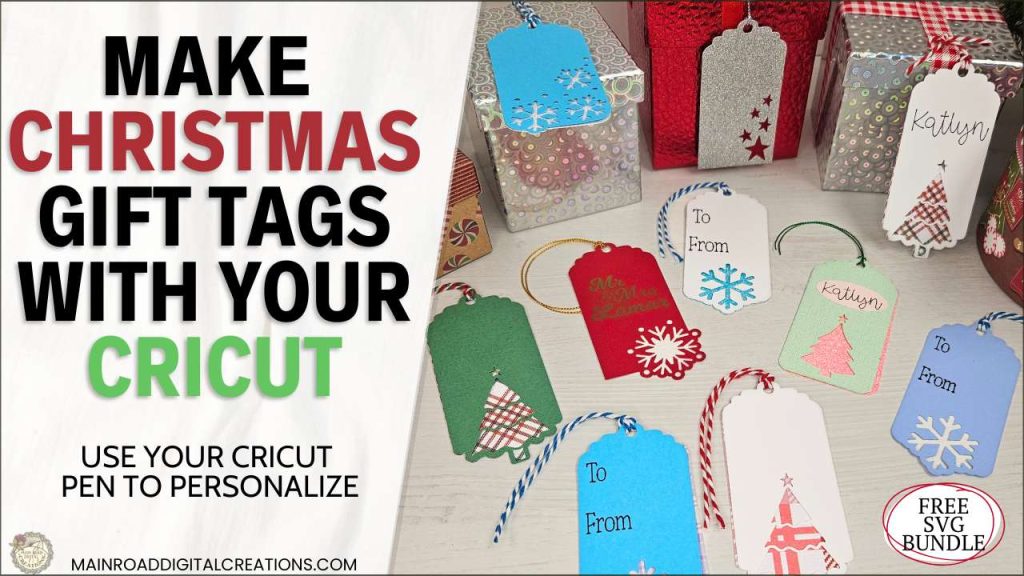
Want to see these tags in action? Watch the step-by-step video tutorial below to learn how to create your own Christmas gift tags. I’ll walk you through using a Cricut pen, adding adhesive vinyl to cardstock, and assembling the tags. It’s a quick and fun project you can finish in no time!
What’s that font?
As mentioned in the video tutorial, if you plan to use your Cricut pen, it’s best to find a writing font. There are many in Cricut Design Space. Most are free to use if you have Cricut Access. These fonts can also be called single-line fonts. You can search sites such as Creative Fabrica, Font Bundles, and Creative Market for great single-line fonts.
Below are the pictures and names of the fonts I used in the video tutorial.
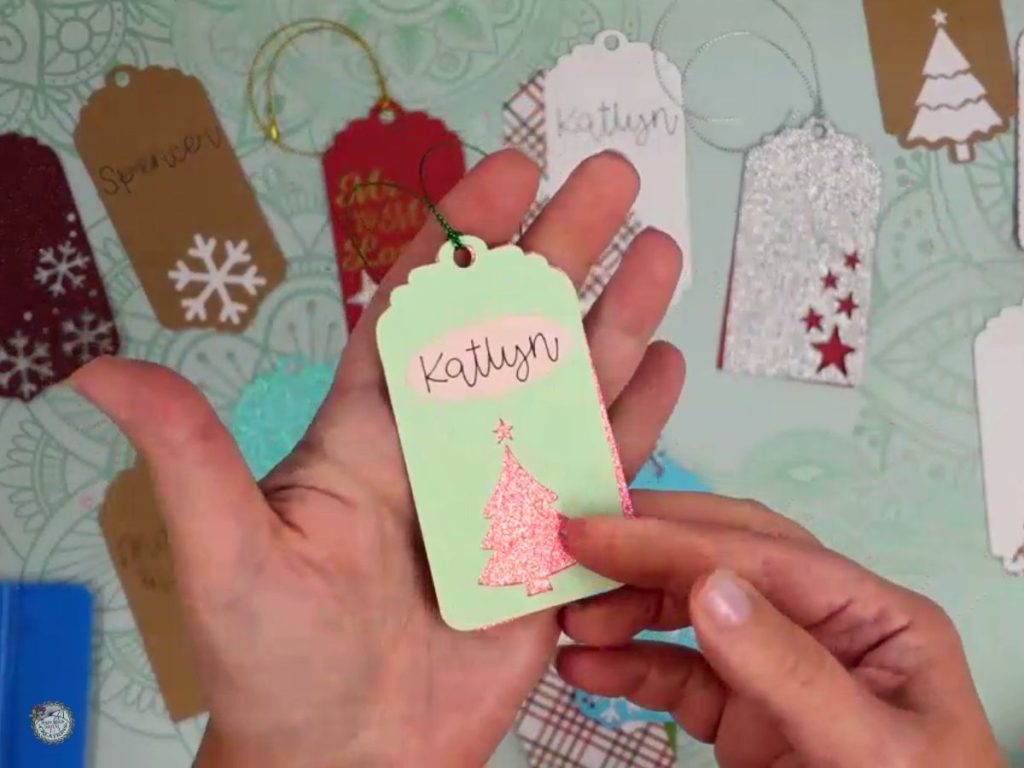
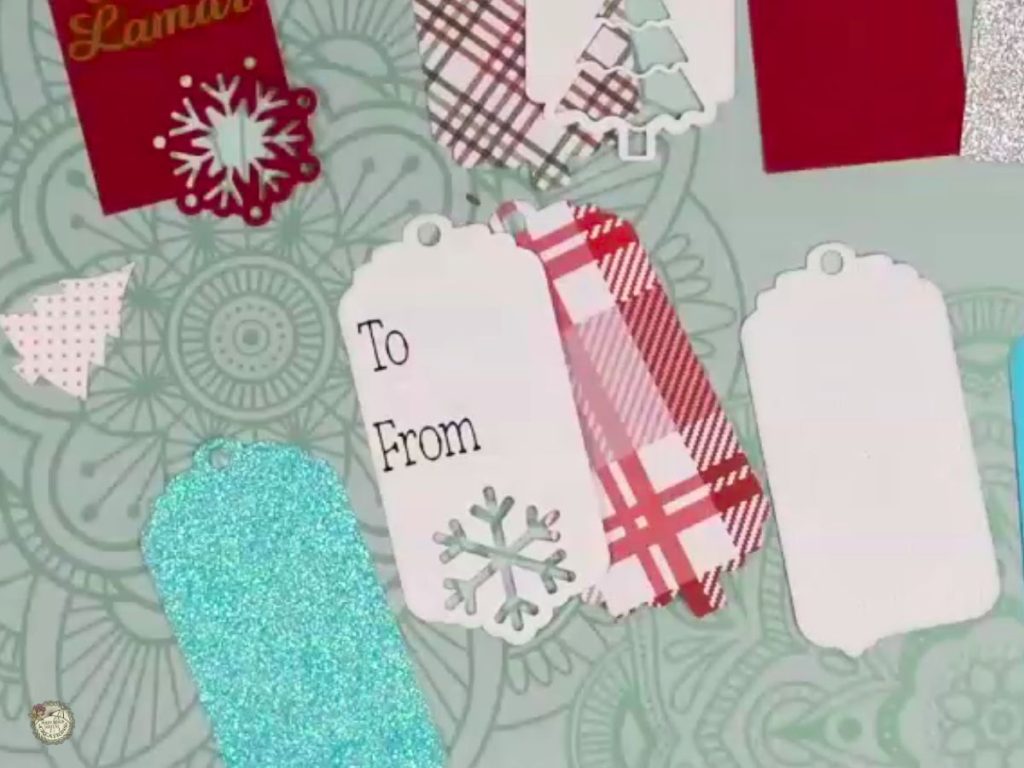
The font I used for the name Katlyn is a Cricut Access font called BFC Cute Cursive. The ‘To and From’ font is called Gloomy Unseen.
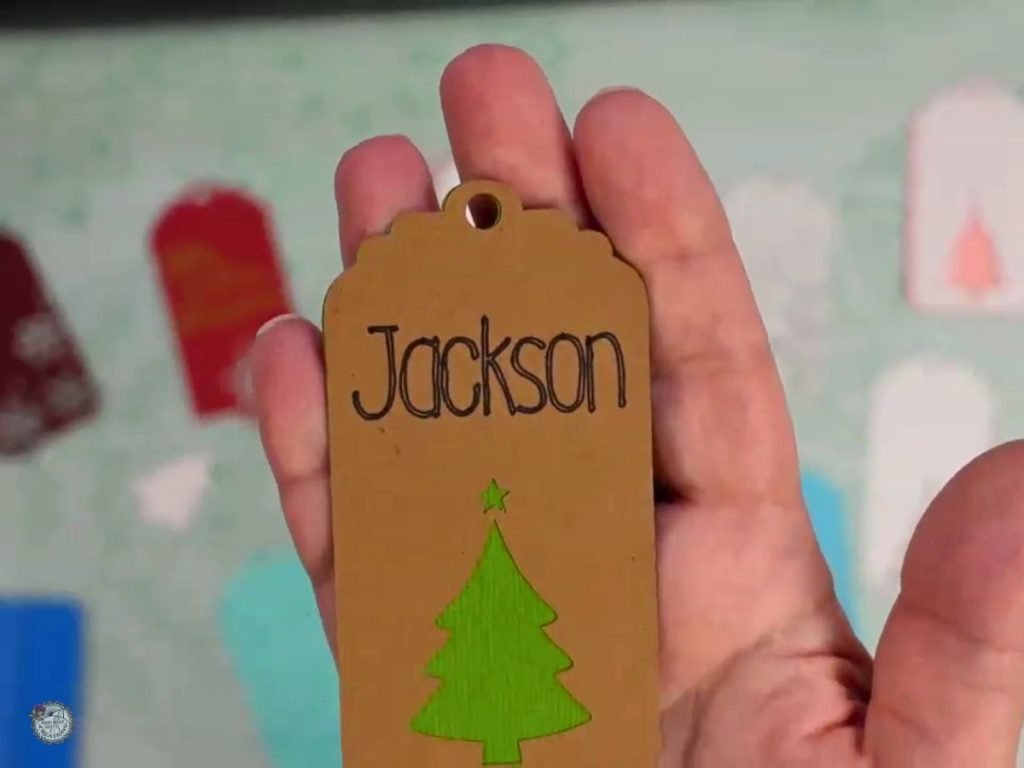
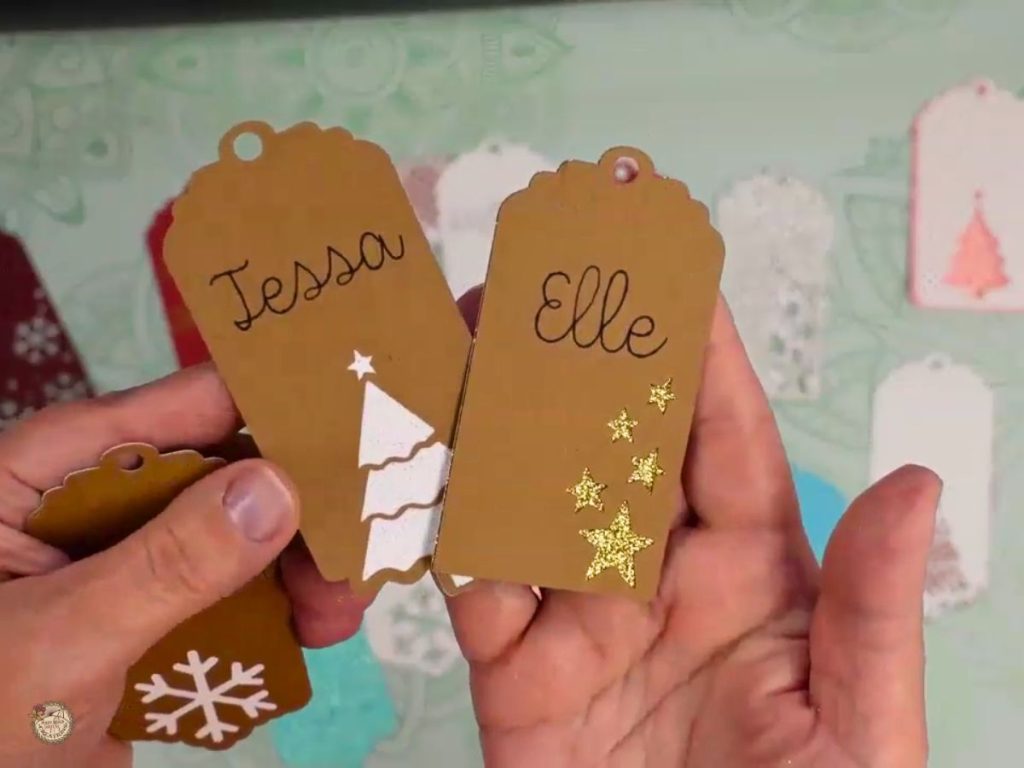
The name Jackson is a Cricut Access font called Little White Lies. The names Tessa and Elle are written with a single-line font called Dear Agatha.
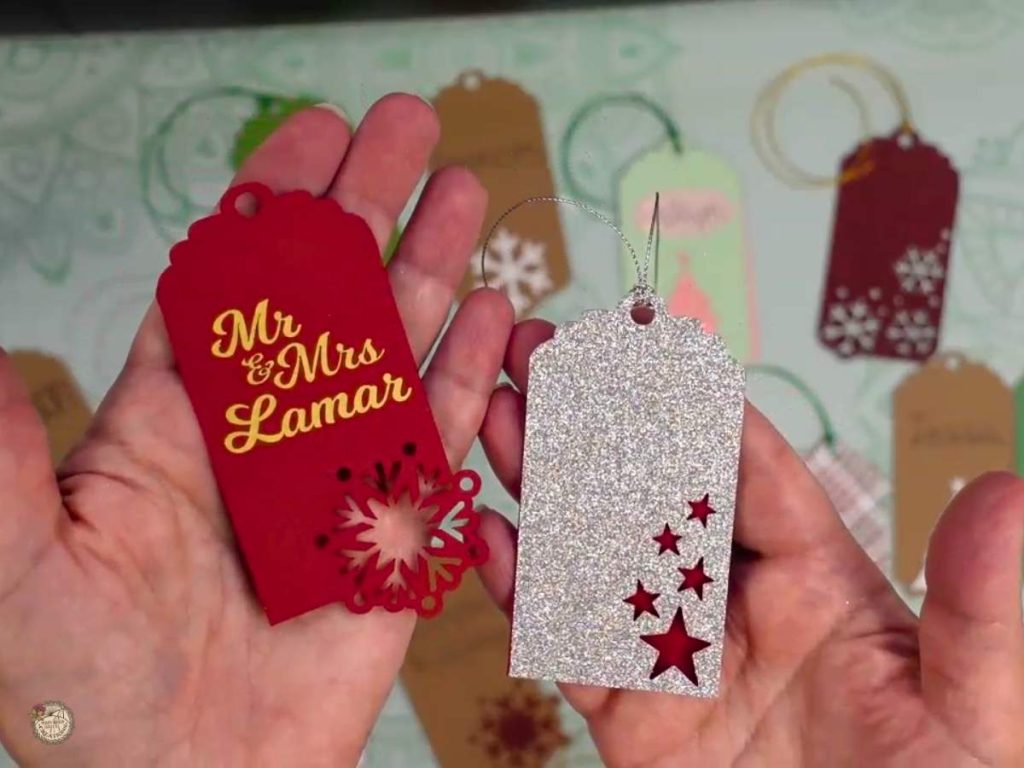
The font I used with the adhesive vinyl that says Mr & Mrs Lamar is called Milkshake.
Show Off Your Christmas Gift Tags!
These tags aren’t just functional—they’re fun to make and add a personal touch to your holiday gifting. With six different designs in the bundle, you’ll have options to match every recipient’s style. Plus, using your Cricut pen to add a handwritten look makes them extra special.

Are you on Facebook?
Join our group!
We’d love to have you!
I’d love to see how you personalize your tags! Share your creations in my Facebook group, and let’s inspire each other with all the creative ways these tags can be used.
All of the Free Files on my website are for Personal and Commercial use. Check out my Terms of Use (TOU) here.
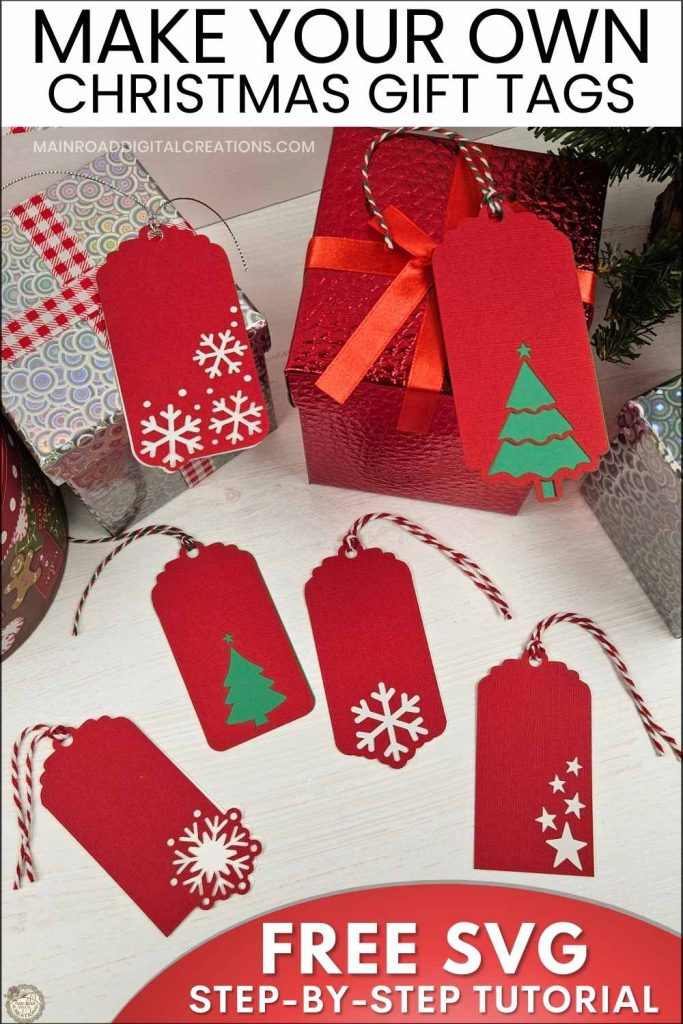
I’d love it if you could take a moment to pin the Free SVG image above to Pinterest. By sharing, you’re helping my business grow, which allows me to keep bringing you the free SVG files you adore. Thanks a bunch for your support. It means the world to me!
Here’s where you can find your Free SVG download!
Design #233—Christmas Gift Tags Bundle Art SVG file is available in my freebie library. To get the Password, click the button below and Join our Freebie Club!
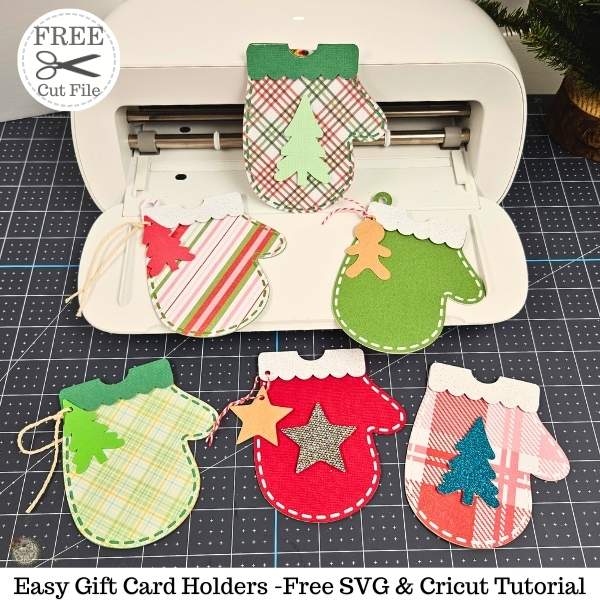
If you enjoyed this week’s Free SVG & Cricut tutorial, here’s another you will love!
Check out my shop for fun and creative designs!
Join the Creative Fabrica Membership

Fonts, designs, and so much crafty goodness! Over 16 million digital files are waiting! In partnership with Main Road Digital Creations, your first 10 downloads are totally free. After that? It’s just $47 a year (yep, that’s $3.99/month) with full commercial and POD use included. Sign up for Free!
I can’t download anything on your web page every time I do I have a page coming up full of letters that don’t make any sense please help
Hi Sarah! I sent you an email with a reply- please let me know if that helps! 😊