
Free Christmas Treat Box SVG
How to Make an Elf-Themed Christmas Treat Box with Your Cricut
This post may contain affiliate links. As an Amazon Associate, I earn from qualifying purchases. Please see my privacy policy for full details.

I’m excited to share this week’s free Christmas Treat Box SVG with you! These little elf-themed boxes are so fun to make, and they’re perfect for gifting treats, small goodies, or even a gift card. This project is beginner-friendly, easy to personalize, and comes together quickly with cardstock and a little HTV. Customize the phrase, switch up the colors, and make it your own!
DIY Christmas Treat Box with Your Cricut

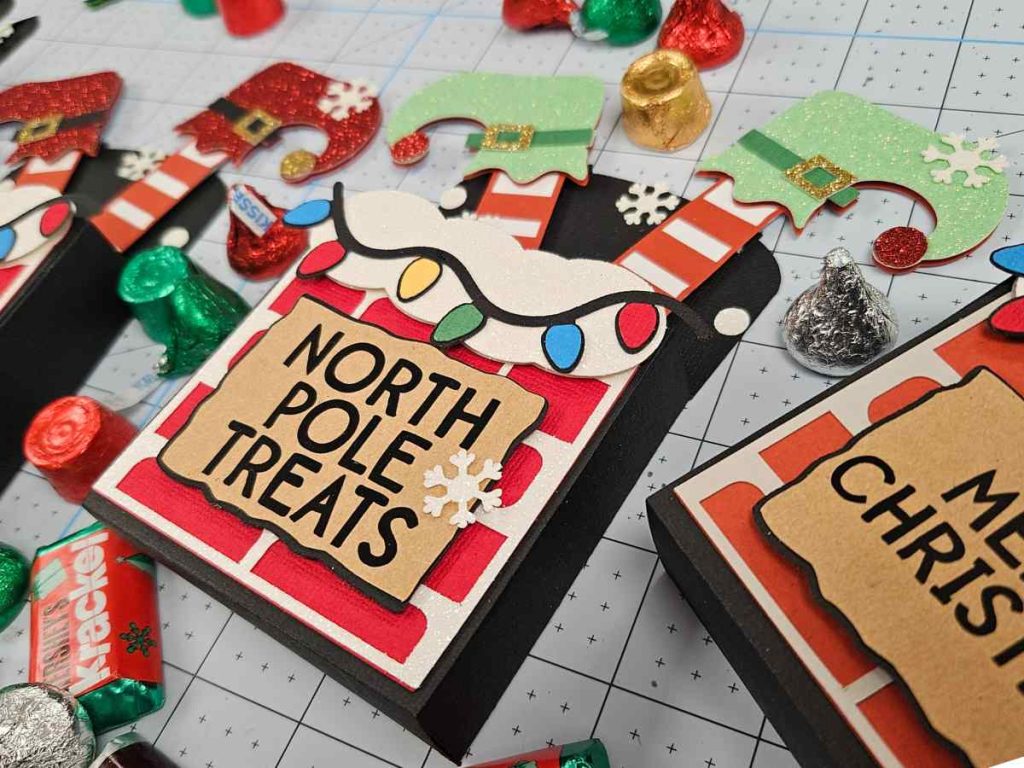
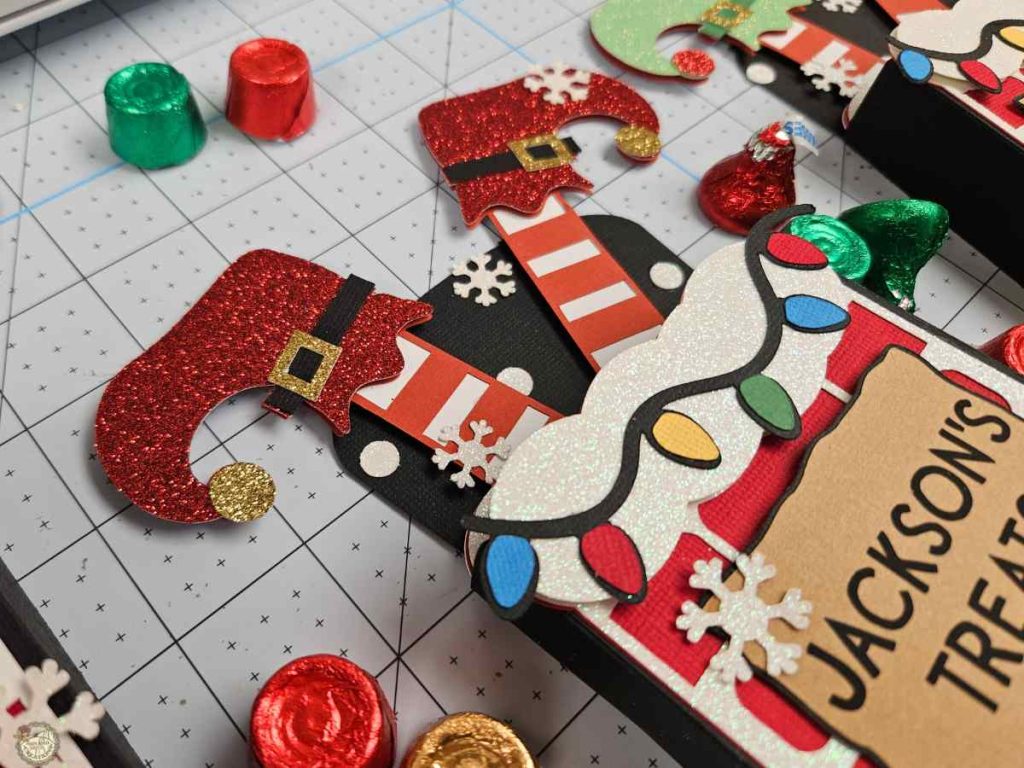
These little elf treat boxes are so easy to personalize, and that’s my favorite part. The free file comes with “North Pole Treats,” but you can switch it to anything you want, your kid’s name, a teacher’s name, a cute holiday phrase, you name it. In the tutorial, I walk you through how to change the wording in Cricut Design Space step by step, so you can customize it to match whoever you’re gifting it to.
Here’s a closer look at the layers, glitter details, and the cute little elf boots. I had way too much fun mixing colors and textures, so feel free to play around with it and make the style your own.
Supplies Needed to Make a Christmas Treat Box
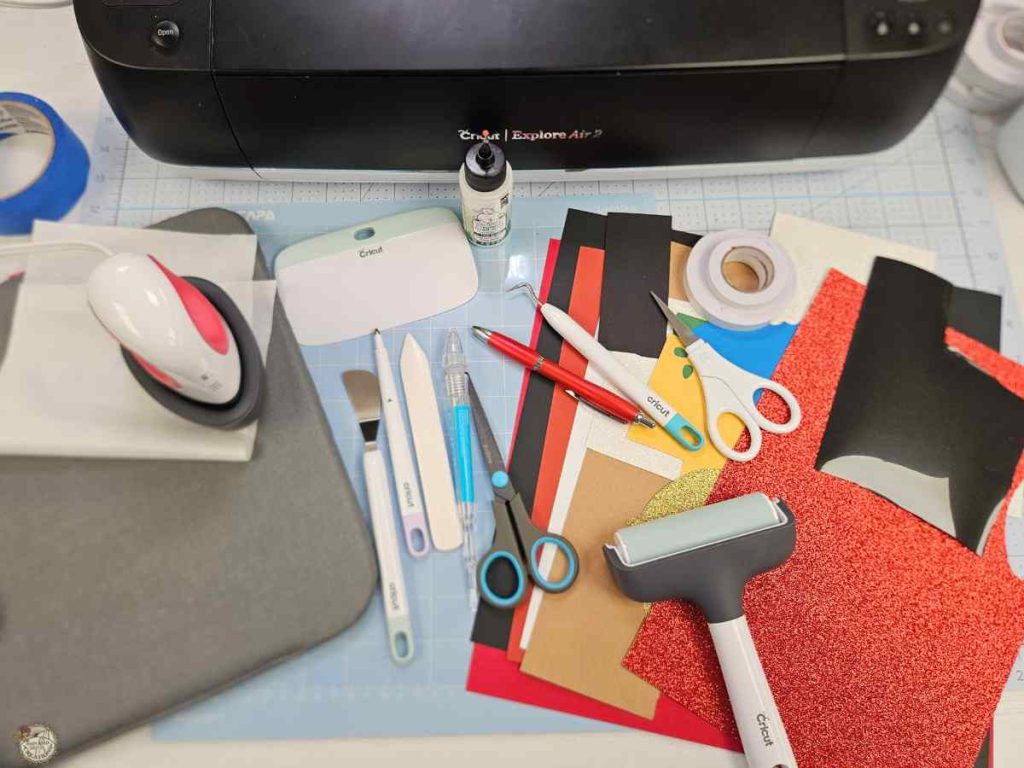
Here are the supplies I used to make my Christmas elf treat box. You can mix and match your cardstock colors, add extra sparkle, or keep it simple with what you already have in your craft stash!
- Cricut – I used my Explore Air 2
- Light Grip Mat and/or Standard Grip Mat
- Brayer
- Scoring Stylus
- HTV (also called Iron-On Vinyl)
- Cardstock
- EasyPress Mini
- Heat-Resistant Mat
What’s that font?
This is the font I used for the Free Christmas Treat Box SVG that says ‘North Pole Treats’. I also used it to add the ‘Jackson’s Treats’, as you can see in the video tutorial.
Do you need help downloading and adding a font to Cricut Design Space? Check out this quick tutorial!

How to Make Christmas Treat Boxes
Here’s the step-by-step tutorial to help you make your Christmas treat box using the Free SVG file. If you’d like to see these steps in action, check out the full video tutorial below!
Step 1: Download the Free SVG File
First things first, grab the free North Pole Treats Christmas Treat Box SVG from the Freebie Library.
Step 2: Open the SVG in Cricut Design Space
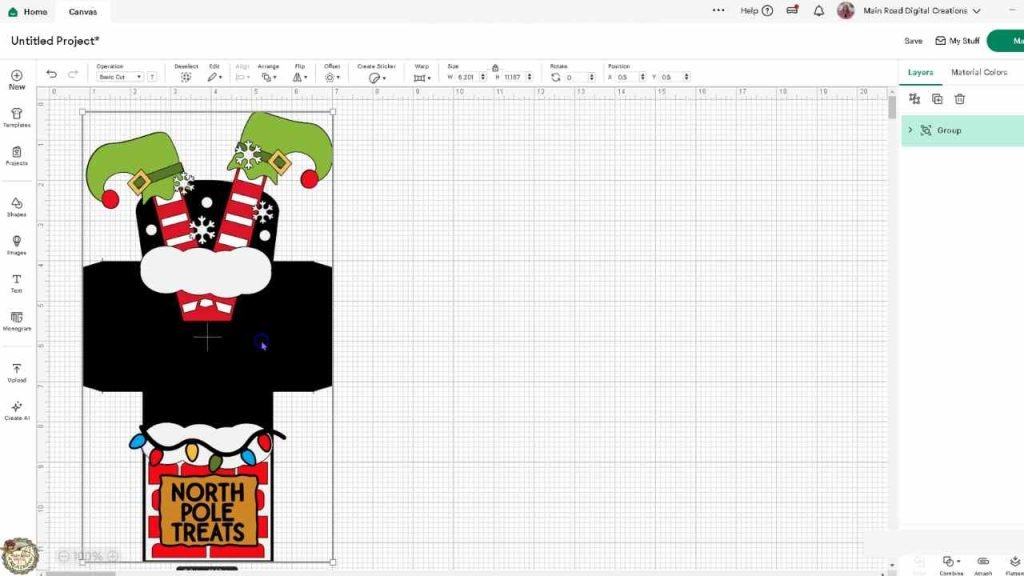
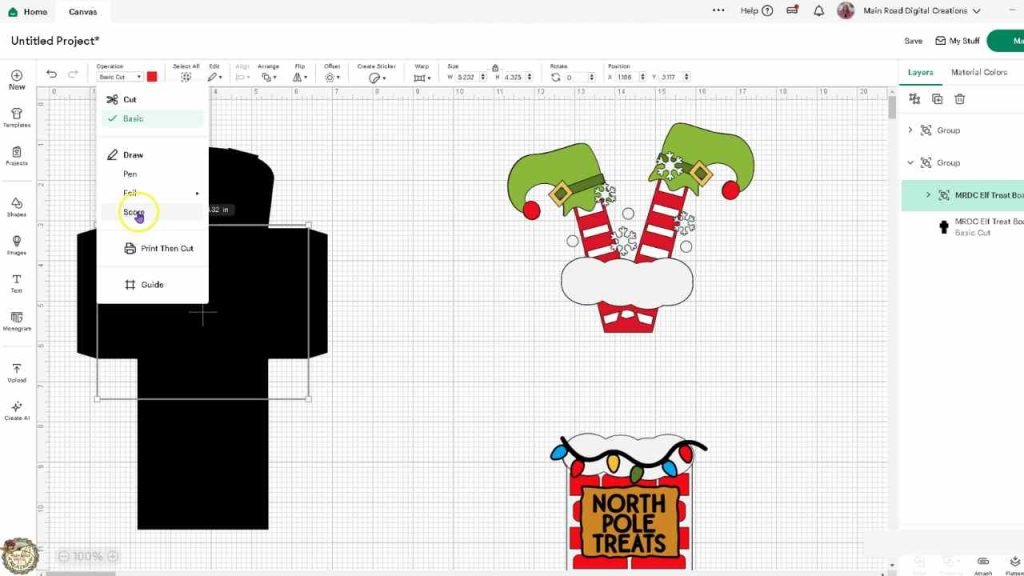
Ungroup the file and locate the box layer. Change the red lines to “Score” and then attach them to the box layer. That tells your machine to score before cutting.
Step 3: Add Your Text in Cricut Design Space
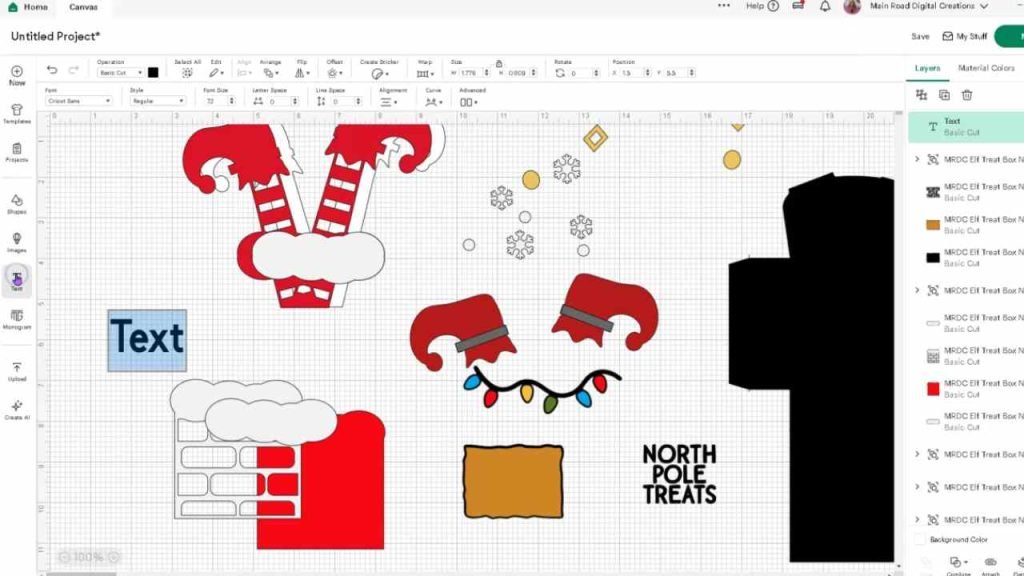
Using the Text tool, type the phrase you want on your treat box. The file includes “North Pole Treats,” but you can easily swap it for a name or your own holiday message. Adjust the size, pick your font, and get it lined up on the sign layer before cutting.
Step 4: Load Your Materials & Prepare to Cut
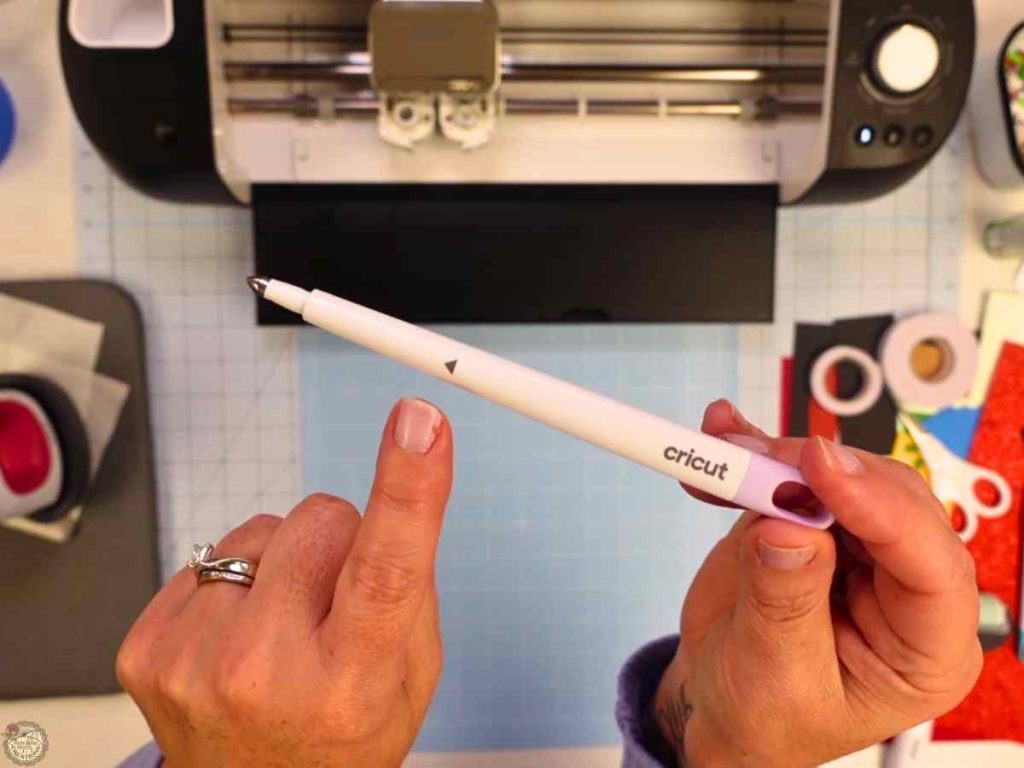
Before cutting, insert your scoring stylus into Clamp A of your Cricut. You’ll hear it click into place. This allows your machine to score the fold lines rather than cut them.
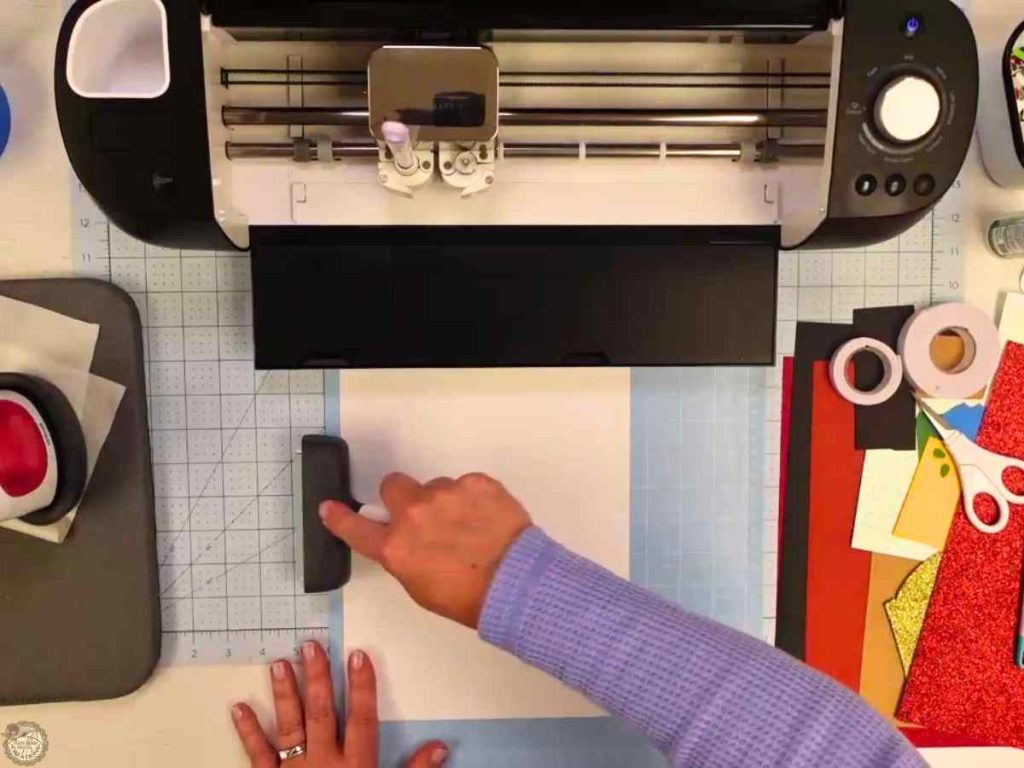
Then, use your brayer to press the cardstock firmly onto your cutting mat. This helps prevent any shifting while cutting. If you’re using HTV (heat transfer vinyl) for the text like I did, be sure to mirror your design in Design Space and place the HTV shiny side down on your mat.
Step 5: Weed and Apply Your HTV
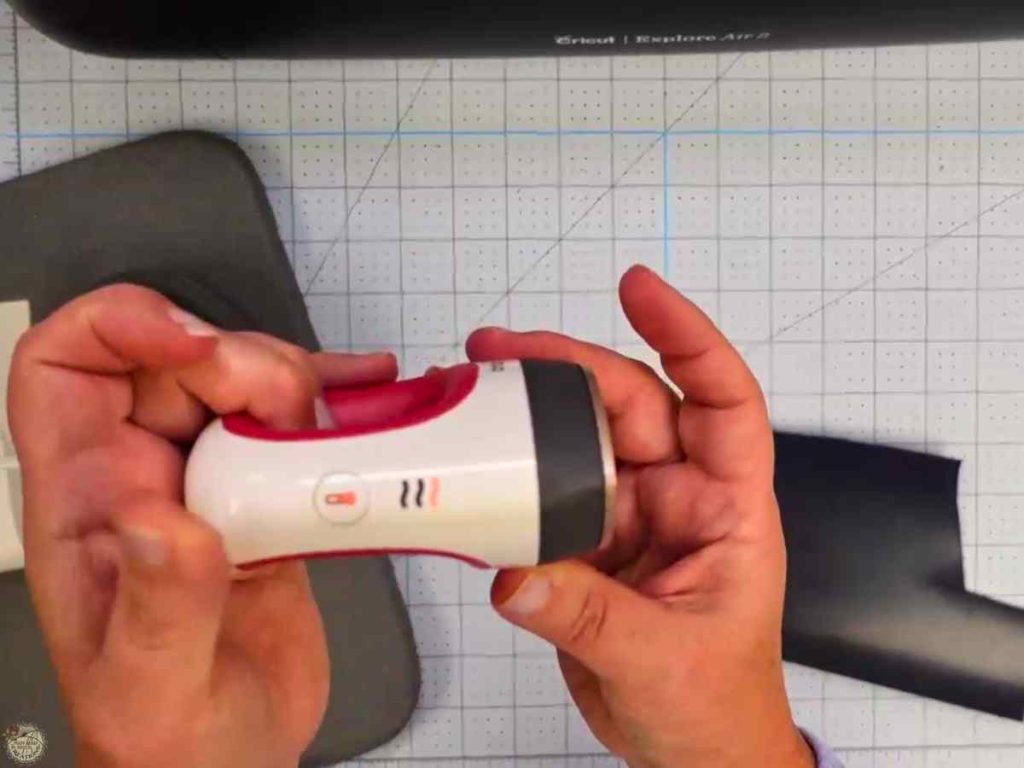
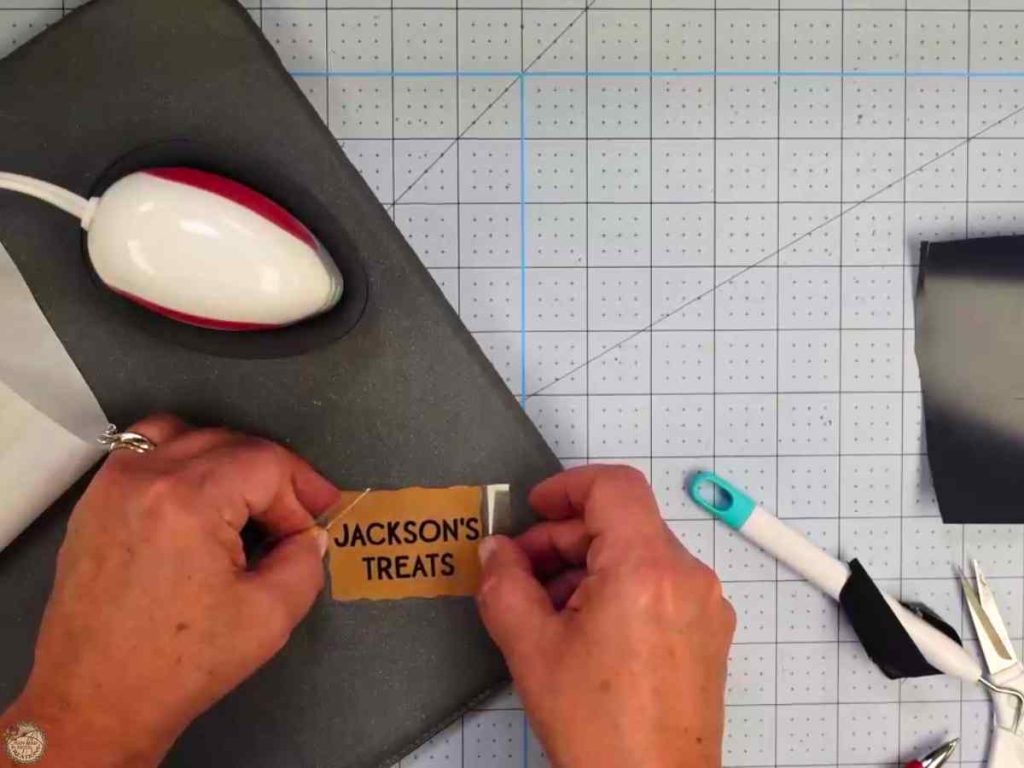
After your machine finishes cutting, weed the HTV and prepare your sign piece. Turn on your EasyPress Mini and let it warm up. Place the HTV where you want it, cover with a Teflon sheet, and press for a few seconds. Peel off the carrier sheet slowly. If the HTV doesn’t release, set the carrier sheet back down and press again. Once it’s done, tuck the sign under your heat mat to cool flat.
Step 6: Fold Your Box & Start Assembly
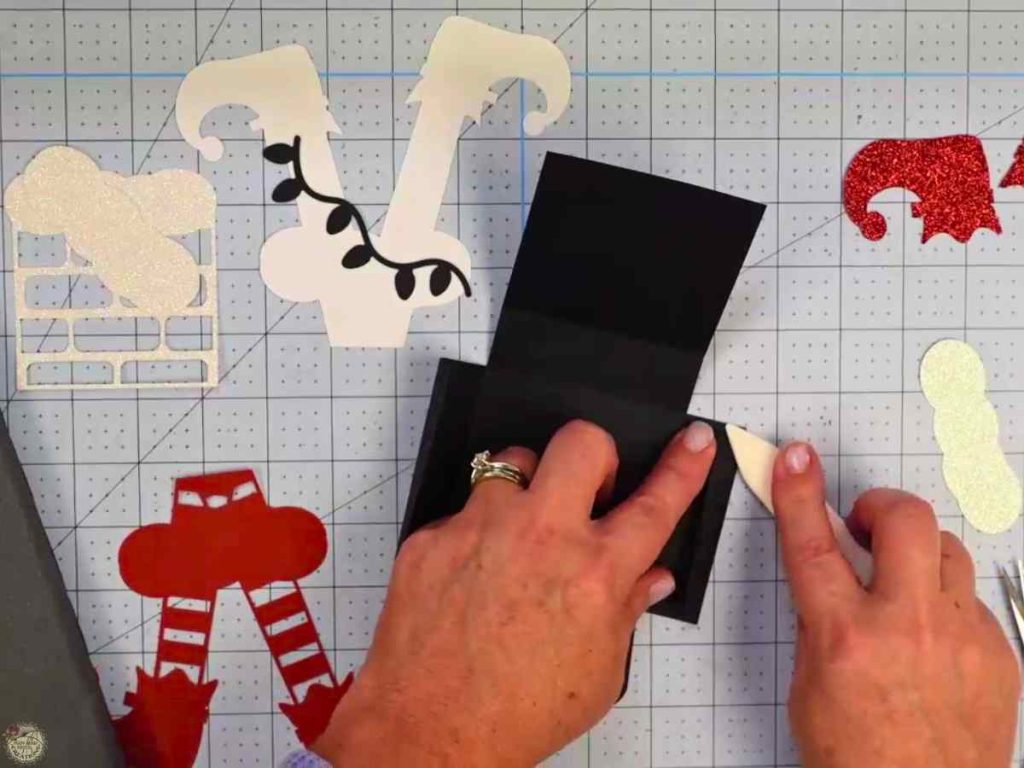
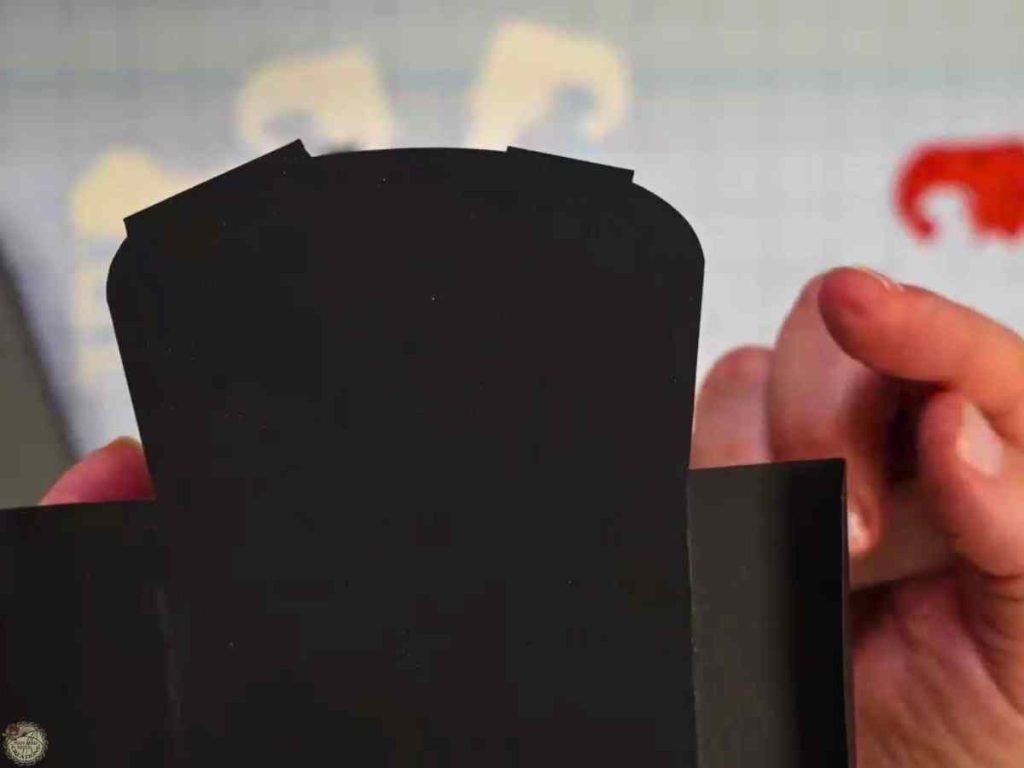
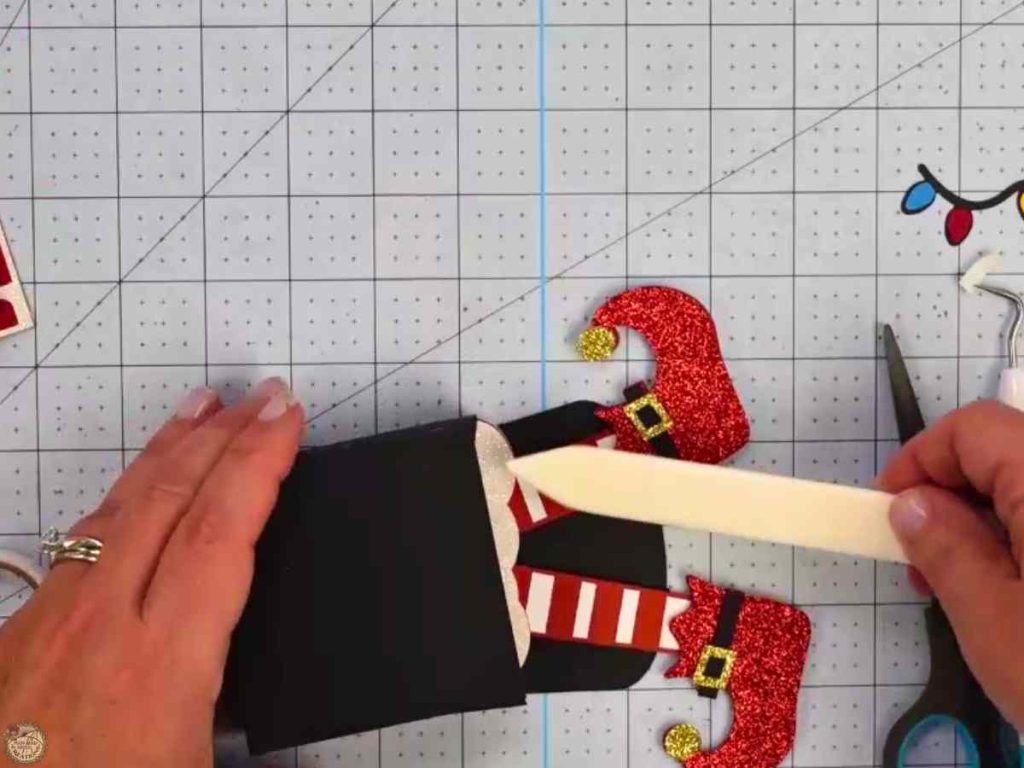
Fold the box along the score lines and use a bone folder or scraper to make the folds crisp. Double-check that the larger (wider) panel is on the left side before you start gluing -it’s an easy one to accidentally flip.
Step 7: Assemble Elf Legs & Chimney
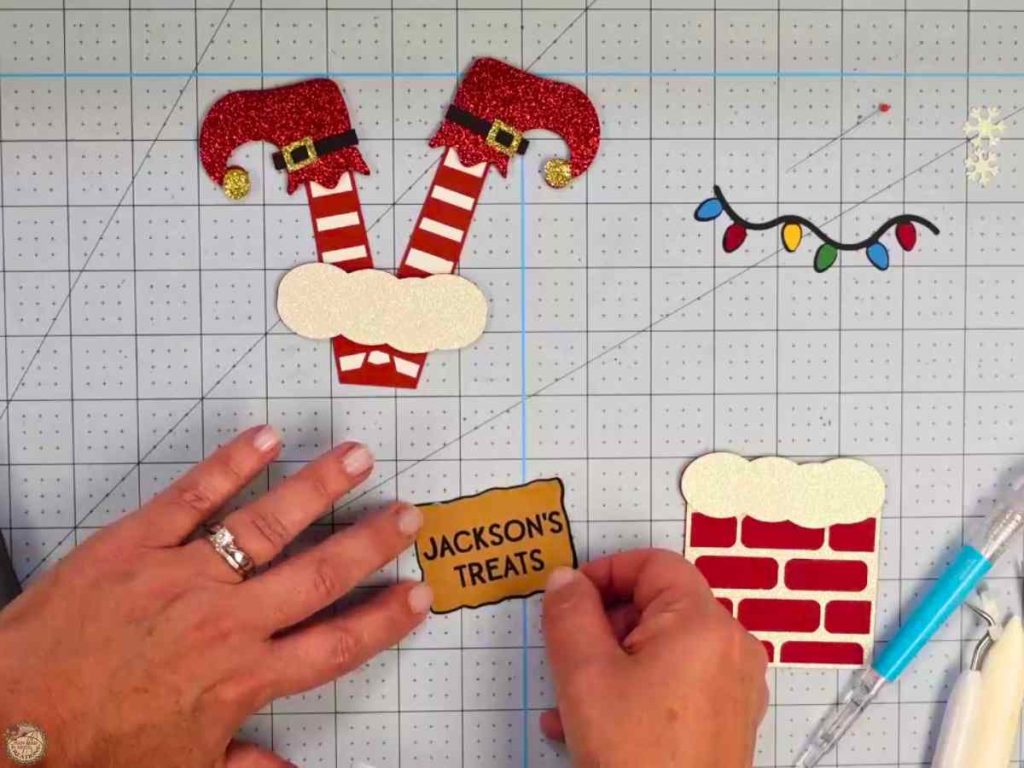
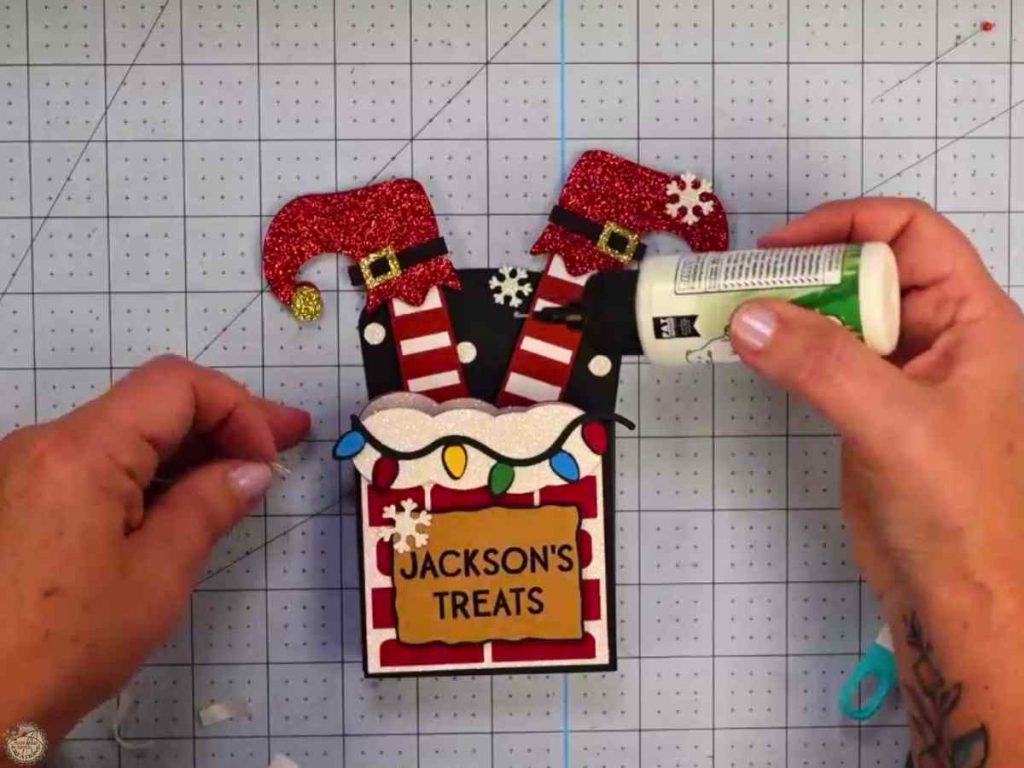
Start by gluing the leg layers together. Add the boot pieces on top. I added foam tape to the back of the boots. Glue the brick chimney piece together.
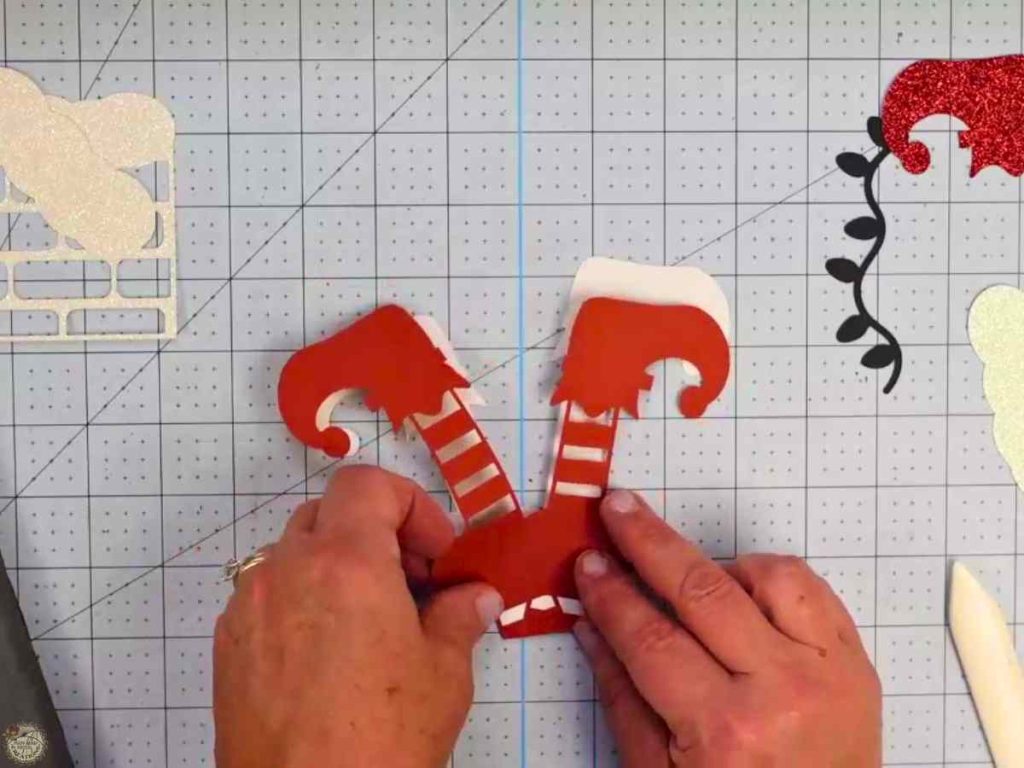
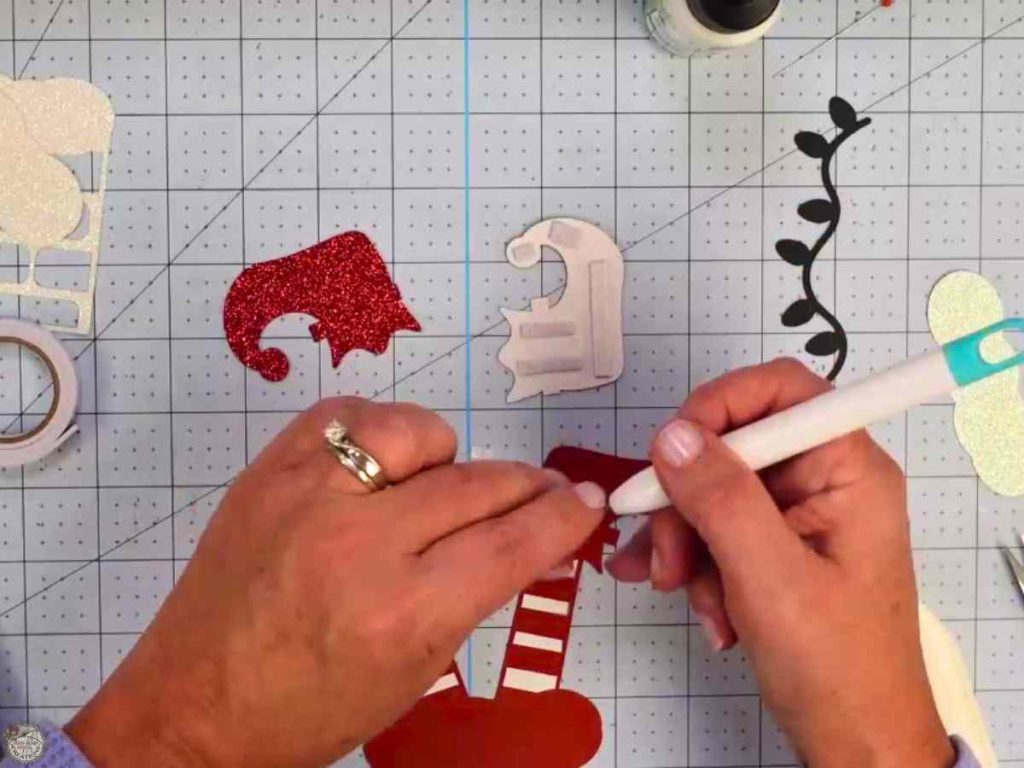
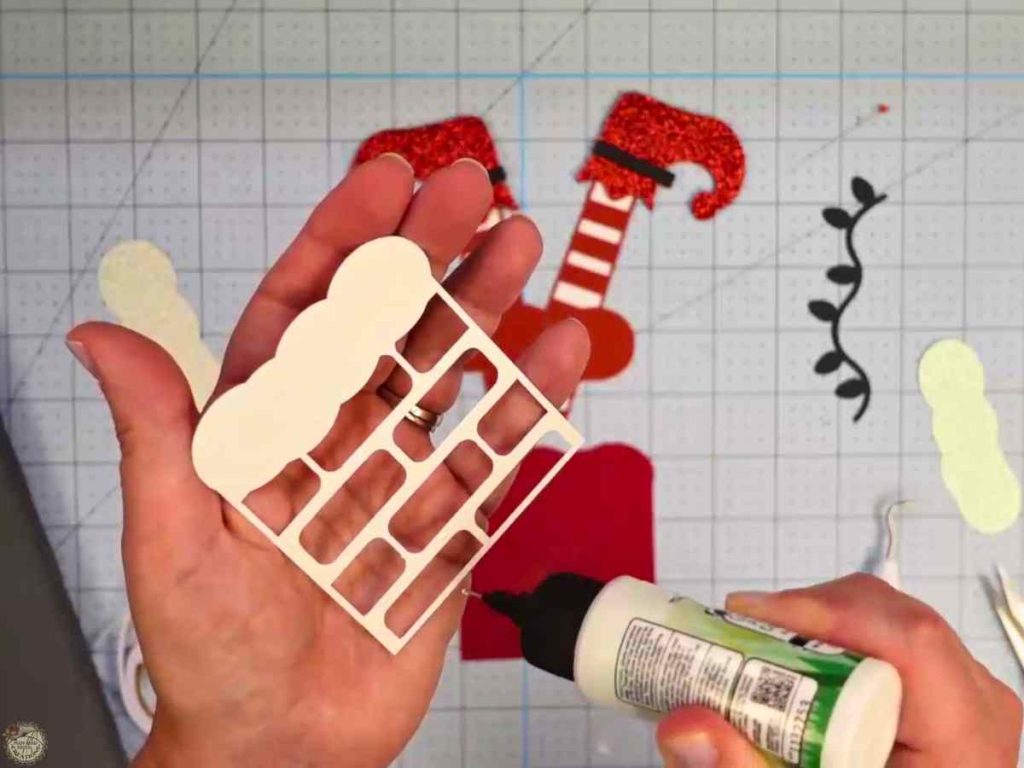
Step 8: Add the Snow Tops and Christmas Lights
Your file includes two snow top pieces -one larger and one smaller- so take a quick look at their sizes before gluing. The larger piece goes on the legs panel, and the smaller one sits on top of the chimney. Glue the smaller snow piece to the chimney first. Next, add the light bulbs to the light strand.
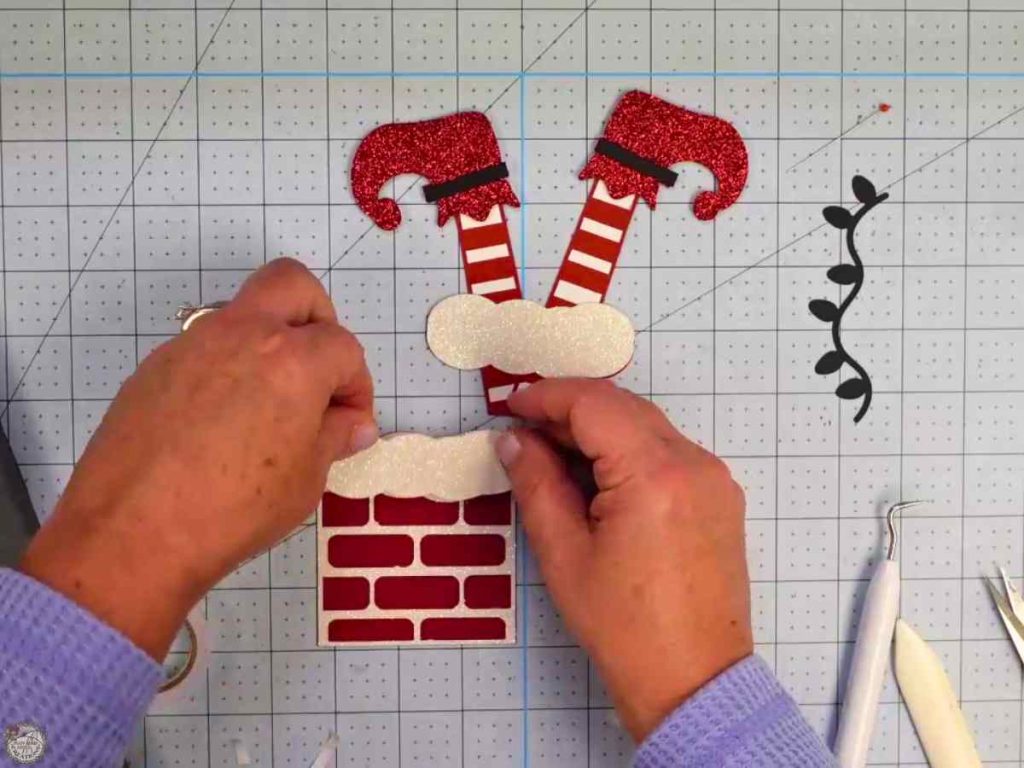
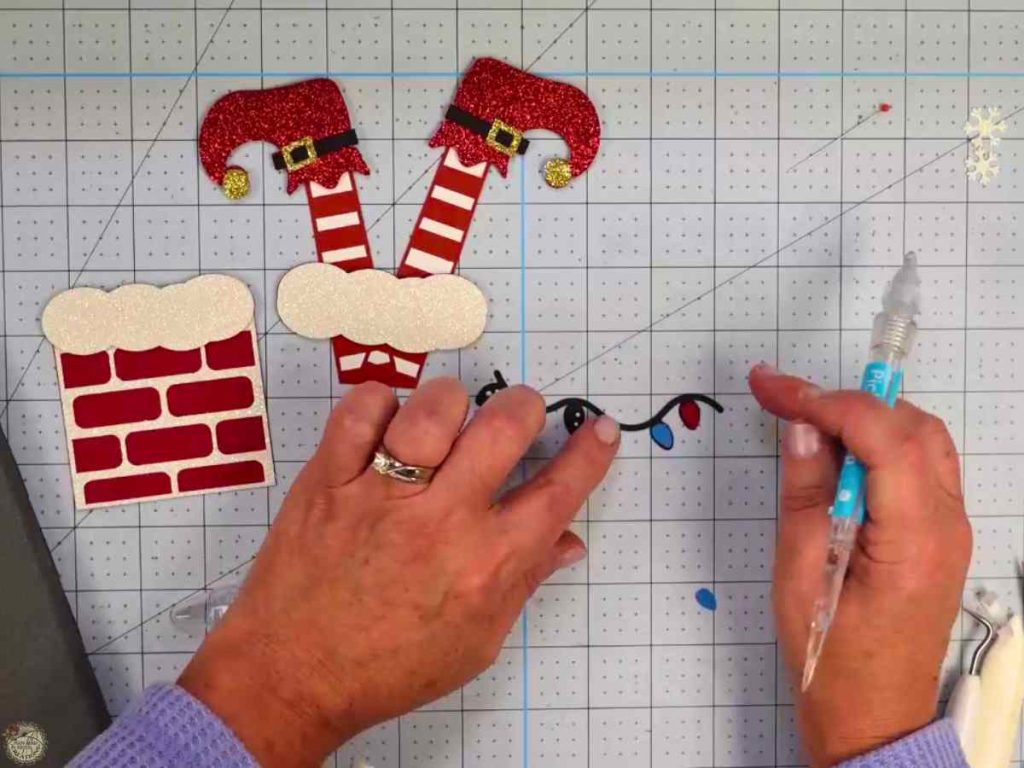
Getting Ready to Assemble
With your chimney, legs, snow pieces, and lights all prepped, you’re ready to start putting the box together. This is a quick step, but it helps ensure everything is lined up correctly before the glue comes out. A little prep here makes the final assembly go much smoother.
Step 9: Add the Elf Legs
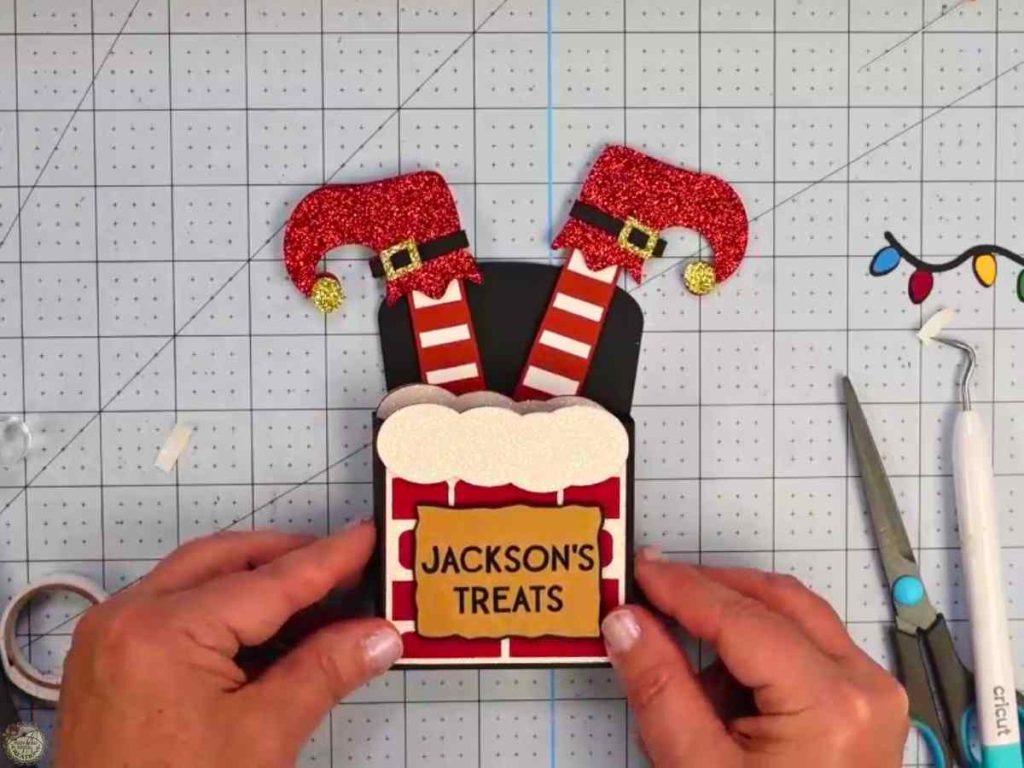
Add foam tape (with a little glue on top) to the back of the legs panel. Line it up using the notches at the top of the box piece and press it in place. This helps you get perfect placement before folding the box
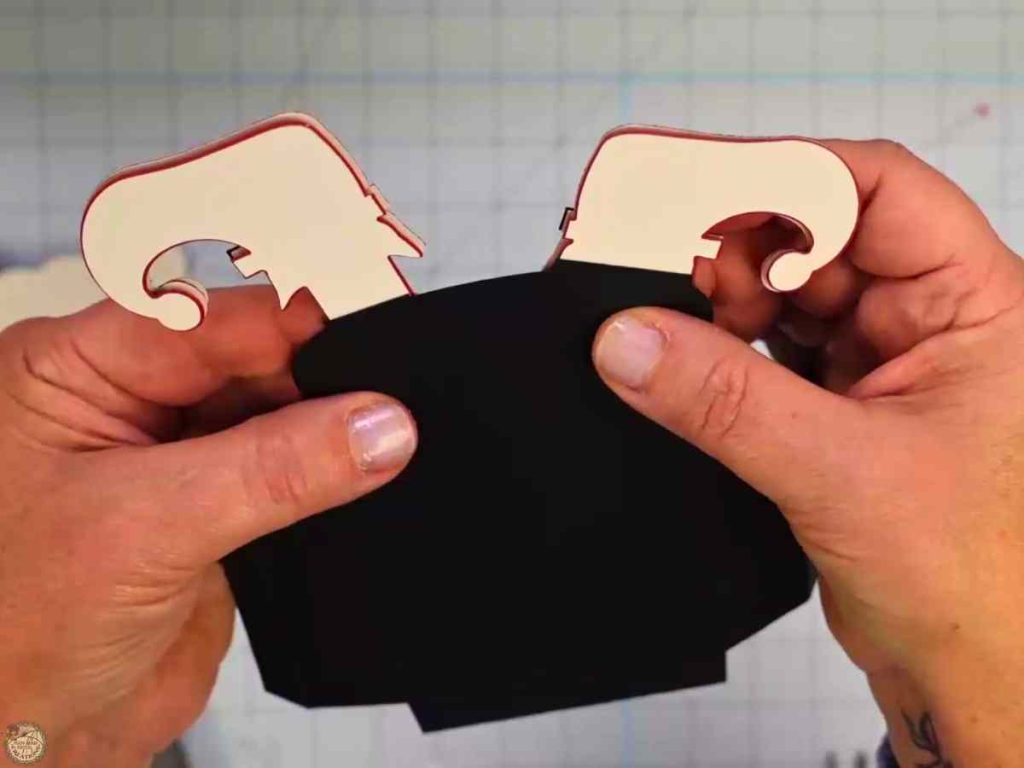
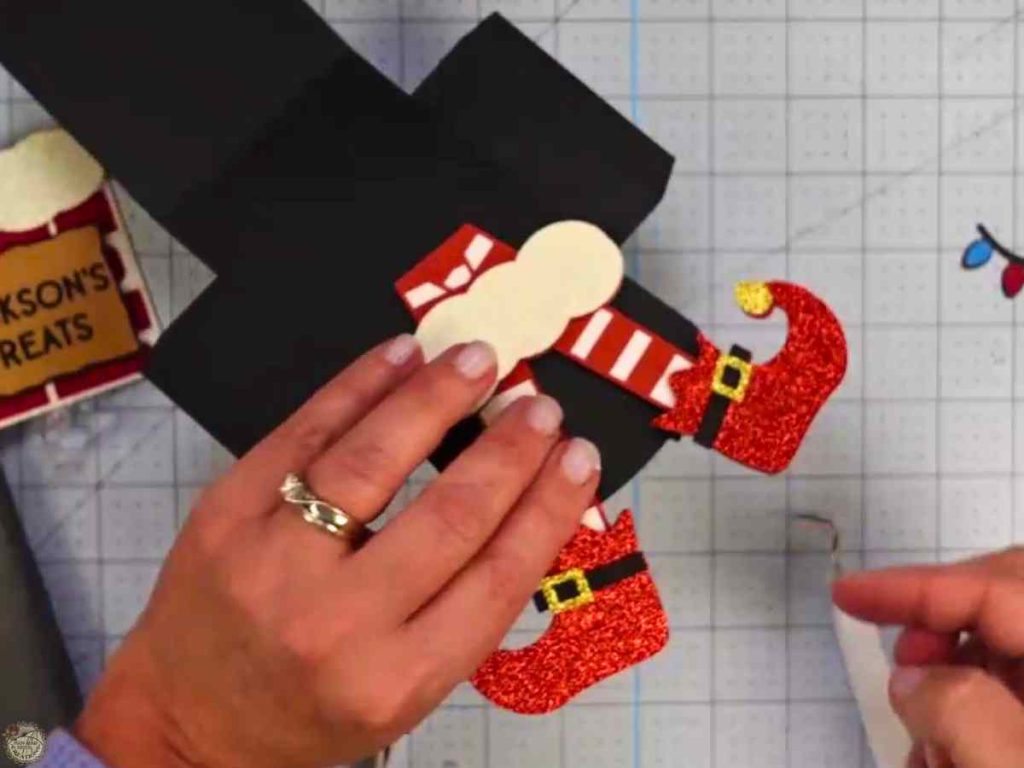
Step 10: Glue the Box Together
Apply glue to the side tabs, then fold the box into shape. Hold it for a moment while it sets. A bone folder inside the box works great for pressing down the seams.
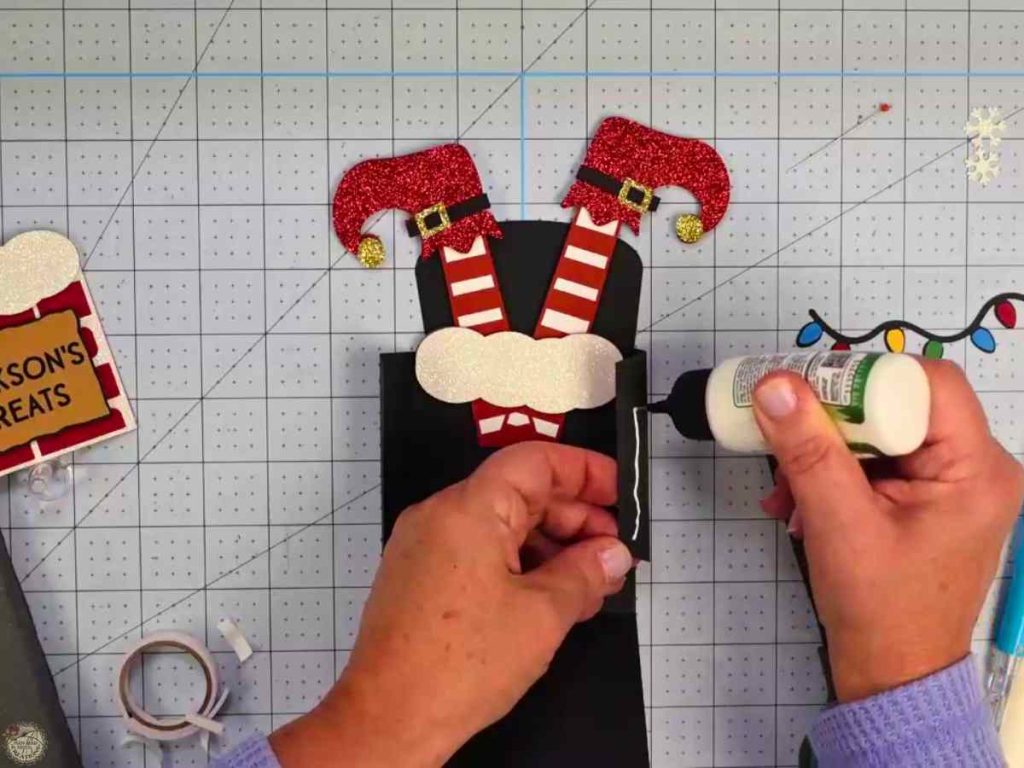
Step 11: Attach the Legs and Sign
Add foam tape and a little glue to the back of the sign, then center it on the front of the chimney. Press it down and let it dry.
Step 12: Adding the Finishing Touches
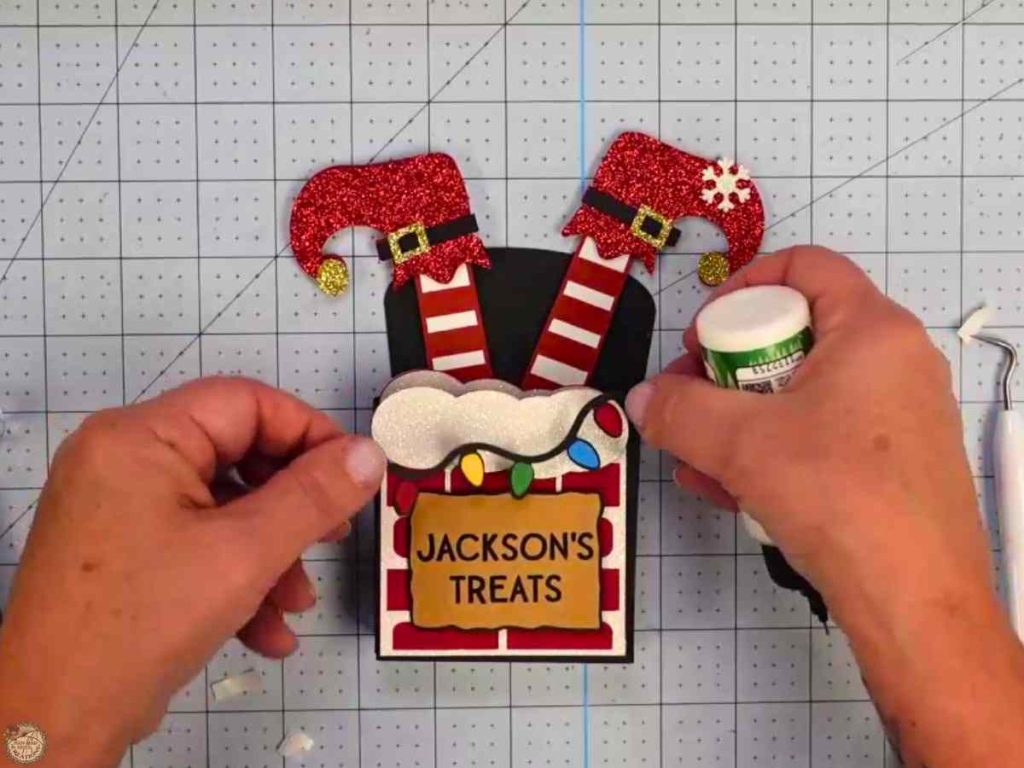
Glue the light strand in place and place the snowflakes wherever you like. This is the fun part, just scatter them around until it feels festive and cute.
Customizing Your Christmas Treat Box
Here are a few of the different Christmas treat boxes I made using the free SVG. You can change the colors, pick your favorite glitter cardstock, or personalize the sign with any name or phrase. You can find the font I used here.
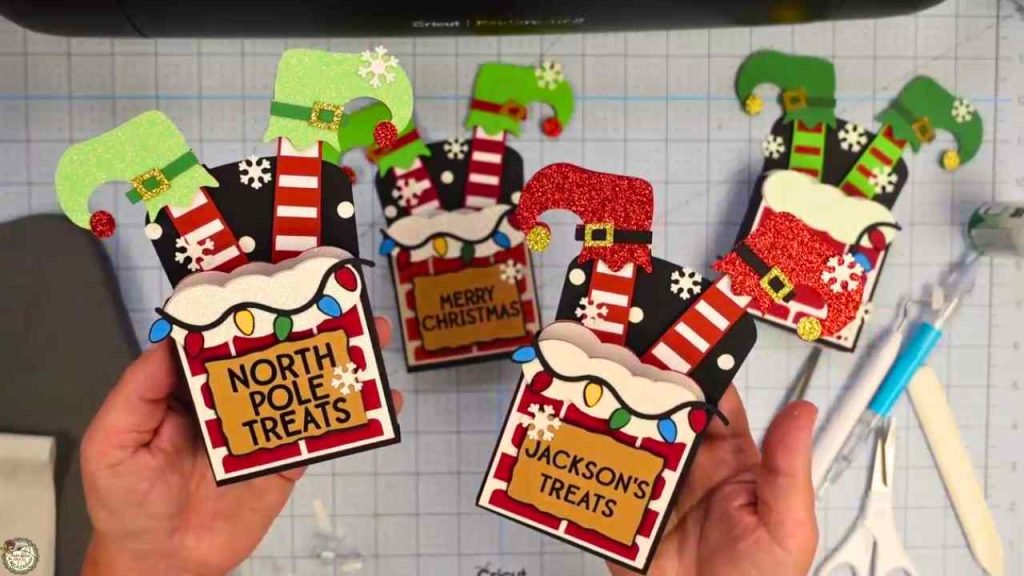
It’s easy to give each box its own look, and the little elf legs make every version extra fun. These are great for teachers, coworkers, stocking stuffers, or anyone who needs a little handmade holiday cheer.
Love This Style? Try the Witch Feet Treat Box Too
If you enjoyed making this cute elf treat box, you’ll love the Witch Feet version. I designed the elf treat box in the same style as this Halloween treat box. It’s another free SVG with a full step-by-step tutorial. Go ahead and grab it, or pin it now so it’s easy to find when Halloween crafting season rolls around!

Video Tutorial – How to Make Christmas Treat Boxes
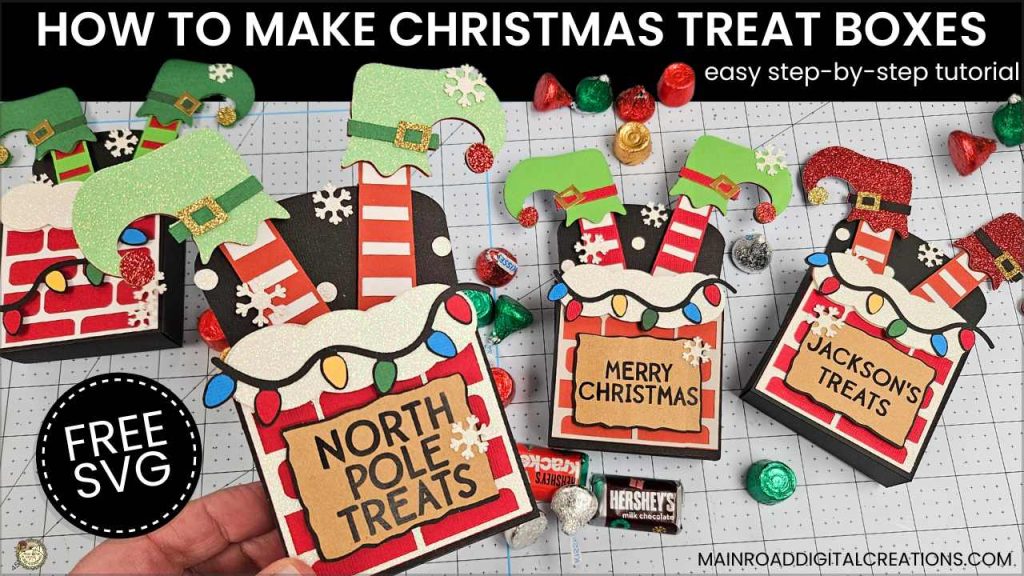
Check out the full step-by-step video tutorial below to see how to make your own Christmas elf treat box. It’s a fun and beginner-friendly project you can put together quickly with cardstock and a little HTV. If you’re making these for teachers, coworkers, stocking stuffers, or holiday party favors, this video walks you through each step so you can craft along with me.
Share your Creations
I can’t wait to see how you use this design in your projects! Be sure to share your creations in our Facebook group.

I’m excited to see what you’ll make with this week’s Free SVG! I’d be thrilled if you joined our Facebook group to share your projects. Come be a part of our crafting community, where you can showcase your work, connect with fellow crafters, and find even more inspiration. Let’s celebrate the joy of crafting together!
All of the Free Files on my website are for Personal and Commercial use. Check out my Terms of Use (TOU) here.
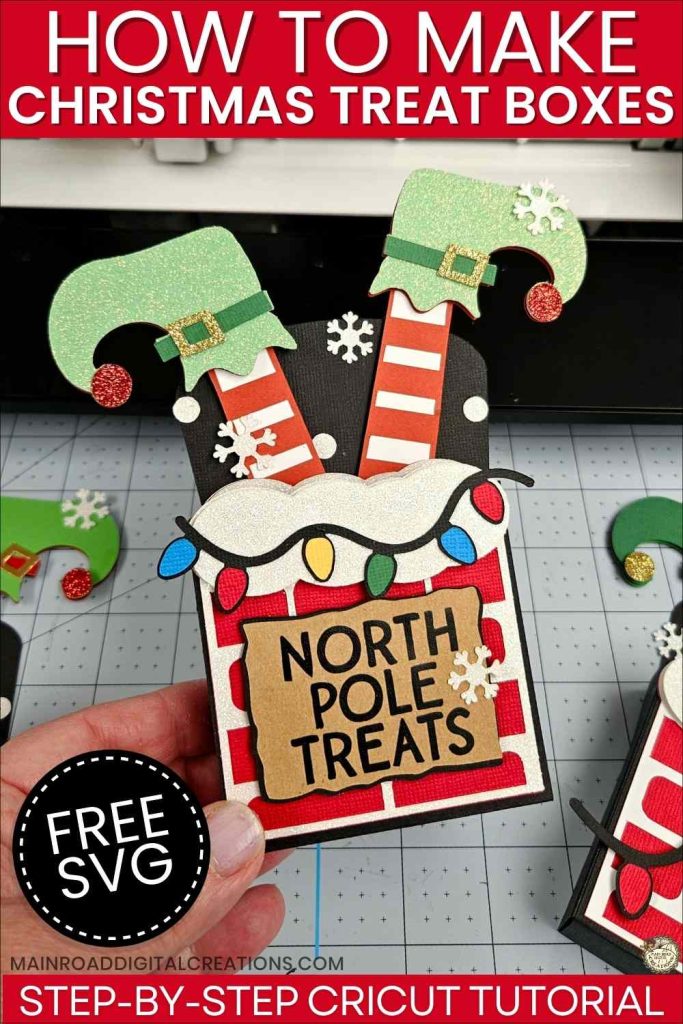
I’d love it if you could take a moment to pin the Free SVG image above to Pinterest. By sharing, you’re helping my business grow, which allows me to keep bringing you the free SVG files you adore. Thanks a bunch for your support. It means the world to me!
Here’s where you can find your Free SVG download!
Design #266 -Elf North Pole Treats Box-Christmas Treat Box SVG is available in my freebie library. To get the Password, click the button below and Join our Freebie Club!
If you enjoyed this week’s Free Christmas SVG & Cricut Tutorial, here’s another you will love!

Check out my shop for fun and creative designs!
Join the Creative Fabrica Membership

Fonts, designs, and so much crafty goodness! Over 16 million digital files are waiting! In partnership with Main Road Digital Creations, your first 10 downloads are totally free. After that? It’s just $47 a year (yep, that’s $3.99/month) with full commercial and POD use included. Sign up for Free!