
Free Snowman Ornament SVG: Easy Cricut Tutorial
Create Personalized Snowman Ornaments with This Free SVG
This post may contain affiliate links. As an Amazon Associate, I earn from qualifying purchases. Please see my privacy policy for full details.
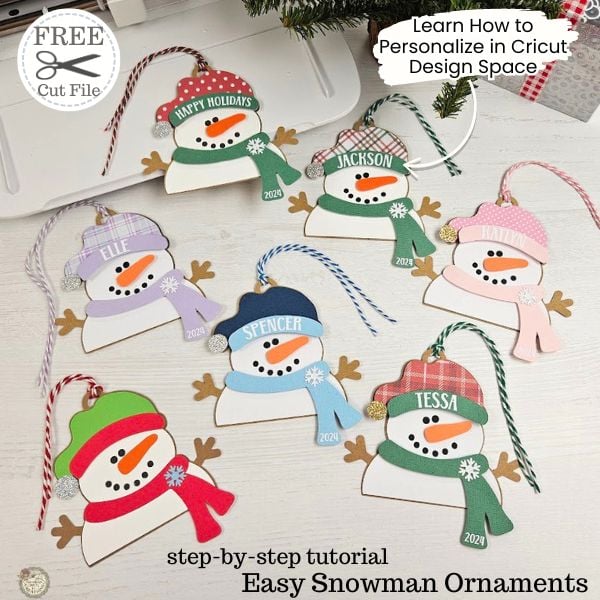
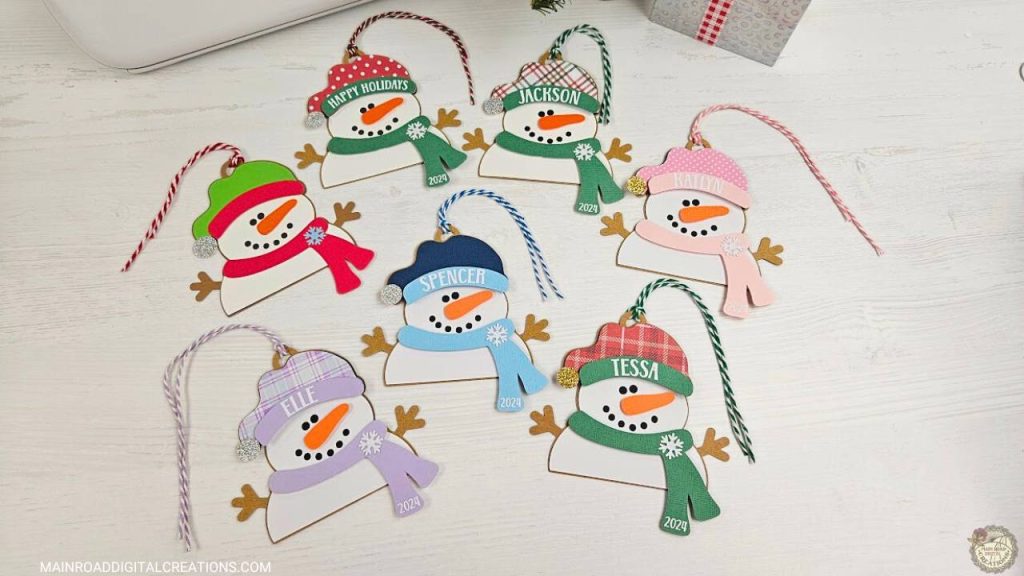
With the holiday season fast approaching, it’s time to get crafting with this free snowman ornament SVG file! These adorable snowman ornaments are perfect for personalizing with a name or date, and you can easily make them using your Cricut machine. Whether you’re decorating your tree or adding a personal touch to gifts, this easy step-by-step tutorial will guide you through making the cutest snowmen using cardstock and HTV.
What You’ll Need for Your Snowman Ornament
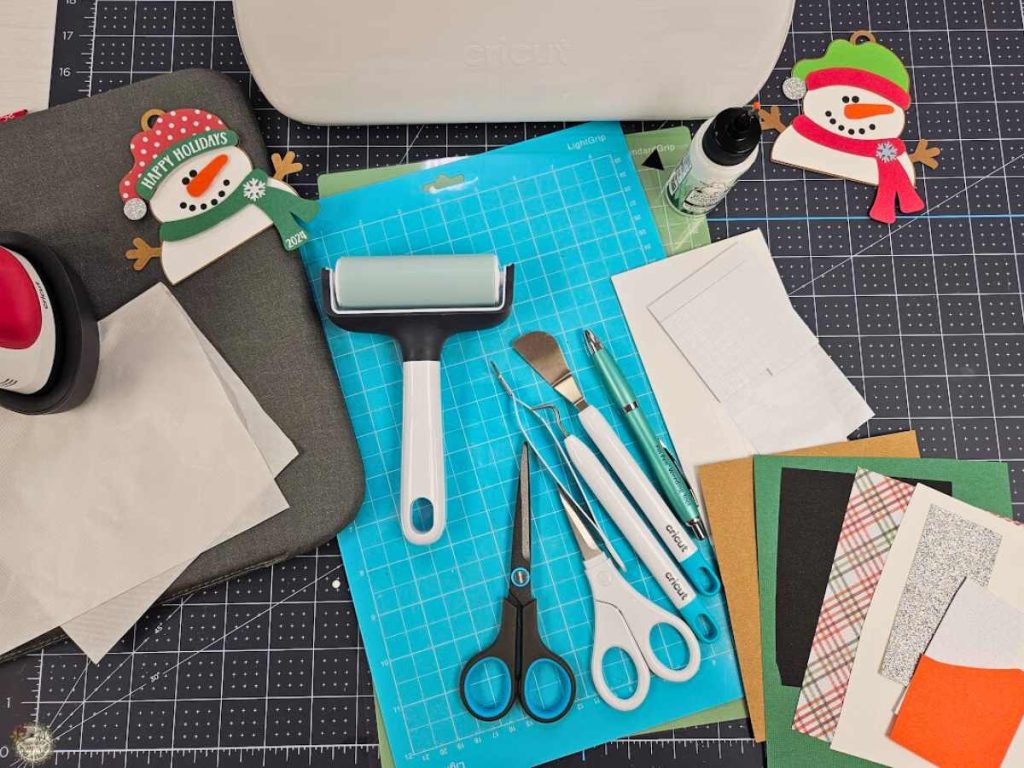
- Cricut – I used my Cricut Joy X-tra
- Light Grip/Standard Grip Mats
- Cardstock in various colors
- Heat Transfer Vinyl (HTV)
- Brayer
- Weeding Tools
- Teflon Coated Scissors
What’s that font?
The font I used for this week’s free SVG and to personalize my snowman ornament in Cricut Design Space is called *My Sweet Inspiration. *This font is free at the time of this blog post.

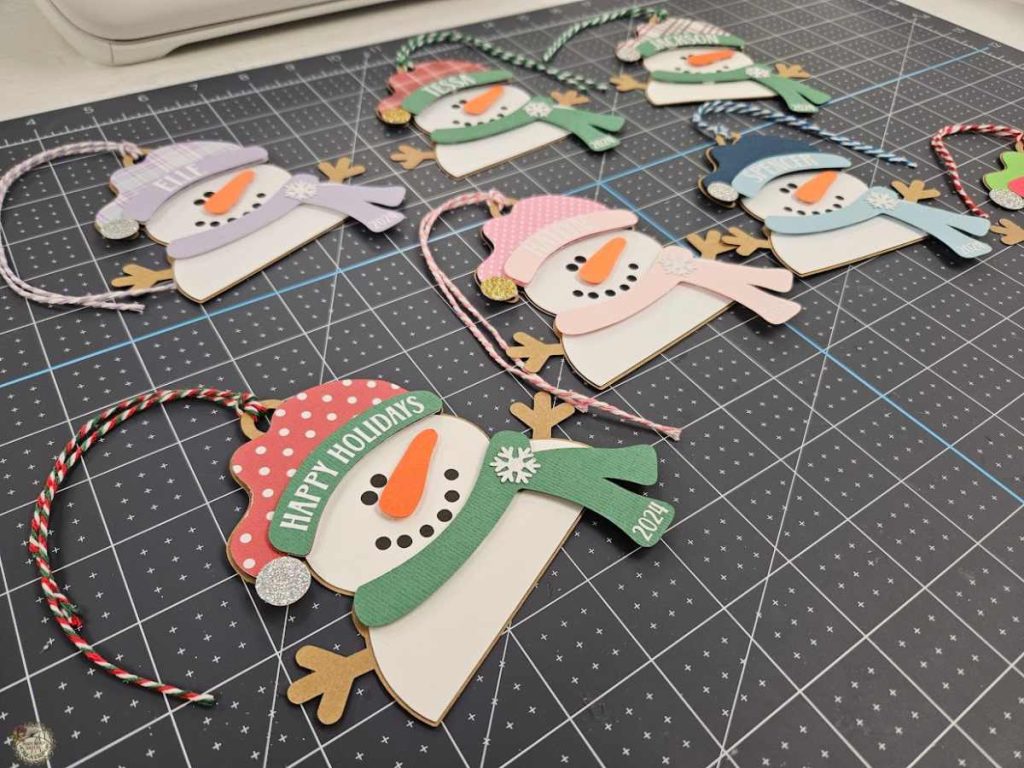
How to Make Snowman Ornaments with Your Cricut
Here’s a quick overview of how to create these adorable snowman ornaments, perfect for personalizing with names or dates. Follow the video tutorial below for step-by-step guidance.
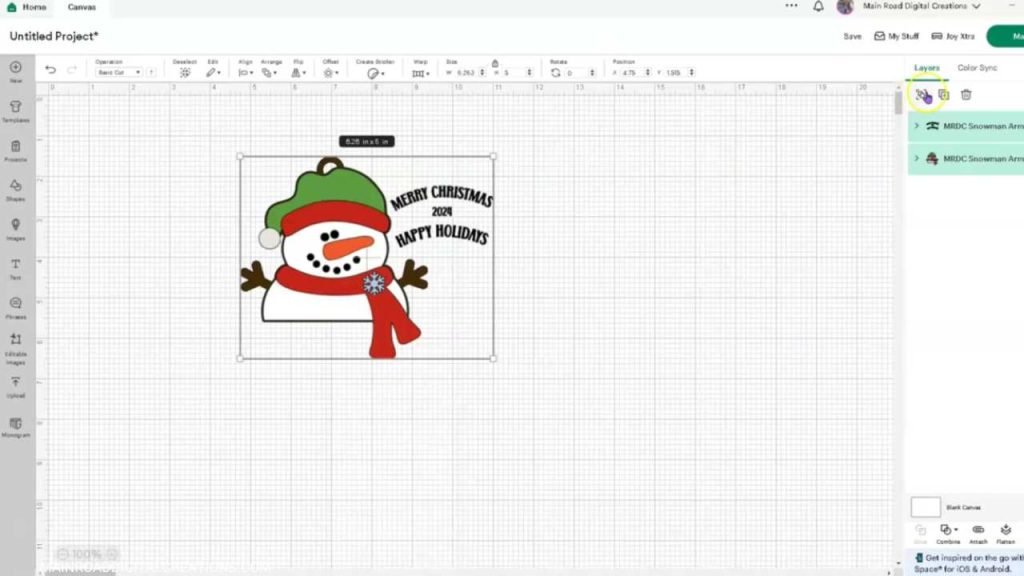
- Upload the Snowman SVG: Start by uploading the free snowman ornament SVG to Cricut Design Space.
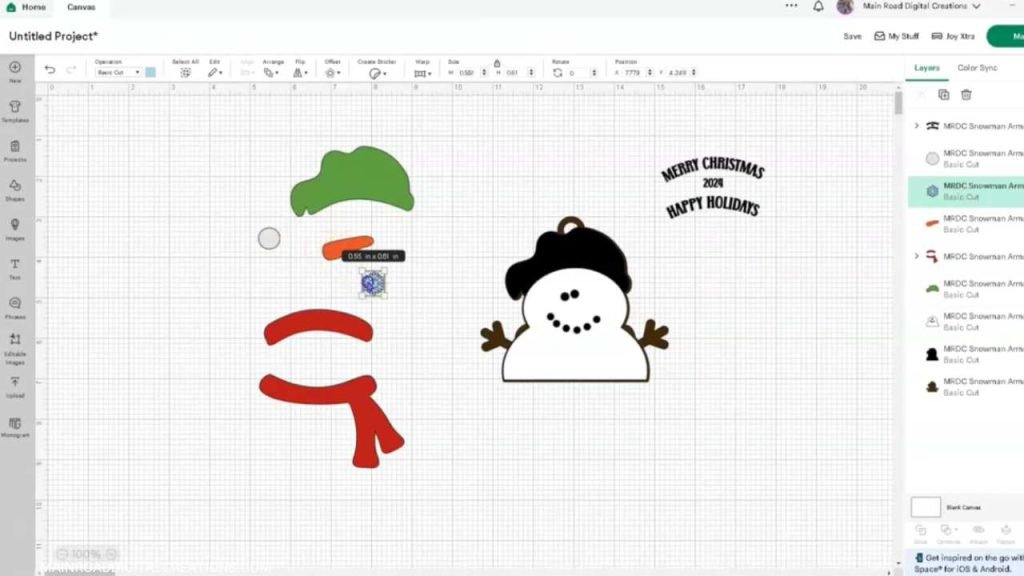
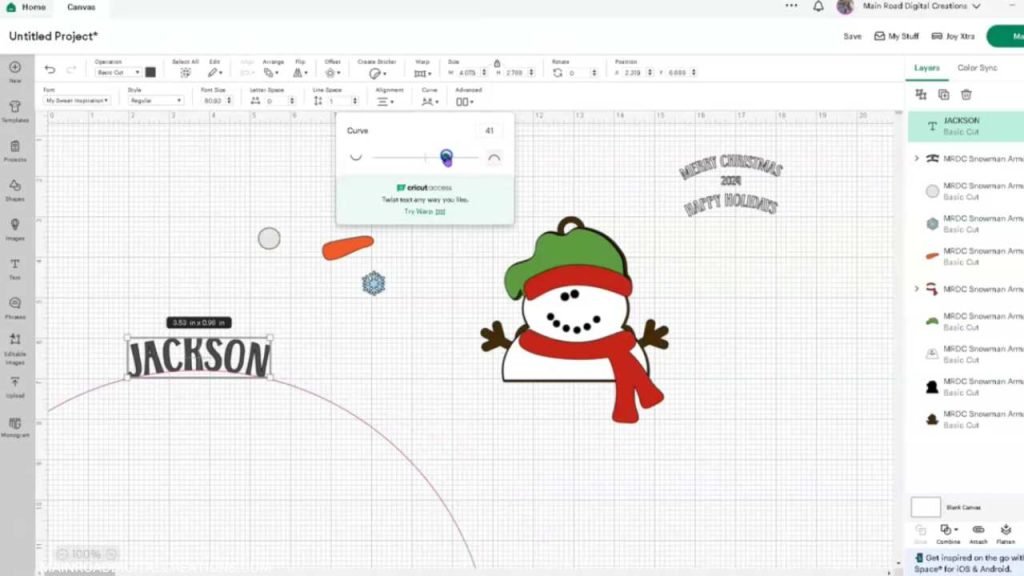
2. Customize Your Design: Ungroup the layers to adjust colors or add personalized text to the snowman’s hat. To make each ornament unique, add a name or year. In the video tutorial, I’ll show you exactly how to personalize your ornament with a name!
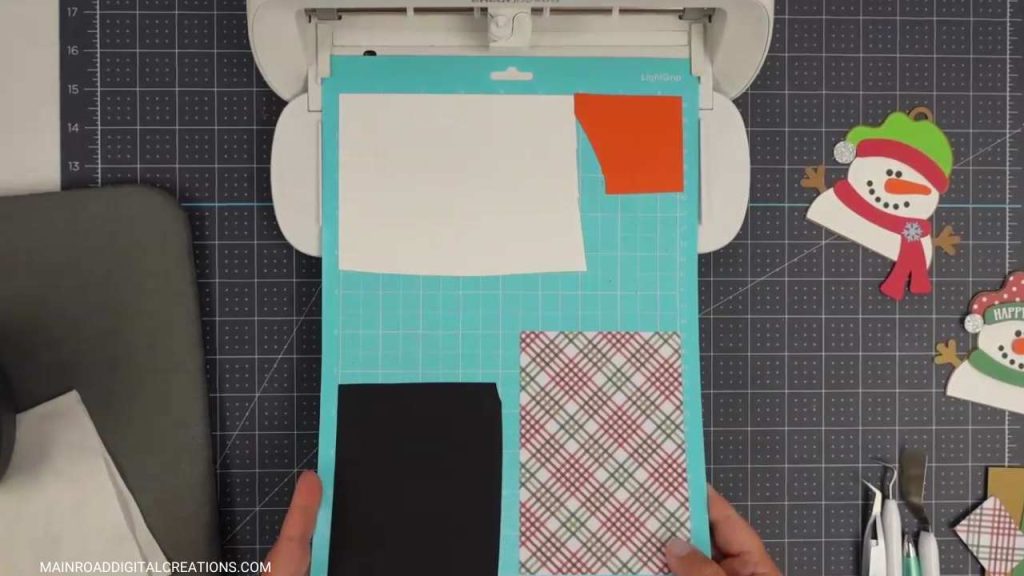
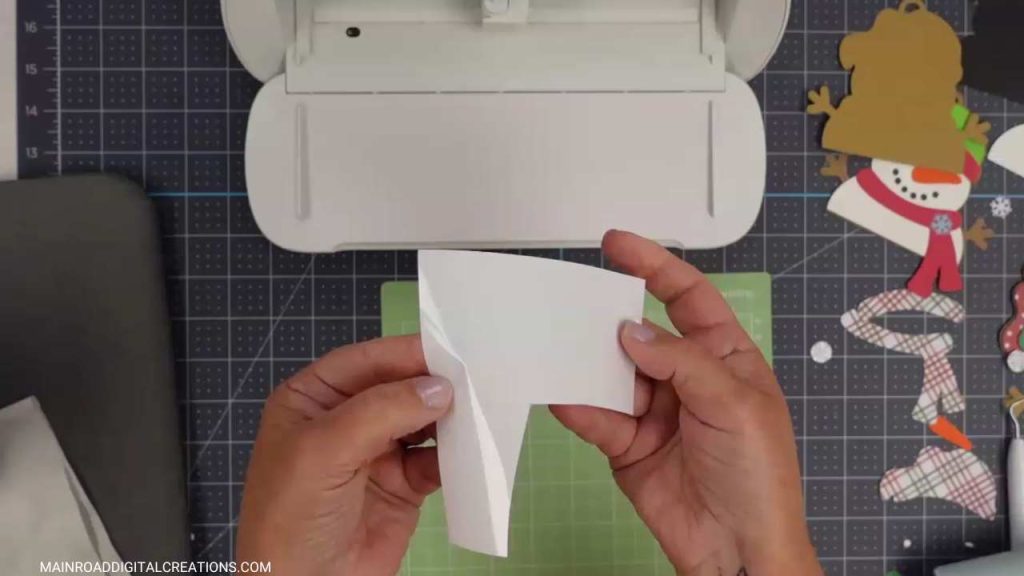
3. Cut the Layers: Once you’ve arranged your design, cut the layers from your chosen cardstock colors. Remember to mirror any HTV layers for names or dates.
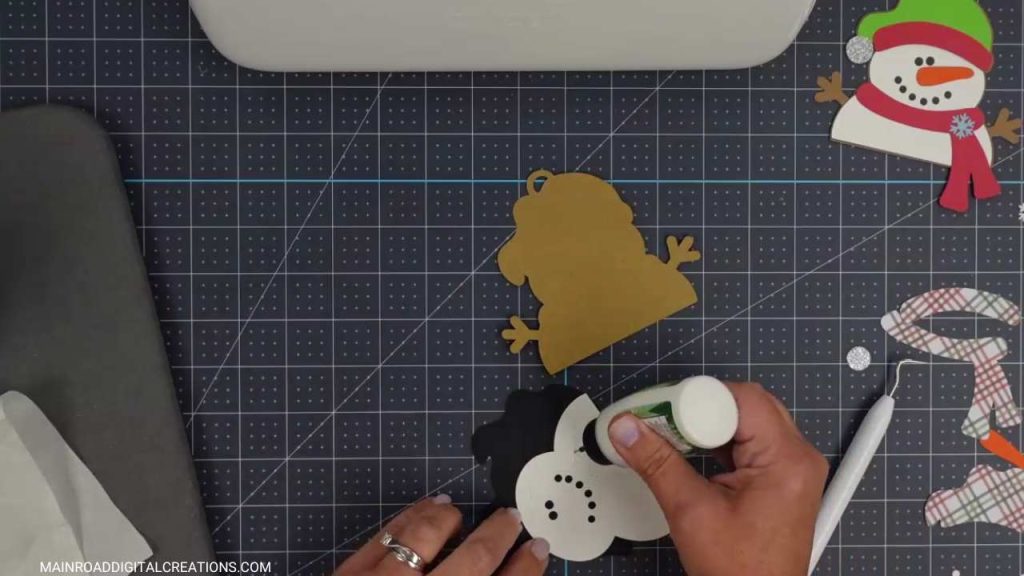
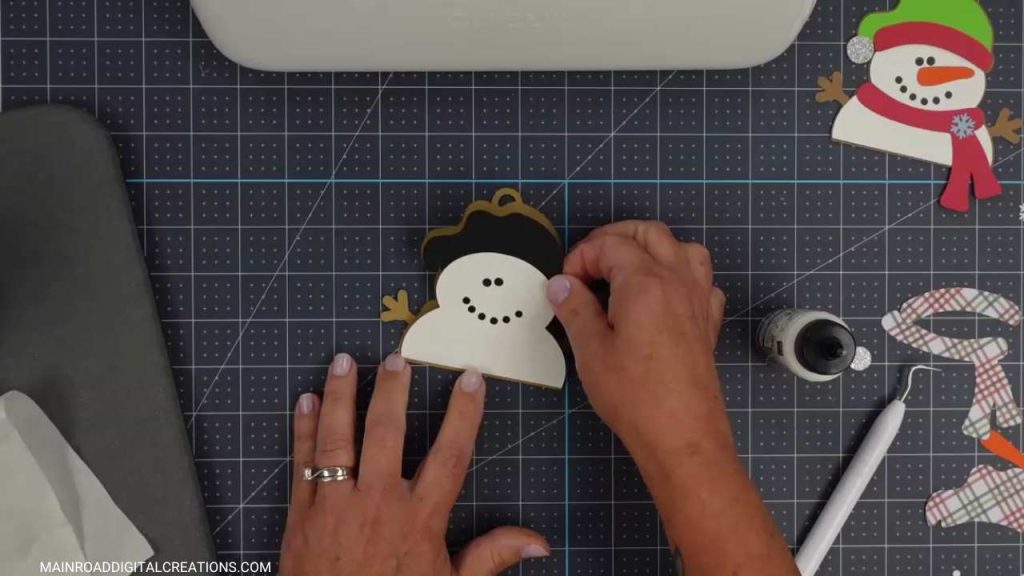
4. Assemble the Snowman Base: Glue the first pieces together, including the snowman’s body and base layers.
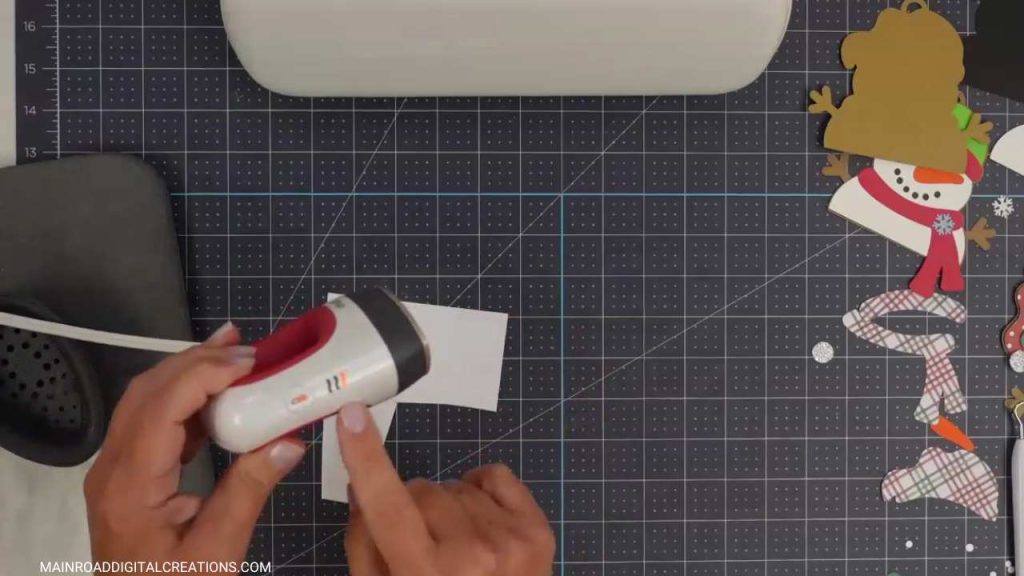
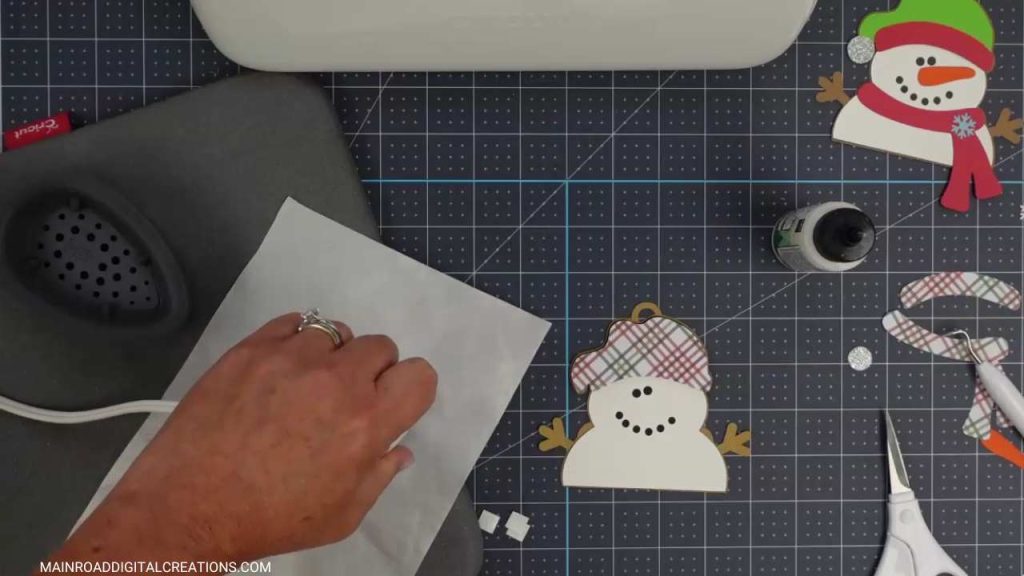
5. Apply HTV to the Hat: Use your mini EasyPress to adhere the HTV (names or dates) to the hat and scarf before assembling the snowman. Make sure to apply the HTV while the hat is separate from the snowman body.
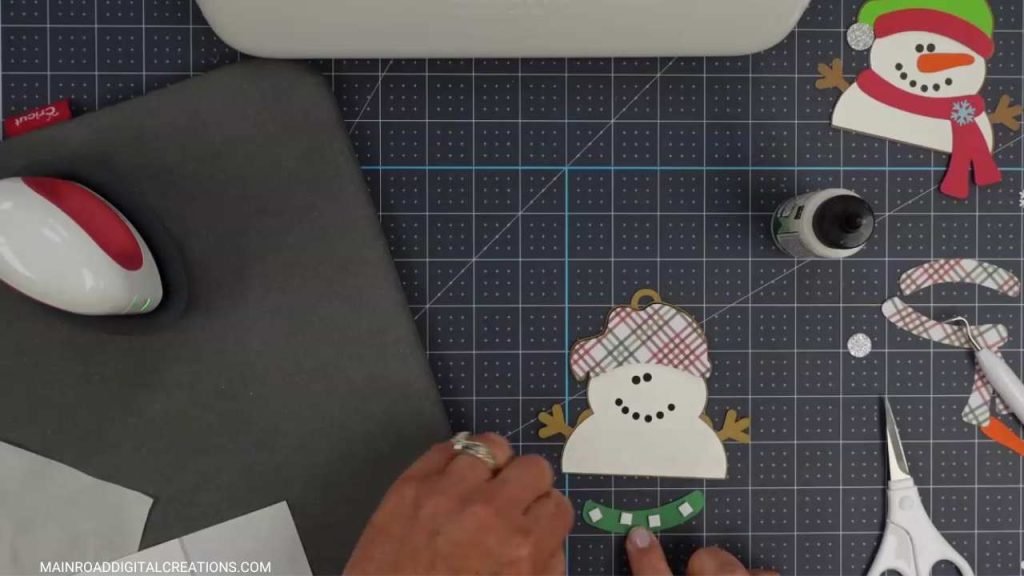
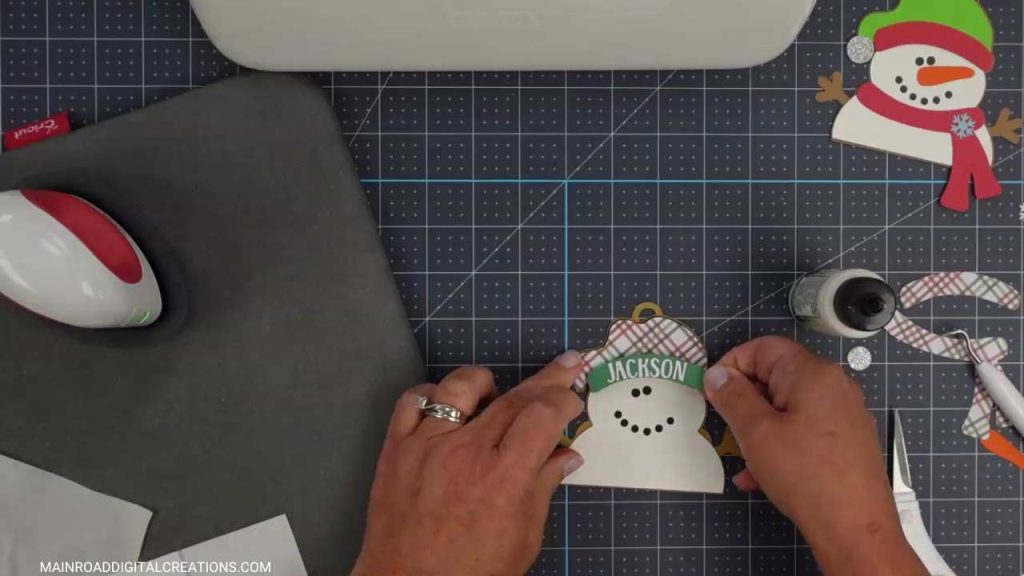
6. Finish Assembly: After applying the HTV, glue the hat brim and scarf onto the snowman, and optionally use foam squares to add dimension between layers.
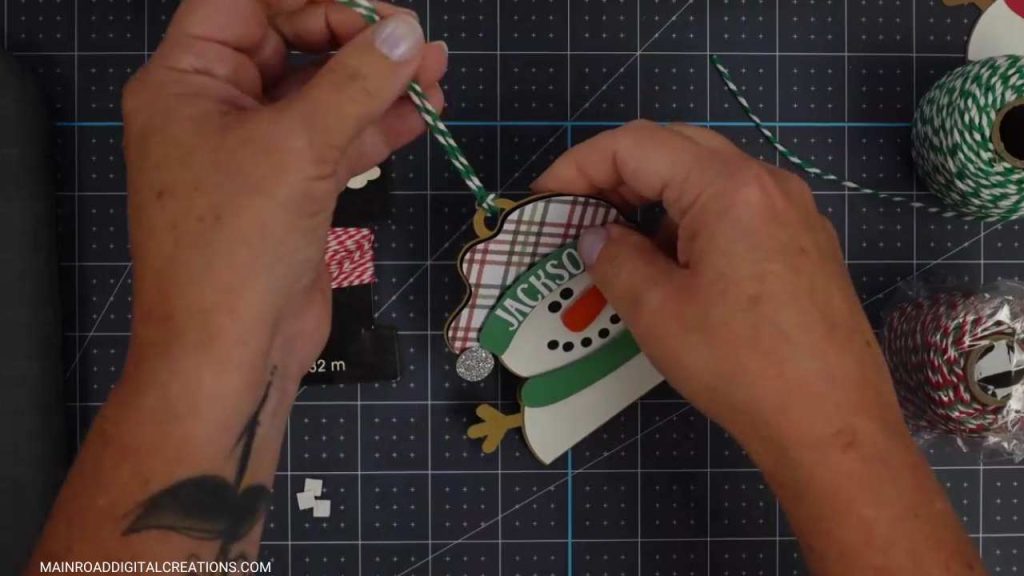
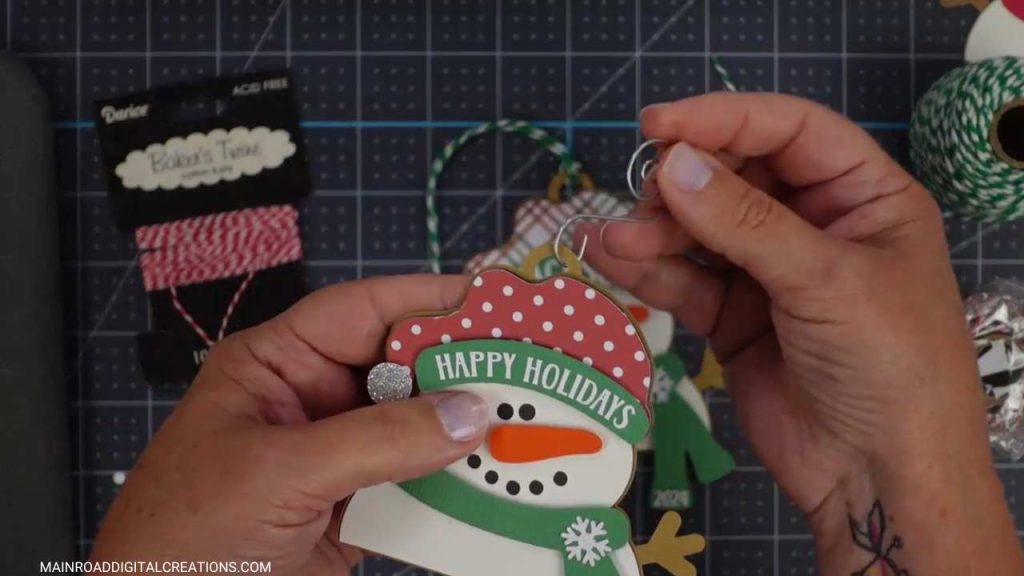
7. Add Finishing Touches: Attach a string, baker’s twine, or ribbon for hanging. For a different look, you can even use wire hangers.
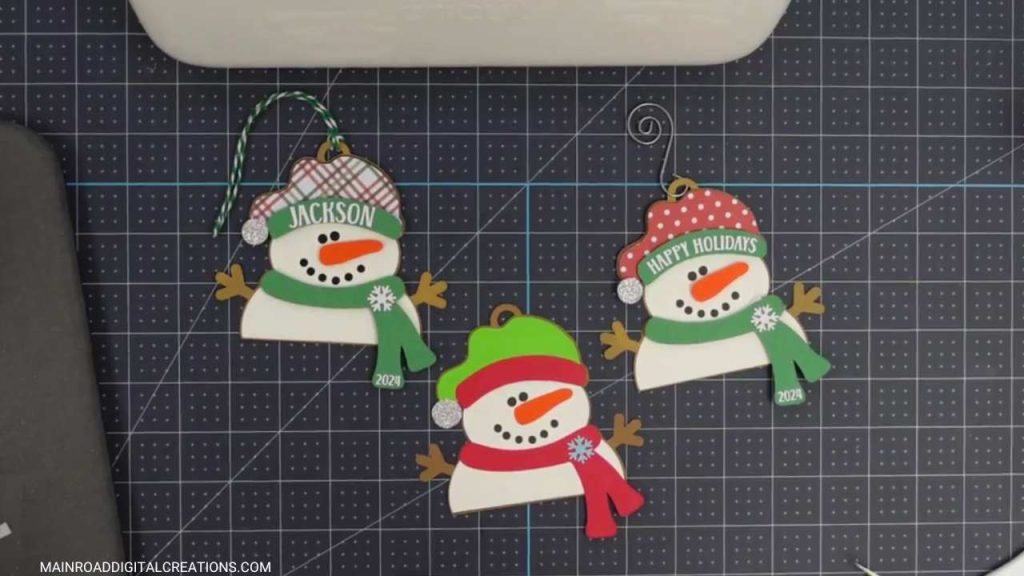
The free snowman ornament SVG comes with pre-designed “Happy Holidays,” “Merry Christmas,” and “2024” text, but you can personalize it in Cricut Design Space by adding names or dates.
Video Tutorial -DIY Snowman Ornament
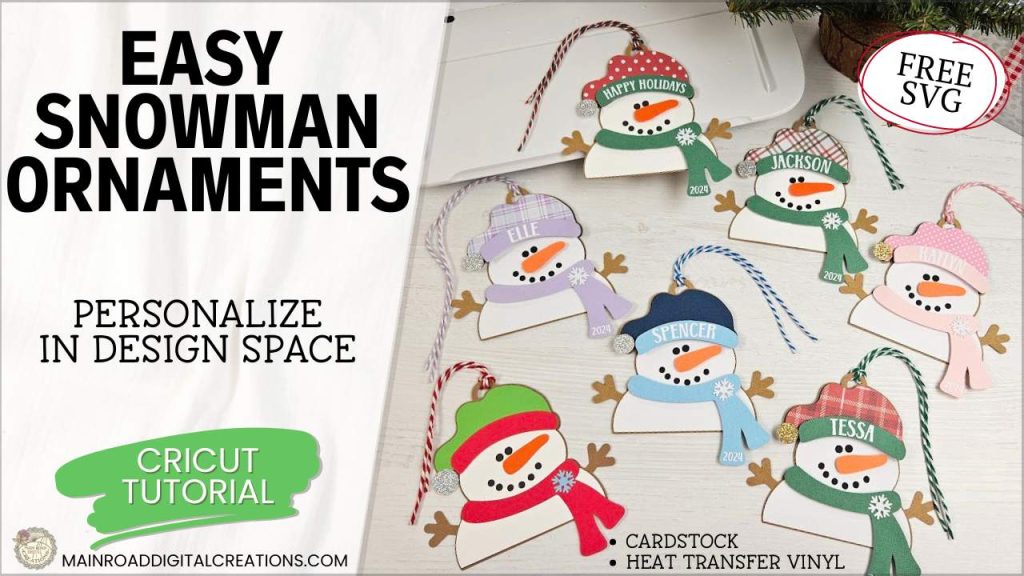
Check out the full step-by-step video tutorial below to see how to create your own snowman ornaments. Whether you’re making these snowmen for family or friends or even as cute gift tags, this video will guide you through every step of the process.
Cardstock Snowman Ornaments!
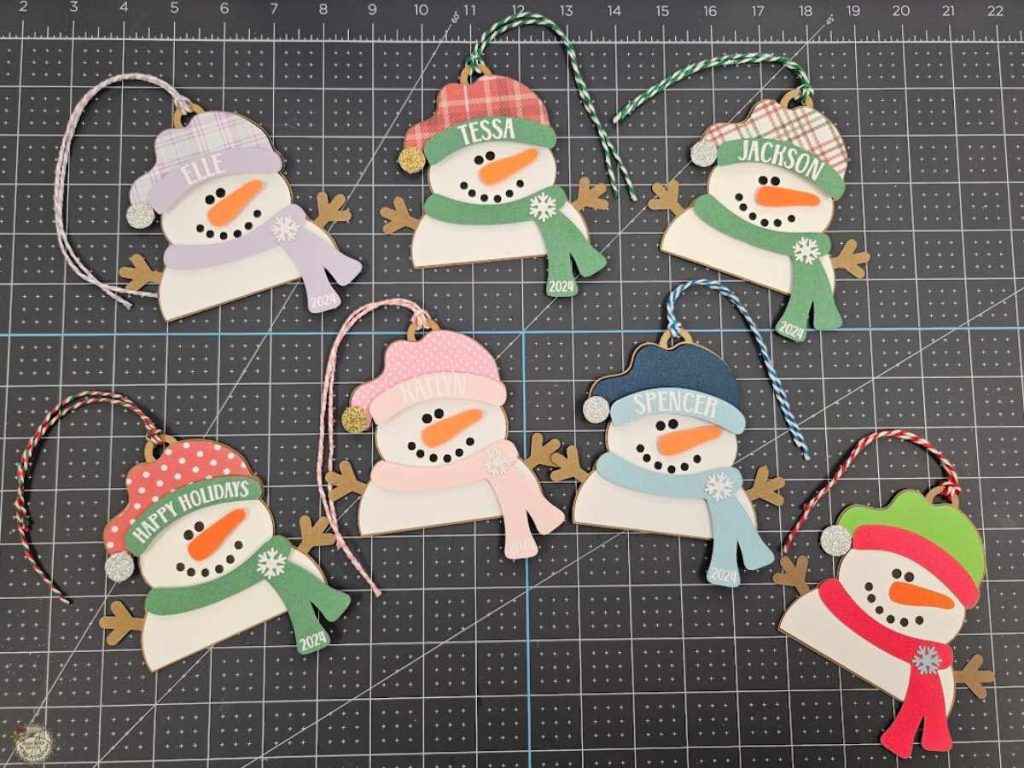
These snowman ornaments are quick and easy to make, perfect for adding a personal touch to your holiday decorations or gifts. What color combinations will you use? Remember to come to the Facebook group and show off your finished projects—I love seeing what you make!
All of the Free Files on my website are for Personal and Commercial use. Check out my Terms of Use (TOU) here.
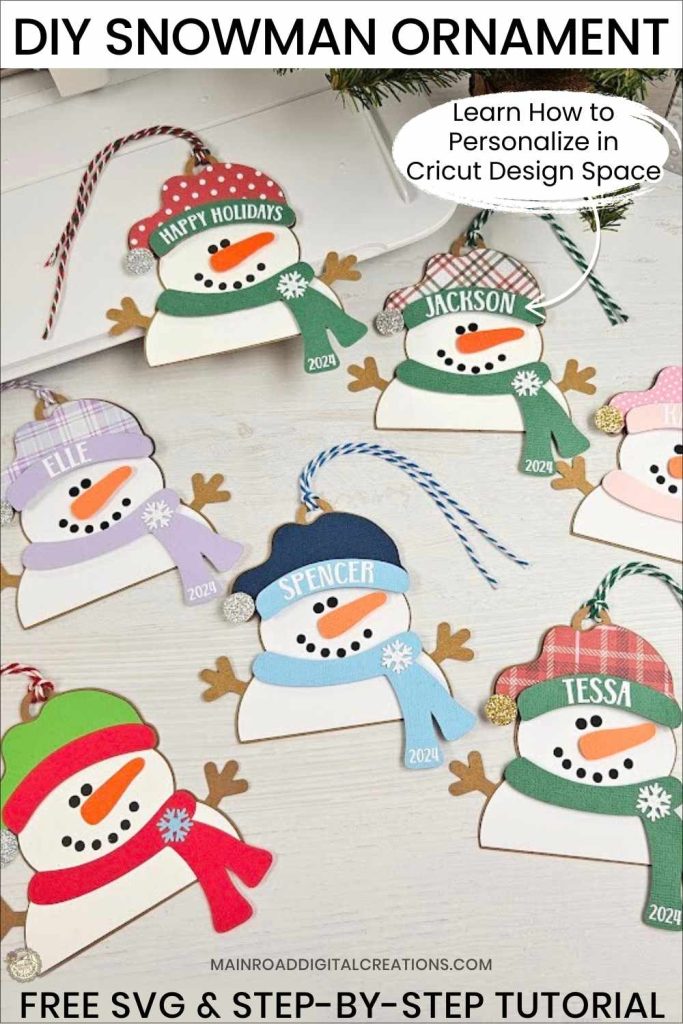
I’d love it if you could take a moment to pin the Free SVG image above to Pinterest. By sharing, you’re helping my business grow, which allows me to keep bringing you the free SVG files you adore. Thanks a bunch for your support. It means the world to me!
Here’s where you can find your Free SVG download!
Design #222—Snowman Ornament with Arms SVG is available in my freebie library. To get the Password, click the button below and Join our Freebie Club!
If you enjoyed this week’s Free SVG & Cricut tutorial, here’s another you will love!

Check out My Shop
If my freebies have sparked your creativity, head over to my shop for even more SVGs to craft with. These are just a few of the designs waiting for you. Thank you for supporting my small business!



Join the Creative Fabrica Membership

Fonts, designs, and so much crafty goodness! Over 16 million digital files are waiting! In partnership with Main Road Digital Creations, your first 10 downloads are totally free. After that? It’s just $47 a year (yep, that’s $3.99/month) with full commercial and POD use included. Sign up for Free!
I cant seem to find the link to actually download this.
Can you help?
Hi Karen! The download is in the freebie library https://mainroaddigitalcreations.com/free-library/
Scroll to find the image of the design. (#222) There are 2 buttons under the image. One says Download and the other says Blog Post. Click the download button and tje file will automatically download to your computer.
Hope that helps 😊
Hi Tracy,
First, I have to tell you I love your designs. I recently made your scraw crow, witch and skeleton candy holders for friends and they were a big hit!
I just finished watching your tutorial on the xTool M2. I am hoping to get one soon.
Last year I made your snowman ornaments #222, for my grandson’s play group. I was wondering if the xTool M2 could cut those in wood?
Sincerely,
Barbara
Hi Barbara! Thank you so much for your sweet comment! I’m so happy to hear you’ve been enjoying my designs, and I’m glad the candy holders were such a hit!
And yes, absolutely! You can cut those snowman ornaments from wood using the xTool M2! You can use the same SVG file and cut the pieces from thin basswood instead of cardstock. You could even paint the pieces or use colored MDF for some of the layers!
I’m actually working on another xTool M2 video right now, showing several easy projects using the laser cutter, engraver, and color printer. I’ve had so much fun learning what this machine can do, and I think you’ll love all the possibilities!
Thanks again for your kind words! 😊