
Free Valentine Monster SVG | DIY Photo Holder Cricut Craft
DIY Valentine Monster Photo Holder
This post may contain affiliate links. As an Amazon Associate, I earn from qualifying purchases. Please see my privacy policy for full details.
The laminator used in this project was gifted to me by QFUN. All opinions are my own.
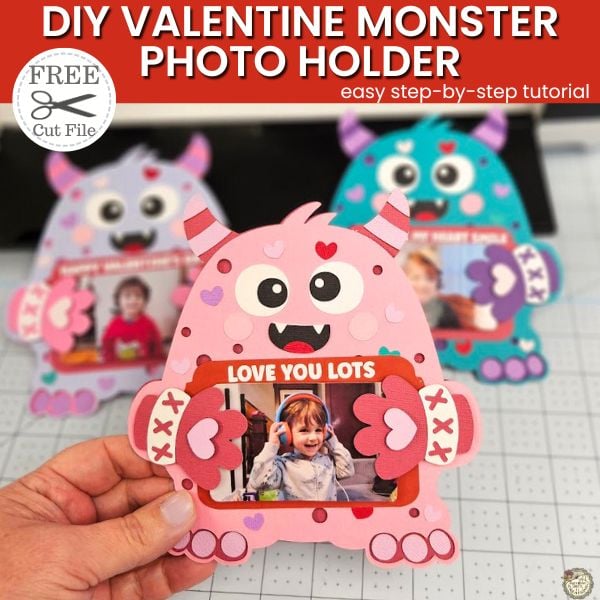
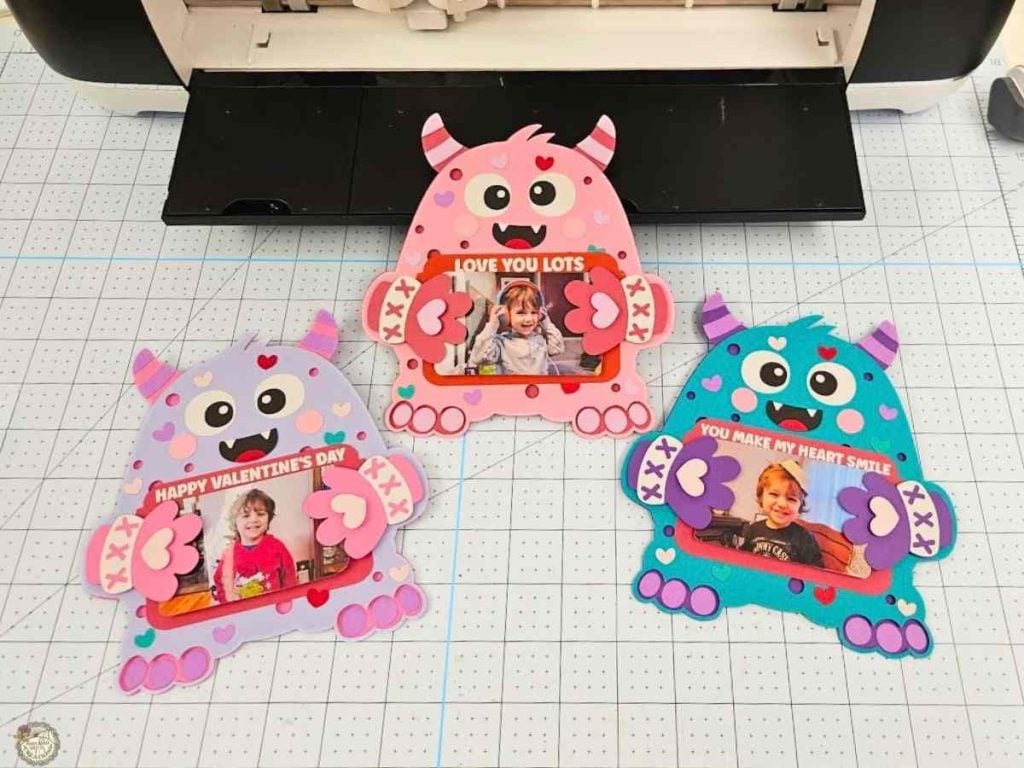
This Valentine monster photo holder is a sweet way to turn a favorite picture into a keepsake you can gift, display, or even turn into a magnet. I designed this project to work as both a photo holder and a gift card holder, so you can choose how you want to use it. It is a fun Cricut paper craft that looks great for Valentine’s Day, but can also be used year-round by swapping out the photo.
Where the Photo Holder Idea Came From
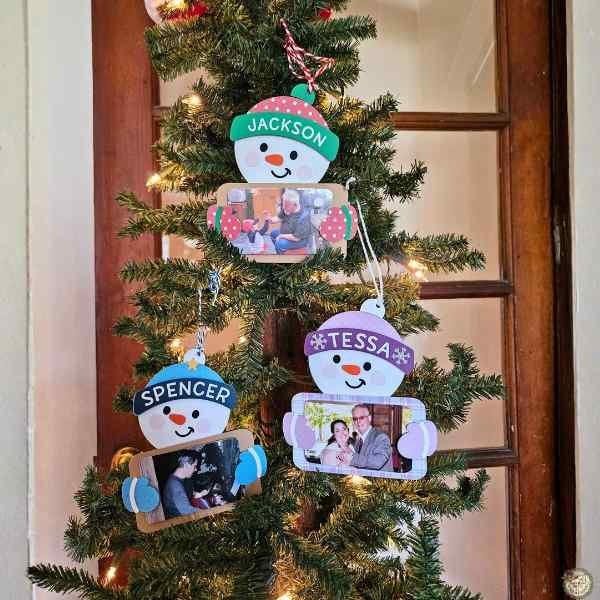
At Christmas, I made these snowman gift card holders, but I didn’t end up using them for gift cards. I had already bought other gifts, so instead I added photos of my kids with their dad, who had recently passed. That moment is what inspired this week’s design.
Easy Valentine’s Day Cricut Papercraft
This week’s Valentine’s Day craft has several steps, but none of them are hard. I walk you through everything in the video tutorial, including how to size and slice your photo in Design Space, laminate it, and assemble the monster.
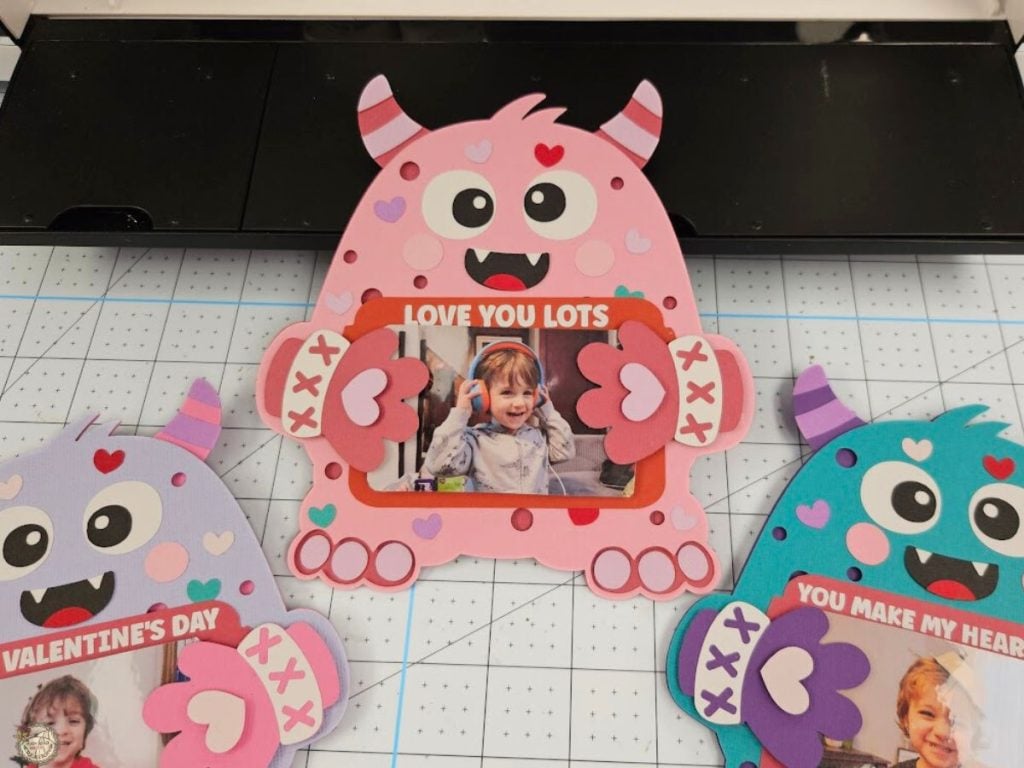
Valentine Monster Photo Holder or a Gift Card Holder
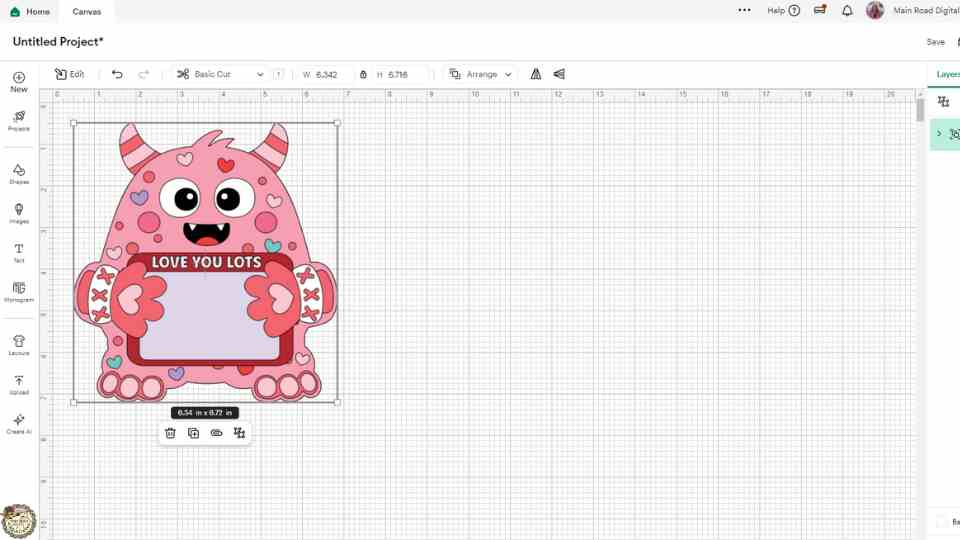
Your free Valentine monster SVG can be used as a photo holder or a gift card holder. In the video tutorial, I show you step by step how to set up both options. Below is a quick look at what the SVG looks like when you upload it into Cricut Design Space.
Make it a Gift Card Holder
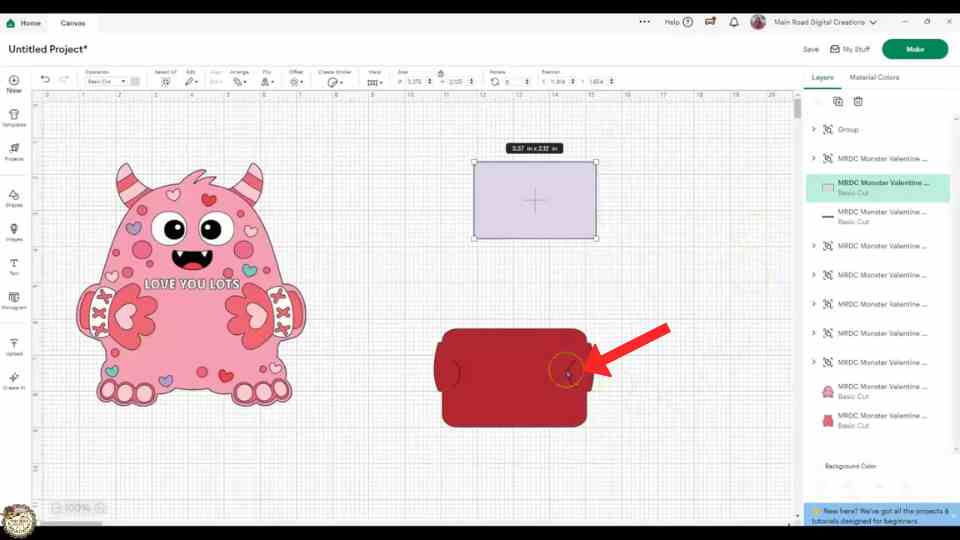
If you want to use your monster as a gift card holder, find the red holder piece in the layers panel and click Attach. This tells your Cricut to cut the slice marks needed to hold the gift card in place.
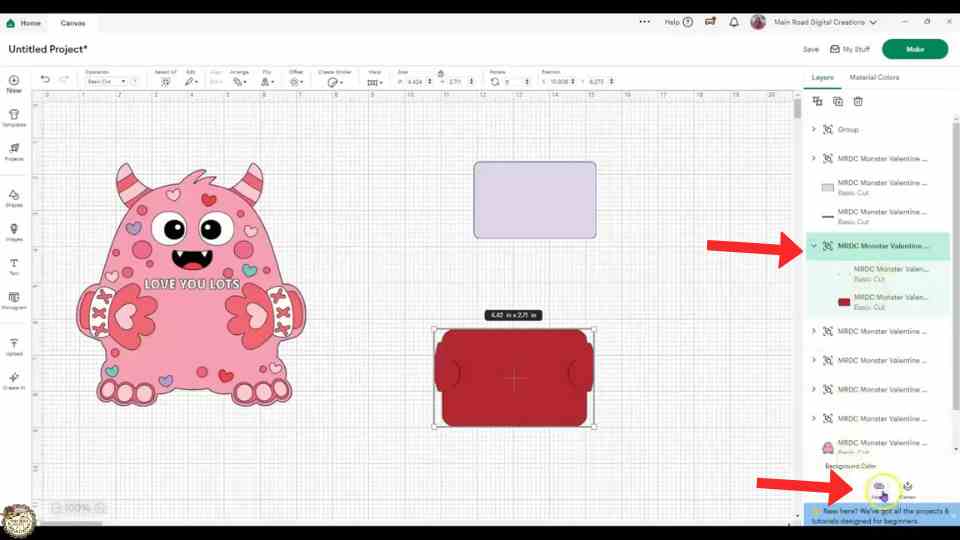
Make it a Photo Holder
In the video tutorial, I show you exactly how to size your photo so it fits perfectly inside the monster. I also take you into Canva to share a couple of easy tricks that help when your photo doesn’t quite crop the way you want.
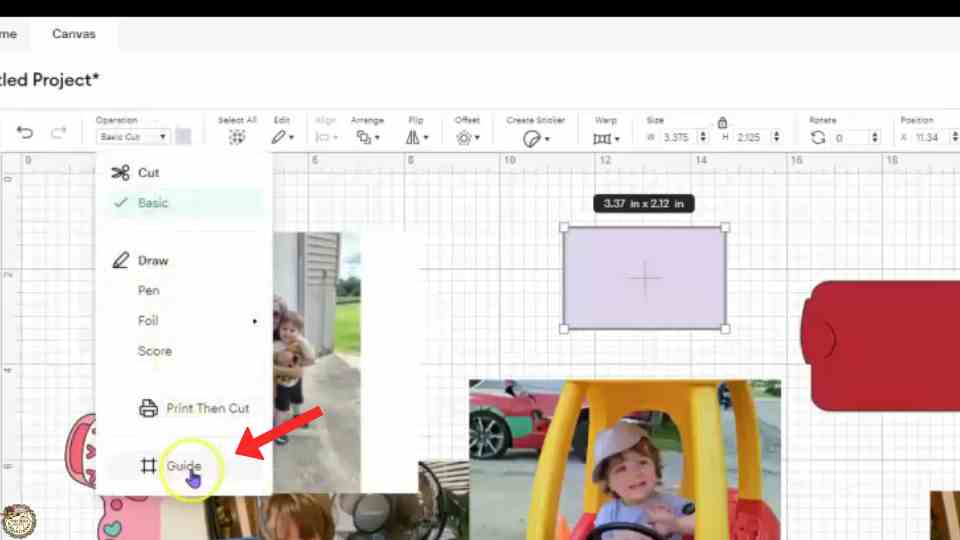
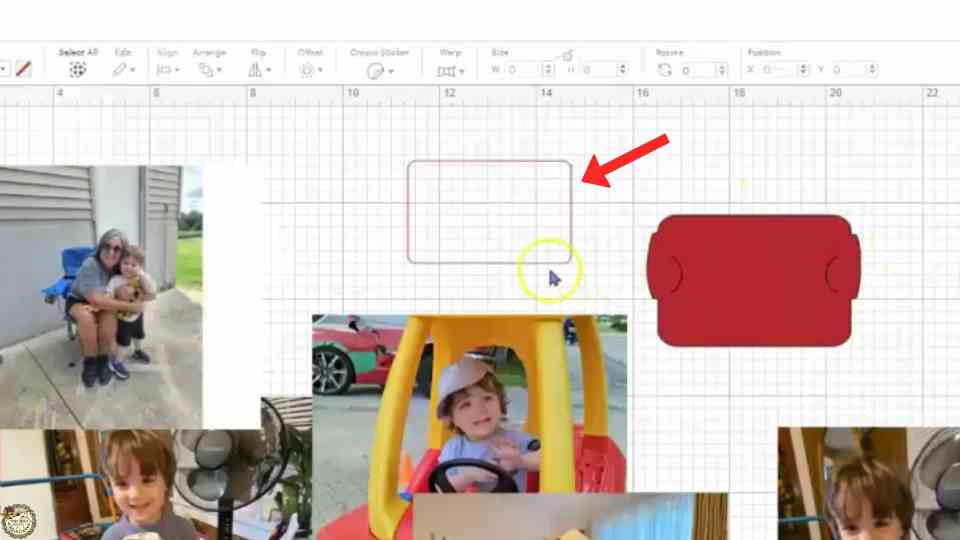
To get started in Cricut Design Space, ungroup your SVG and pull out the purple rectangle. This piece is used as a sizing guide for your photo. Go to the Operations panel at the top of your screen and change it to a guide. This makes it easy to line up your photo, resize it, and slice it to the correct shape before printing.
Using the Slice Feature in Cricut Design Space
Using the guide, place it over your photo and resize your image until it sits where you want it inside the rectangle. When everything looks good, select both the photo and the guide and use the Slice feature to cut your photo to the correct size.
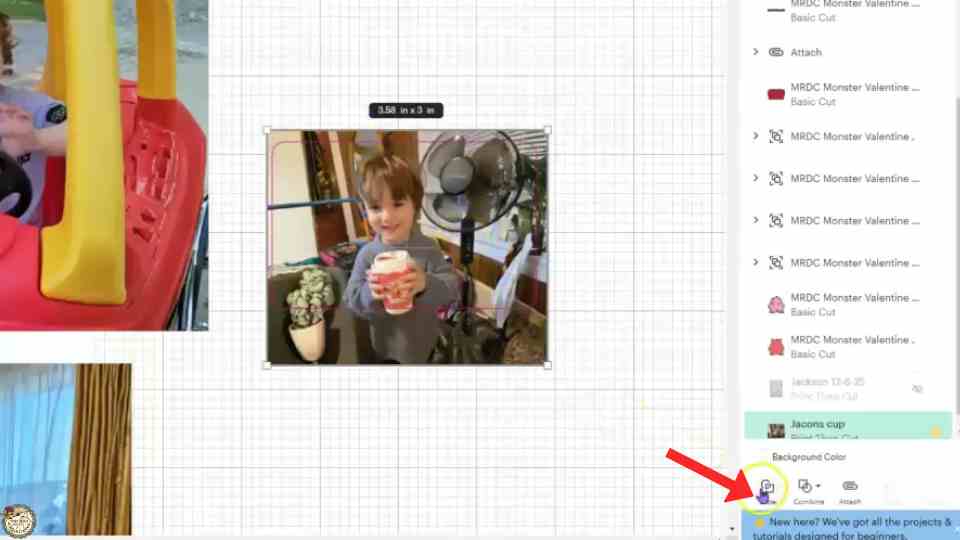
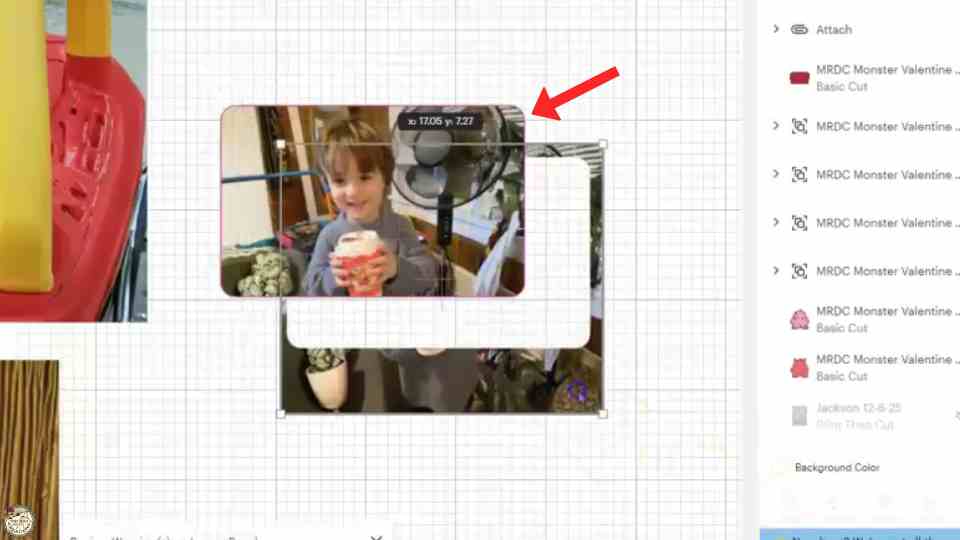
This gives you a perfectly sized photo that fits right into the monster’s hands and makes it easy to laminate and swap out later.
Using the QFUN Laminator
This laminator was gifted to me by QFUN. In the video tutorial, I show you, start to finish, how I use it to laminate the photo we print for the monster to hold. It was easy to use and worked perfectly for this project.
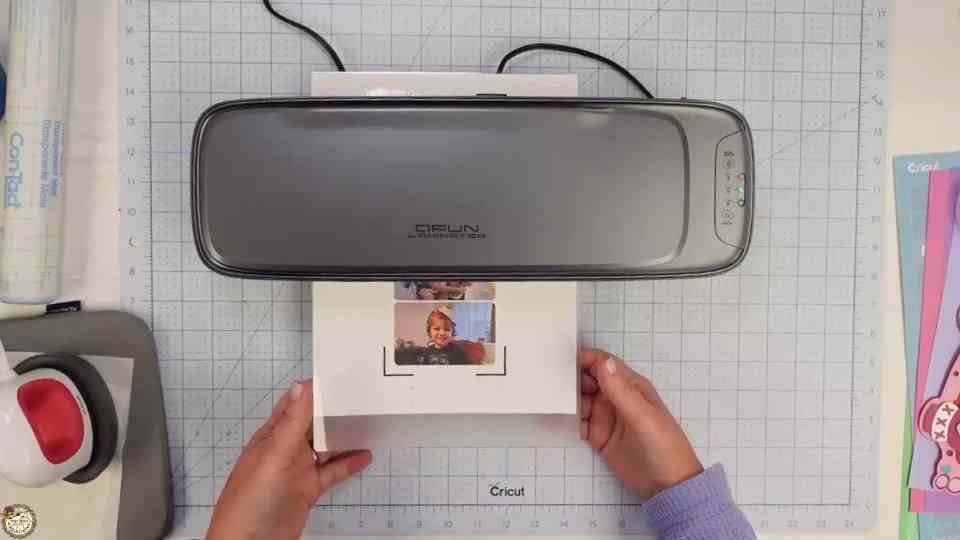
Supplies for This Project
Here’s a quick list of everything I used to make this Valentine monster photo holder.
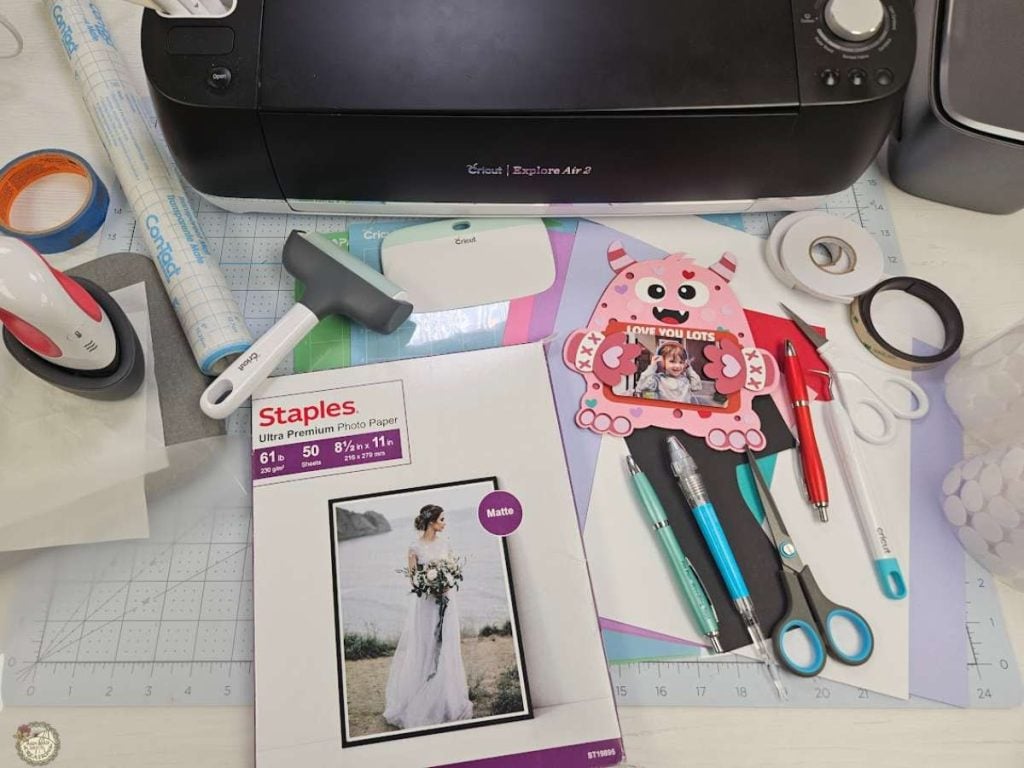
- Cricut – I used my Explore Air 2
- Standard and/or Light Grip Mat
- Brayer
- Cardstock
- Heat Transfer Vinyl (HTV)
- Weeding Tools
- Photo Paper
- Printer (I used an Epson EcoTank)
- Laminator
- *3 mil Laminating Sheet *included with the laminator
- EasyPress Mini
- Heat-Resistant Mat
- Teflon Sheet
- Pick Up Tool
- Bearly Art Glue
- Foam Tape
- Contact Paper (optional)
- Teflon Coated Scissors
- Velcro Dots
- Magnet
Customizing your Valentine Monster SVG
You can easily customize this project by changing the phrase, colors, or placement of the text. The SVG includes the phrase “Love You Lots,” but you can replace it with anything you like in Design Space. This is also a fun way to personalize the monster with a name or a short message.
What’s that Font
This is the font I used for the phrase on my Valentine monster photo holder.

DIY Valentine Monster Photo Holder Video Tutorial
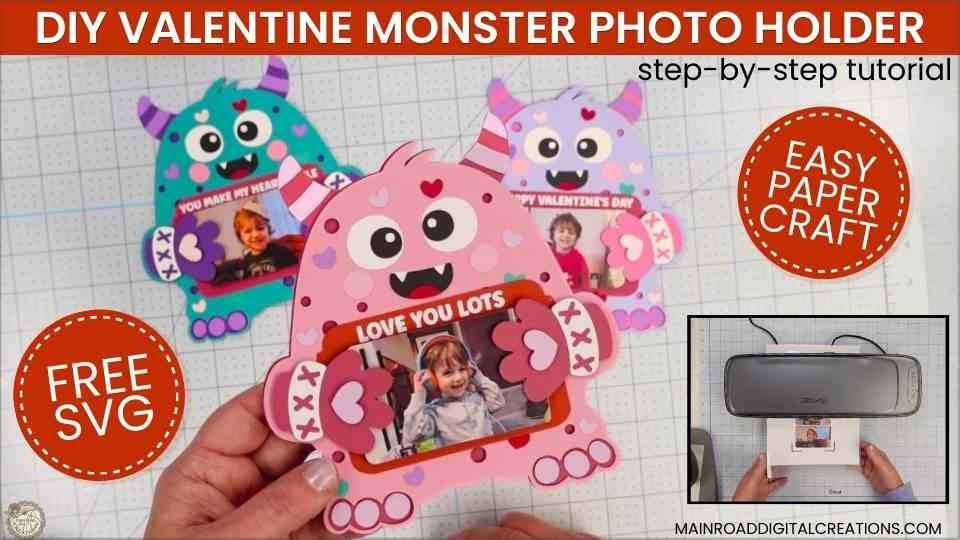
Check out the full step-by-step video tutorial below to see how to create your own Valentine monster photo holder. I’ll show you how to size and slice your photo in Design Space, laminate it, and assemble the monster so you can swap pictures out anytime.
Share your Creations
I can’t wait to see how you use this design in your projects! Be sure to share your creations in our Facebook group.

I’m excited to see what you’ll make with this week’s Free SVG! I’d be thrilled if you joined our Facebook group to share your projects. Come be a part of our crafting community, where you can showcase your work, connect with fellow crafters, and find even more inspiration. Let’s celebrate the joy of crafting together!
All of the Free Files on my website are for Personal and Commercial use. Check out my Terms of Use (TOU) here.
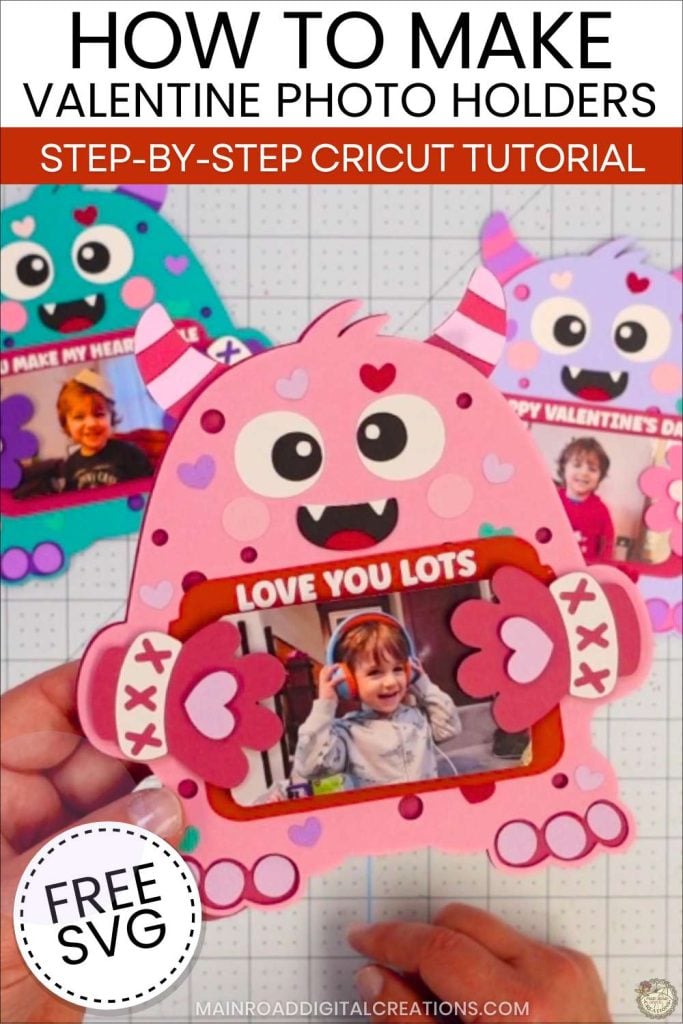
I’d love it if you could take a moment to pin the Free SVG image above to Pinterest. By sharing, you’re helping my business grow, which allows me to keep bringing you the free SVG files you adore. Thanks a bunch for your support. It means the world to me!
Here’s where you can find your Free SVG download!
Design #268 – Valentine Monster SVG is available in my freebie library. To get the Password, click the button below and Join our Freebie Club!
If you enjoyed this week’s Free SVG, here’s another you will love!

Check out my shop for fun and creative designs!

Join the Creative Fabrica Membership

Fonts, designs, and so much crafty goodness! Over 16 million digital files are waiting! In partnership with Main Road Digital Creations, your first 10 downloads are totally free. After that? It’s just $47 a year (yep, that’s $3.99/month) with full commercial and POD use included. Sign up for Free!