
Free Funny Doormat SVG | Cricut Doormat Tutorial
How to Make a Doormat with Your Cricut
This post may contain affiliate links. As an Amazon Associate, I earn from qualifying purchases. Please see my privacy policy for full details.
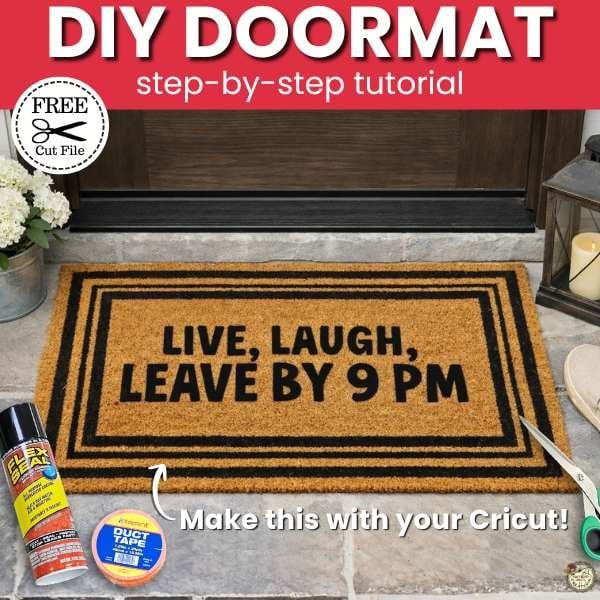
I have always wanted a funny doormat for my porch. I’ve seen porch signs that I love, but those really aren’t my style. I do love the humor of the ones that say Go Away instead of Welcome, haha. When I saw the quote “Live, Laugh, Leave by 9 PM,” I knew that was exactly what I wanted on my porch!
So I jumped on YouTube and searched for how to make one with my Cricut. Lucky me, I found a tutorial right away! The creator used a poster board stencil technique, and I loved that idea. I’ll link her video later in the post so you can check it out too!
Hey Honey…I have an idea
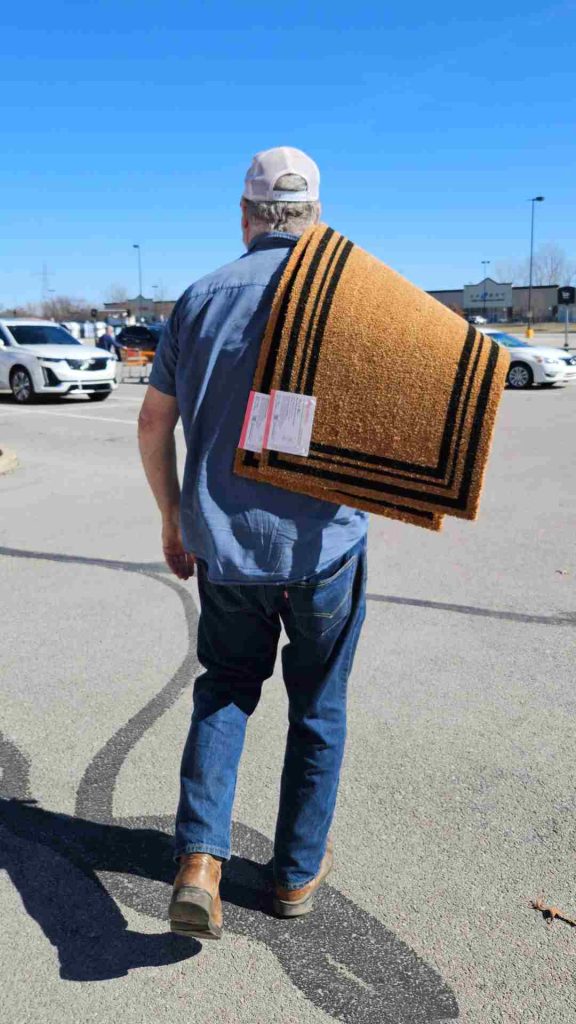
Just want to give a shoutout to my husband. Seriously, if you’re a crafter, you already know what we put our partners through. From keeping supplies we “might use someday” to the endless store runs and random favors, they really do go along with a lot of our ideas. This project was no different. Without hesitation, he took me to Home Depot, Dollar Tree, and Walmart so I could track down everything I needed! He even ended up walking out of Home Depot with doormats over his shoulder like it was just another normal day. I appreciate that he is always willing to jump in the car when a craft idea pops into my head. ❤️
Supplies for This Cricut Doormat Project
Gather your supplies and get your Cricut ready! This project uses a simple stencil cut from poster board along with a few basic crafting tools. Get ready to create your very own custom doormat.
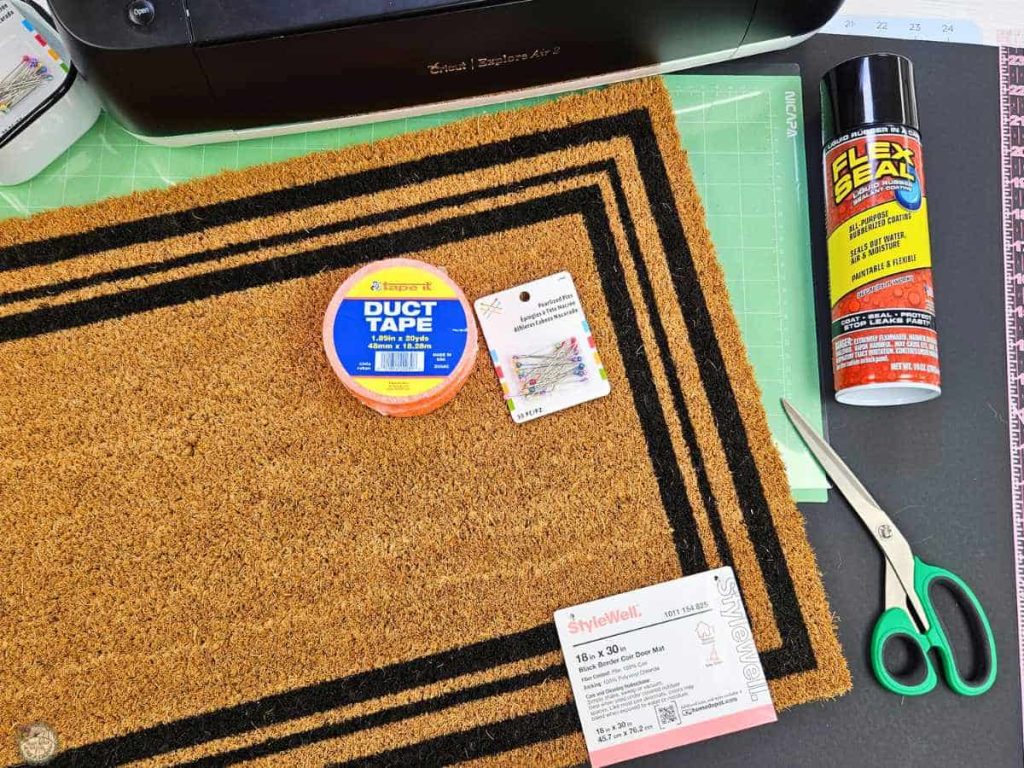
- Cricut – I used my Explore Air 2
- 12×24 Cutting Mat
- Coir Doormat -I found mine at Home Depot- here is a similar version on Amazon
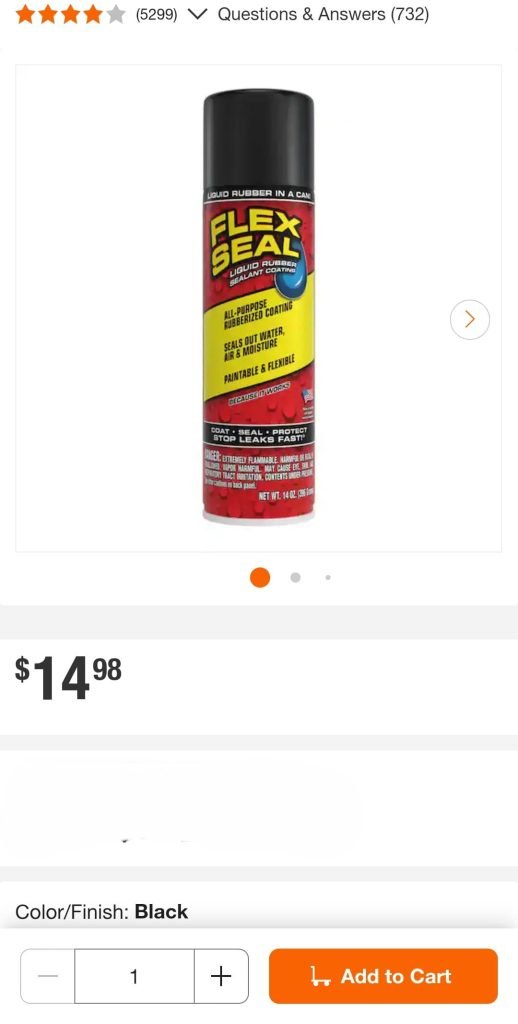
- Flex Seal
- Black Poster Board found at Dollar Tree
- Tape Measure
- Duct Tape found at Dollar Tree
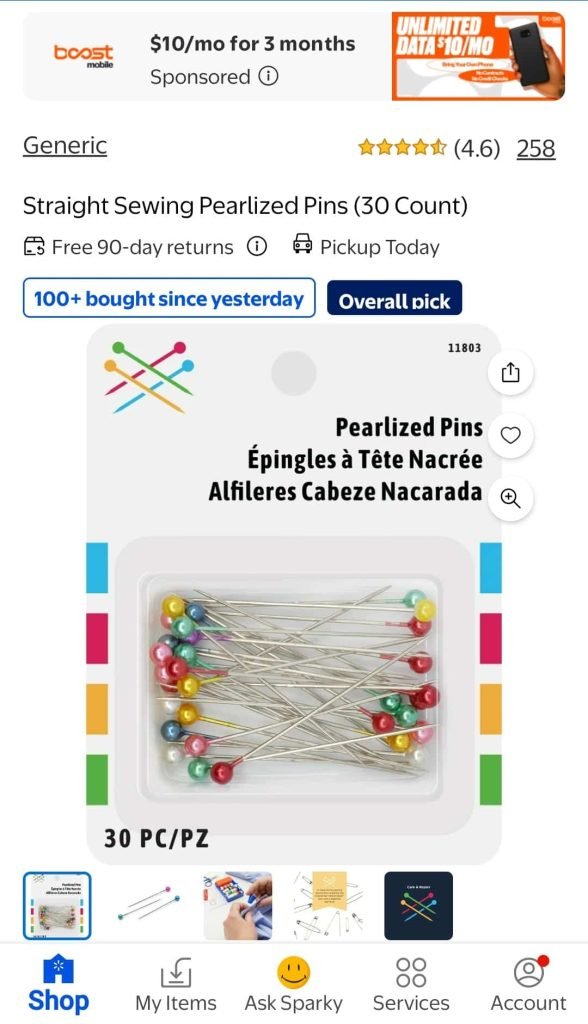
- Sewing Pins-found at Walmart
- Scissors
- Straight Edge Ruler
- Craft Knife (optional)
Materials I Picked Up for This Project
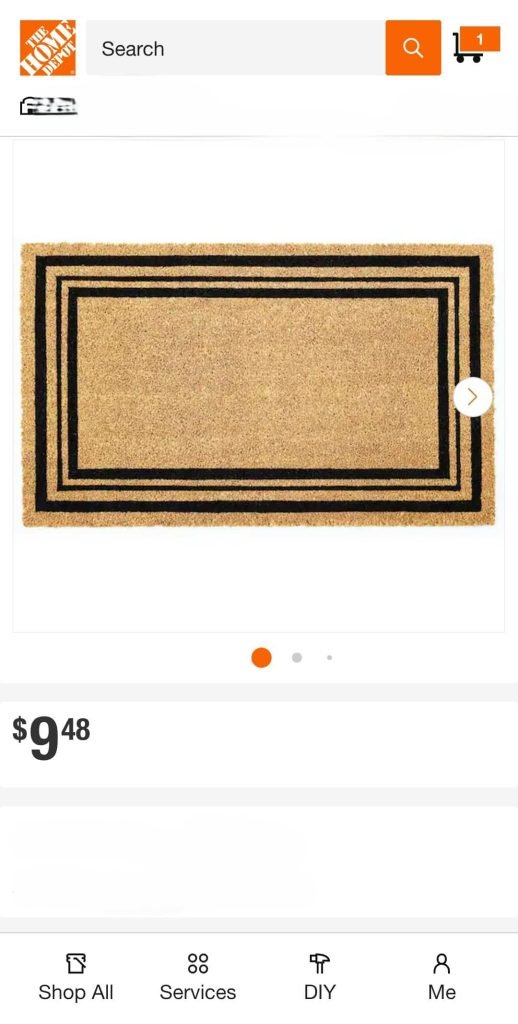
For this project, I picked up a few simple supplies. I’ve included screenshots of the items I grabbed from Home Depot and Walmart so you can see exactly what I used. (I’m a very visual person, so seeing screenshots helps me, and I thought it might help you too!) These worked great for my doormat, but feel free to use similar products if that’s what you have available.
What’s that font?
This is the font I used for the free funny doormat SVG.

A Few Steps from the Doormat Tutorial
Here are a few photos from when I was making my doormat so you can see how it all came together. I used my Cricut to cut the stencil from poster board, taped it down, added pins, and then sprayed the design onto the mat with Flex Seal. Be sure to watch the video tutorial below to see the whole project from start to finish.
Measure Your Doormat First
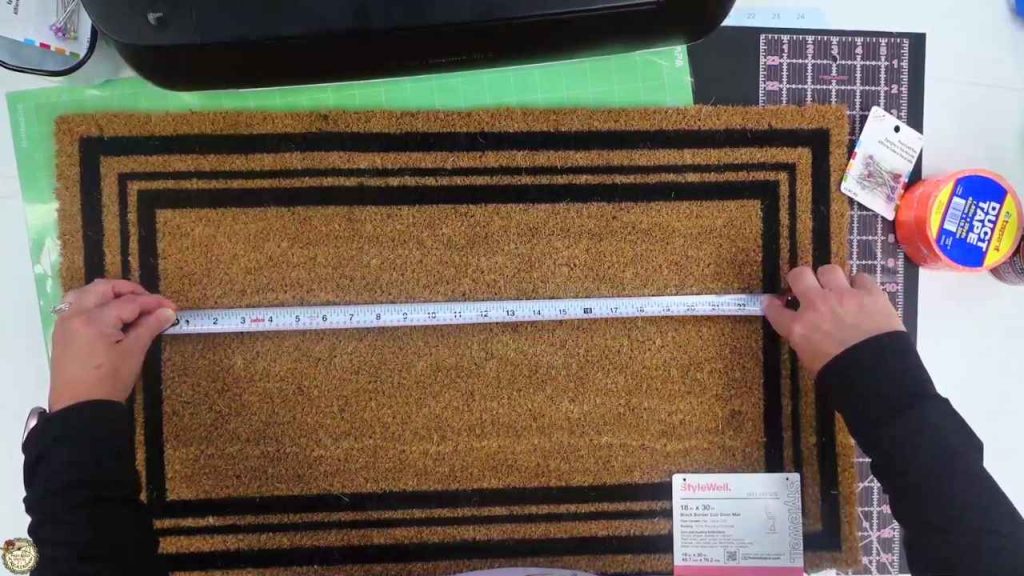
Before doing anything in Design Space, measure the inside area of your doormat. The mat itself might be 18 x 30, but the space inside the border is smaller. On my mat, the inside area measured 22.75 x 11 inches, and that’s the size I used for my stencil. Be sure to measure yours first so your design fits nicely inside the frame.
Create the Stencil in Cricut Design Space
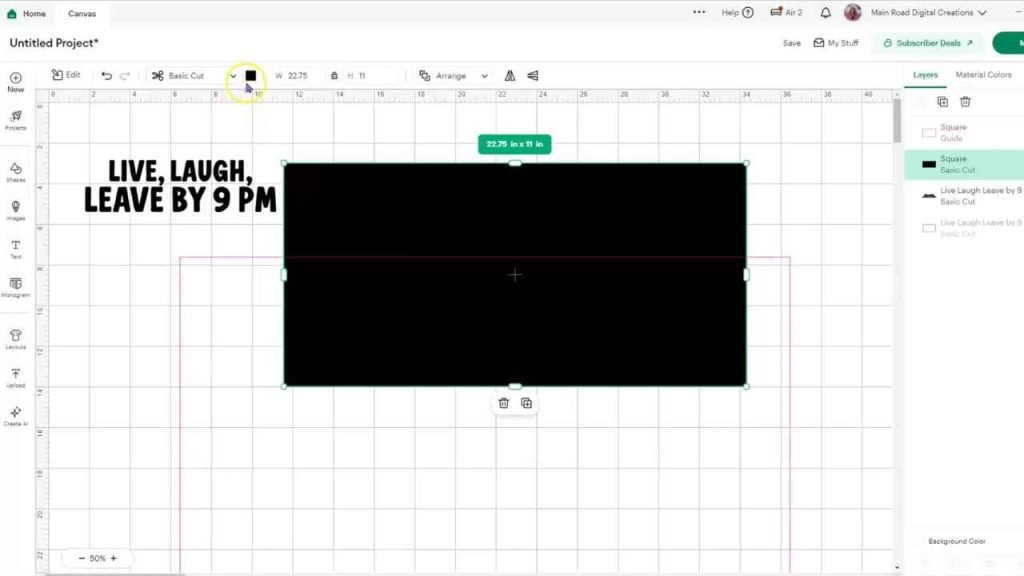
Upload the SVG into Cricut Design Space. Next, add a square shape that matches the inside measurement of your doormat. Since my mat measured 22.75 x 11 inches, that’s the size I used for the square. This shape will help us create the stencil so the design fits perfectly inside the border of the mat.
Slice the Design to Create the Stencil
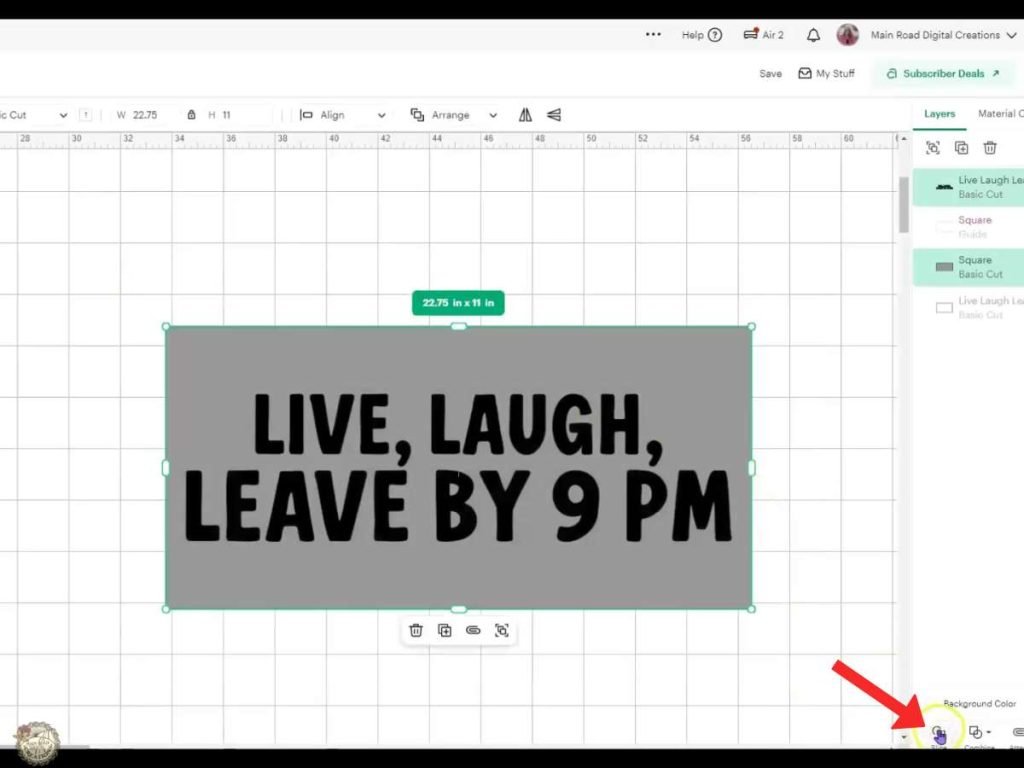
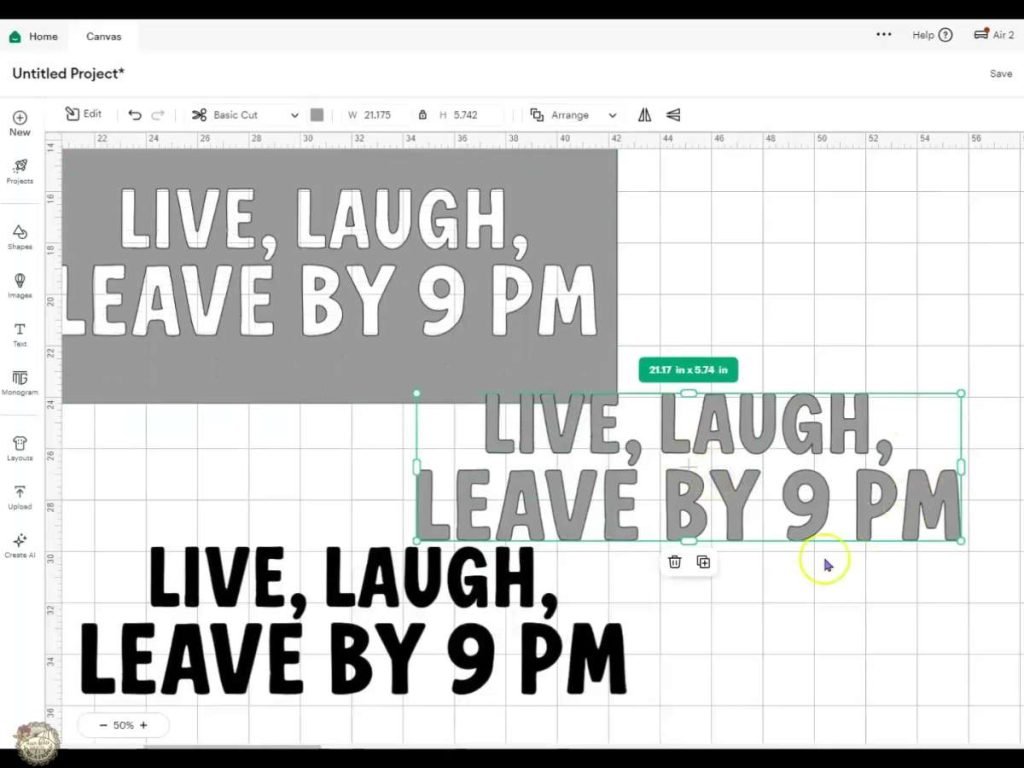
Once your square is sized to fit inside your doormat, place your design over the square and center it. Select both the square and the design, then use the slice tool in Cricut Design Space. This will cut the lettering out of the shape so the Cricut creates a stencil that you can place on your doormat.
Prepare the Poster Board for Your Stencil
Cut the Poster Board to Fit Your Cricut Mat
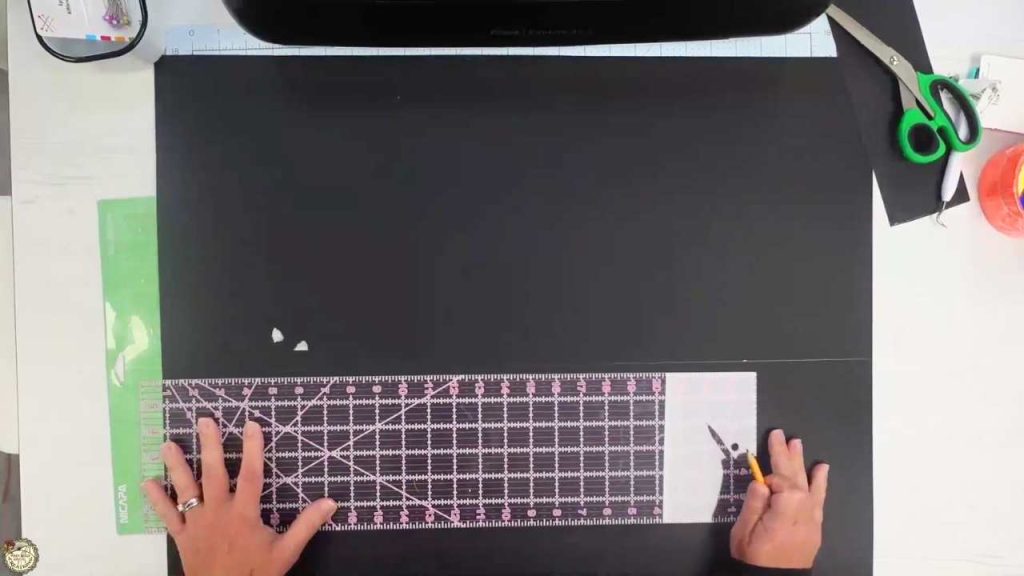
To make the stencil, I used a piece of poster board from Dollar Tree. Before cutting the design, trim the poster board down so it fits on a 12 x 24 Cricut cutting mat. This allows you to load the poster board into your Cricut so it can cut the stencil for the doormat design.
Load the Mat and Cut the Stencil
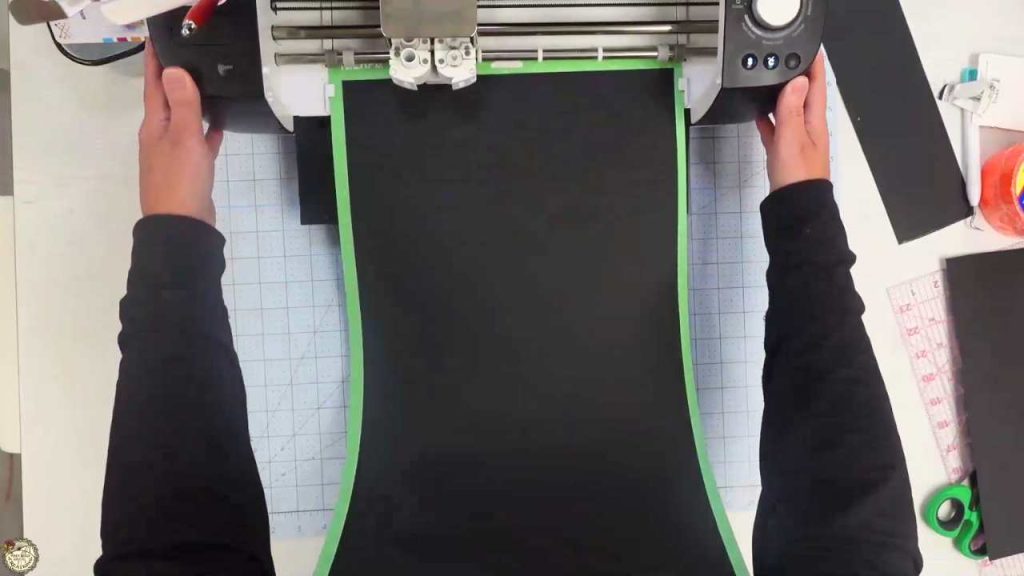
Before loading your mat, make sure there is nothing behind your Cricut machine. Since we’re using a 12 x 24 mat, it needs room to move all the way through the machine. Once your poster board is on the mat, load it into your Cricut and let the machine cut your stencil.
Remove the Stencil from the Mat
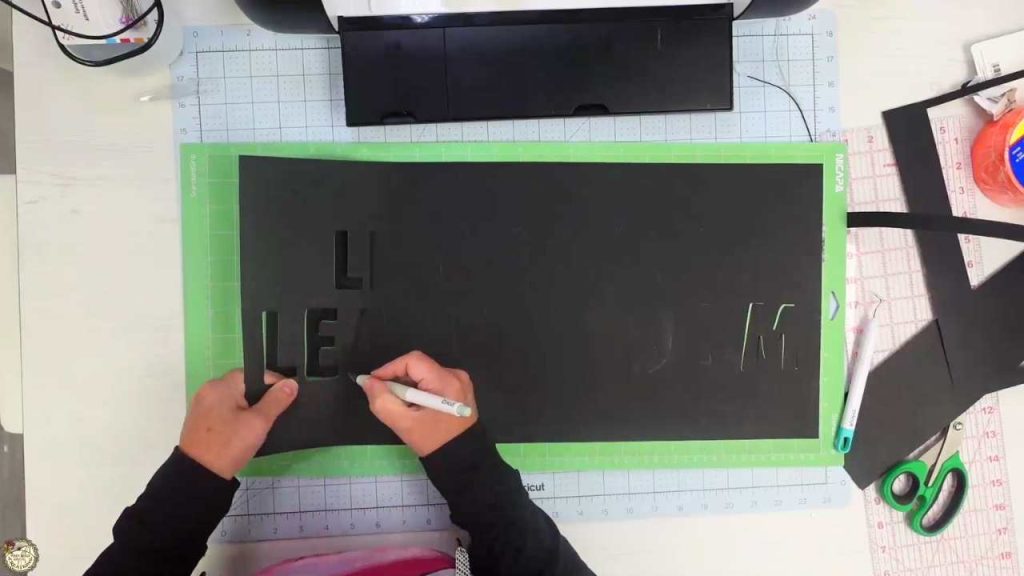
Once the Cricut finishes cutting, carefully remove the poster board from the mat. In my case, the stencil didn’t cut all the way through in a few spots, so I used a craft knife to gently finish cutting the letters and clean up the edges. Take your time with this step so the stencil stays intact and the openings for the letters are nice and clean.
Your Poster Board Stencil
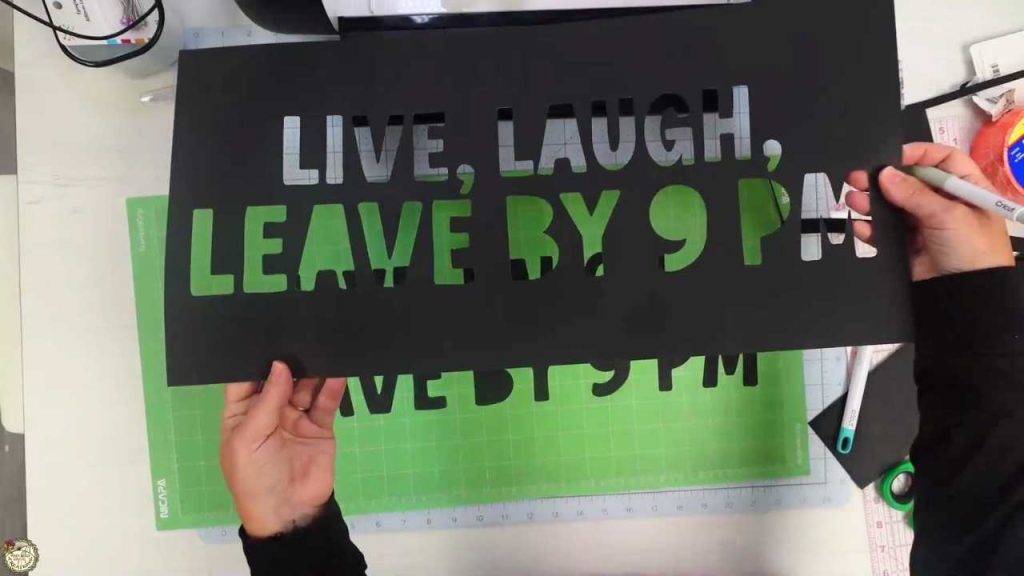
Here’s what the stencil looks like once it’s removed from the mat. The lettering has been cut out so the spray will go through the openings and onto the doormat. Don’t forget to remove the inner parts of the letters and numbers! Set those aside; we will pin those on the mat before we spray the Flex Seal.
Tape the Stencil in Place
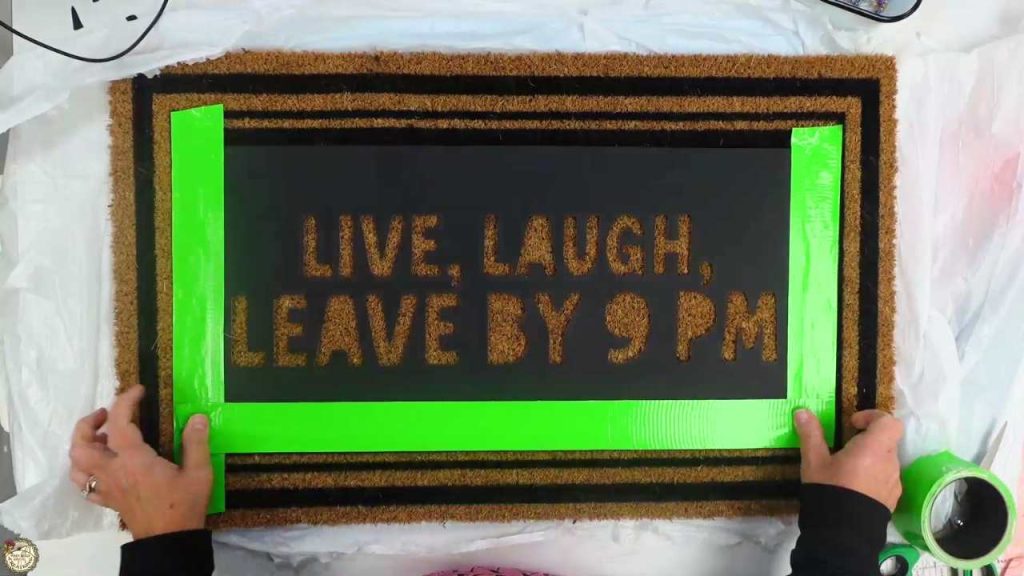
Place the stencil onto your doormat and line it up inside the border. Use duct tape around the edges to hold the stencil in place so it doesn’t shift while you spray the design. This helps keep the lettering nice and crisp.
Secure the Stencil and Get Ready to Spray the Flex Seal
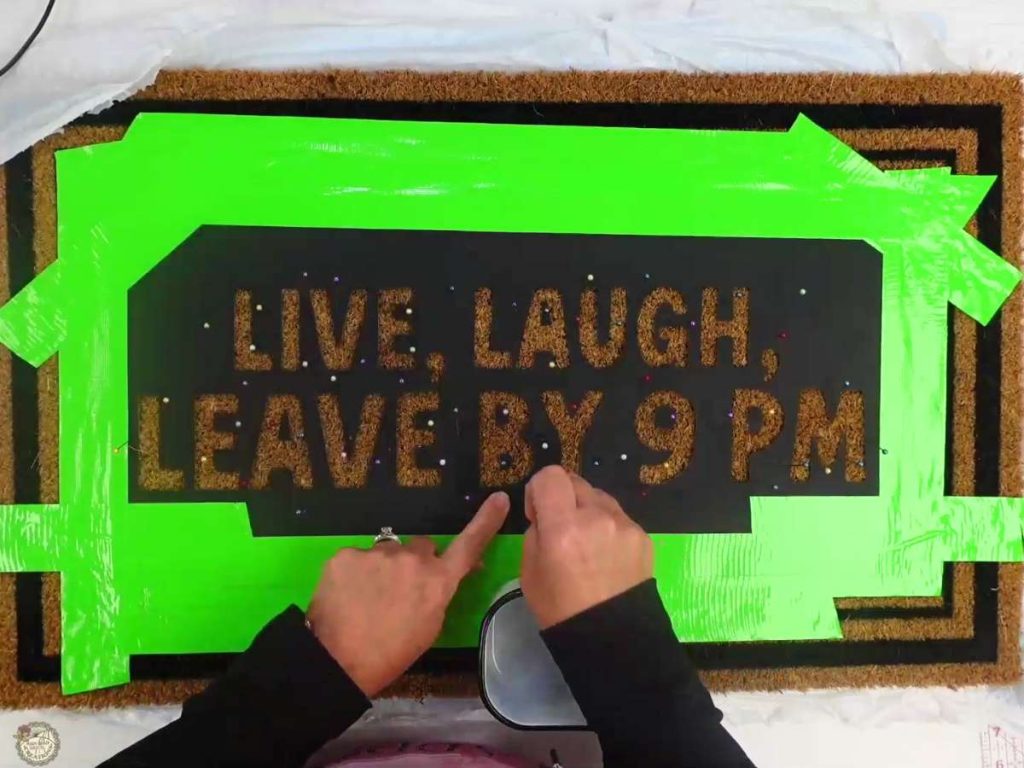
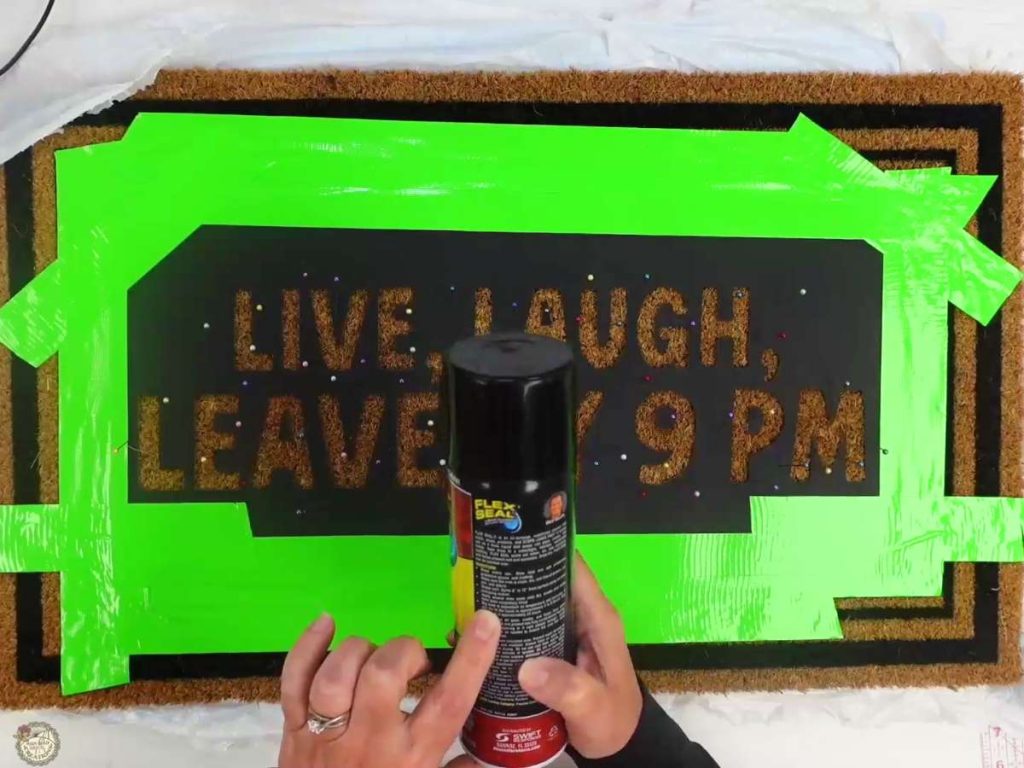
After taping the stencil down, I added pins around the design to help hold everything in place and pinned on the little bits from the letters and number. This keeps the stencil from shifting and helps the edges of the letters stay crisp. Before spraying, I also took a minute to read the directions on the Flex Seal can, so I knew how far away to spray and how long it would need to dry.
Spray the Flex Seal on Your Doormat
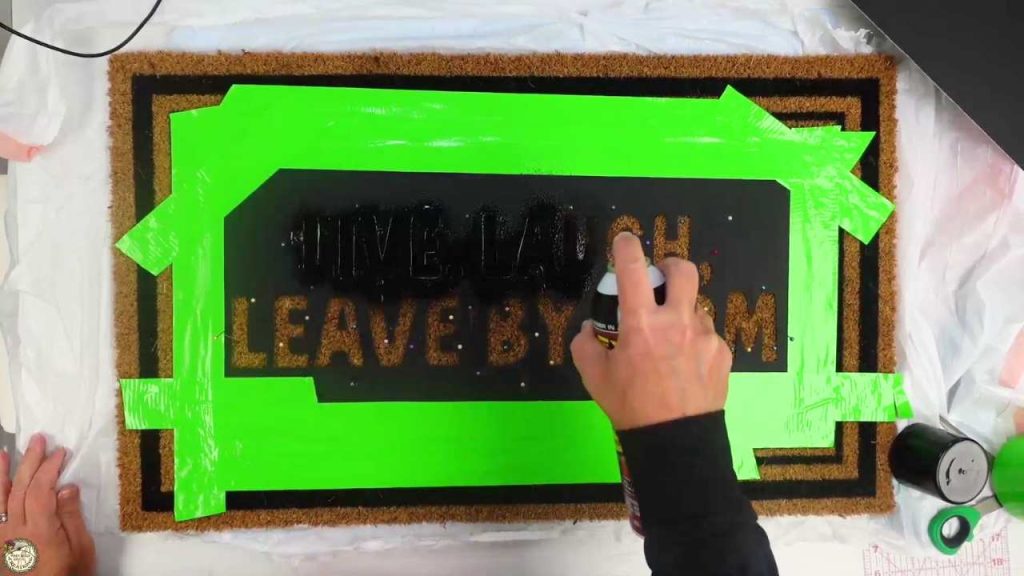
Once everything is taped and pinned down, it’s time to spray the design. The tutorial I watched mentioned that Flex Seal doesn’t really overspray, but I still laid down a trash bag just to protect my work surface. Hold the can about 8–12 inches from the mat and spray a light, even coat over the stencil until the design is fully covered.
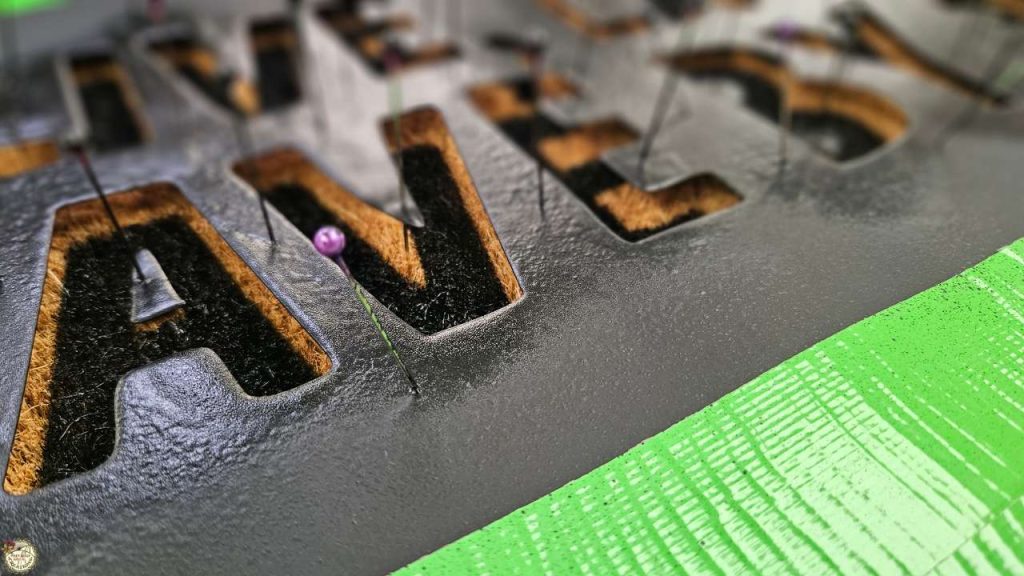
This is what the mat looked like before I removed the stencil. You can see the close-up of the letters and how the spray looks while everything is still pinned down.
Remove the Stencil
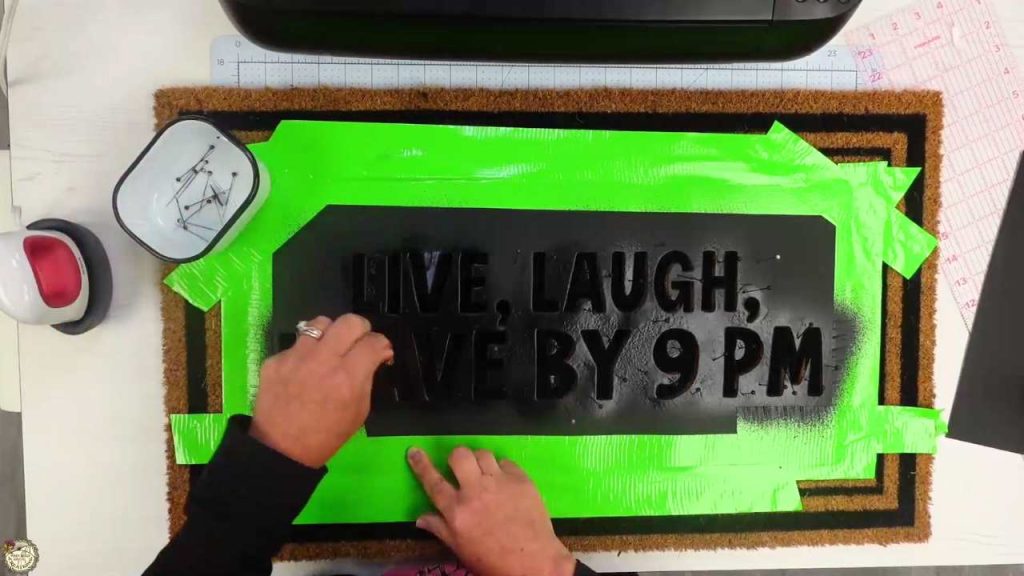
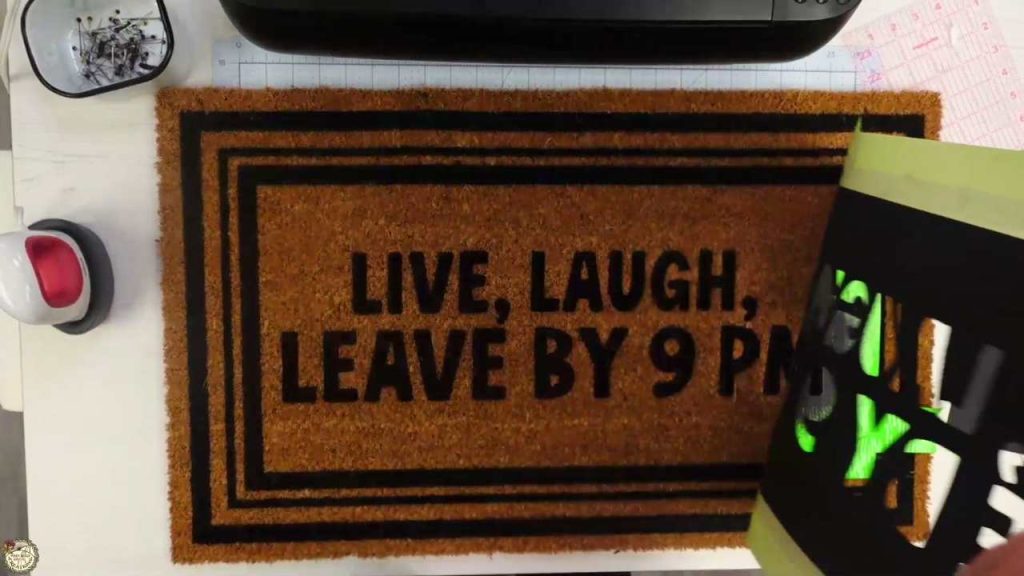
After spraying the Flex Seal, I let the doormat sit for about 4 hours to dry. Once it was dry to the touch, I carefully removed the pins and started lifting the stencil off the mat. I’ll be honest… I was a little nervous pulling it up because you never know how it’s going to look underneath. But the second that stencil came off, I started giggling because it turned out so good! It’s always fun when a project actually works exactly how you hoped it would.
My Funny Doormat Results
Once everything was dry and I pulled the stencil off, this is what the finished doormat looks like. I was honestly pretty tickled when I saw it because it turned out even better than I expected!
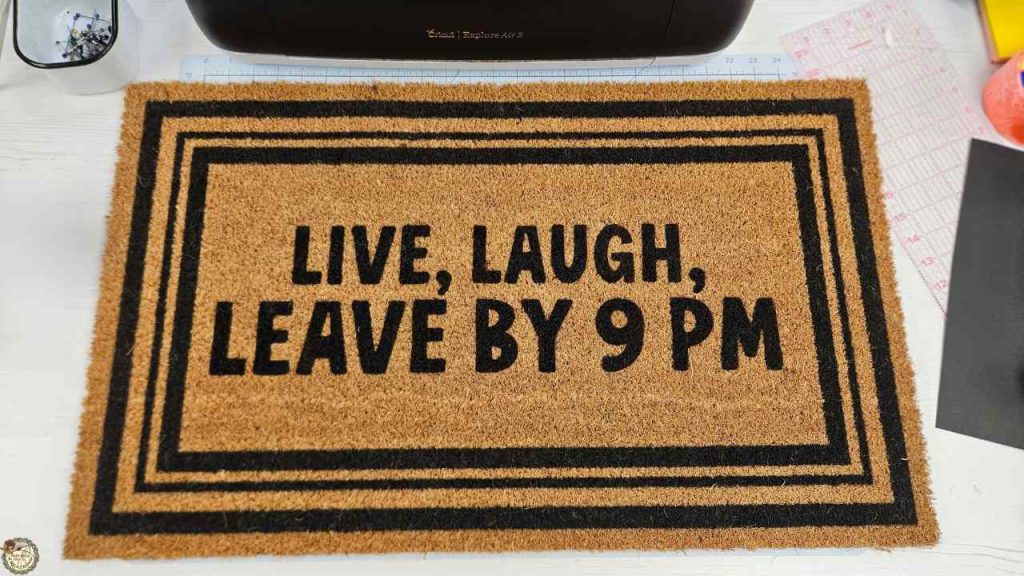
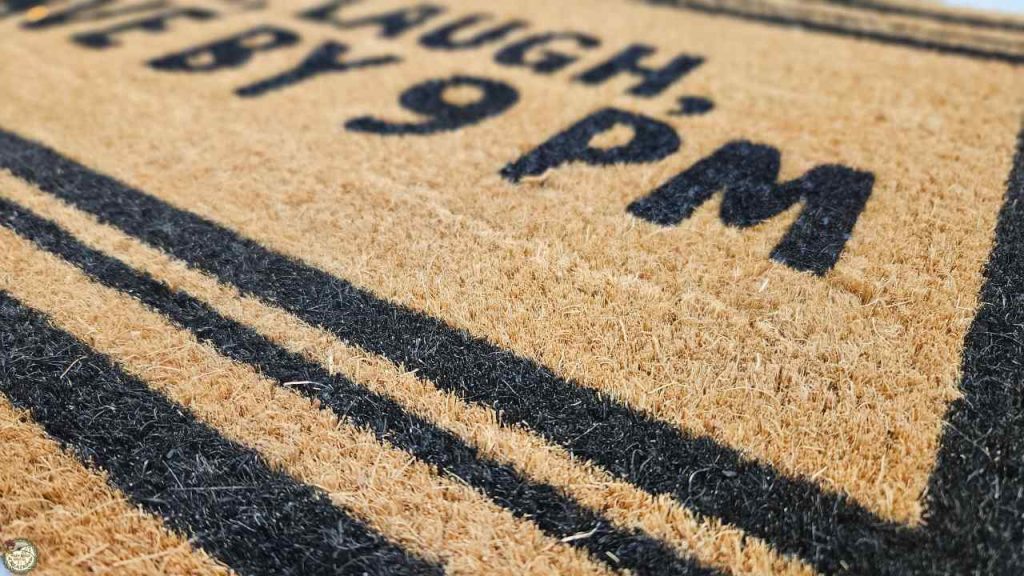
Notes: Now that you know how to use the stencil method with your Cricut, the possibilities are endless! Use Flex Seal to make personalized doormats for yourself, friends, family, or even to sell.
DIY Cricut Doormat Video Tutorial
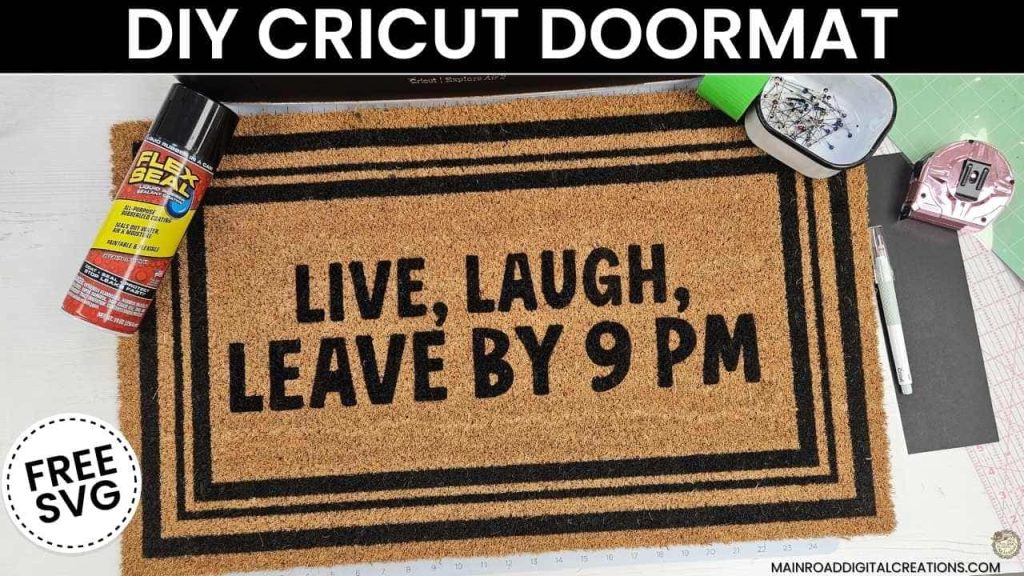
Check out the full step-by-step video tutorial below to see how I made this funny Cricut doormat. It’s a fun project you can make with your Cricut and a few simple supplies. In the video, I walk you through creating the stencil in Design Space, cutting it with your Cricut, and applying the Flex Seal to the doormat.
The YouTube Video That Helped Me Make This Doormat
I mentioned earlier that I searched YouTube for a tutorial on how to make a doormat with my Cricut, and this was the one I found. She did a great job explaining the process and showing how to use a poster board stencil to create the design. If you’d like to check out her video, you can do that here.
Share your Creations
I can’t wait to see how you use this design in your projects! Be sure to share your creations in our Facebook group.

Are you on Facebook?
Join our group!
We’d love to have you!
All of the Free Files on my website are for Personal and Commercial use. Check out my Terms of Use (TOU) here.
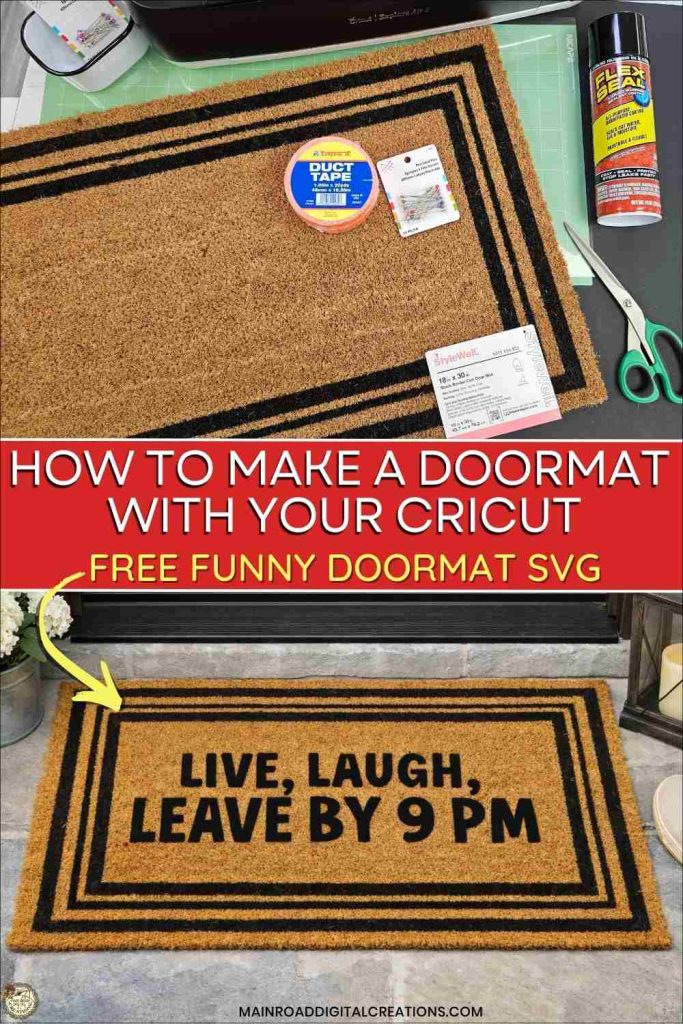
I’d love it if you could take a moment to pin the Free SVG image above to Pinterest. By sharing, you’re helping my business grow, which allows me to keep bringing you the free SVG files you adore. Thanks a bunch for your support. It means the world to me!
Here’s where to find your free SVG download!
Design #273 – Live, Laugh, Leave Funny Doormat SVG is available in my freebie library. To get the Password, click the button below and Join our Freebie Club!
Loved this Free SVG? Try Another Fun Cricut Project!

Check out my shop for fun and creative designs you can use in your projects!


Join the Creative Fabrica Membership

Fonts, designs, and so much crafty goodness! Over 16 million digital files are waiting! In partnership with Main Road Digital Creations, your first 10 downloads are totally free. After that? It’s just $47 a year (yep, that’s $3.99/month) with full commercial and POD use included. Sign up for Free!