
Free Easter Egg SVG for a Quick Cricut Centerpiece
A Beginner-Friendly Easter Egg SVG Project
This post may contain affiliate links. As an Amazon Associate, I earn from qualifying purchases. Please see my privacy policy for full details.
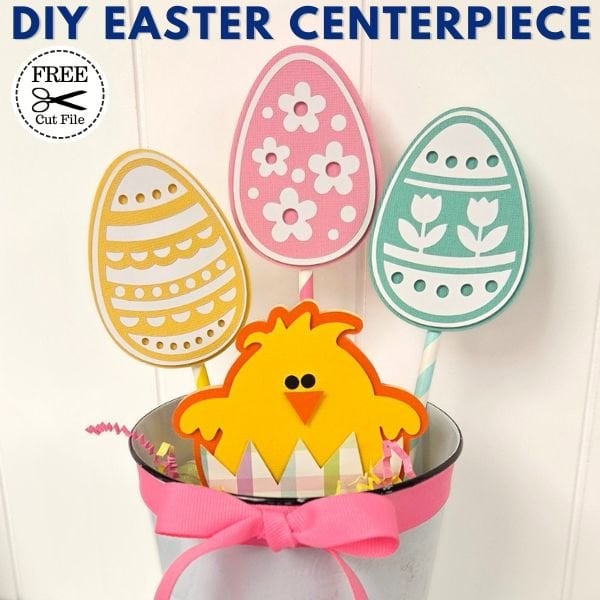
If you’re looking for a quick Easter project, this one is so fun to make! I used my free Easter egg SVG bundle and cardstock to create these layered eggs, then turned them into a cute little centerpiece with a small bucket, ribbon, and a few Easter goodies. It’s an easy beginner-friendly project that comes together fast and adds such a fun pop of Easter color.
A Fast and Easy DIY Easter Cardstock Project
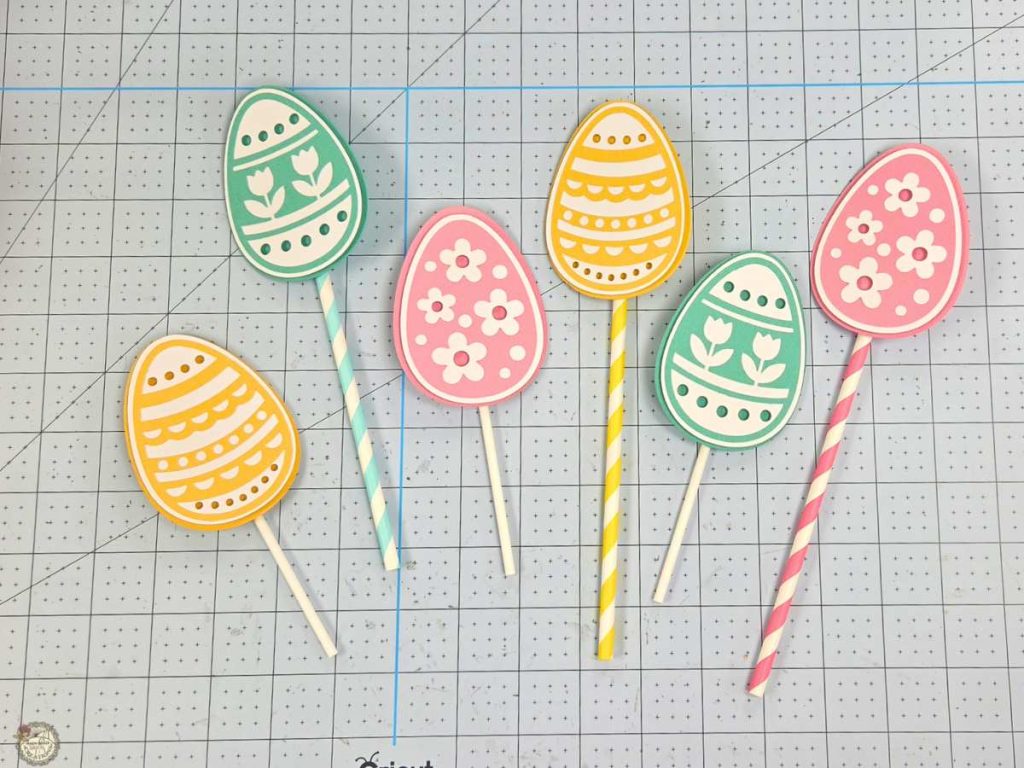
This project came together pretty quickly, which is perfect because Easter will be here before we know it. The free SVG includes three layered Easter egg designs that are simple to cut and easy to put together.
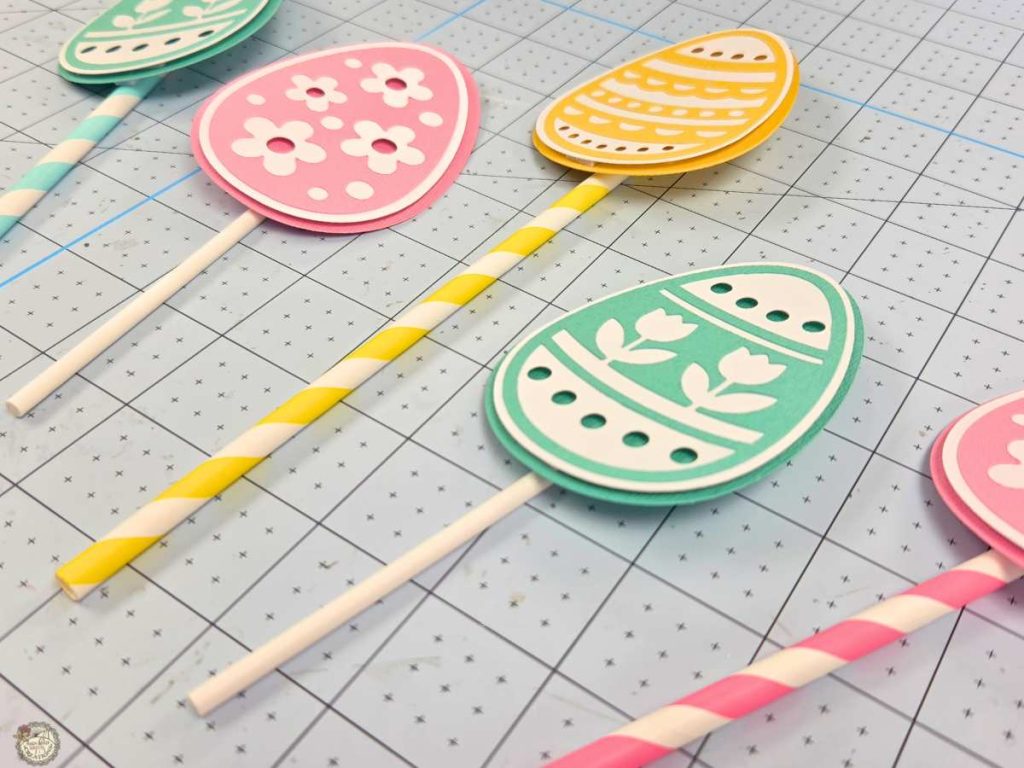
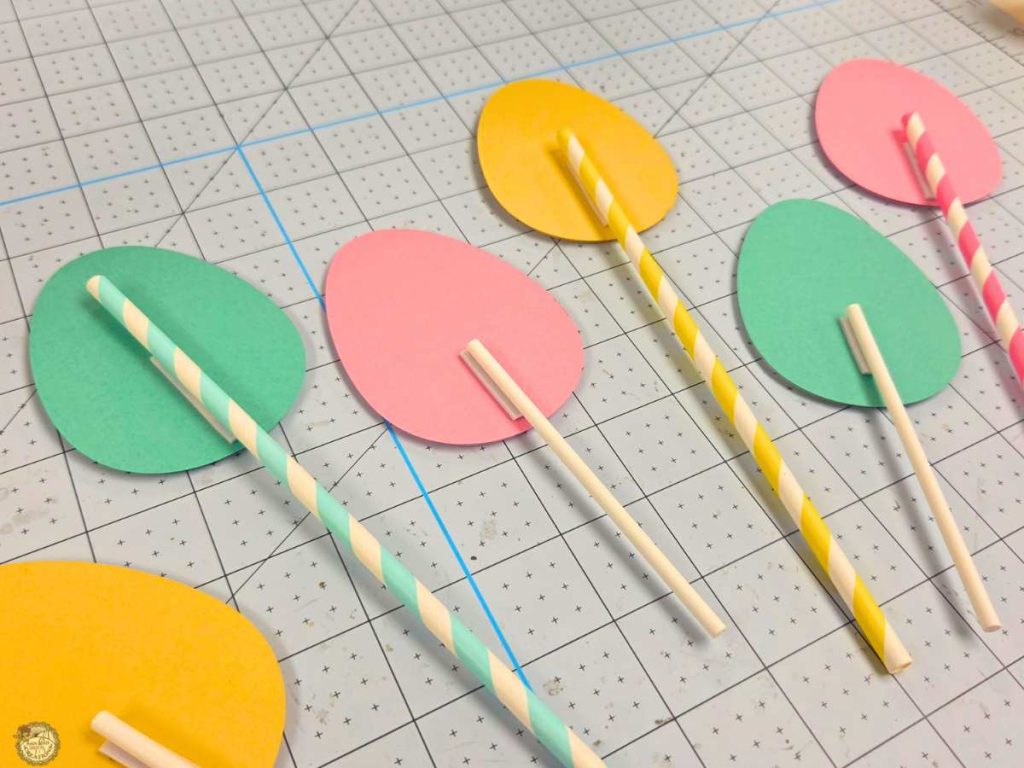
You can add a stick to the back and turn the eggs into a cute little centerpiece, just like I did here. I used paper straws and cake pop sticks for mine, but you could also resize the eggs and use them as gift tags or string them together to make a simple Easter banner.
Use the Free Easter Egg SVG in Jars of Jellybeans
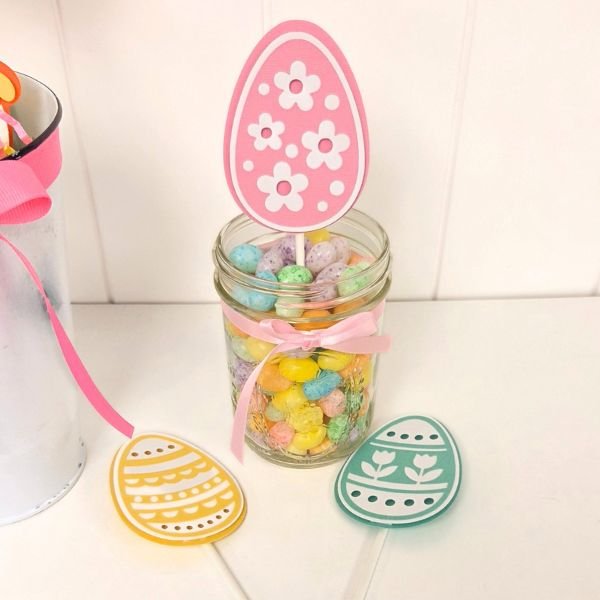
Wouldn’t these be so cute made in 3 different jars filled with jellybeans? That would make the sweetest little Easter display, and you could even mix up the egg colors if you wanted to. Such a fun way to use the same free SVG in a few different ways!
Supplies to Make Your Cardstock Easter Centerpiece
Gather your supplies, and let’s make this cute Easter centerpiece using the free Easter egg SVG.
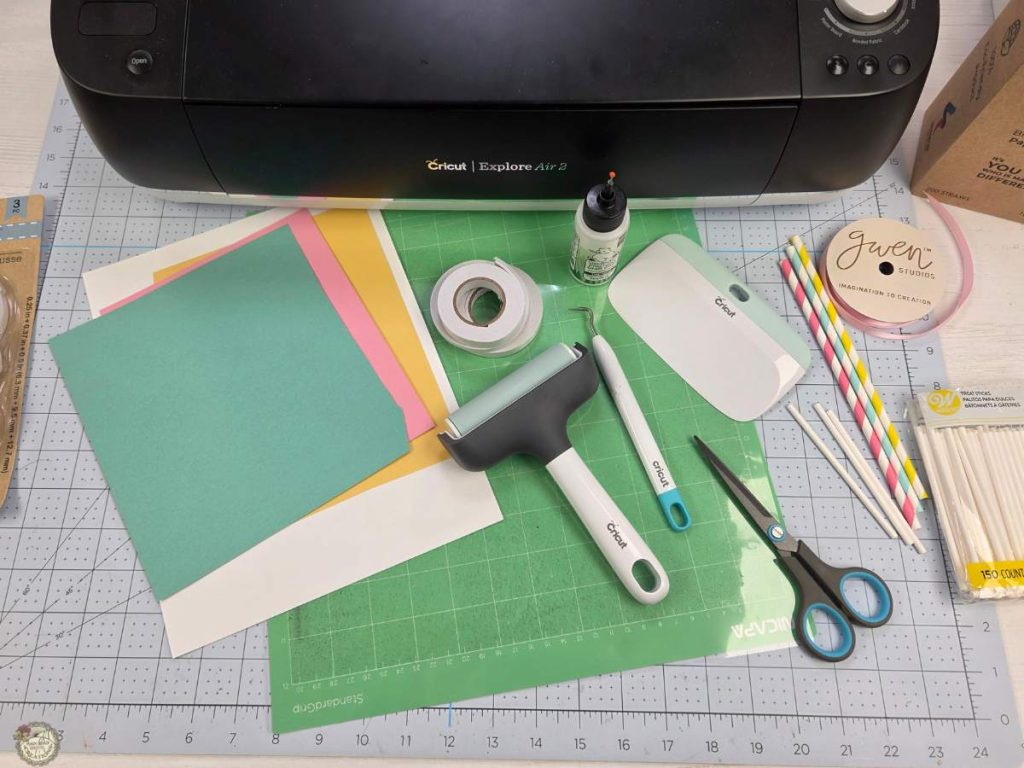
- Cricut – I used my Explore Air 2
- Standard or Light Grip Mat
- Brayer
- Weeding Hook
- Cardstock- I used:
- White
- Encore Textured
- Pink Princess, Honey Bear, and Sea Glass
- Adhesive Tape
- Bearly Art Glue
- Teflon Coated Scissors
- Scraper
- Cake pop Sticks
- Paper Straws
- Easter Crinkle Paper (optional)
- Ribbon (optional)
Add a Cute Easter Chick to Your Centerpiece
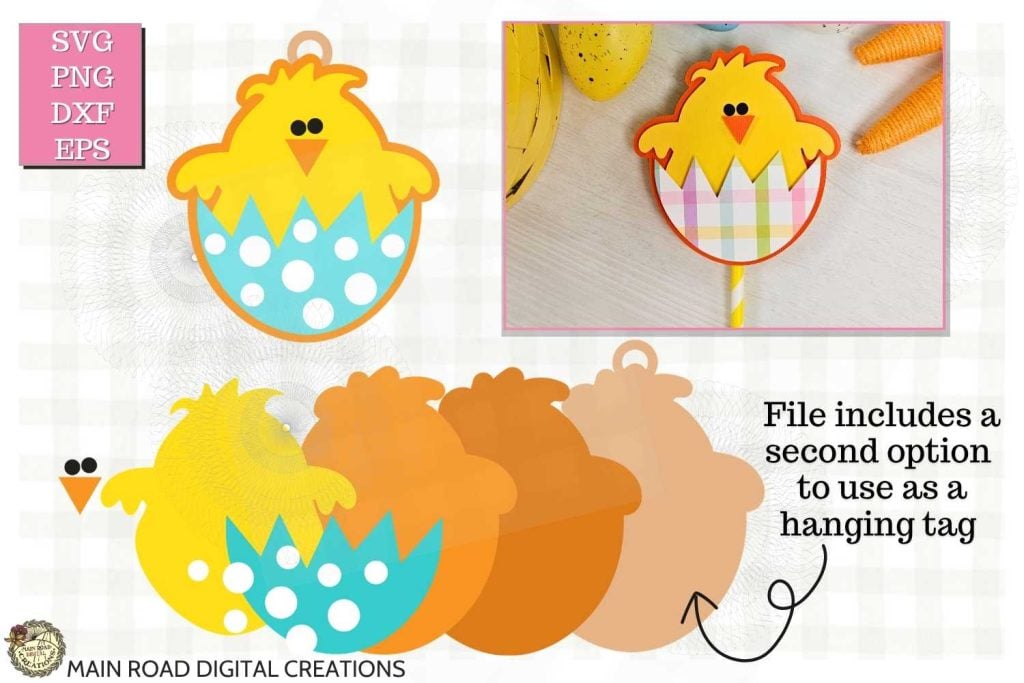
If you want to add a little extra cuteness to your centerpiece, I also used my layered Easter chick design in this display. That file is separate from this week’s free Easter egg SVG bundle, but you can find it in my shop. It includes an extra backing piece and a hanger option if you want to turn it into a tag too.
See How the Easter Egg SVG Comes Together
This free Easter egg SVG is easy to work with in Cricut Design Space and comes together quickly with cardstock! Perfect for a quick Easter craft!
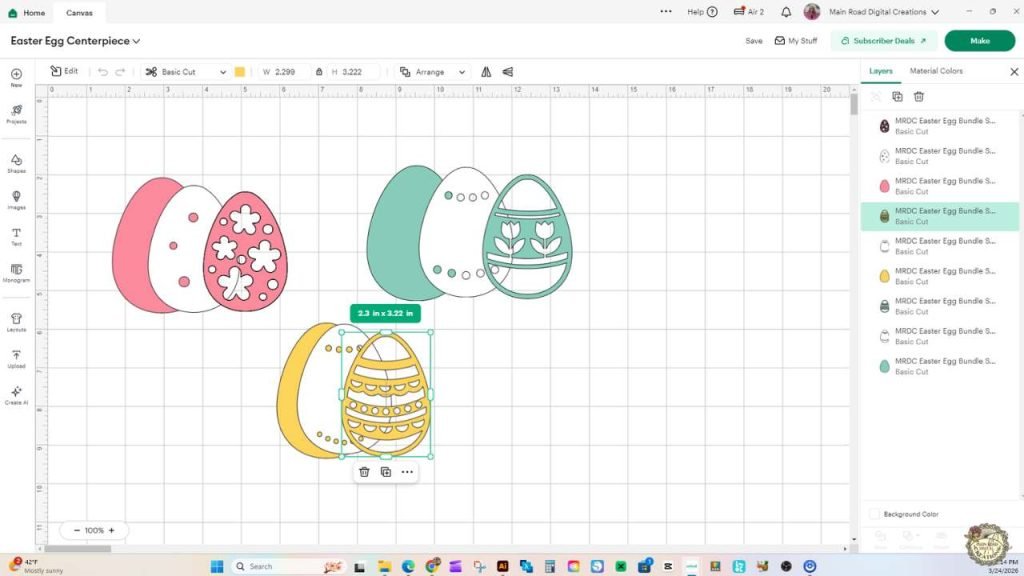
This is how the free Easter egg SVG looks in Cricut Design Space once it’s uploaded. The bundle includes three layered egg designs, each grouped into separate pieces so you can cut the layers from different colors of cardstock and put them together easily.
Move Same-Weight Cardstock Pieces to One Mat
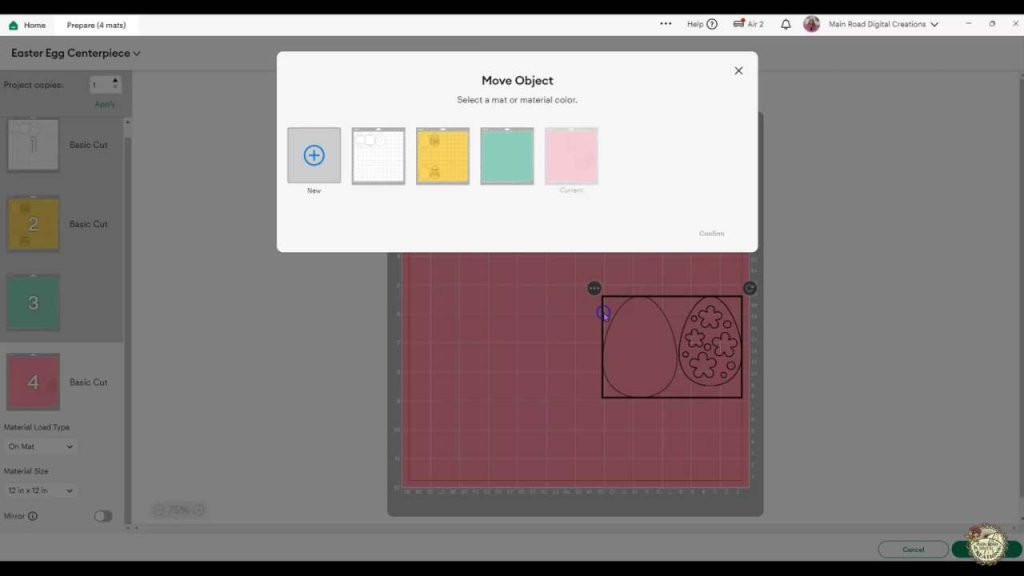
If you’re cutting the same weight cardstock in different colors, you can move those pieces onto the same mat in Cricut Design Space to save time. Since these layers are all cut from cardstock with the same cut setting, combining them onto one mat makes the project faster and keeps things a little more efficient.
Add Cardstock to the Mat and Cut the Layers
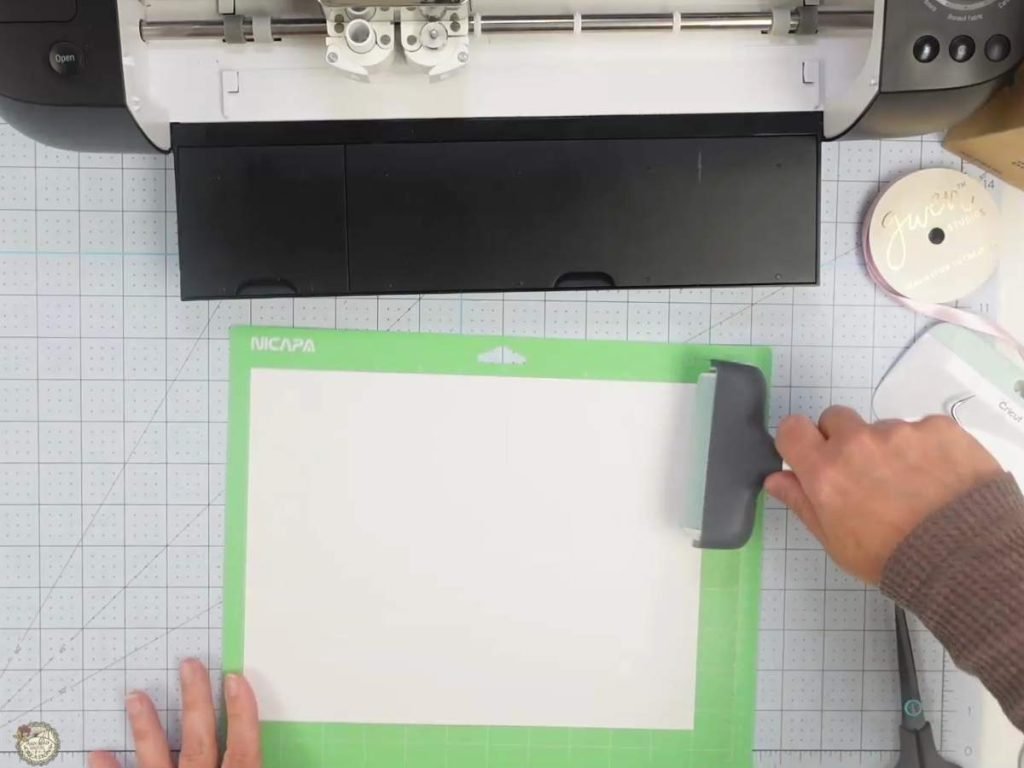
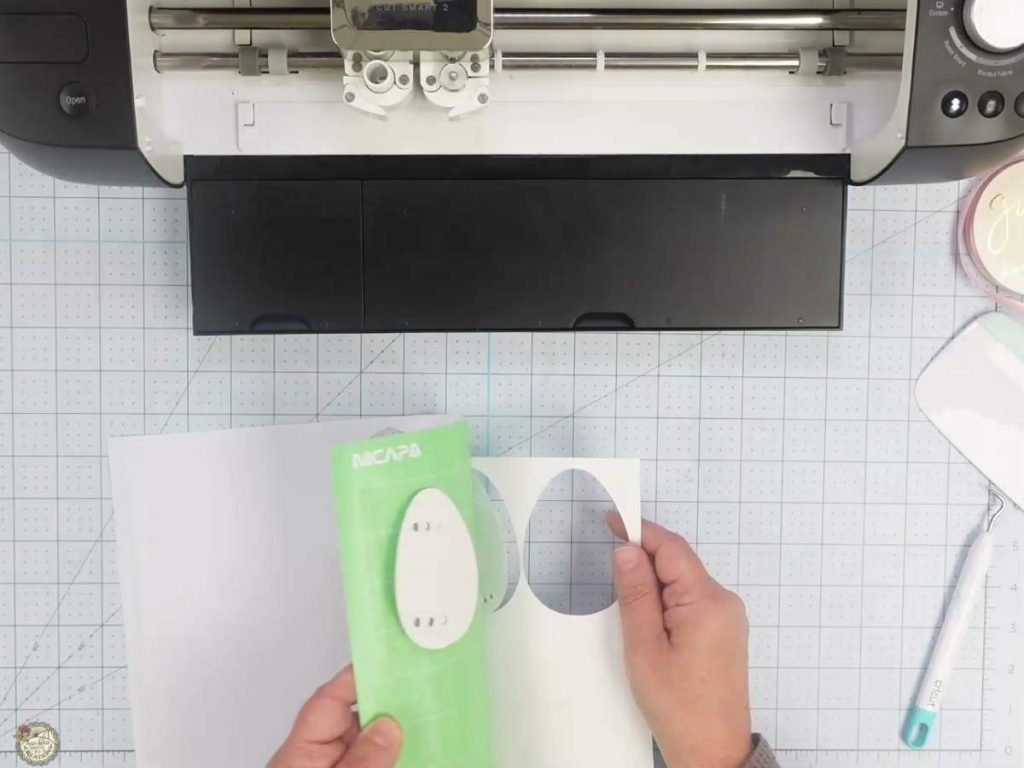
I added my cardstock to the mat and used a brayer to help smooth it down, so it stayed in place while cutting. After the pieces were cut, I removed them gently from the mat so the cardstock layers would stay nice and flat.
Cut the Easter Egg Pieces and Start Assembling

Once the Easter egg pieces are cut, you’re ready to start putting the layers together. Each egg has a simple layered look, and this part comes together pretty quickly with cardstock, glue, and foam adhesive.
Glue the Layers and Add Foam for Dimension
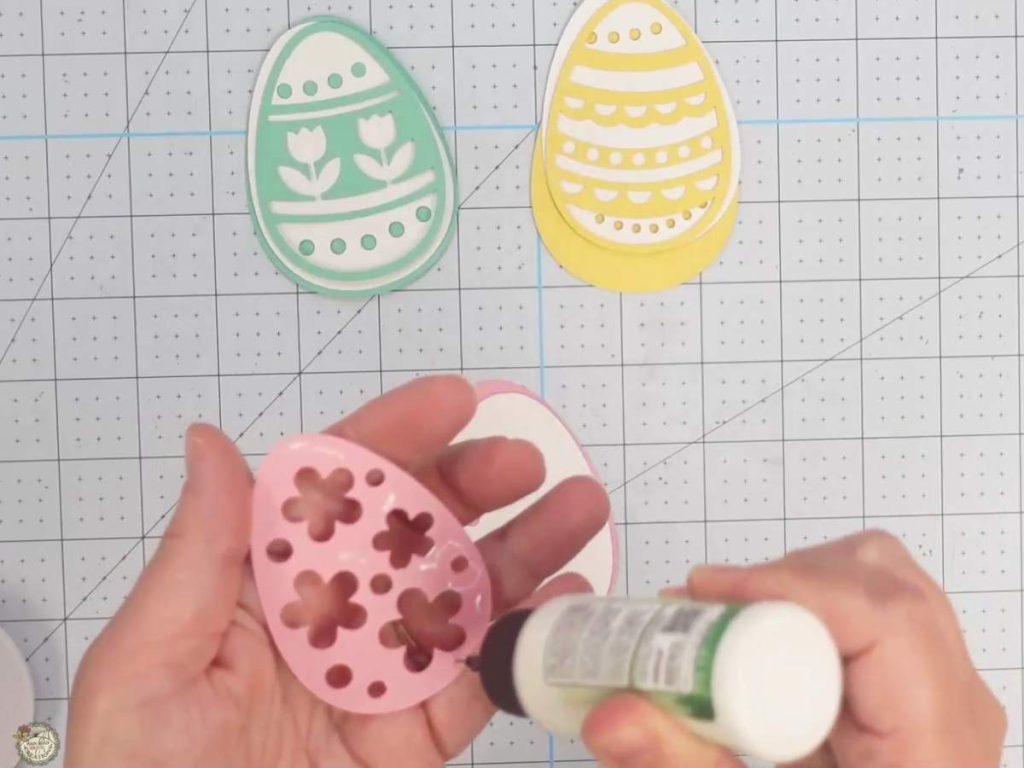
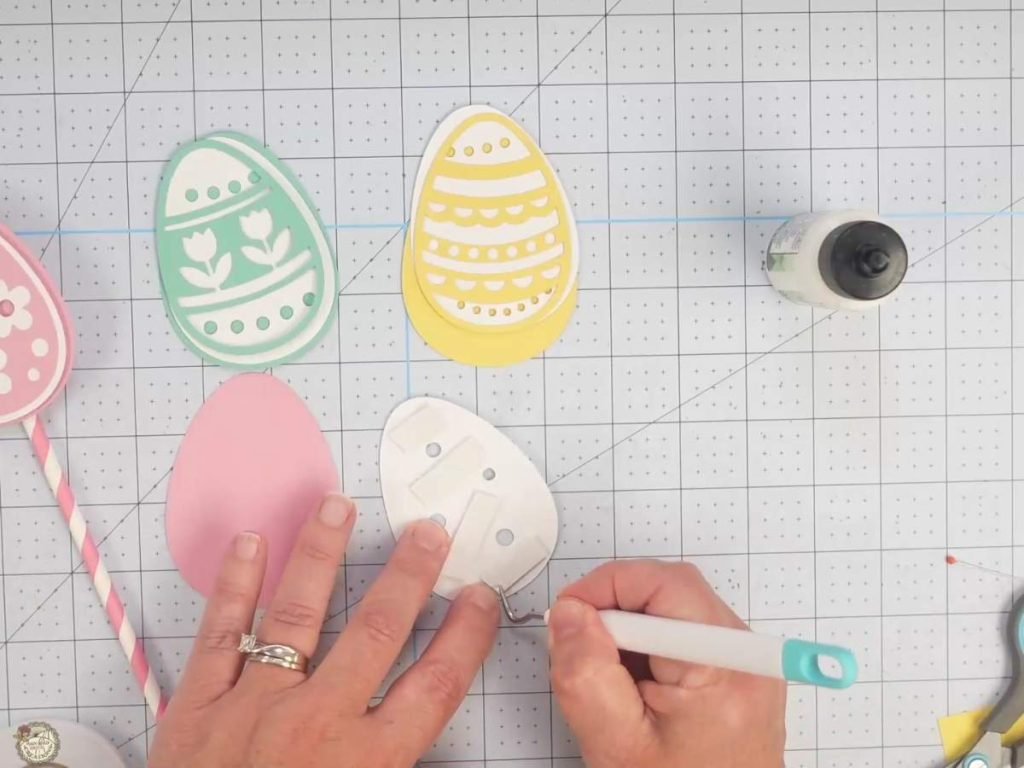
Start by gluing the egg layers together, lining up the pieces as you go. After that, add foam adhesive to the back for a little extra dimension before attaching the finished eggs to your sticks.
Show Off Your Finished Easter Centerpiece
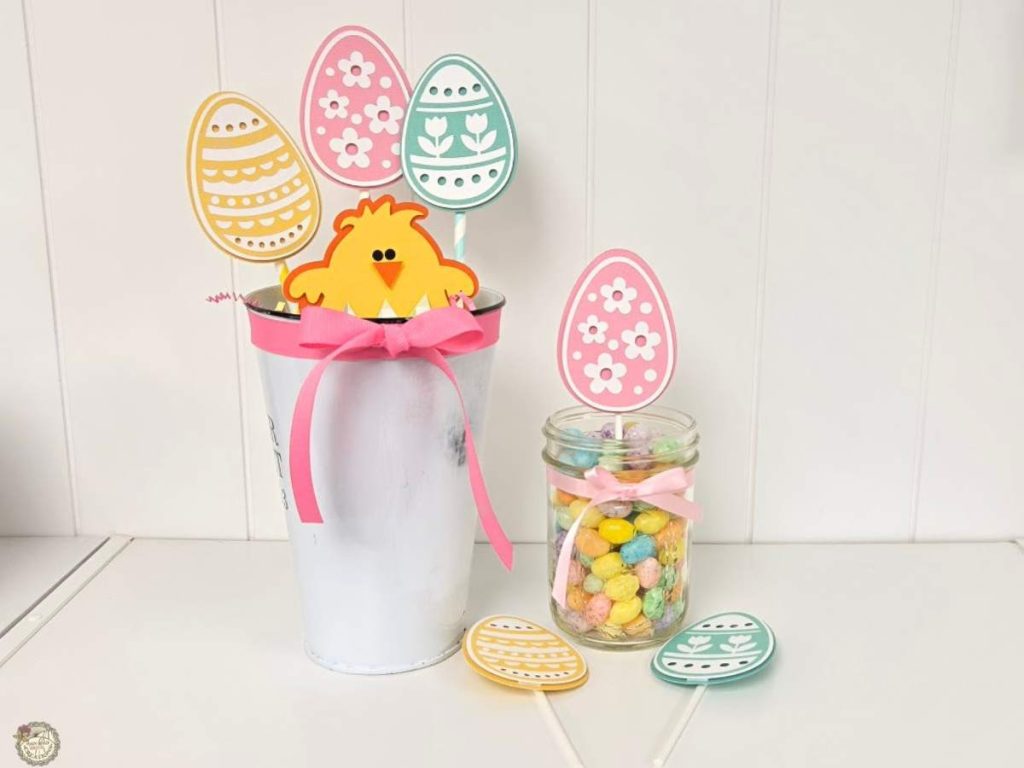
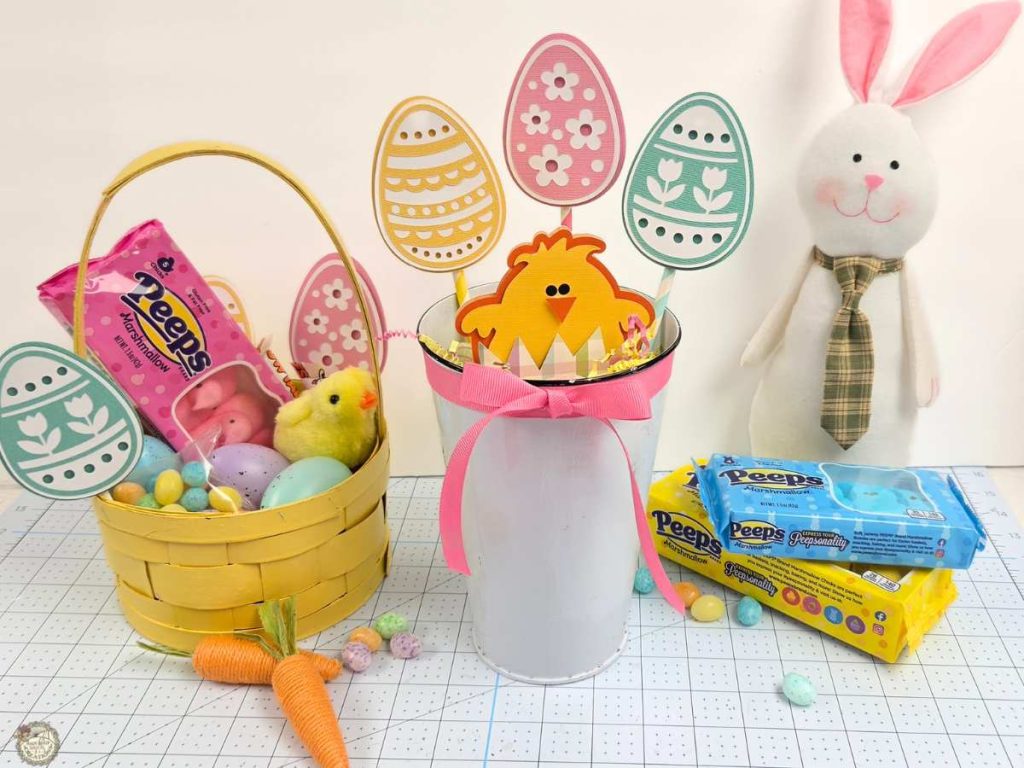
Now for the fun part! Once your eggs are all assembled, add them to straws or sticks and place them in a bucket, basket, or whatever little container you want to use. I finished mine with ribbon, Easter crinkle paper, a few treats, and my little Easter chick! And it turned into such a cute little spring display. This would be adorable on a table, kitchen counter, shelf, or anywhere that needs a little Easter color.
How to Make an Easter Centerpiece Video Tutorial
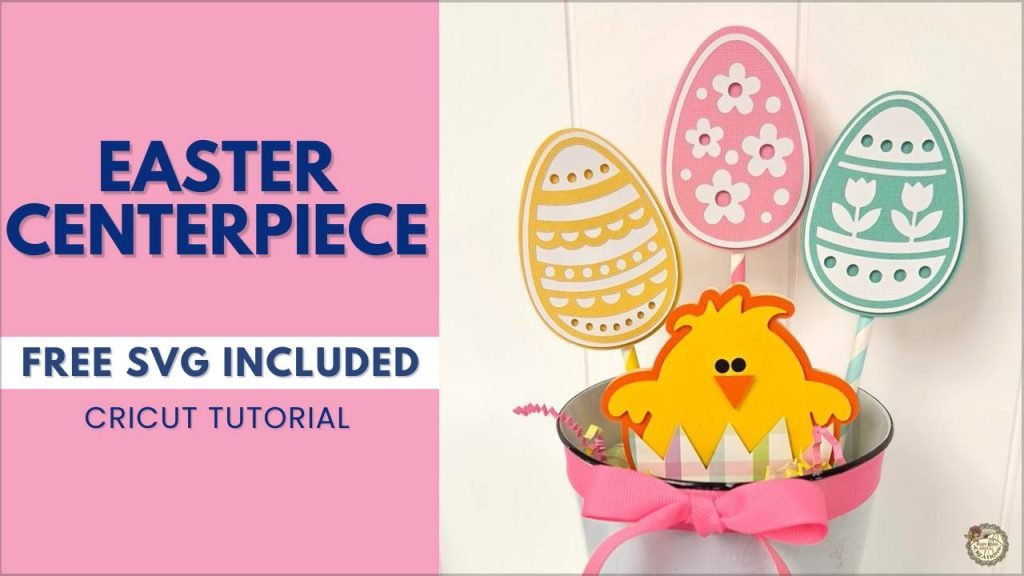
If you want to see exactly how to make this Easter centerpiece, be sure to watch the full video below! I’ll walk you through the whole project from start to finish so you can see exactly how the eggs go together and how I turned them into this cute little Easter display. This one is quick, easy, and such a fun project for spring!
Do you have bunnies from the Dollar Tree? Check out this blog post to see how to make no-sew clothes for boys and girls!
Share your Creations
I can’t wait to see how you use this design in your projects! Be sure to share your creations in our Facebook group.

Are you on Facebook?
Join our group!
We’d love to have you!
All of the Free Files on my website are for Personal and Commercial use. Check out my Terms of Use (TOU) here.

I’d love it if you could take a moment to pin the Free SVG image above to Pinterest. By sharing, you’re helping my business grow, which allows me to keep bringing you the free SVG files you adore. Thanks a bunch for your support. It means the world to me!
Here’s where to find your free SVG download!
Design #274 – Easter Egg SVG Bundle is available in my freebie library. To get the Password, click the button below and Join our Freebie Club!
Love this Free Easter SVG? Try another Fun Cricut Project!

Check out my shop for fun and creative designs you can use in your projects!
Join the Creative Fabrica Membership

Fonts, designs, and so much crafty goodness! Over 16 million digital files are waiting! In partnership with Main Road Digital Creations, your first 10 downloads are totally free. After that? It’s just $47 a year (yep, that’s $3.99/month) with full commercial and POD use included. Sign up for Free!
This is so cute. Thanks.
You’re welcome 😊. Thank you!