
Free Easter Treat Box SVG
How to Make an Easter Treat Box with a Belly Window
This post may contain affiliate links. As an Amazon Associate, I earn from qualifying purchases. Please see my privacy policy for full details.

This week, I’m excited to share my Free Easter Treat Box SVG with you! If you saw my Snowman Treat Boxes from the holidays, you know how much I love a cute design with a fun twist. I thought creating an Easter version with the same belly window idea would be perfect—this time featuring an adorable bunny! This treat box is easy to assemble and great for both new and experienced Cricut paper crafters. Grab the free SVG and follow the simple steps below to make your own Easter Bunny treat box!
Easter Bunny Treat Box – Perfect for Gifting

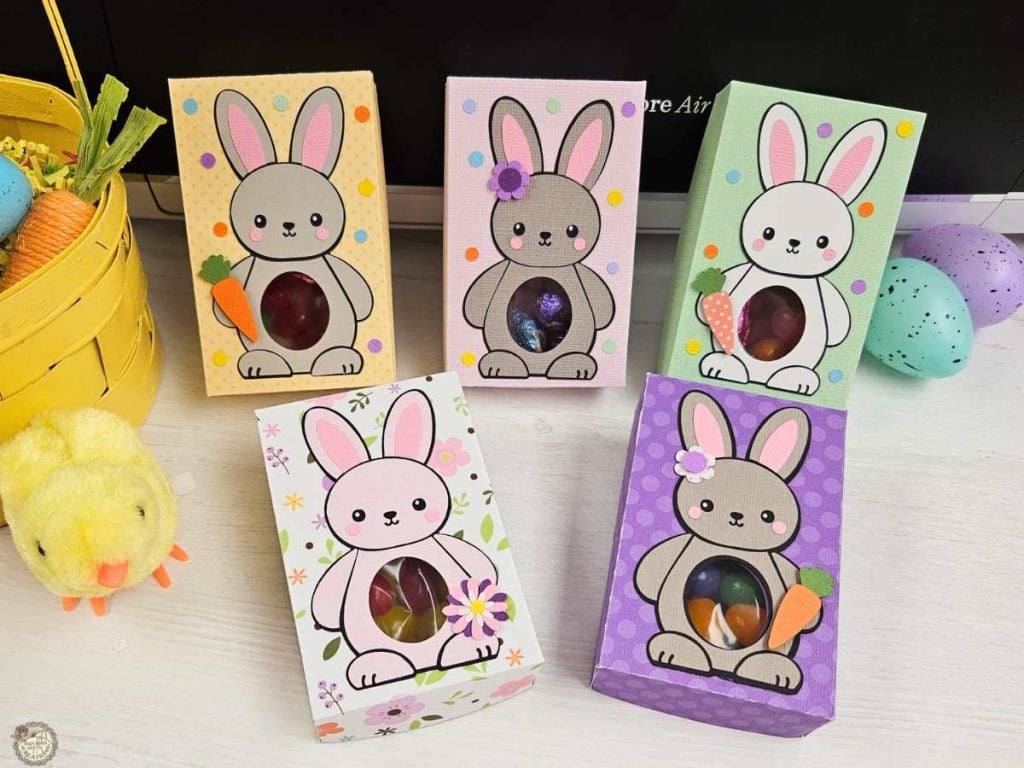
These bunny treat boxes are perfect for gifting! The side view highlights the box’s structure, making it ideal for holding treats, candy, or a small gift card. Great for family, friends, and teachers, these Cricut-made bunny boxes are perfect for adding a smile to your Easter holiday.
Supplies You’ll Need to Make Your Easter Treat Box
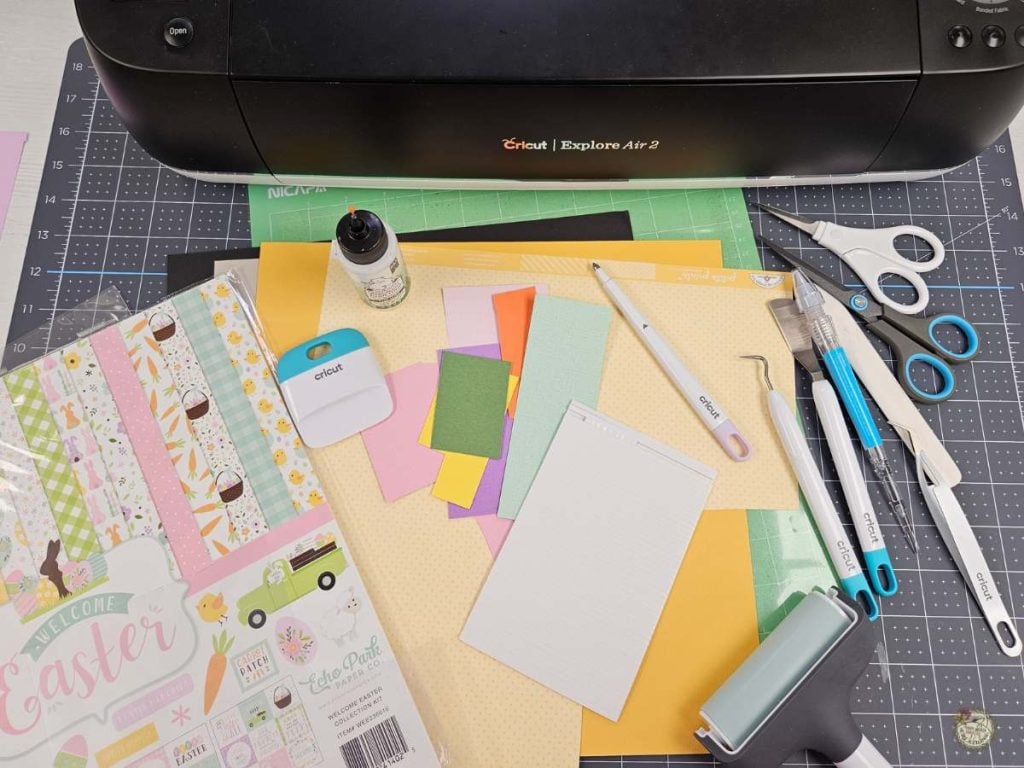
- Cricut – I used my Explore Air 2
- Standard or Light Grip Mat
- Scoring Stylus
- Cardstock -I used 80lb for the box
- Encore brand
- Cricut brand
- Patterned Cardstock
Step-by-Step Easter Treat Box Tutorial
Here’s a step-by-step guide on how to make your Easter Bunny treat box with a belly window. For the complete video tutorial, check it out below to see these steps in action!
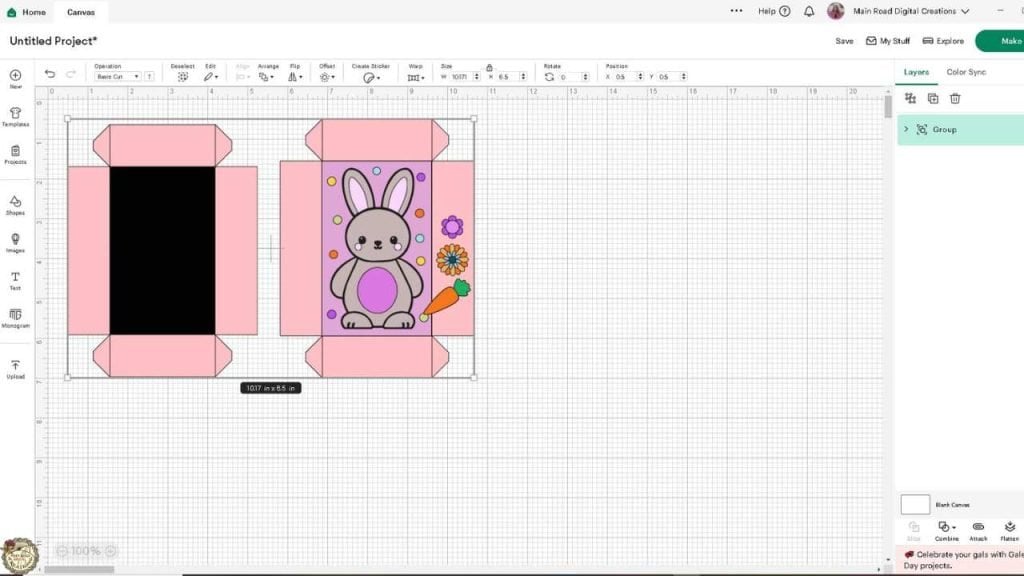
1. Set Up the SVG File – Upload the SVG to Cricut Design Space, ungroup the layers, and move elements aside for easy organization.
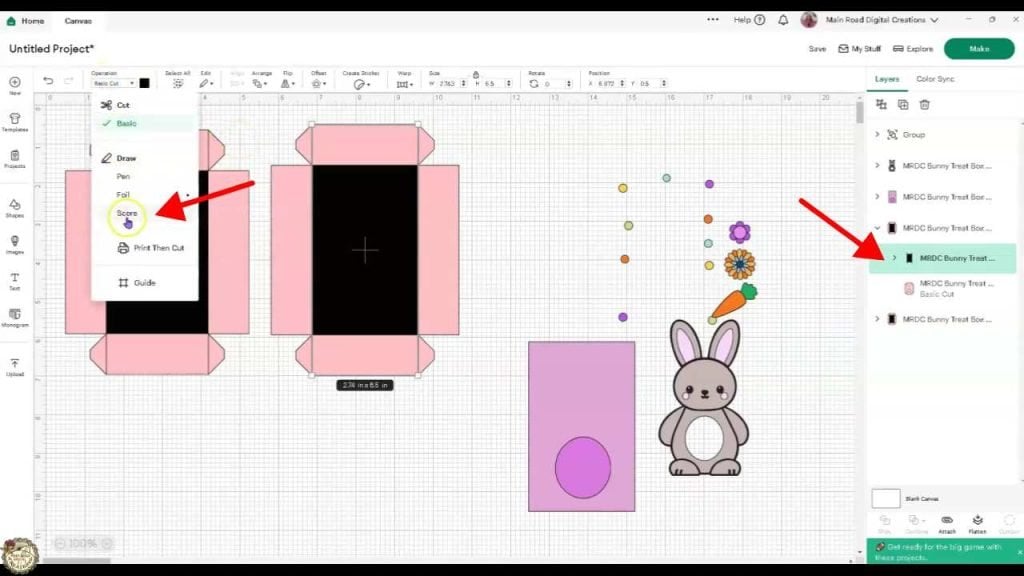
2. Change Lines to Score and Attach – In Cricut Design Space, select the lines that need to be score lines, change their operation to “Score,” and attach them to the corresponding box pieces. This ensures the Cricut will score your fold lines for easier assembly.
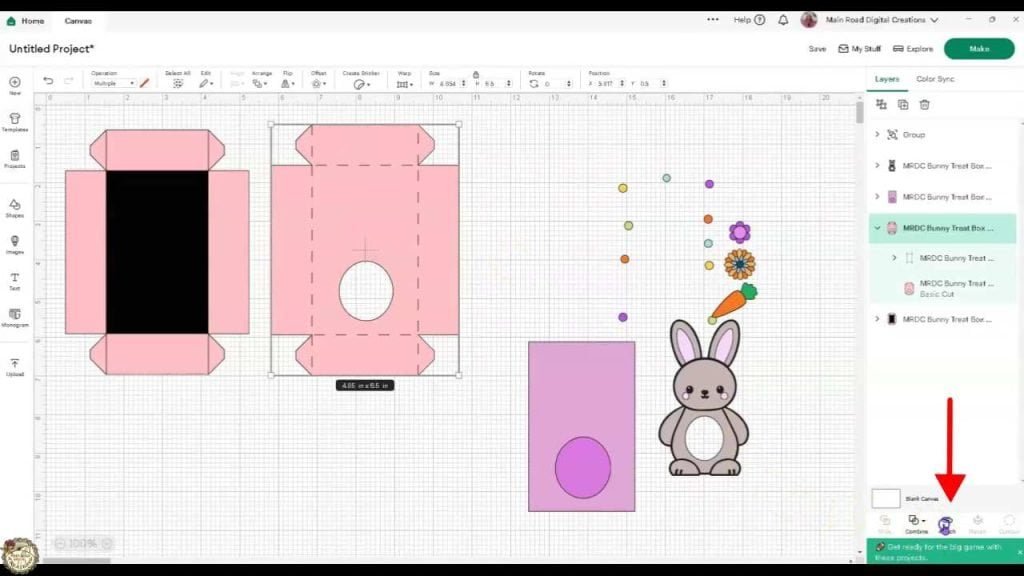
Prepare your mat and add the scoring stylus.
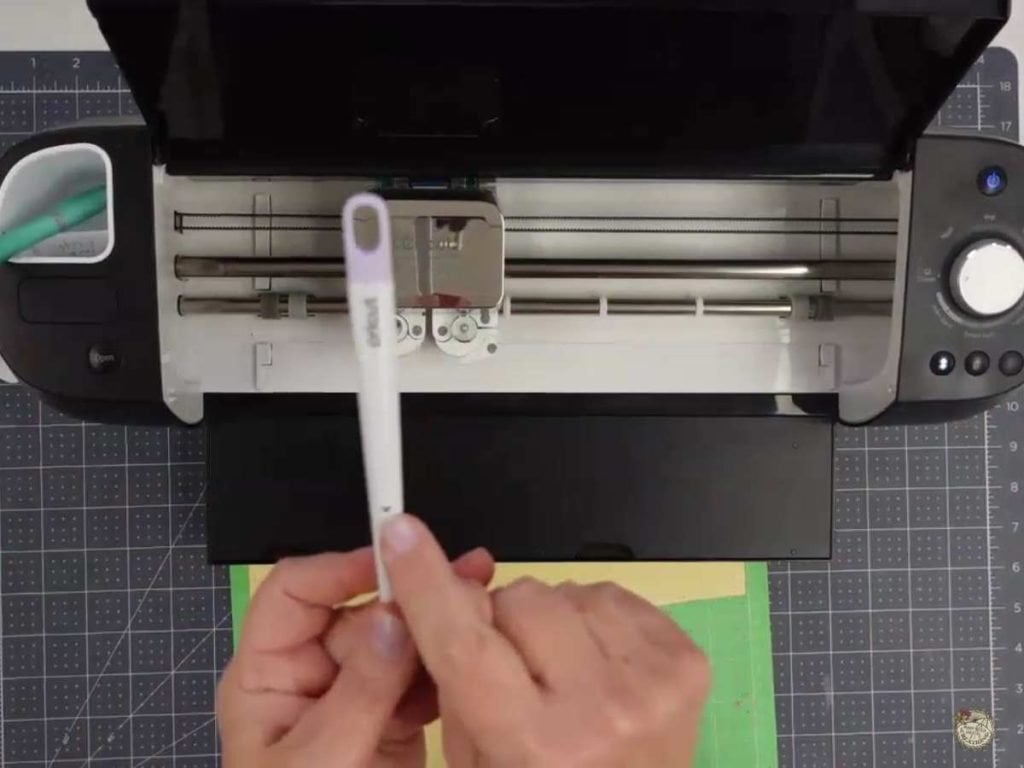
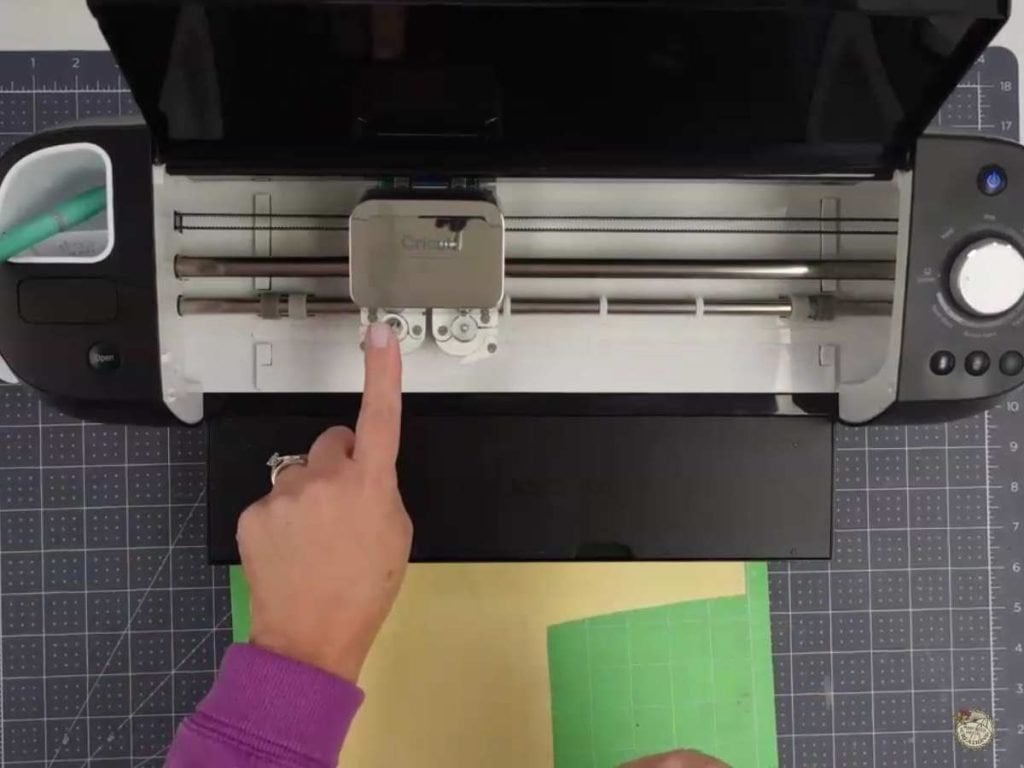
3. Using the Scoring Stylus – Insert the scoring stylus into Clamp A of your Cricut machine by opening the clamp, placing the stylus in, and closing the clamp until it clicks. This will allow the machine to score the lines before it begins cutting.
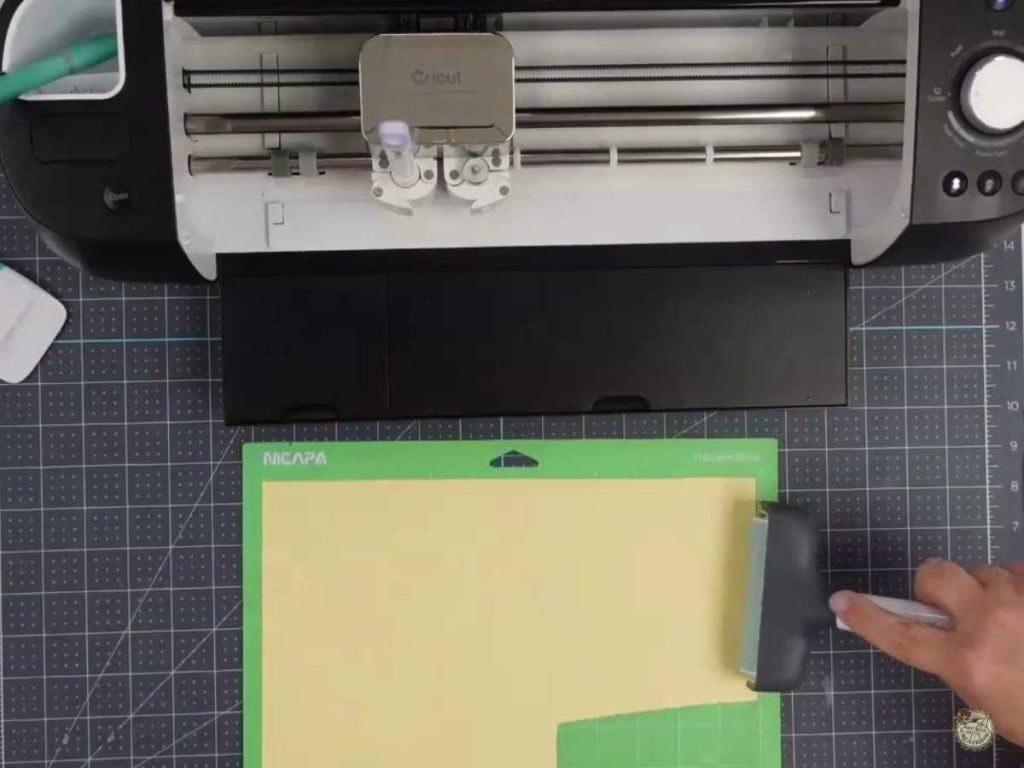
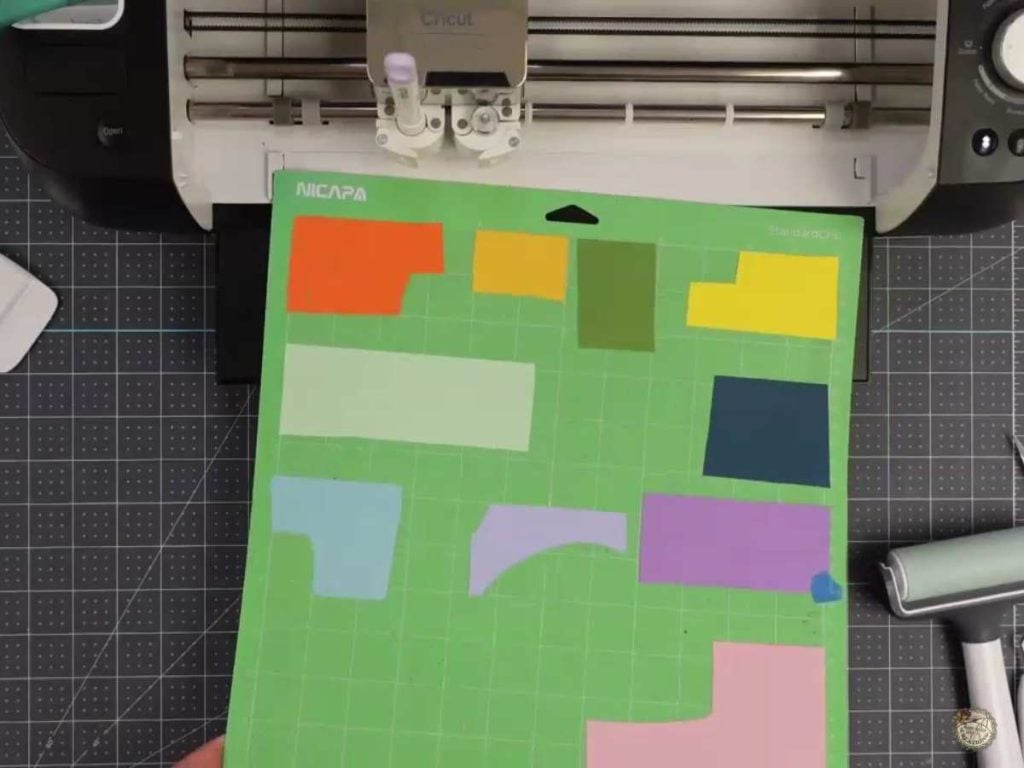
4. Prepare Your Mats and Materials – Place your chosen cardstock and acetate on the appropriate mats. Use a brayer to ensure they are securely adhered, preventing lifting during cutting.
Assemble the Box and Bunny for Your Treat Box.
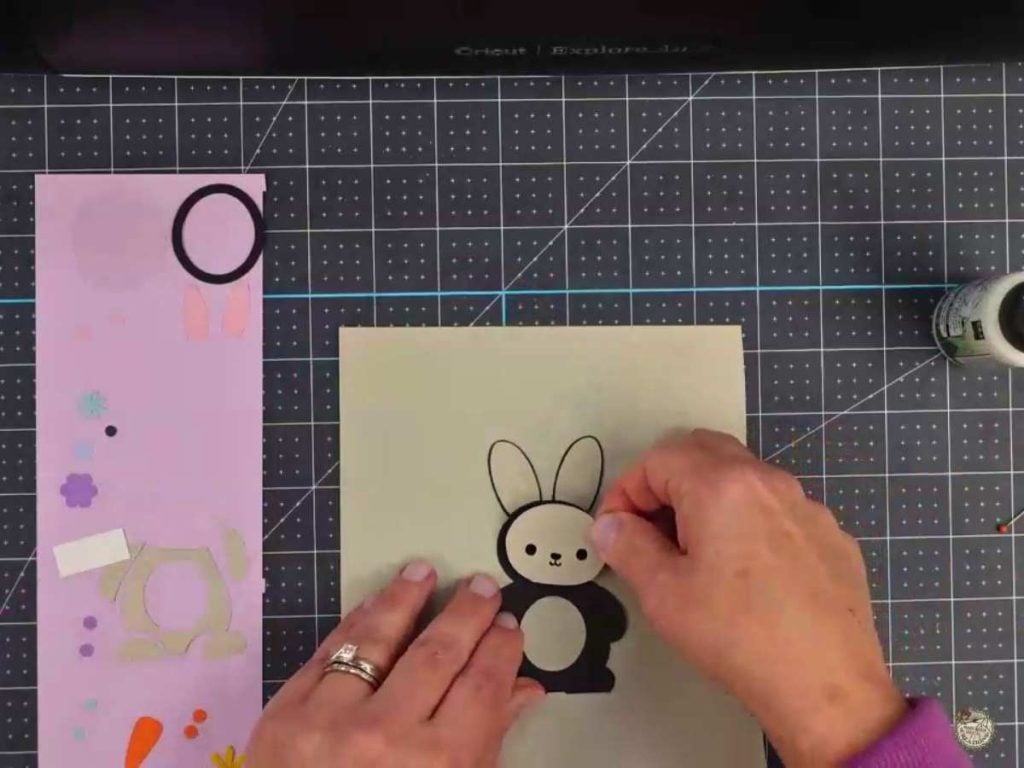
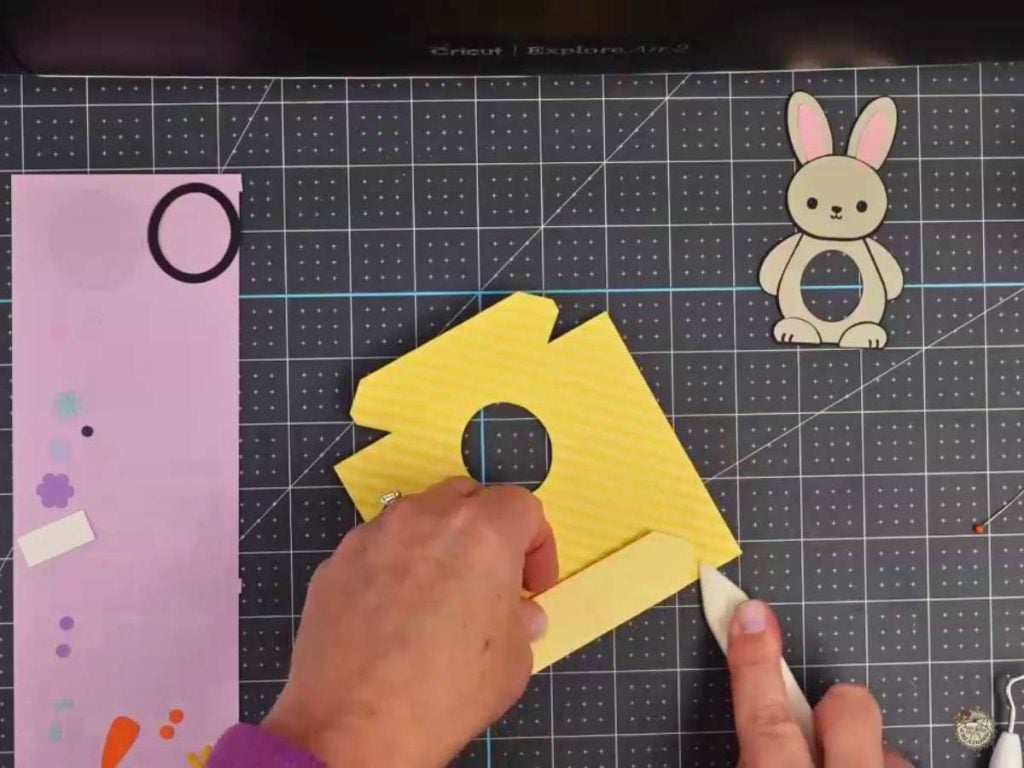
5. Assemble the Bunny – Once your pieces are cut, layer and glue the bunny pieces together. Use a bone folder to make crisp folds on the box pieces.
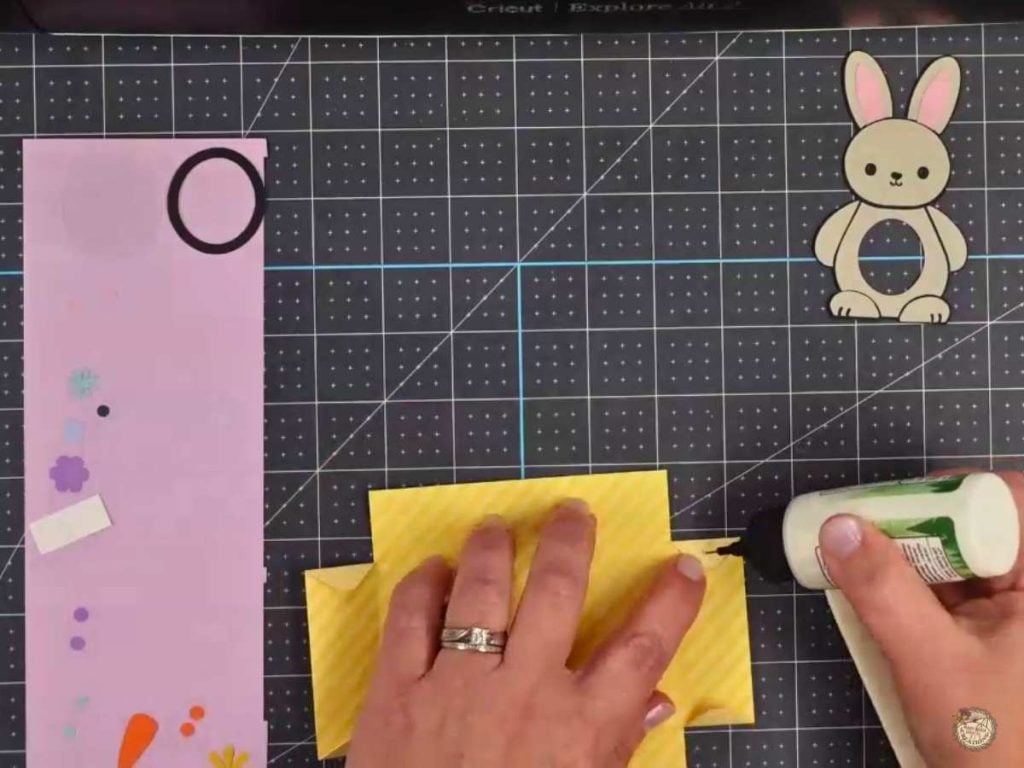
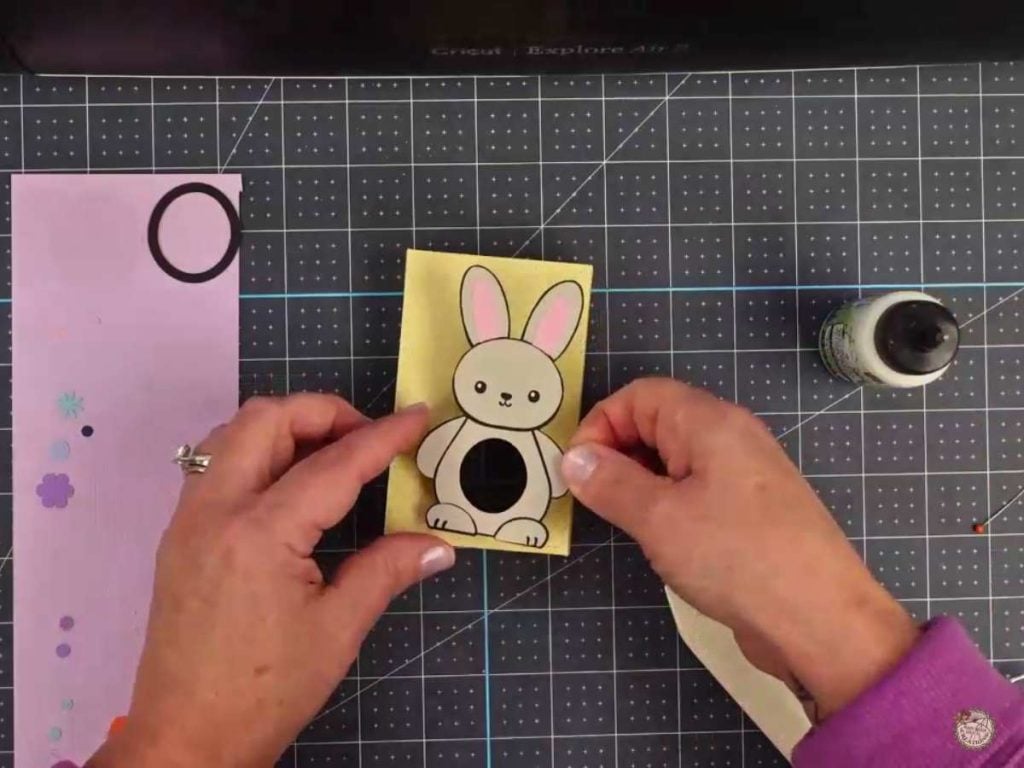
6. Build the Box and Attach the Bunny – Glue the sides of the box together, ensuring a strong hold. Glue the bunny on the top of the box, lining up the belly hole with the hole on the top.
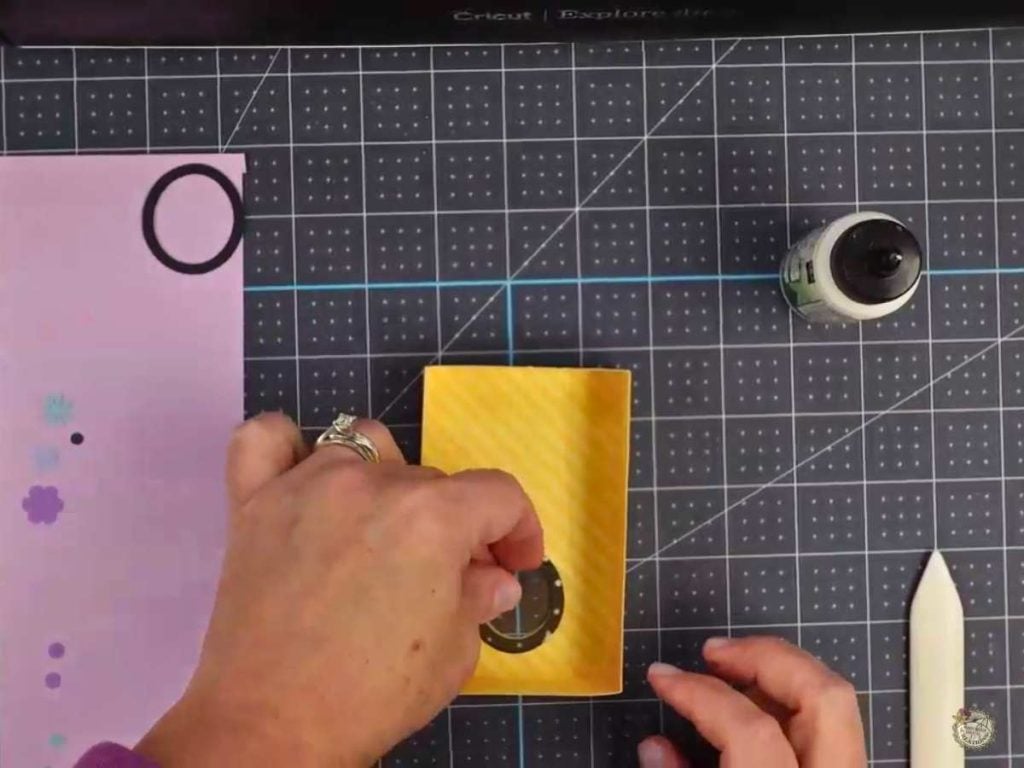
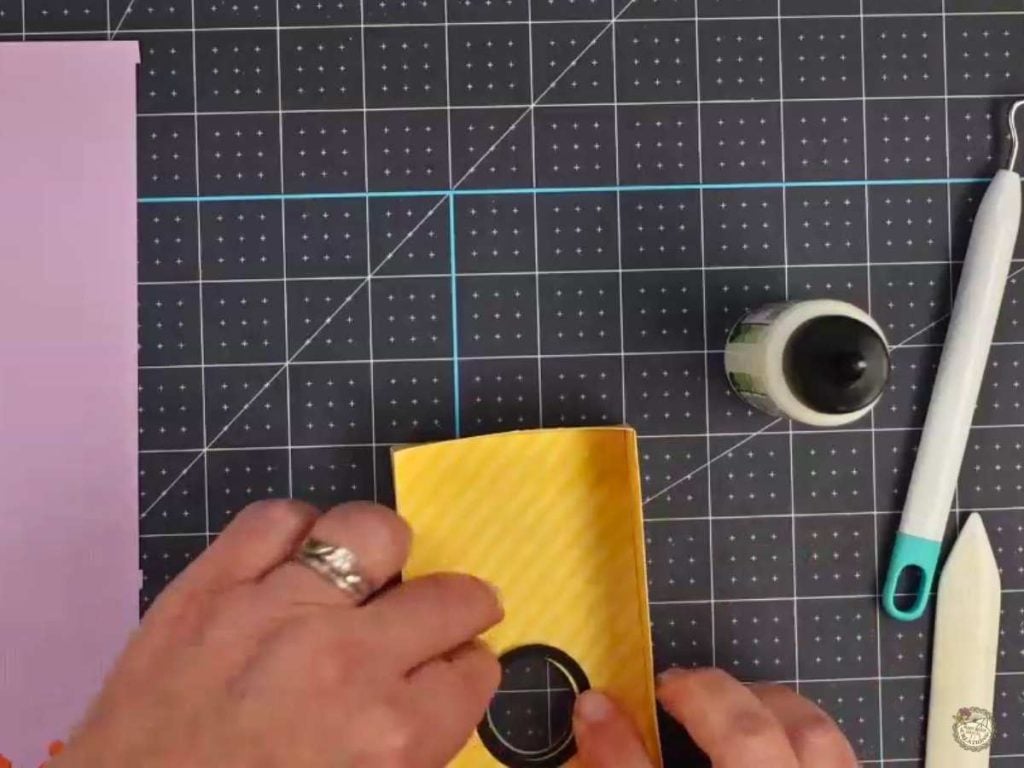
7. Attach the Acetate and Ring – On the back of the top box piece, secure a small piece of acetate over the belly window with dots of glue. Attach the backer piece to give the box stability. Then, glue the ring over the hole on the back for a clean, finished look. This creates a fun see-through spot for treats to peek through!
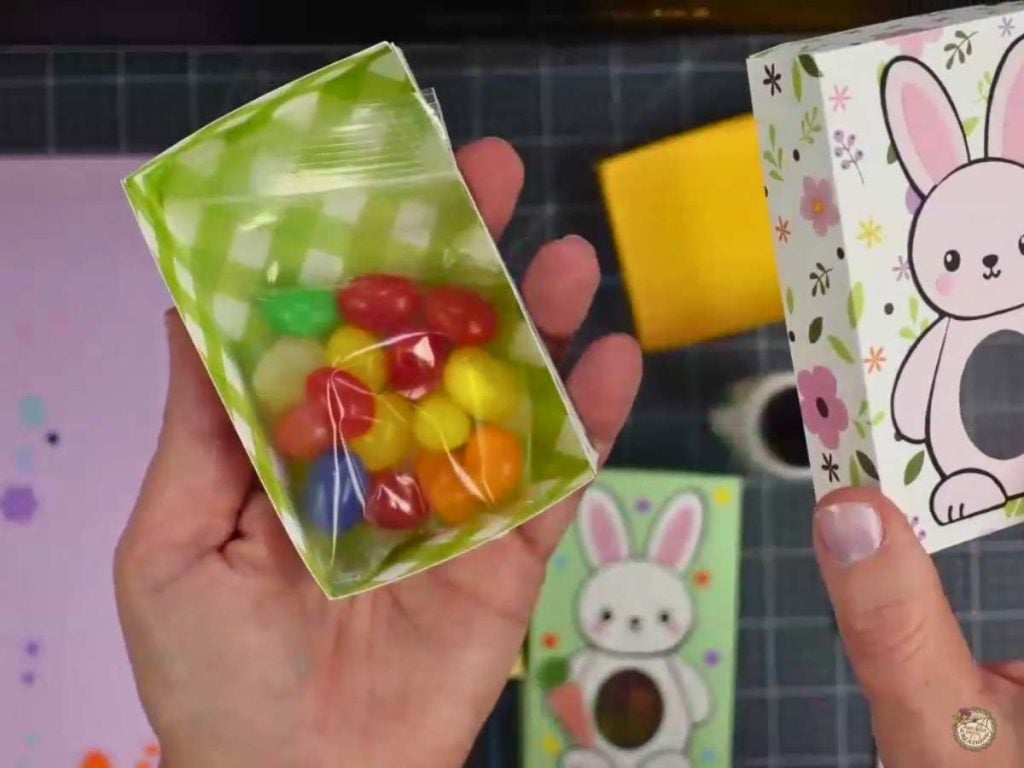
8. Add Treats – Fill the box with your favorite Easter treats, like jelly beans or a small gift card. Your Easter Bunny treat box is ready to go! Find the bag information in the supply list above.
Spread Easter Joy with DIY Bunny Treat Boxes
These treat boxes are perfect for adding some Easter charm to your holiday celebrations. Whether you’re making them for craft fairs, gifting to friends and family, or just adding a cute touch to your Easter basket, these bunny boxes will surely bring a smile to anyone’s face.
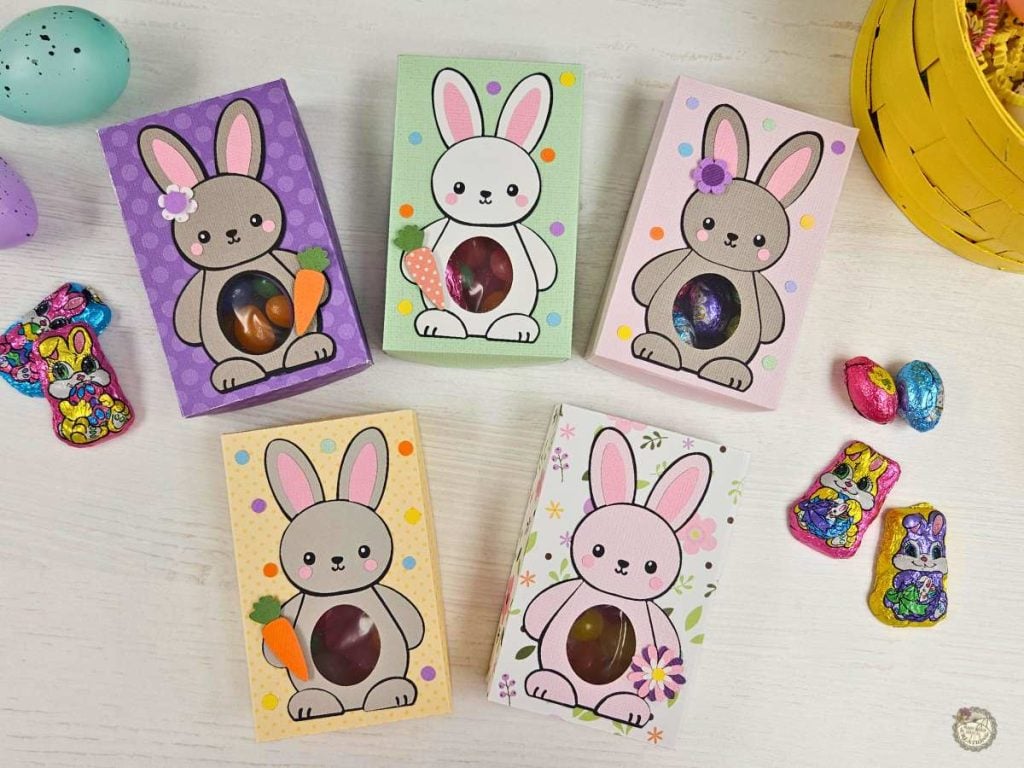
Customize your colors to match your style. Don’t forget to show off your finished treat boxes in our Facebook group. I’d love to see your creations!

Are you on Facebook?
Join our group!
We’d love to have you!
Video Tutorial: How to Make Your Easter Treat Box
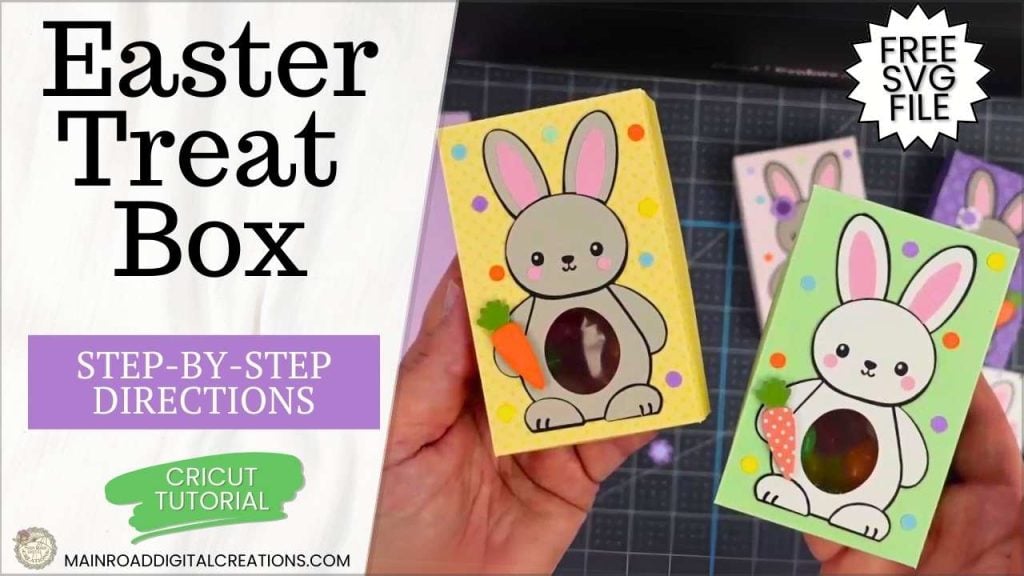
Check out the full step-by-step video tutorial below to see how to create your own Easter Bunny treat box with a belly window!
All of the Free Files on my website are for Personal and Commercial use. Check out my Terms of Use (TOU) here.

I’d love it if you could take a moment to pin the Free SVG image above to Pinterest. By sharing, you’re helping my business grow, which allows me to keep bringing you the free SVG files you adore. Thanks a bunch for your support. It means the world to me!
Here’s where you can find your Free SVG download!
Design #238— Easter Treat Box SVG files are available in my freebie library. To get the Password, click the button below and Join our Freebie Club!
If you enjoyed this week’s Free SVG & Cricut tutorial, here’s another you will love!

Check out my shop for fun and creative designs!


Join the Creative Fabrica Membership

Fonts, designs, and so much crafty goodness! Over 16 million digital files are waiting! In partnership with Main Road Digital Creations, your first 10 downloads are totally free. After that? It’s just $47 a year (yep, that’s $3.99/month) with full commercial and POD use included. Sign up for Free!
Happy Crafting!
adorable Easter treat boxes!!
Thank you so much! I’m so happy to hear you like them. I appreciate your comment and kindness. Happy crafting, Lynn! 😊
These Easter boxes are adorable & look like just. like a store box product. Thank you for the free SVG file & your offer to join your online group. I just signed up & am awaiting approval. Thanks again Tracy.
Jojo
Thank you so much for your wonderful comment! I really appreciate your feedback and kindness. 🥰 See you in the group! Happy crafting, Jojo!
In your You Tube video for the Easter boxes, you asked us what we were creating. I decided to stick to two New Years resolutions & so far, have been sticking to them.
One was to create a list of all upcoming holiday, b-day, sympathy, get well, thinking of you cards & etc in 2025, at every opportunity I had any free time. So far, I have created about 20 cards & counting. I notice that I am enjoying it more, since I don’t feel rushed to get it done.
I also made a list of friends & family that I like to keep in contact with by phone, however, sometimes I miss the opportunity. I cut them out & added them to a jar that I pick out one or two a week, at random a name & make sure I give them a call. I have brought more joy into my life & it’s a commitment that can easily be done by most.
That’s a wonderful idea! Thank you for sharing. 🥰
Thank you for sharing your creative genius! I have enjoyed making many of your projects and I love to see your next idea!! I really like your vibe and the fact your style is totally real and unapologetic . It’s just so comfy crafting, so, calming. Like craft Zen…. You’re the Judy Collins of crafting, ya know?…
Thanks again and keep being amazing!!!!
Steph
Wow, Steph! Your comment seriously made my day! 🥰 I love that you feel that kind of connection to my projects—craft Zen? That might be the best compliment ever! 😊 Thank you for your kindness and support. It truly means the world to me. Happy crafting, and I can’t wait to share more fun projects with you! ❤
These boxes are the cuttest.
Thank you so much for sharing this insparation.
I have so much things to do, but I decided to stop right there and make one box.
You’re welcome.😊 Thank you for your comment. Happy crafting!