
Free Bee Gift Card Holder SVG
How to Make a Bee Gift Card Holder
This post may contain affiliate links. As an Amazon Associate, I earn from qualifying purchases. Please see my privacy policy for full details.

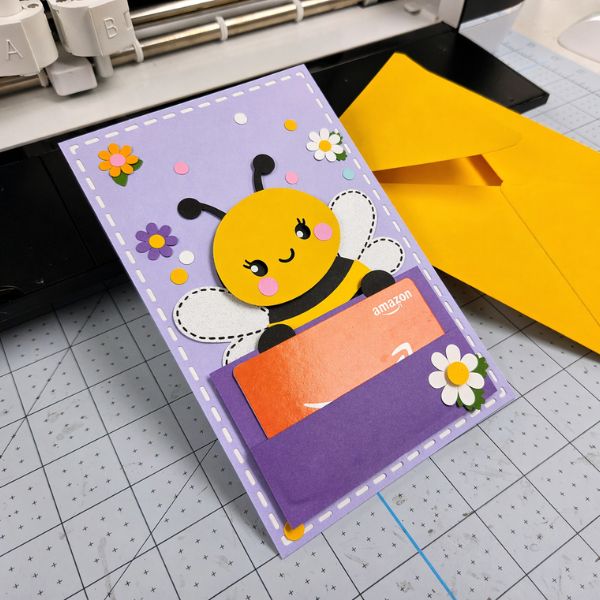
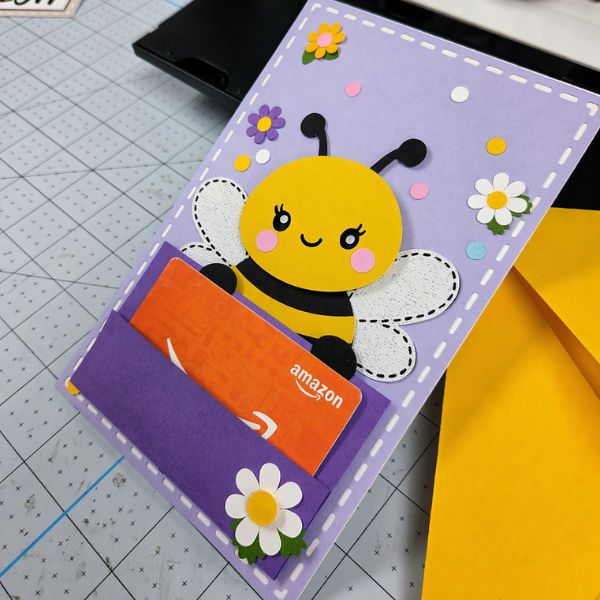
This Free Bee Gift Card Holder SVG is such a fun way to dress up a gift card for Mother’s Day, birthdays, teacher gifts, or a cute spring/summer surprise. I made this one with cardstock, a sweet little bee, and a matching envelope, and it comes together with simple layers that are easy to cut and assemble with your Cricut.
Pick Your Favorite Color Combo
One of my favorite things about this bee gift card holder is how easy it is to switch up the colors and make it look completely different. The soft purple, bright yellow, and little flower details are so fun together, but this would also be really cute with patterned paper. A bee print, honeycomb pattern, or other fun spring and summer papers would all work great for the background or the pocket.
I found this free bee digital paper bundle, and it would be a fun way to give your project a totally different look without changing the design itself!
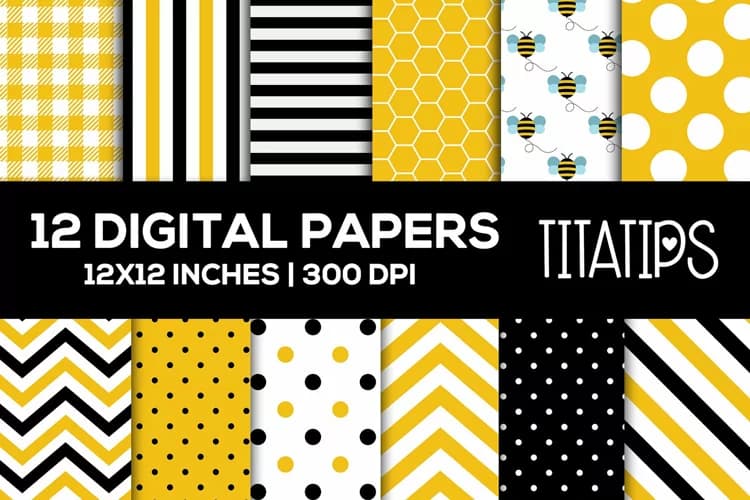
This bee-themed digital paper bundle was free at the time this blog post was published.
Supplies for the Bee Gift Card Holder
Grab your cardstock, glue, foam tape, scoring stylus and a few basic Cricut tools, and you’ll be ready to make this cute little project. I used a mix of scraps and 12 x 12 cardstock, so this is a great stash buster too!
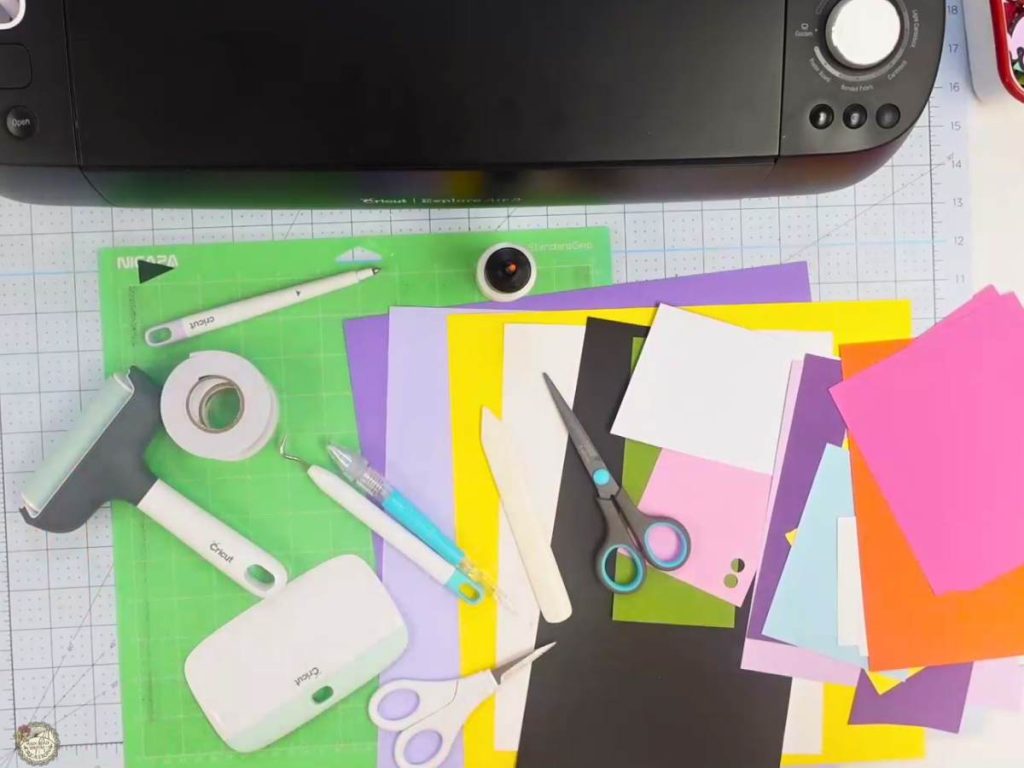
- Cricut-I’m using my Explore Air 2
- Standard/Light Grip Mat
- Scoring Stylus
- Brayer
- Cardstock- mostly scraps– my favorites:
How to Make the Bee Gift Card Holder
Upload the Bee Gift Card Holder SVG into Cricut Design Space
When you upload the bee gift card holder SVG into Cricut Design Space, it will appear on your canvas with both the gift card holder and envelope grouped together. Ungroup them.
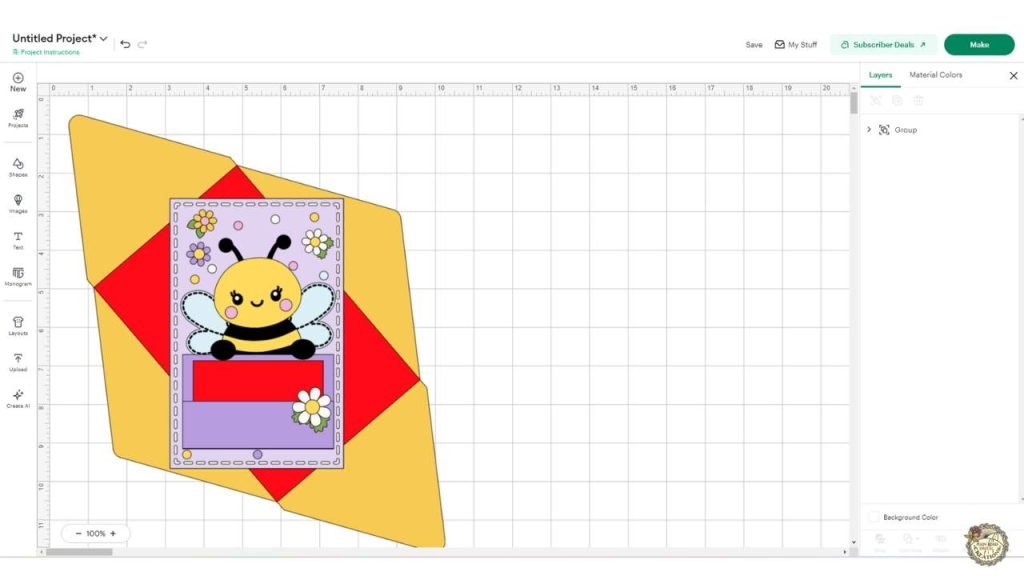
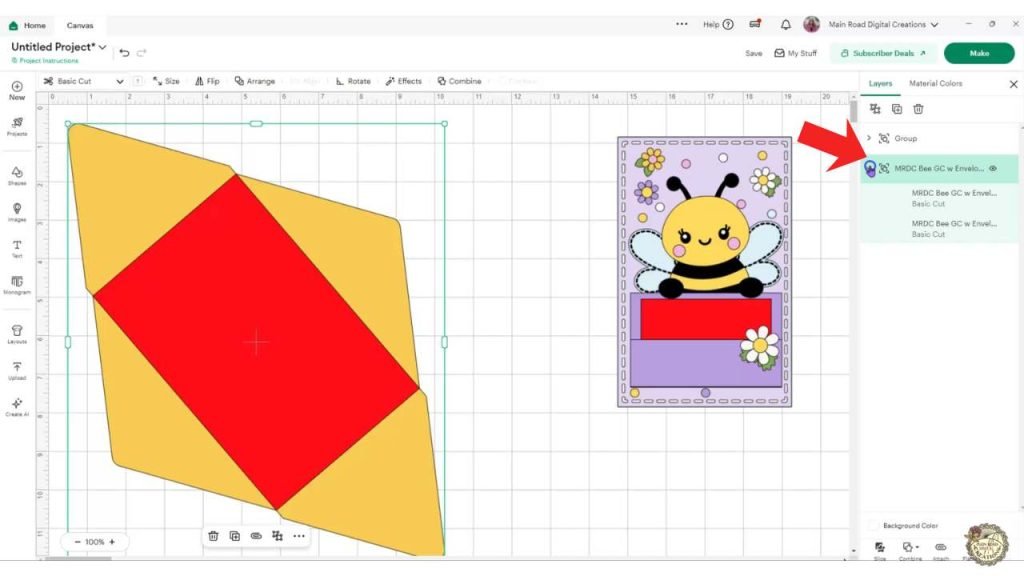
Change the Envelope Layer to Score and Attach It
Before cutting the envelope, click on it, then in the drop-down menu, click the red rectangle.
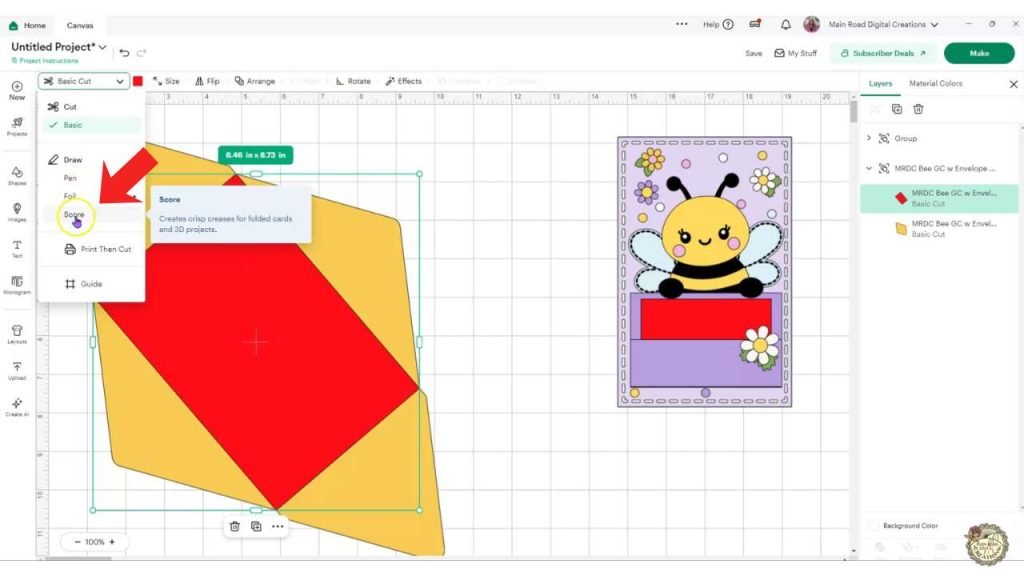
Go to the top left of your screen and find where it says “Basic Cut”. Drop that menu down and click on “Score”.
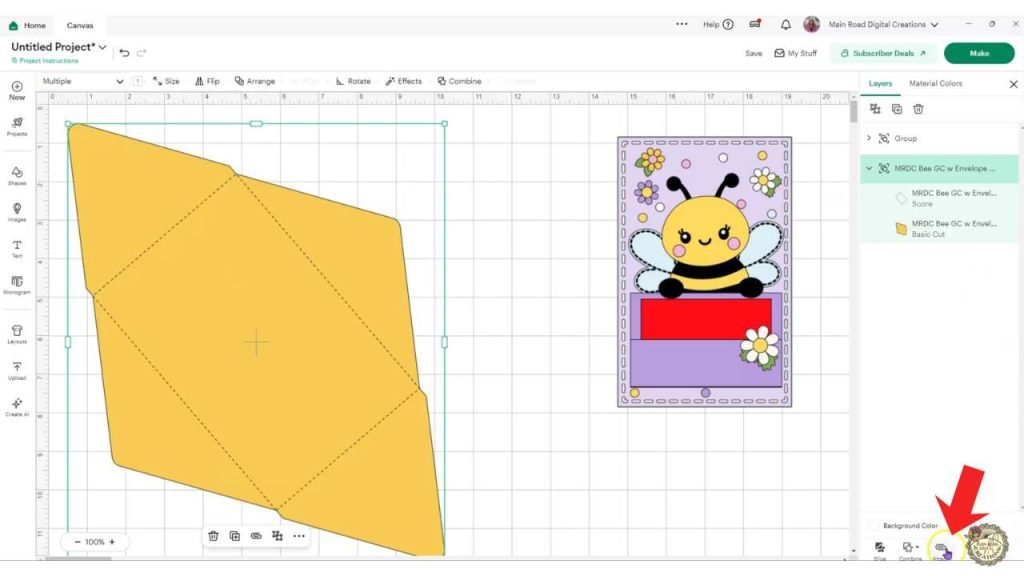
After that, select both envelope pieces and click “Attach” so your Cricut knows to score first, then cut the envelope in the correct place.
Loading the Scoring Stylus into Clamp A
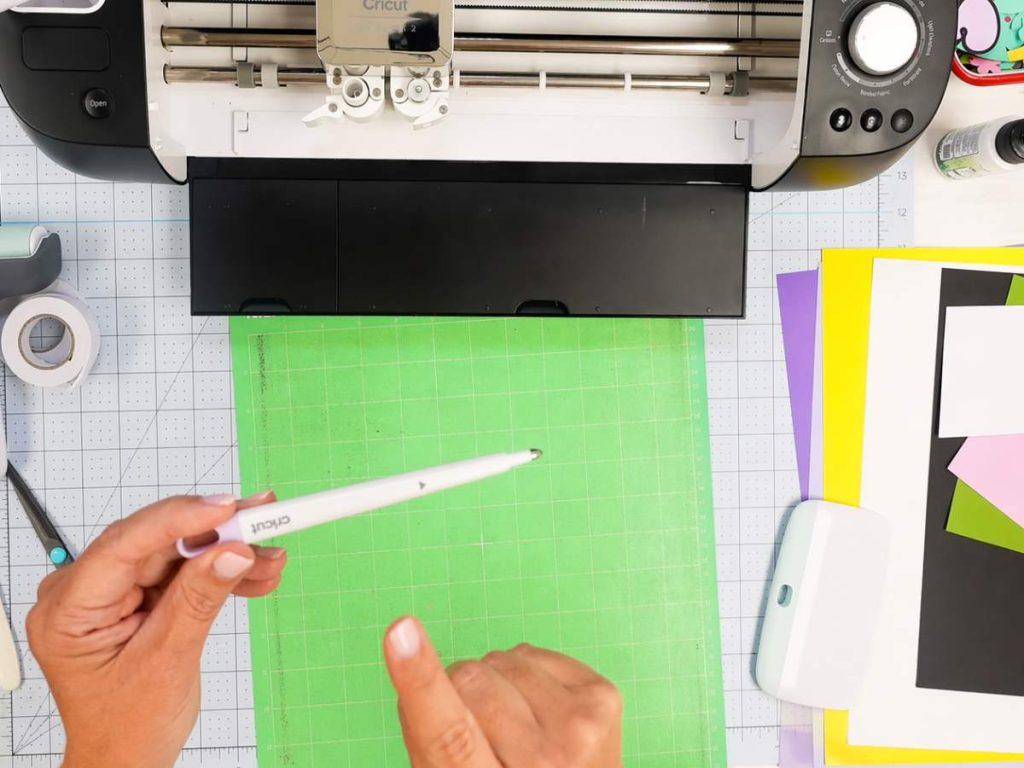
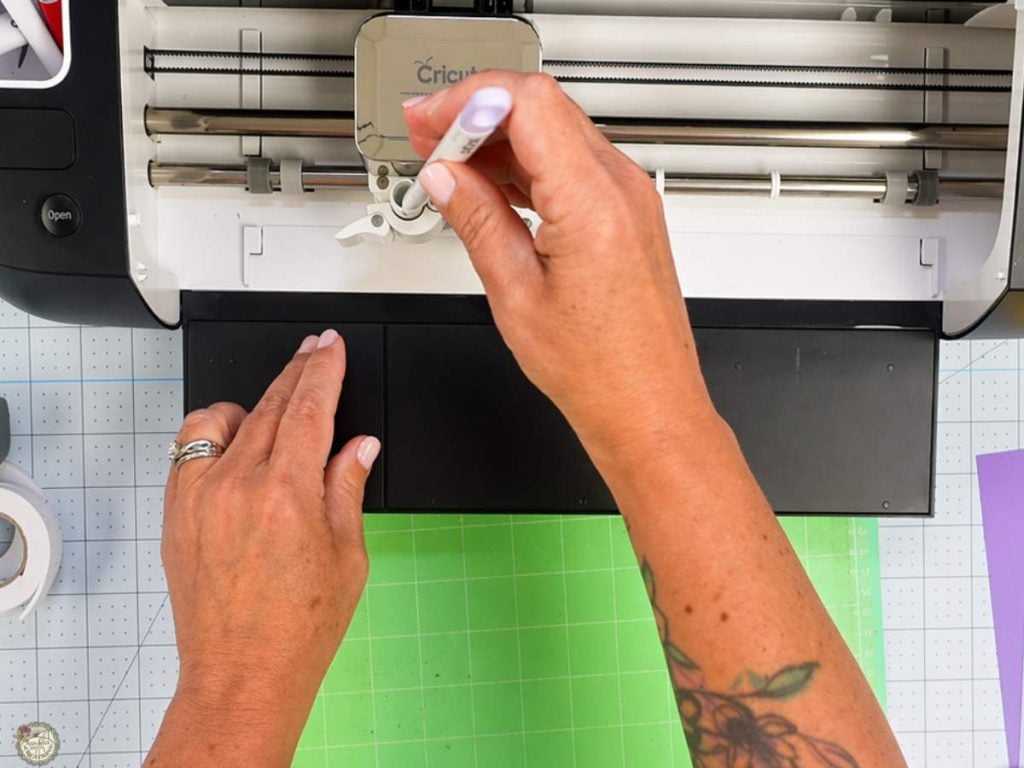
Before you start cutting, go ahead and place your scoring stylus into clamp A on your Cricut. I like to put mine in first so I don’t forget it later when it’s time to score the cardstock. Just open the clamp, slide the stylus in, and close it back up.
Use a Brayer to Press the Cardstock to the Mat
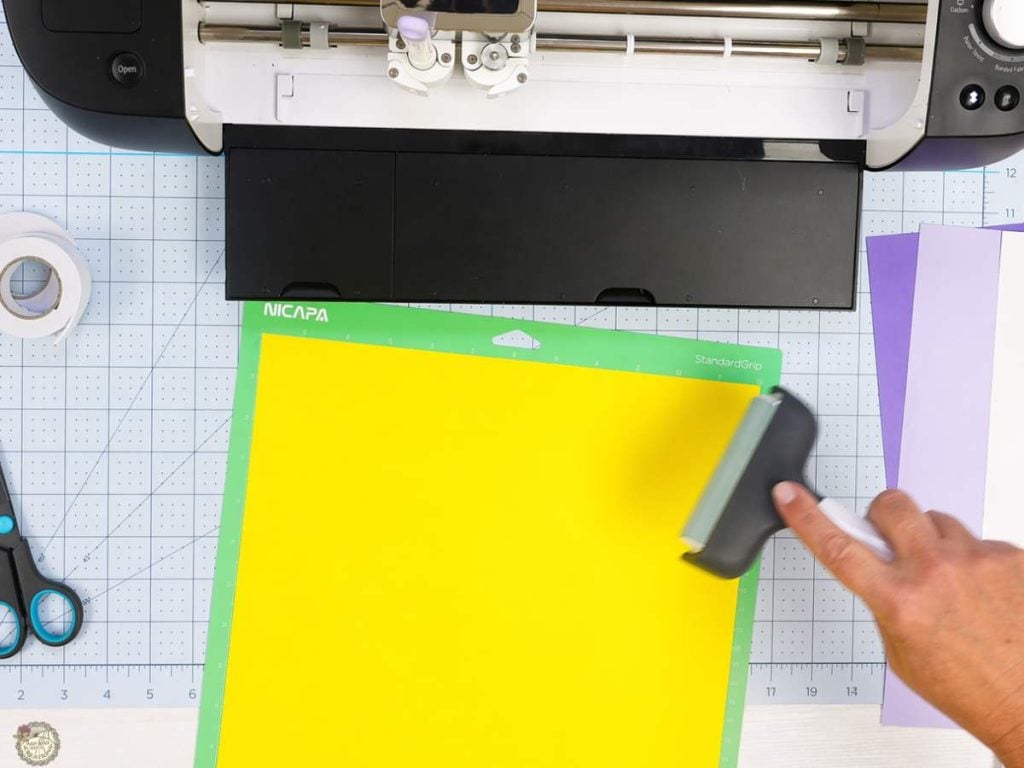
Once your cardstock is on the mat, use a brayer to press it down well before cutting. This helps the cardstock stick more evenly and can make a big difference, especially when you’re cutting smaller pieces or anything with detail. It’s a quick little step, but it really does help.
Lay Out the Bee Pieces and Check the Direction First
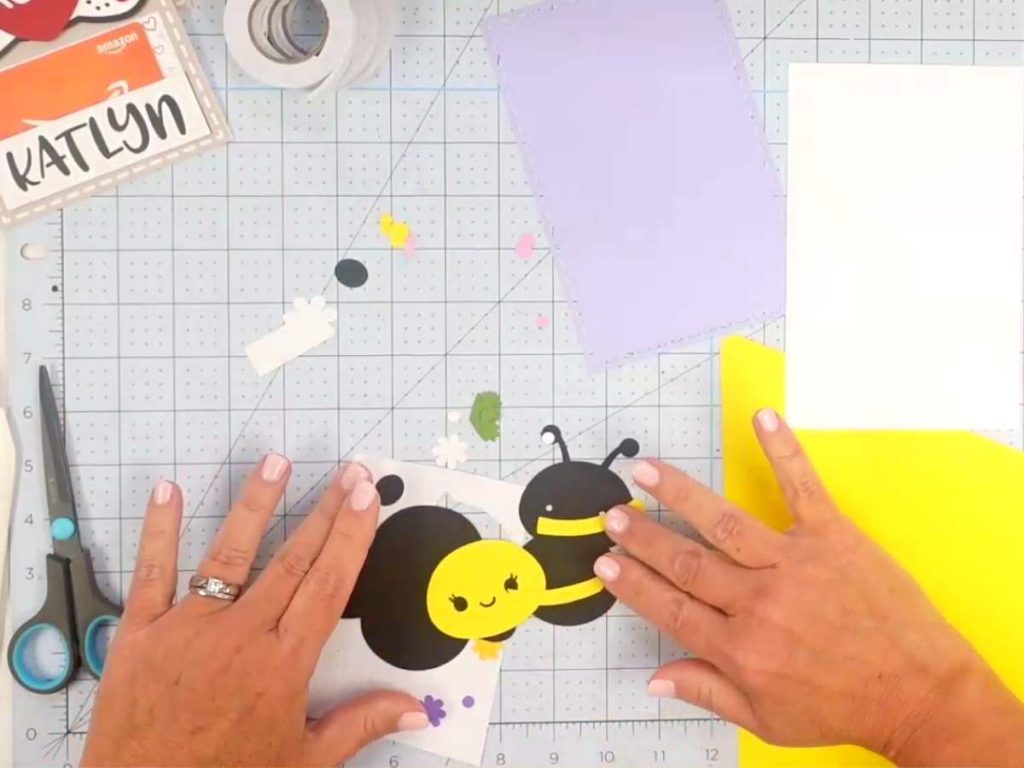
Before gluing anything, it helps to lay out the bee pieces and make sure everything is facing the right way. I like to take my pieces off the cutting mat and keep them in order as much as I can because it makes assembly a whole lot easier and saves my brain from thinking harder than it needs to. It also helps you double check the wings, body, and little face pieces before you start gluing.
Glue the White Rectangle to the Back of the Bee Body
Start by gluing the white layer to the back of the bee doy. I like to put the glue on the back of the black bee piece instead of the white layer, so I don’t accidentally get glue where it might go through the eye openings.
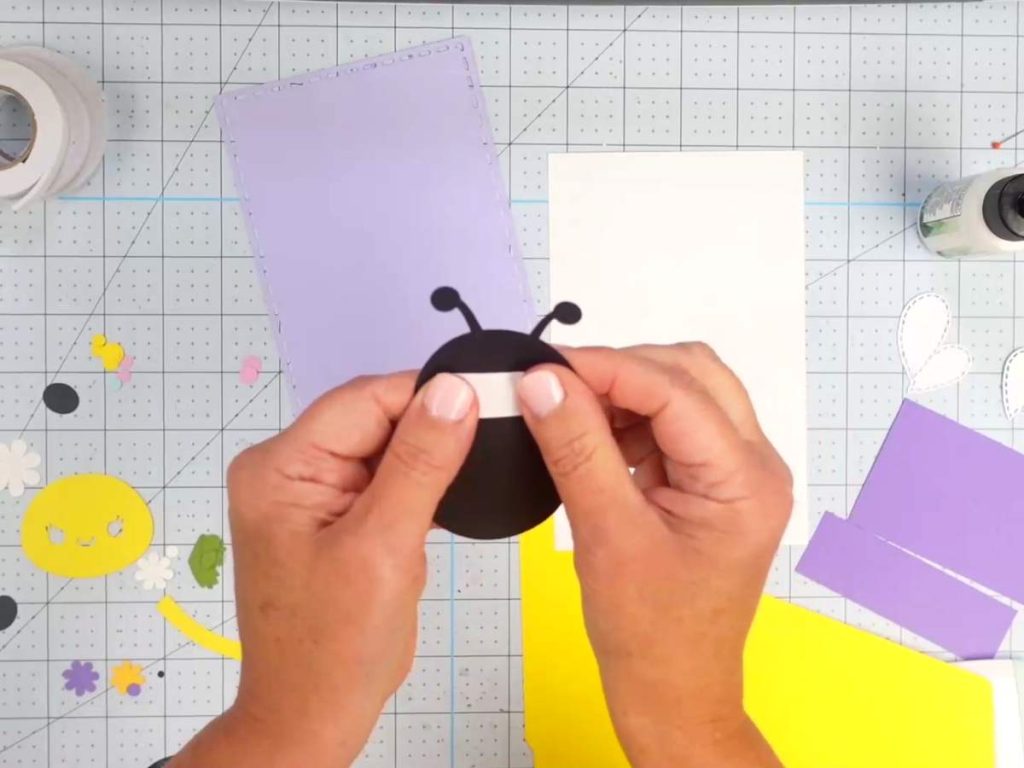
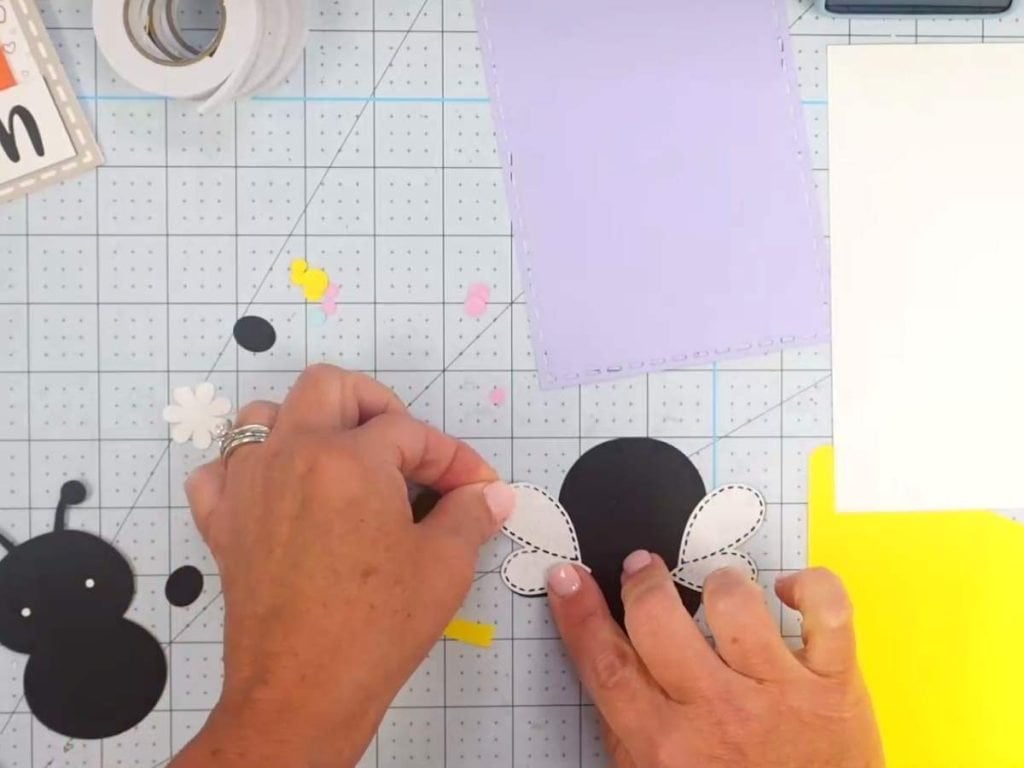
Next, glue the wings onto the bee’s body. Double check that they are turned the right way before pressing them down, so everything lines up the way it should.
Add Foam Tape to the Bee Head and Glue on the Cheeks
To give the bee a little dimension, add foam tape to the back of the head piece before attaching it. Then glue on the cheeks and line them up where you want them. A pick-up tool really helps here since those little pieces can be a pain to pick up.
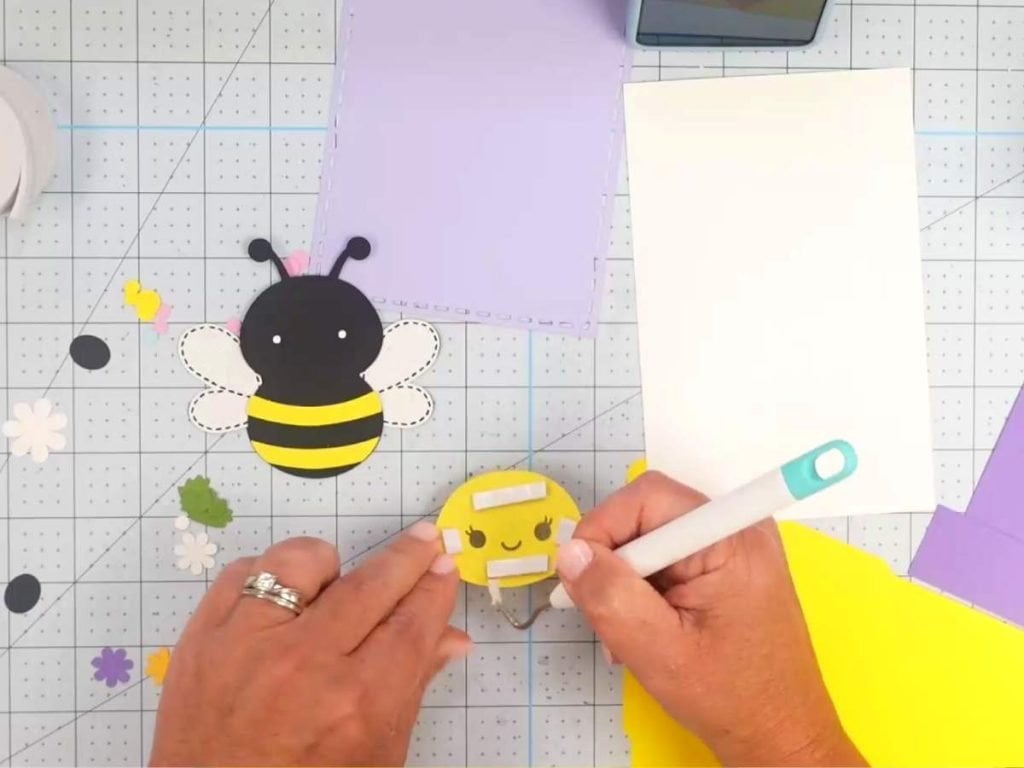
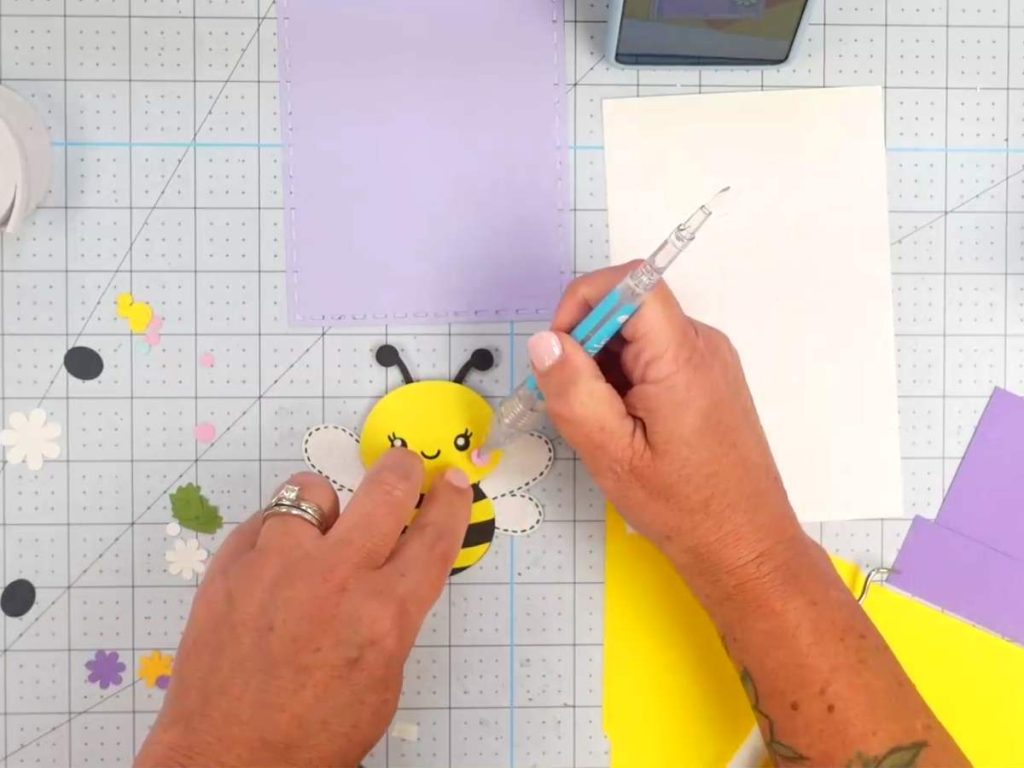
Fold the Envelope Along the Score Lines
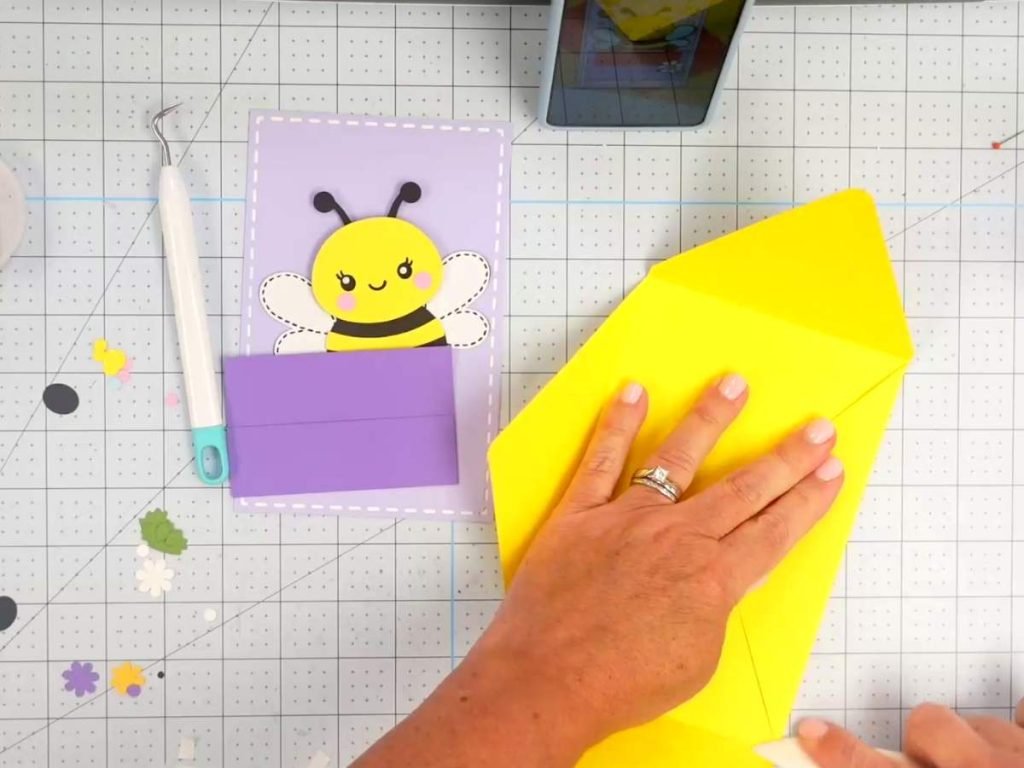
Fold the envelope along the score lines. I like to fold everything first and then go back over the creases with my bone folder to make them a little sharper. It only takes a minute, but it makes the envelope look a lot cleaner when it’s finished.
Glue the Flowers and Add the Details
For the flower details, you can add foam tape to give a bit of dimension. I added it to the center of one. Glue the remaining flowers and dots onto the card wherever you like. I take a picture of the SVG with my phone, and refer to it as I’m crafting, so I can see where to place items as I assemble everything.
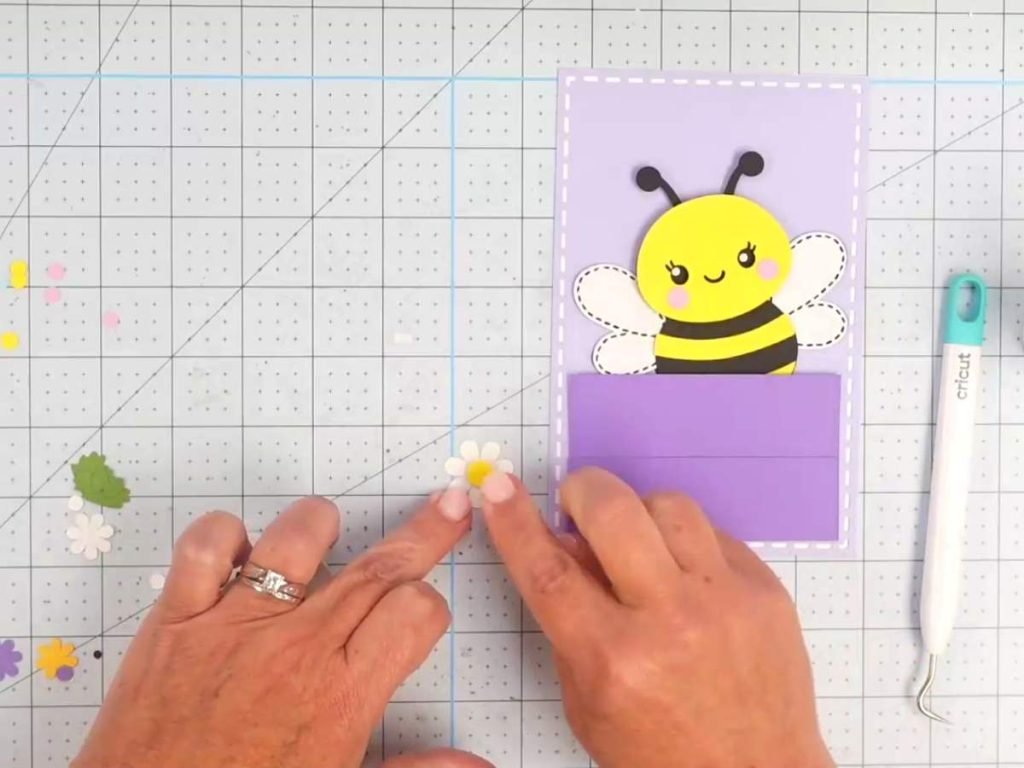
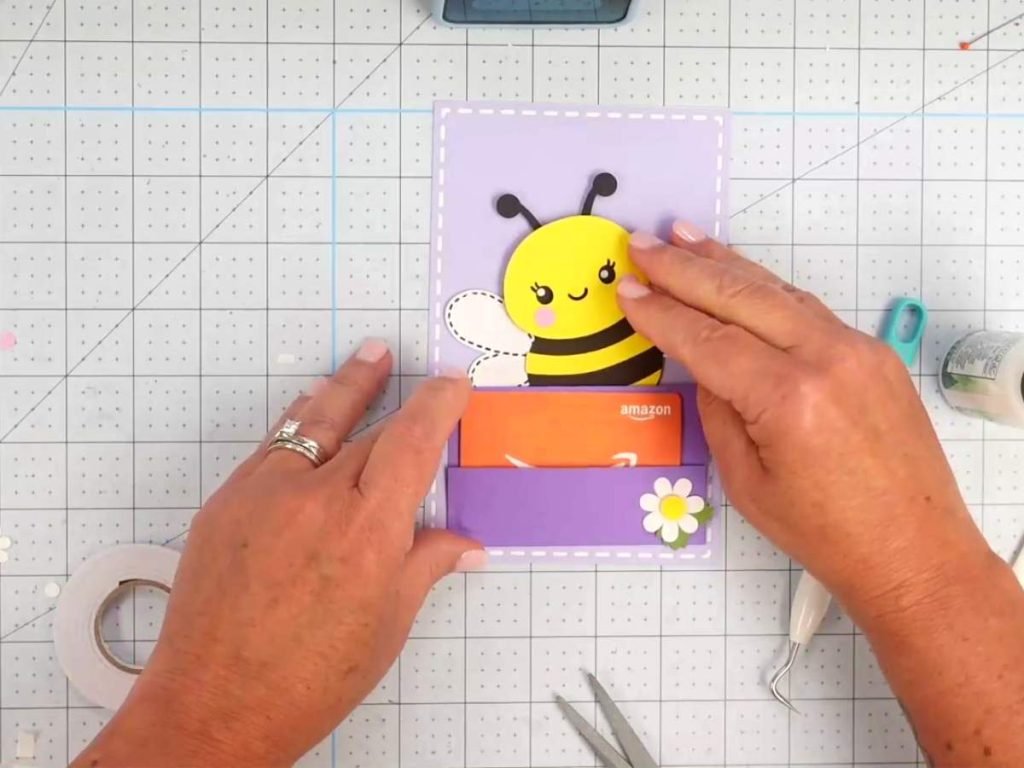
Before gluing down the extra flowers, set the bee and gift card holder pieces in place so you can see where everything will land. That makes it a lot easier to decide where to add your flower details without covering them up or hiding them behind the bee or pocket.
Add Foam Tape to the Gift Card Holder
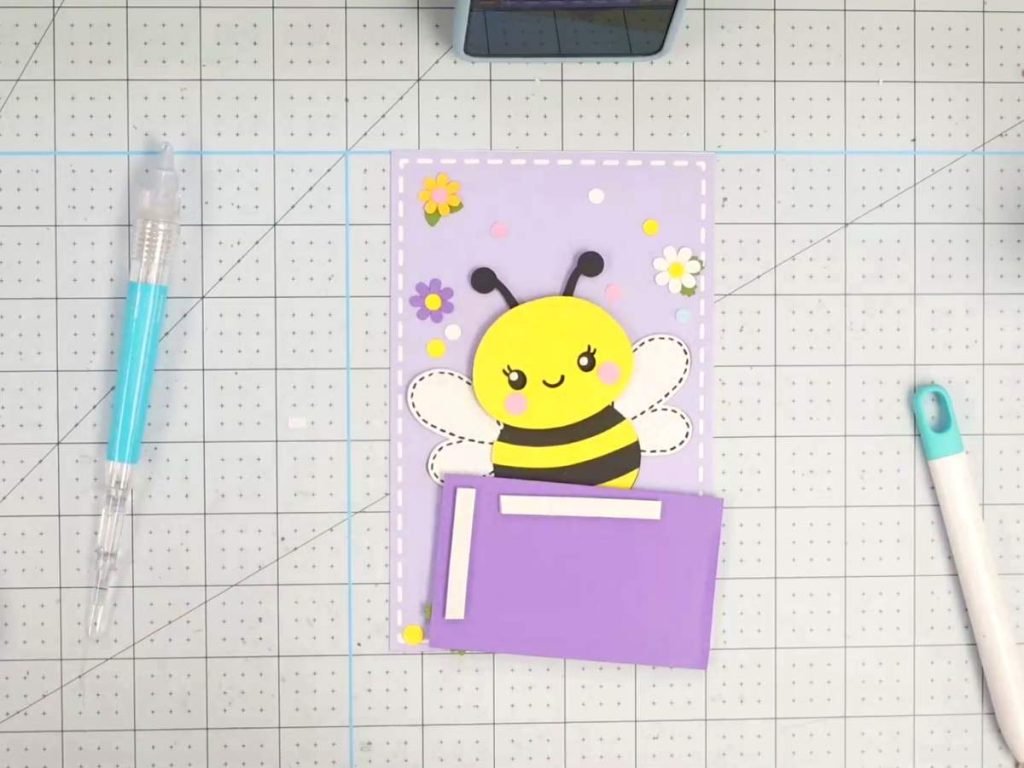
Add foam tape to the back of the gift card holder to give it a little dimension. Just keep in mind that you do not want to make it too thick since the finished project still needs to fit in the envelope. After that, glue the bee’s little hands on top so it looks like he’s holding the gift card holder.
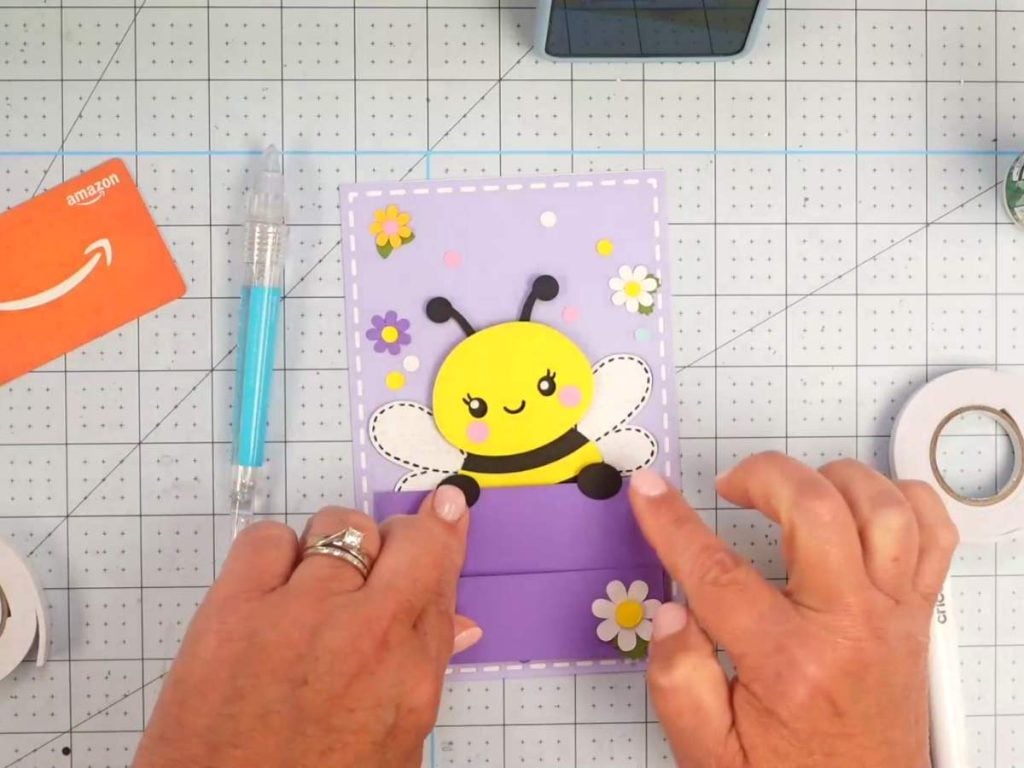
Slide the Gift Card into Place and Finish the Project
Once everything is glued down, slide the gift card into the holder, and your project is ready to go. This is the fun part where it all comes together, and you can really see the finished design! The little bee, flowers and envelope make it such a cute way to dress up a simple gift card.
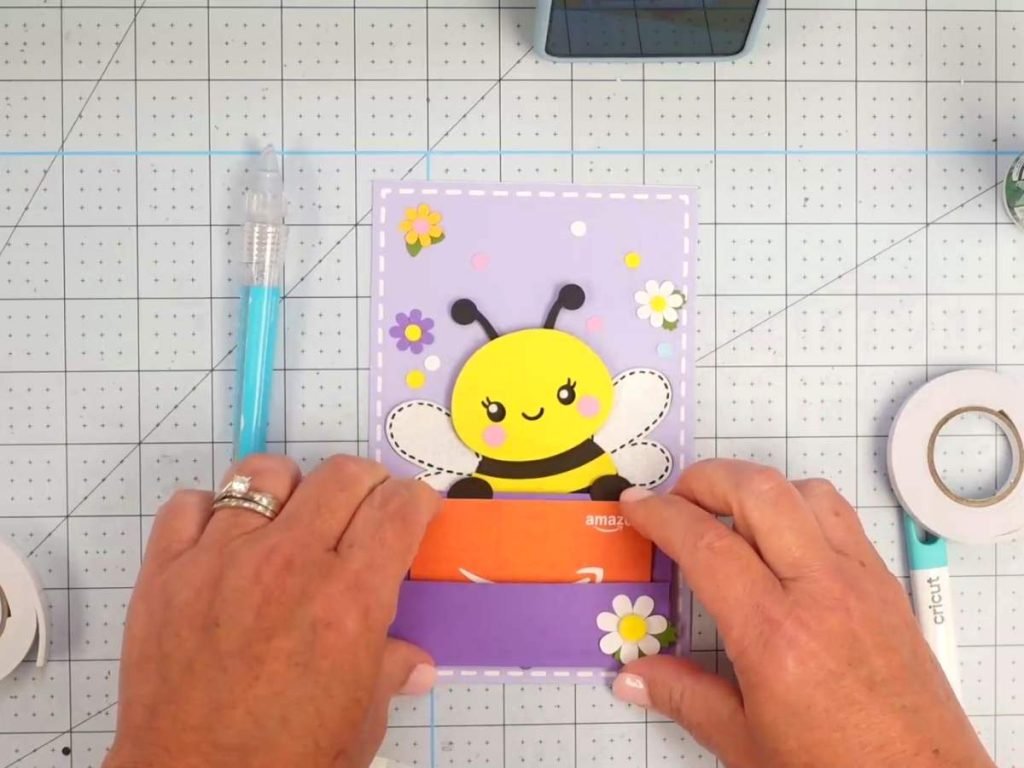
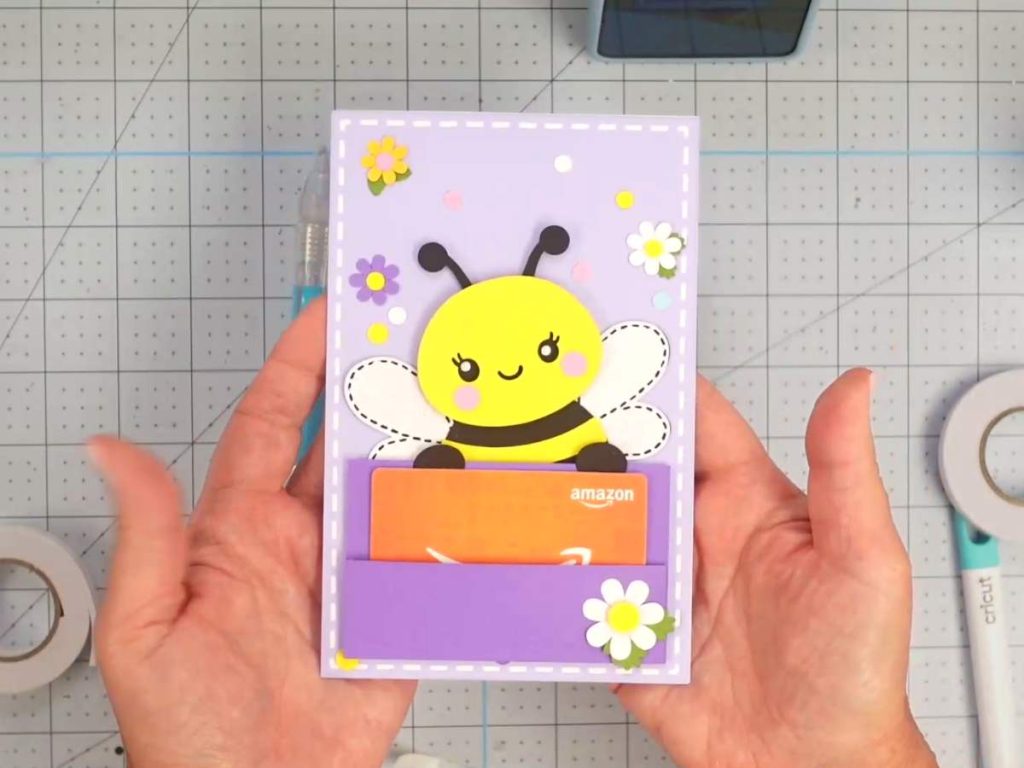
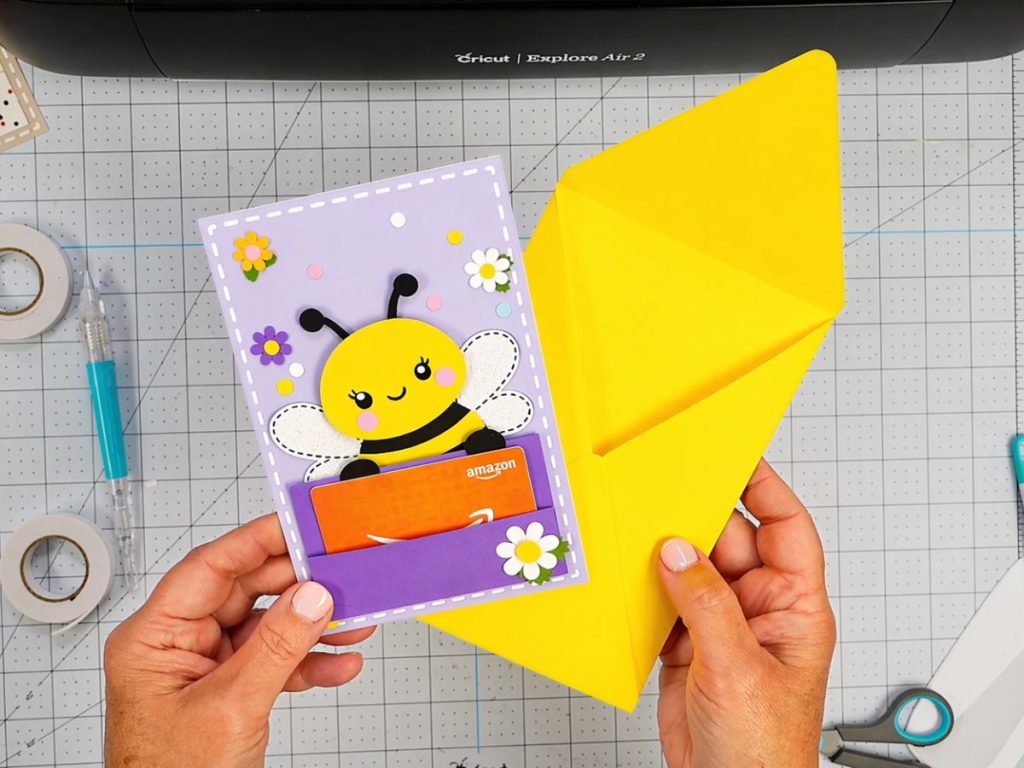
Your Bee Gift Card Holder is Ready to Gift
Your bee gift card holder is all finished and ready to use. If you make one, I’d love to see how you change up the colors, flowers, or paper patterns! Share your projects in my Facebook group! It’s one of my favorite parts of sharing freebies and tutorials.
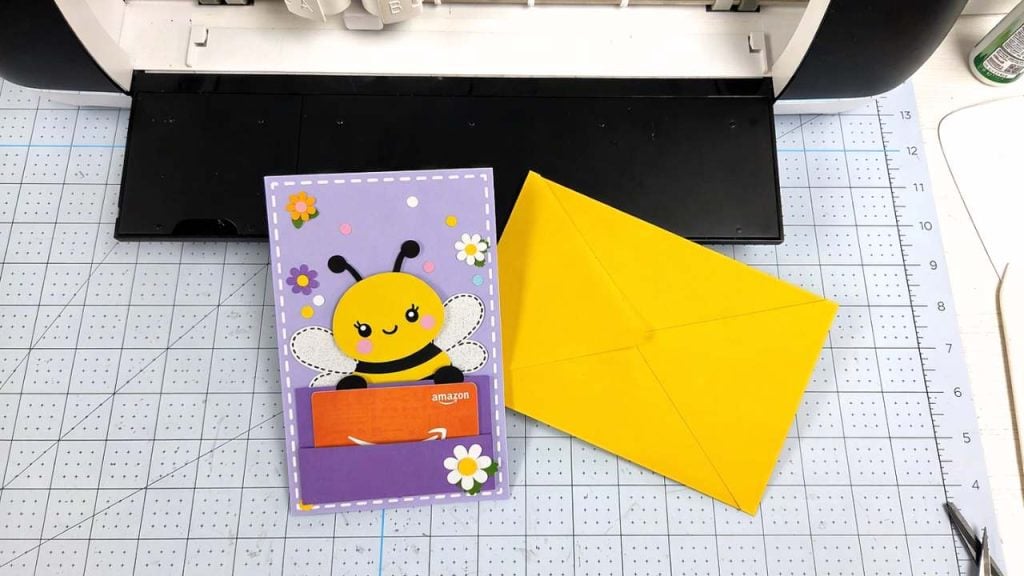
Watch the Step-by-Step Gift Card Tutorial
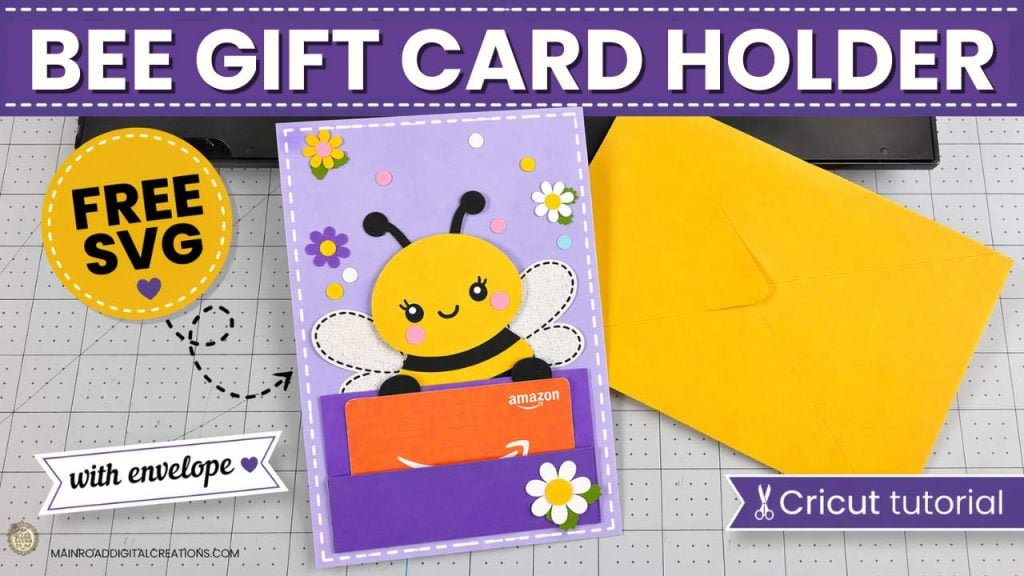
Check out the full step-by-step tutorial below to see how to make your own bee gift card holder and envelope. This is a fun and easy Cricut project that works great for Mother’s Day, birthdays, teacher gifts, or a cute spring surprise.
More Gift Card Holder SVG Ideas
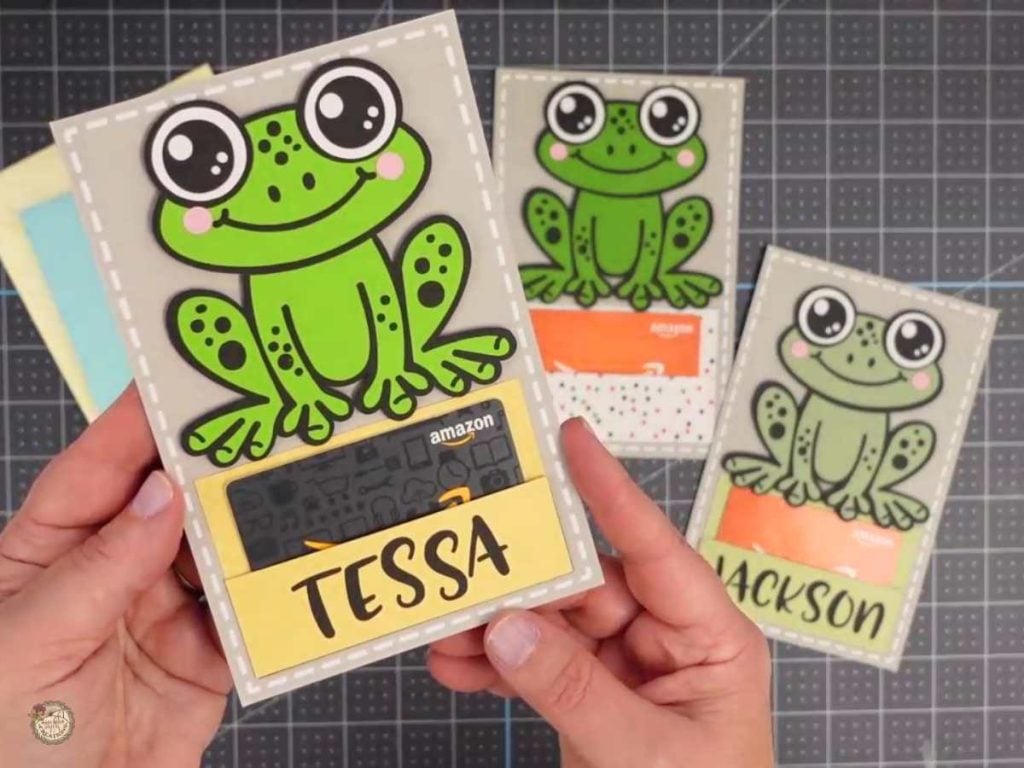
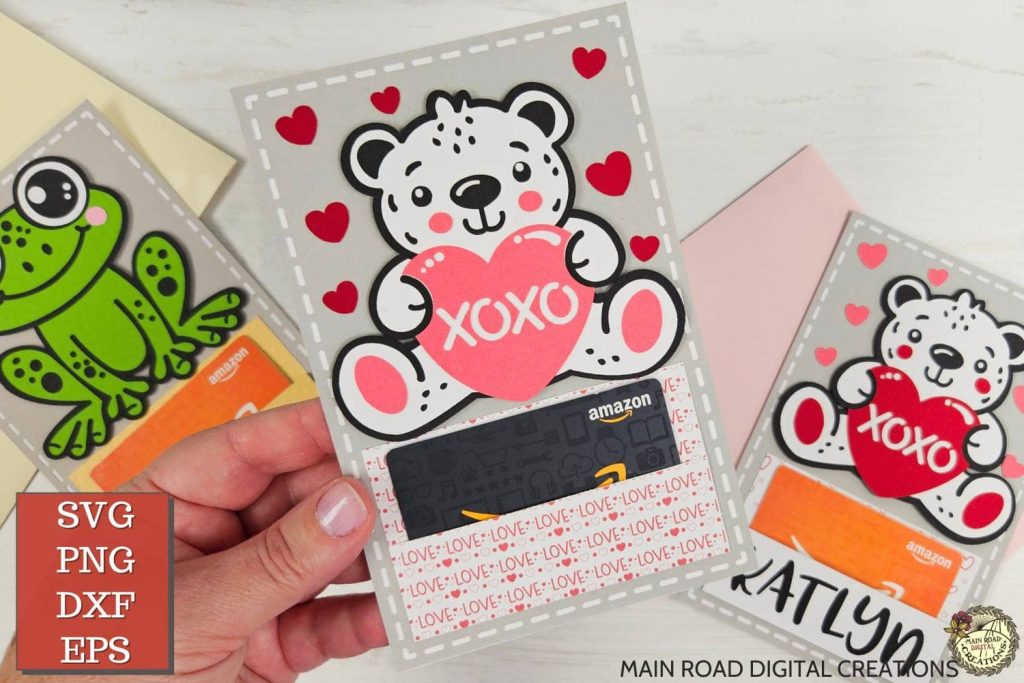
As I mentioned in the video, if you like this bee gift card holder, be sure to check out my Free Frog Gift Card Holder SVG too. I have a full tutorial showing you how to personalize it with a name using a stencil font. I also have the Bear Gift Card Holder SVG available in my shop if you want another cute option!
Share your Creations
I can’t wait to see how you use this design in your projects! Be sure to share your creations in our Facebook group.

Are you on Facebook?
Join our group!
We’d love to have you!
All of the Free Files on my website are for Personal and Commercial use. Check out my Terms of Use (TOU) here.
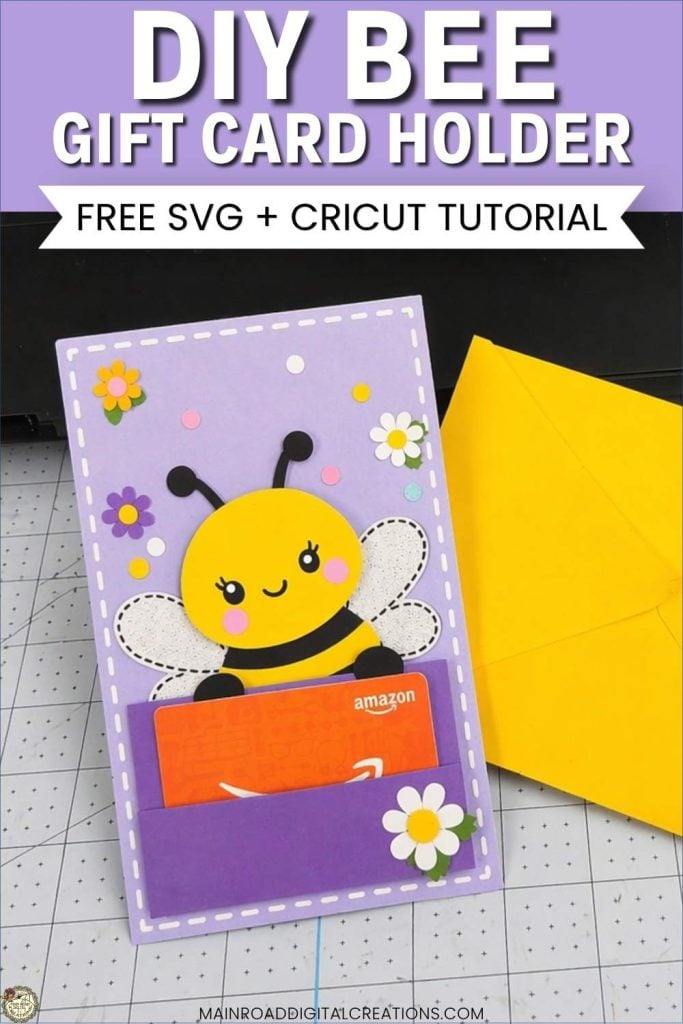
I’d love it if you could take a moment to pin the Free SVG image above to Pinterest. By sharing, you’re helping my business grow, which allows me to keep bringing you the free SVG files you adore. Thanks a bunch for your support. It means the world to me!
Here’s where to find your Free SVG download!
Design #275 – Bee Gift Card Holder + Envelope SVG is available in my freebie library. To get the Password, click the button below and Join our Freebie Club!
Love this Free Gift Card Holder SVG? Try another Fun Cricut Project!

Check out my shop for fun and creative designs!

Join the Creative Fabrica Membership

Fonts, designs, and so much crafty goodness! Over 16 million digital files are waiting! In partnership with Main Road Digital Creations, your first 10 downloads are totally free. After that? It’s just $47 a year (yep, that’s $3.99/month) with full commercial and POD use included. Sign up for Free!