
Free Easter Pillow Box SVG – Easy DIY Cricut Treat Box
Free Easter Pillow Box SVG – Easy to Cut, Fold, and Customize
This post may contain affiliate links. As an Amazon Associate, I earn from qualifying purchases. Please see my privacy policy for full details.

This week’s freebie is a cute and quick Easter project that’s both fun and functional! I designed a Free Easter Pillow Box SVG that you can cut with your Cricut or Silhouette to make adorable treat boxes. Whether you’re crafting for an Easter egg hunt, classroom favors, or small spring gifts, this DIY pillow box is the perfect choice.
Adorable and Versatile for All Your Easter Gifting Needs

These little boxes are just the right size for jelly beans, chocolate eggs, or even a gift card. I love how they turned out using patterned paper, and you can totally switch it up to fit your color scheme or theme. Add a name tag or some ribbon, and you’ve got a thoughtful handmade gift in minutes.
Supplies You’ll Need to Make Your Easter Pillow Box
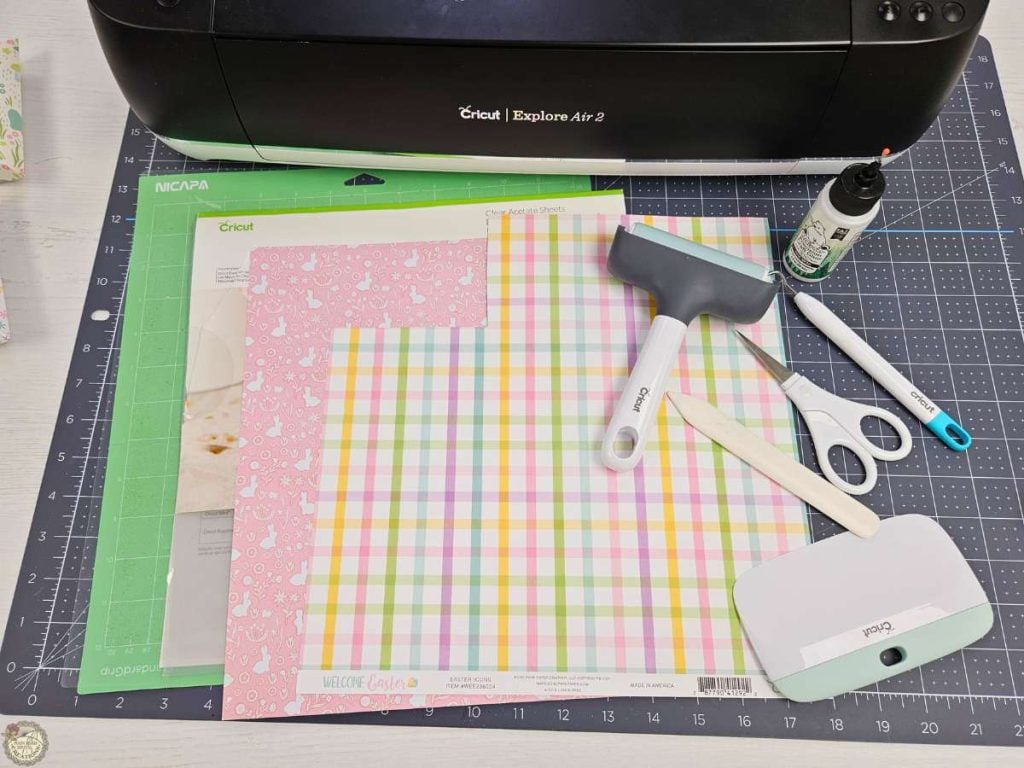
- Cricut – I used my Explore Air 2
- Scoring Stylus
- Cutting Mat – I used a Standard Grip Mat, but if yours is too sticky, use a Light Grip Mat.
- Cardstock (65lb or less)
- Easter Collection from 12×12 Cardstock
- Walmart-looking at the image on their site, it says it’s 24lb
- Acetate
- Brayer
- Weeding Tools
- Bone Folder and or Scraper
- Bearly Art Glue
- Bags I used for my candy
Step-by-Step Easter Pillow Box Tutorial
Here’s a step-by-step guide on how to make your Easter Pillow Box. Check out the complete video tutorial below to see these steps in action!
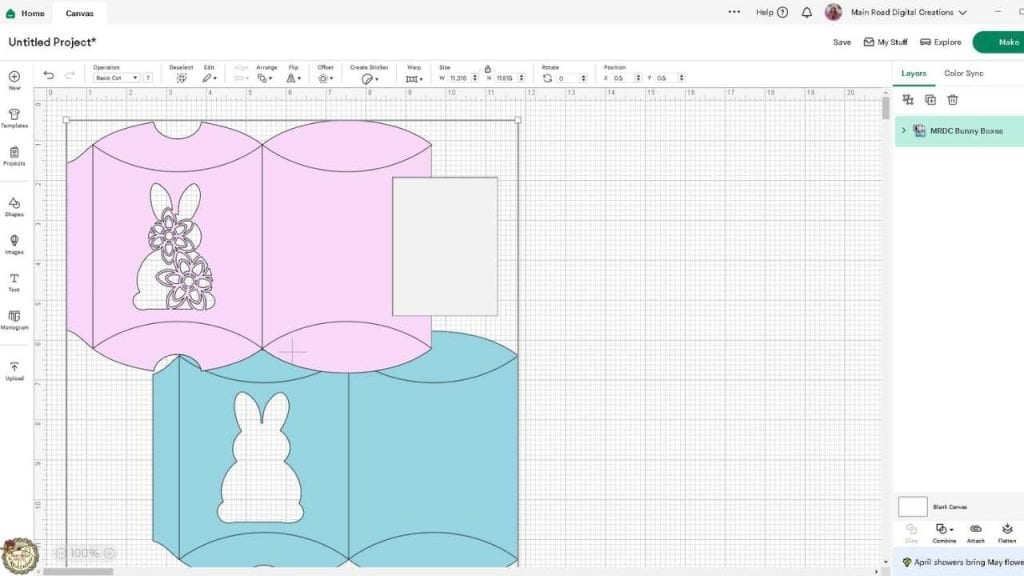
Step 1: Upload the SVG to Cricut Design Space -Ungroup and duplicate the shape for the acetate window.
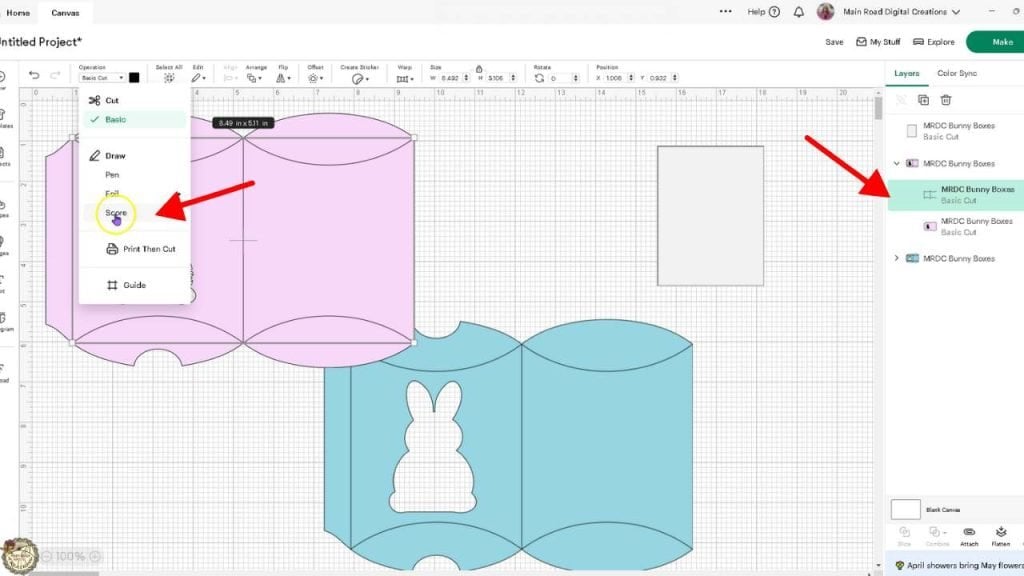
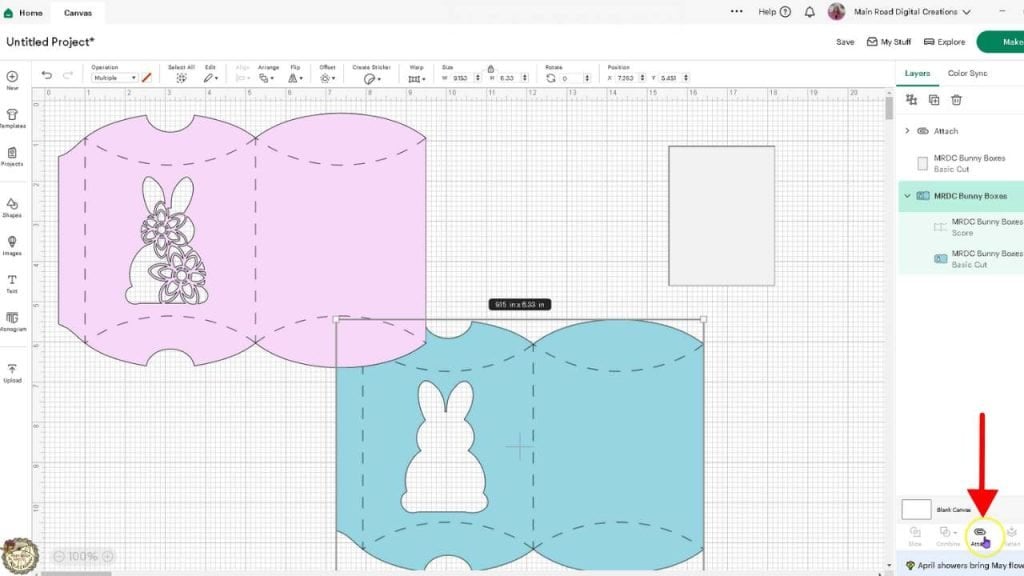
Step 2: Change Lines to Score and Attach -In Cricut Design Space, select the lines that need to be score lines, change their operation to “Score,” and attach them.
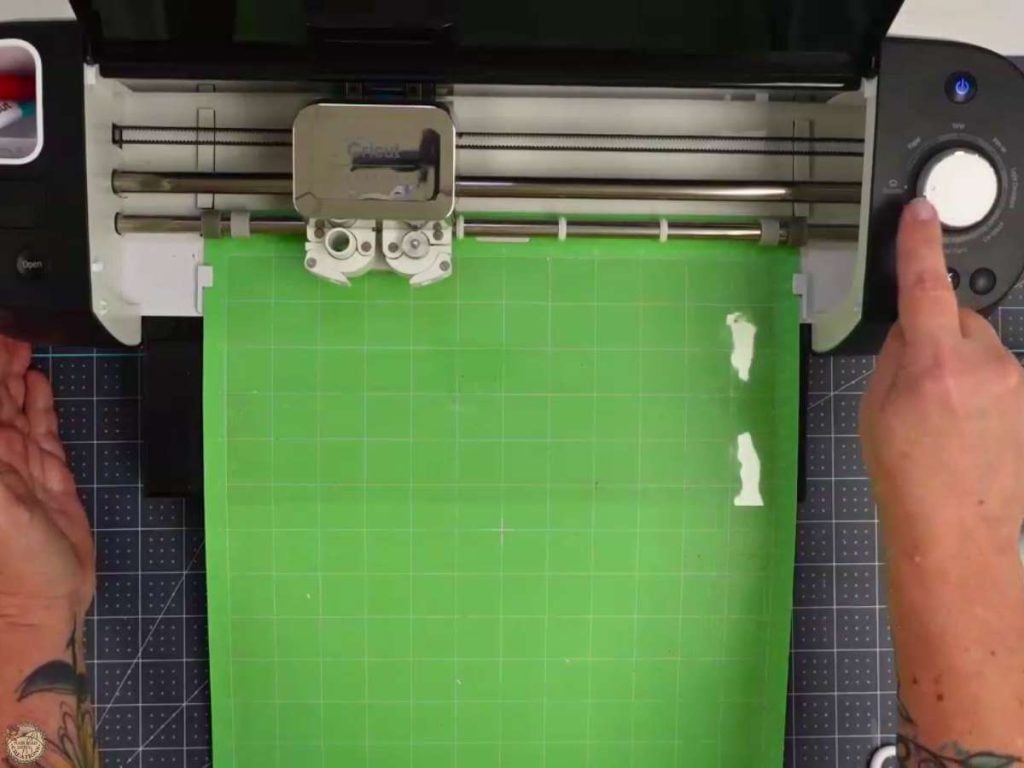
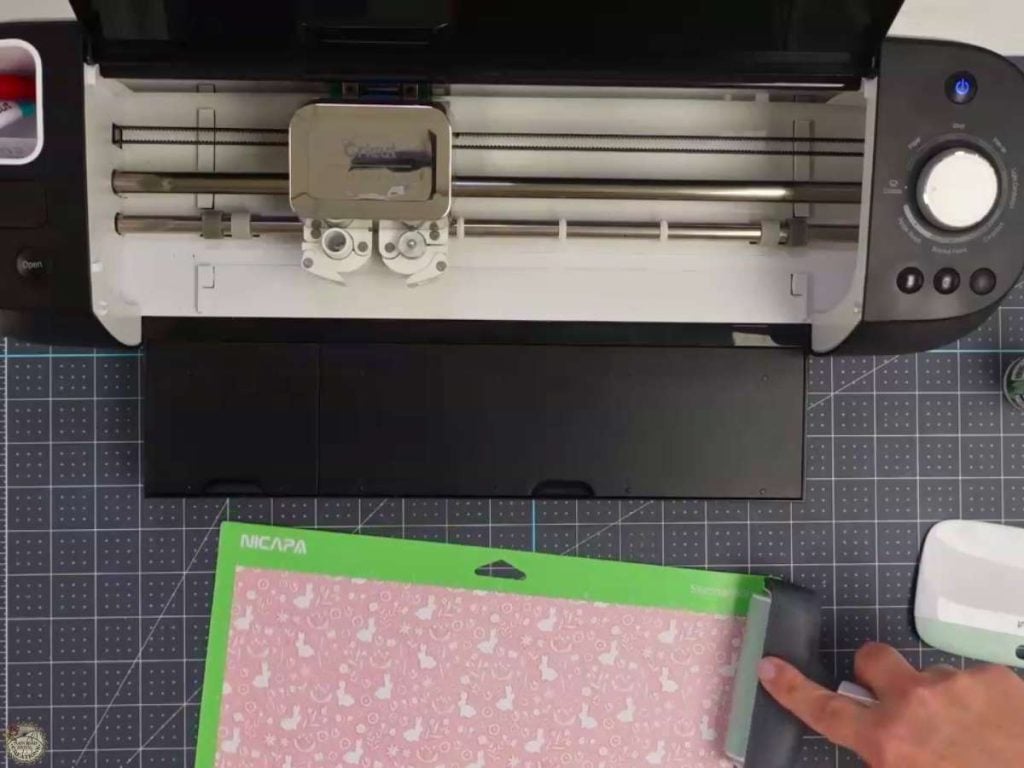
Step 3: Prepare Your Paper & Mat – Use lighter weight cardstock for easier folding. Load your paper onto a standard or light grip mat. If using acetate, remove the protective film first. You can cut the acetate with your Cricut or by hand.
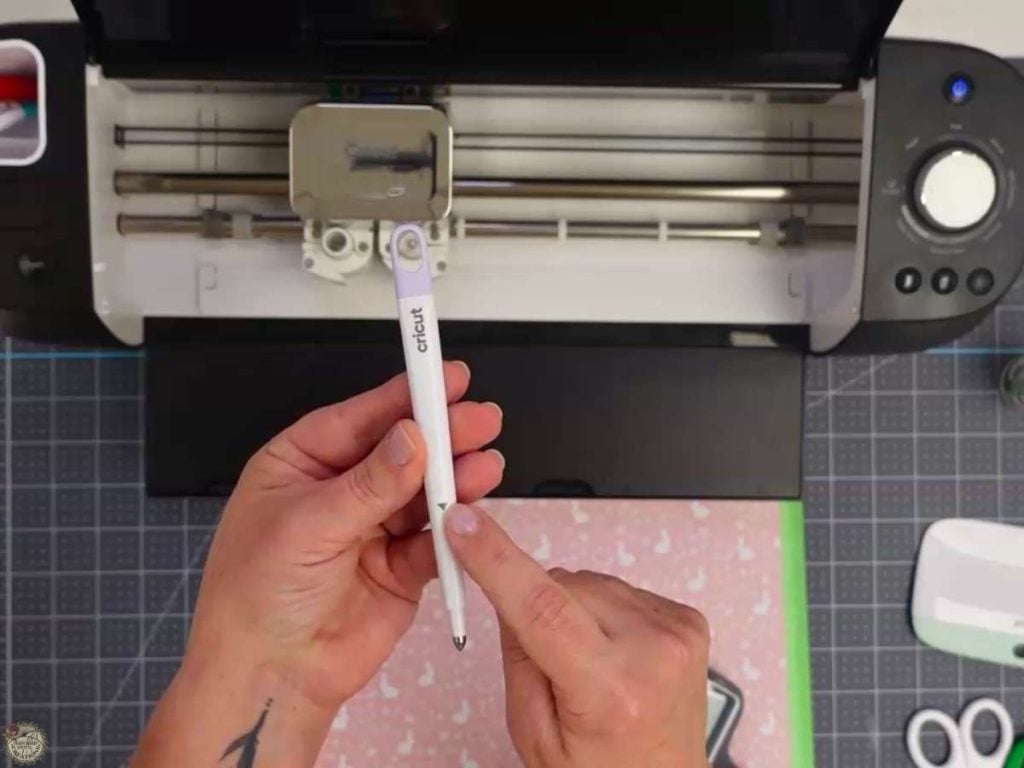
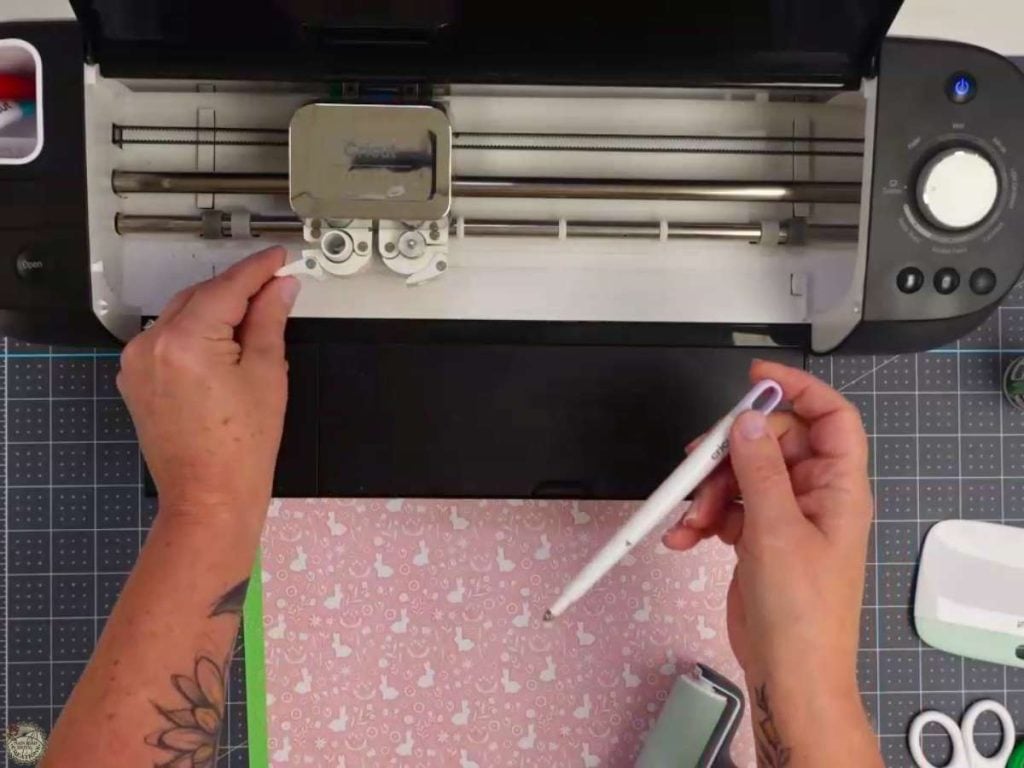
Step 4: Using the Scoring Stylus—Insert the scoring stylus into Clamp A of your Cricut machine by opening the clamp, inserting the stylus, and closing the clamp.
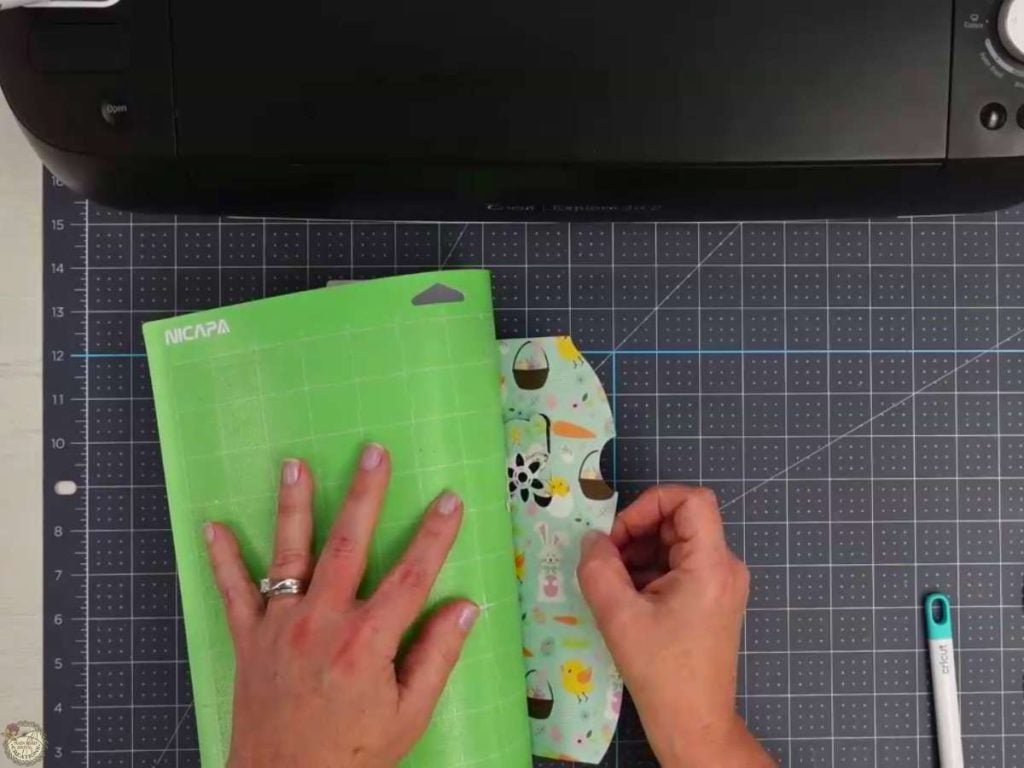
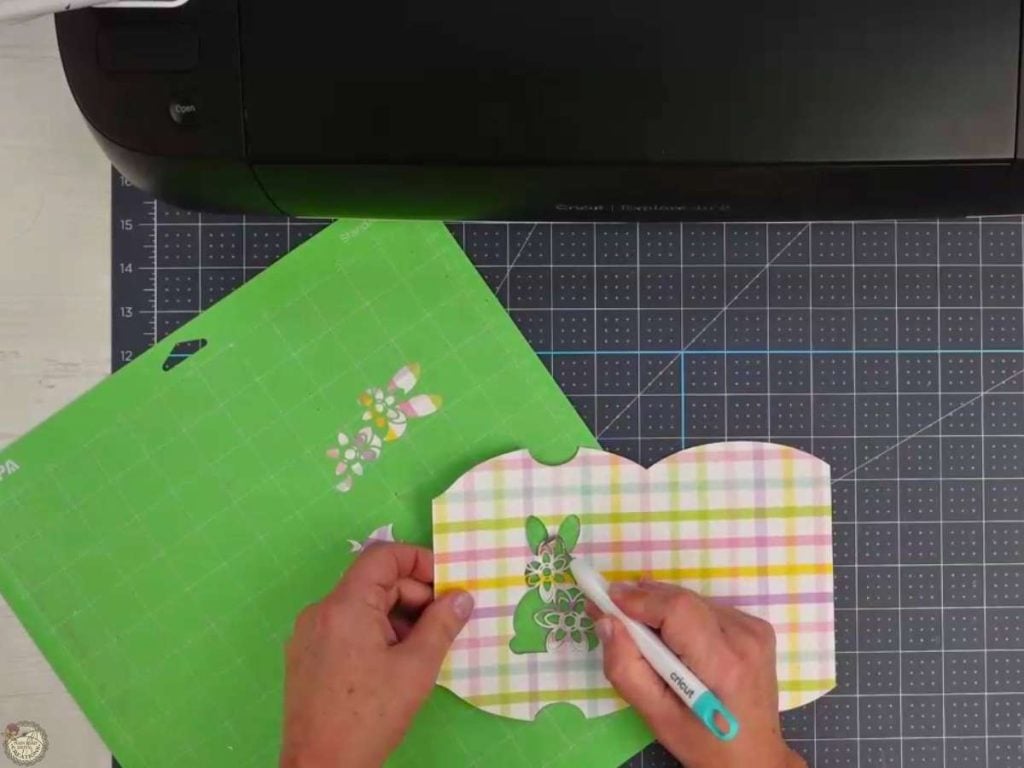
Step 5: Remove Cardstock and Small Pieces – Flip your mat and carefully pull the mat away from the cardstock. Use your weeding tool and your mat to help release small pieces.
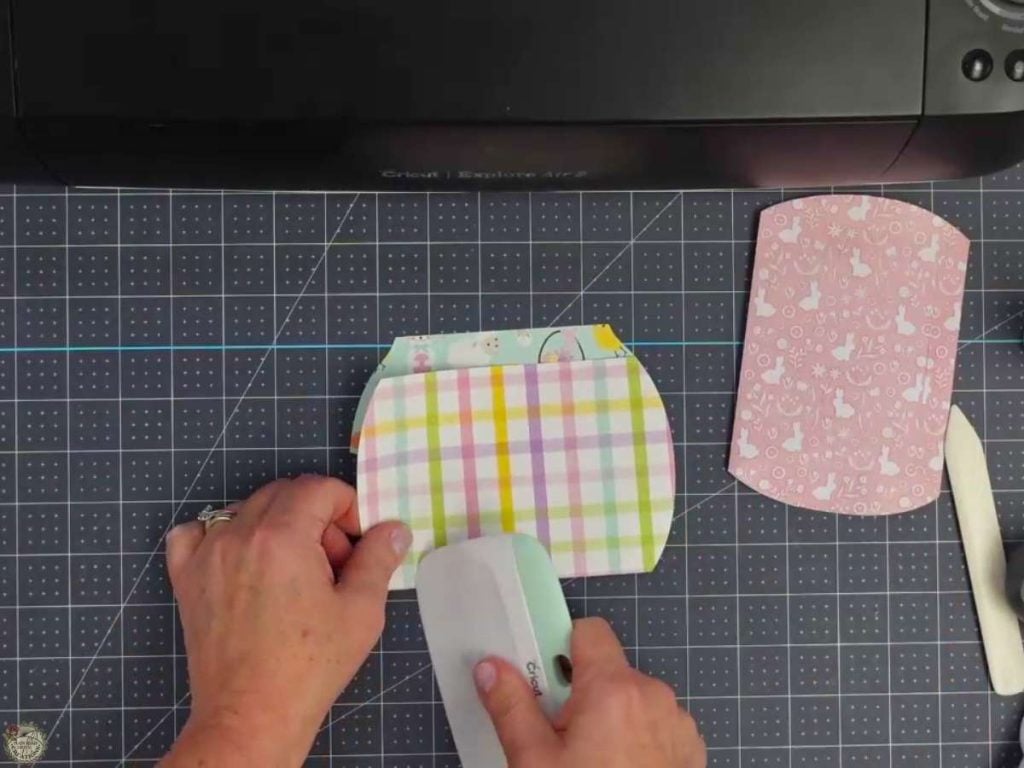
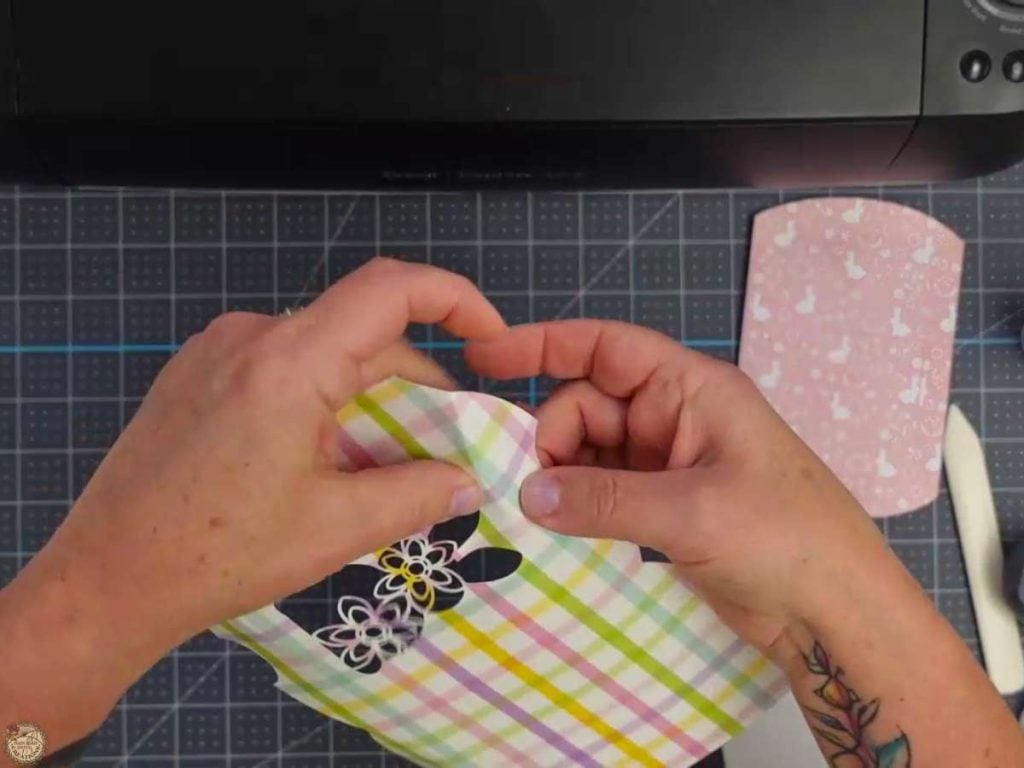
Step 6: Fold on the Score Lines -Carefully fold along all score lines and gently crease the top and bottom folds.
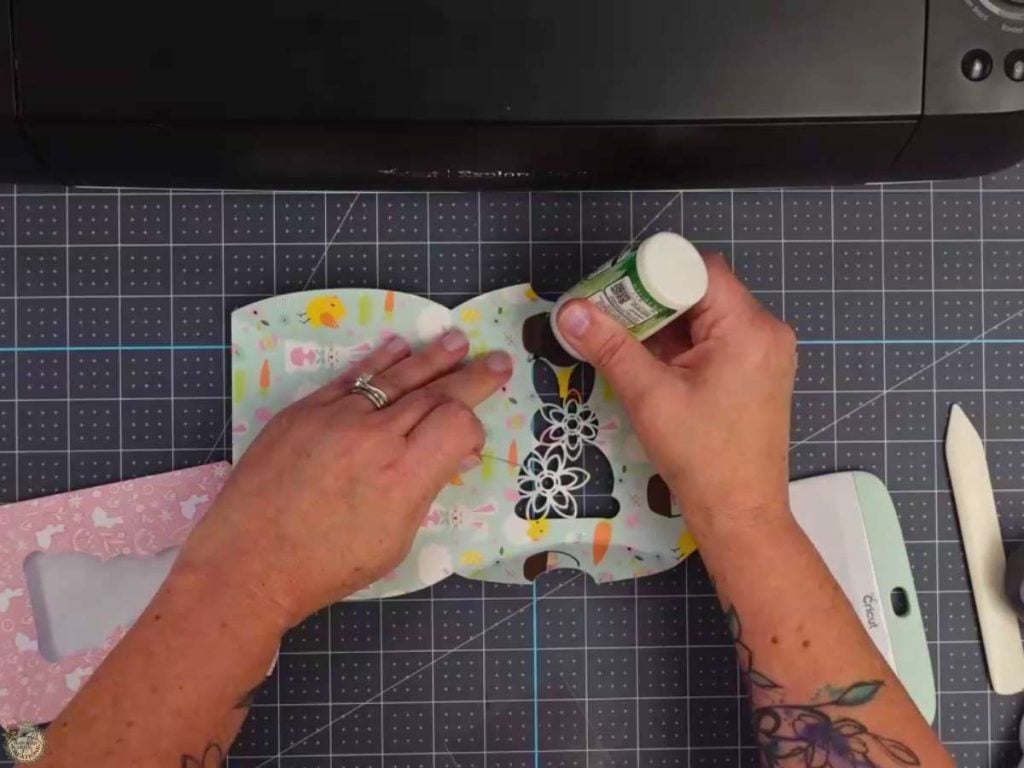
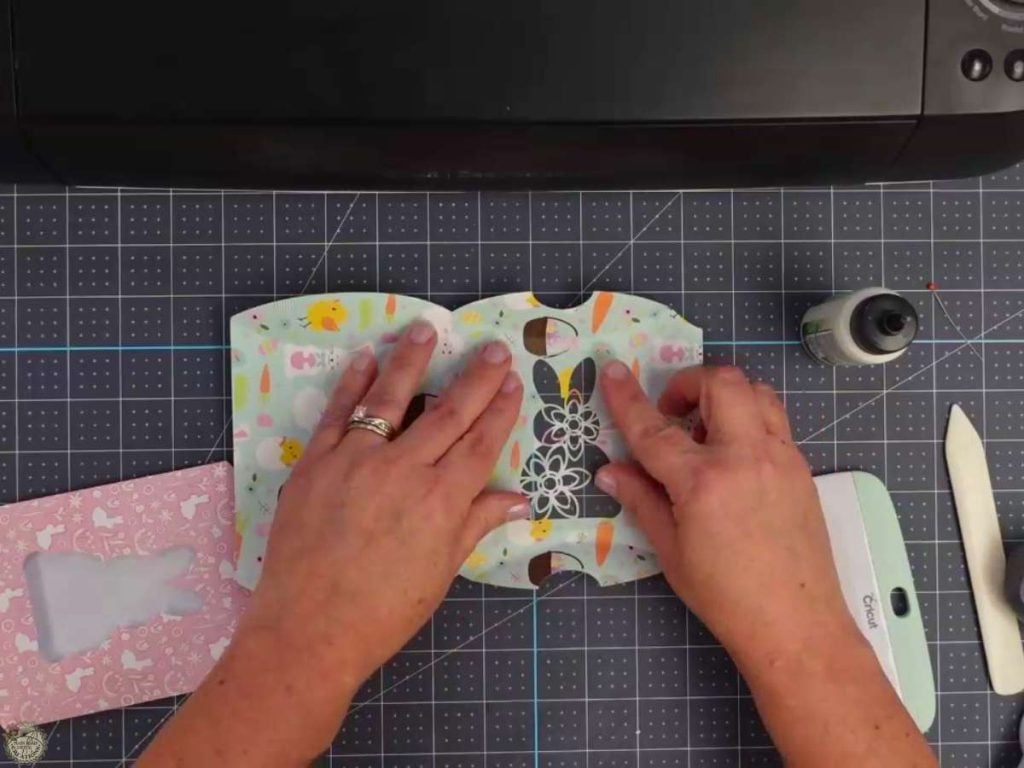
Step 7: Glue the Acetate in Place -Apply glue around the window opening or around the bunny on the cardstock, and attach the acetate. Press down with a brayer or your fingers.
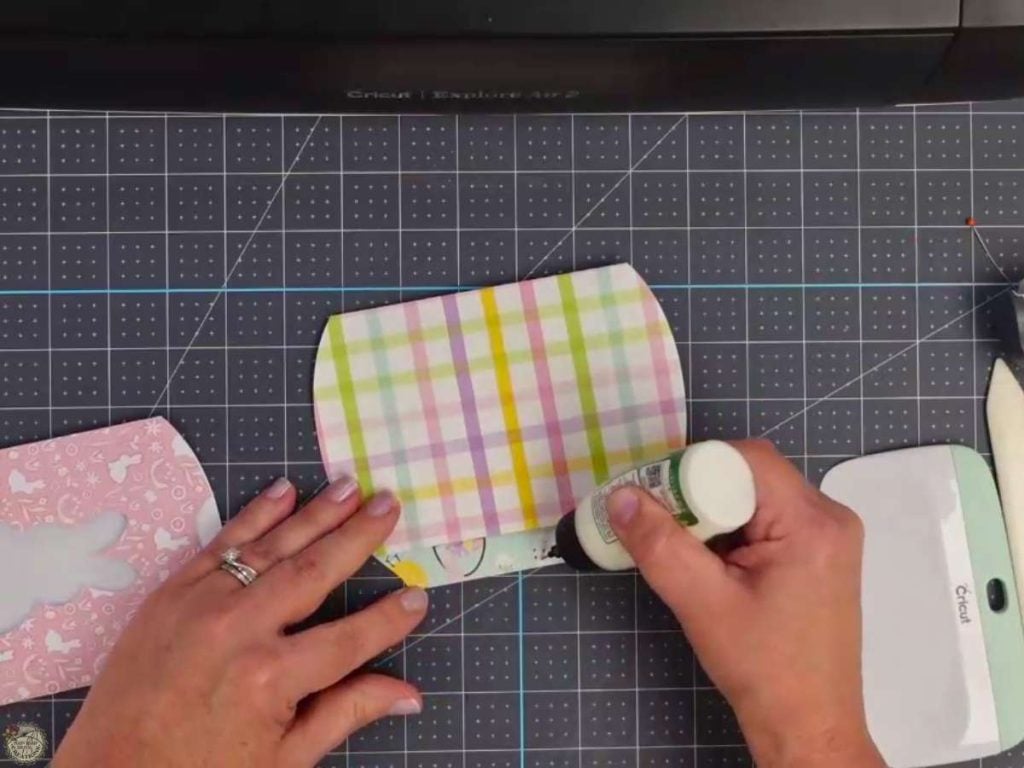
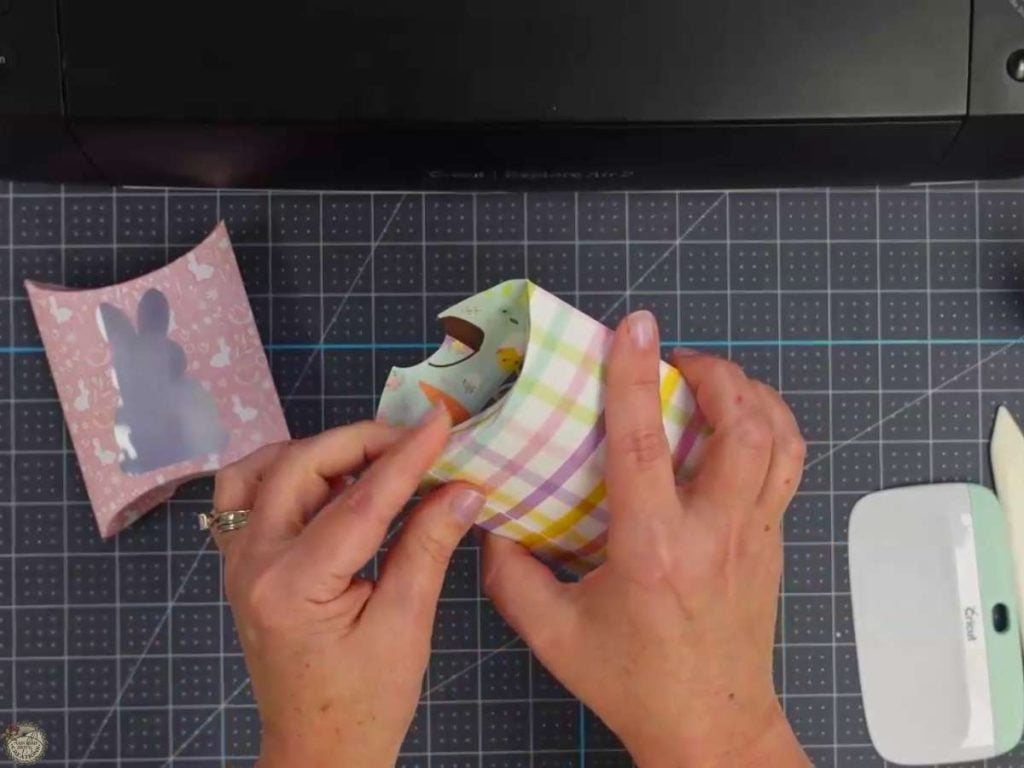
Step 8: Assemble the Pillow Box -Glue the side tab to form the body of the box. Let it dry before folding the curved ends into place.
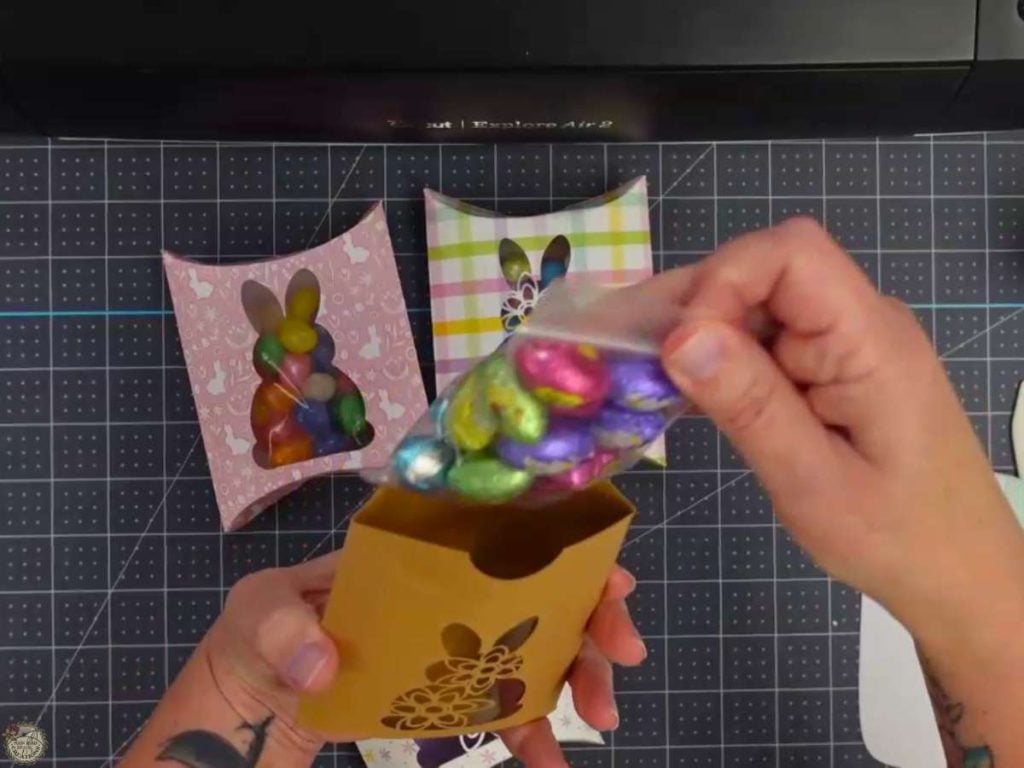
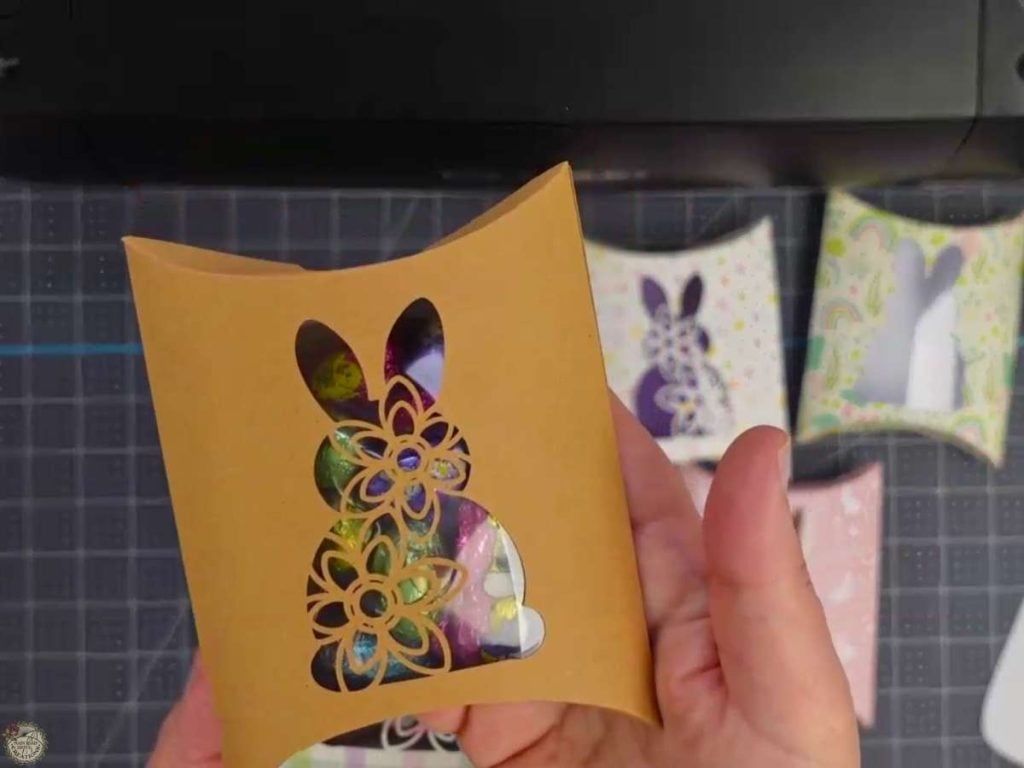
Step 9: Fill with Treats and Fold Closed -Add jellybeans, chocolates, or a small gift card. Tuck in the curved ends to close the box and finish the look!
Video Tutorial: How to Make an Easter Pillow Box
Check out the full step-by-step video tutorial. I walk you through everything, from picking the right paper to assembling the box. I share tips on using different weights of cardstock (and why lighter paper might actually work better), show you how to attach the acetate, and explain how to adjust your settings in Design Space.
My Completed Easter Pillow Boxes
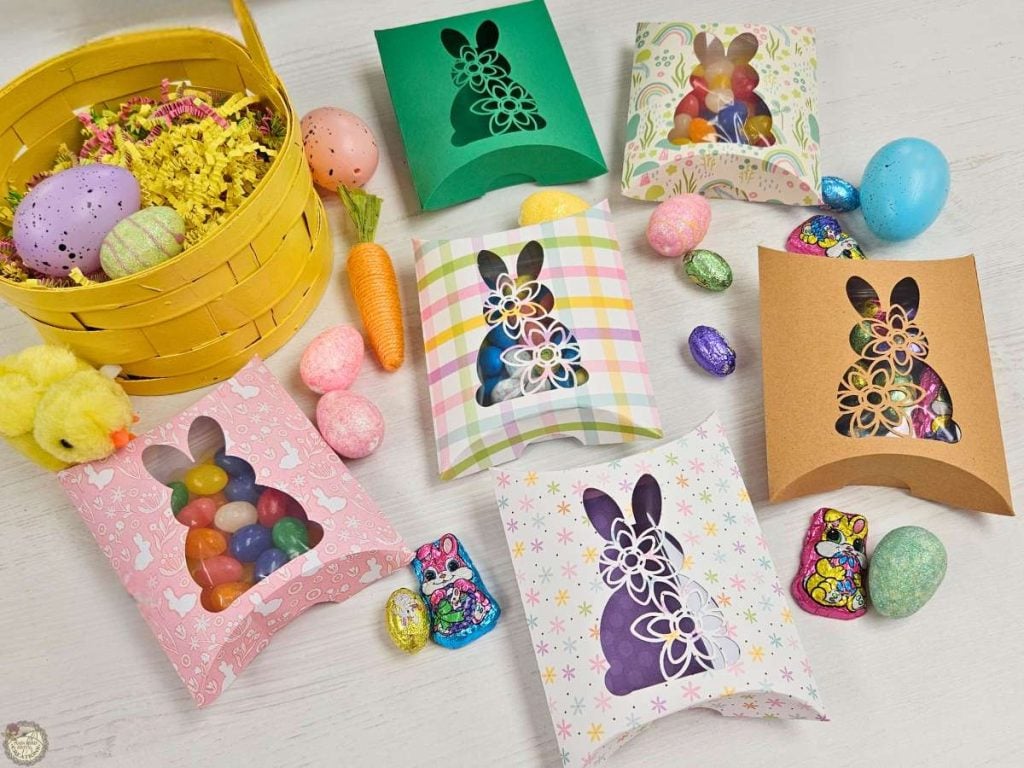
Once I had them finished, I couldn’t wait to fill these up with jellybeans and chocolates. They came out so cute! You can easily customize each one with different paper patterns or even print your own designs to match your holiday decor. If you’re planning Easter baskets, school gifts, or table settings, these will definitely add a sweet handmade touch. Grab your free SVG below and happy crafting!
Share your Creations
I can’t wait to see how you use this design in your projects! Be sure to share your creations in our Facebook group.

Are you on Facebook?
Join our group!
We’d love to have you!
All of the Free Files on my website are for Personal and Commercial use. Check out my Terms of Use (TOU) here.
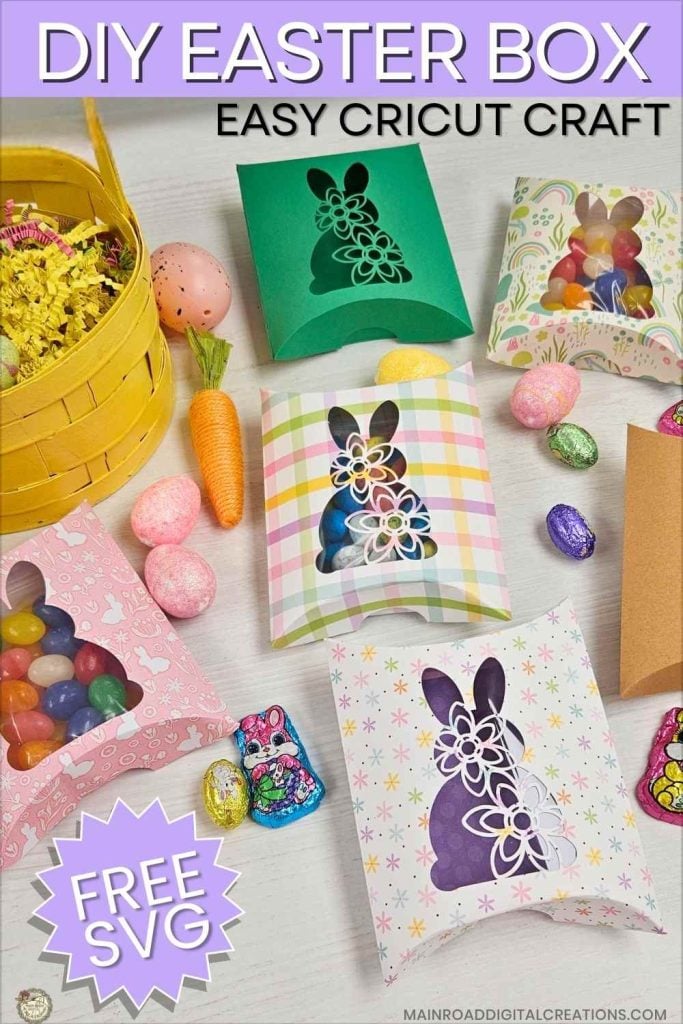
I’d love it if you could take a moment to pin the Free SVG image above to Pinterest. By sharing, you’re helping my business grow, which allows me to keep bringing you the free SVG files you adore. Thanks a bunch for your support. It means the world to me!
Here’s where you can find your Free SVG download!
Design #245- Easter Bunny Pillow Box SVG files are available in my freebie library. To get the Password, click the button below and Join our Freebie Club!
If you enjoyed this week’s Free Easter SVG & Cricut tutorial, here are a few more you will love!


Check out my shop for fun and creative designs you can use in your projects!

Join the Creative Fabrica Membership

Fonts, designs, and so much crafty goodness! Over 16 million digital files are waiting! In partnership with Main Road Digital Creations, your first 10 downloads are totally free. After that? It’s just $47 a year (yep, that’s $3.99/month) with full commercial and POD use included. Sign up for Free!