
Celebrate Free Side Edge Card SVG | Cricut Tutorial
How to Make a Side Edge Card with Your Cricut
This post may contain affiliate links. As an Amazon Associate, I earn from qualifying purchases. Please see my privacy policy for full details.

If you enjoyed my cupcake topper tutorial from a couple of weeks ago, you’re going to adore this matching Celebrate side edge card. This free side edge card SVG is perfect for birthdays, anniversaries, or any special occasion where you want to add a handmade touch. Let’s get started!
Supplies Needed for Your Free Side Edge Card

- Cricut Joy Xtra
- Cricut Joy Pen (the Joy and Joy Xtra use the same pen)
- Light Grip Mat
- Weeding Tools
- Brayer
- Foam Squares
- Bearly Art Glue
- Cardstock – I used 65 lb.
Cricut Design Space Side Edge Card
As you see in this picture, I’ll show you how to adjust your design in Cricut Design Space to use the Cricut pen and draw feature. This includes ungrouping images, removing the score feature for Cricut Joy Xtra users, and attaching elements to ensure the pen draws and the machine cuts correctly. You can watch the video tutorial below for a detailed walkthrough!

What’s that font?
The font I used for this week’s project is The Romantic Absolute. This font required some manipulation in Adobe Illustrator to remove certain elements, making it easier to cut in one piece. If you download this font, you will need to make similar adjustments, or you could look for a stencil font that doesn’t require additional editing. This ensures your project cuts cleanly and is easier to assemble.

Switching Between Pen and Blade on Cricut Joy Xtra
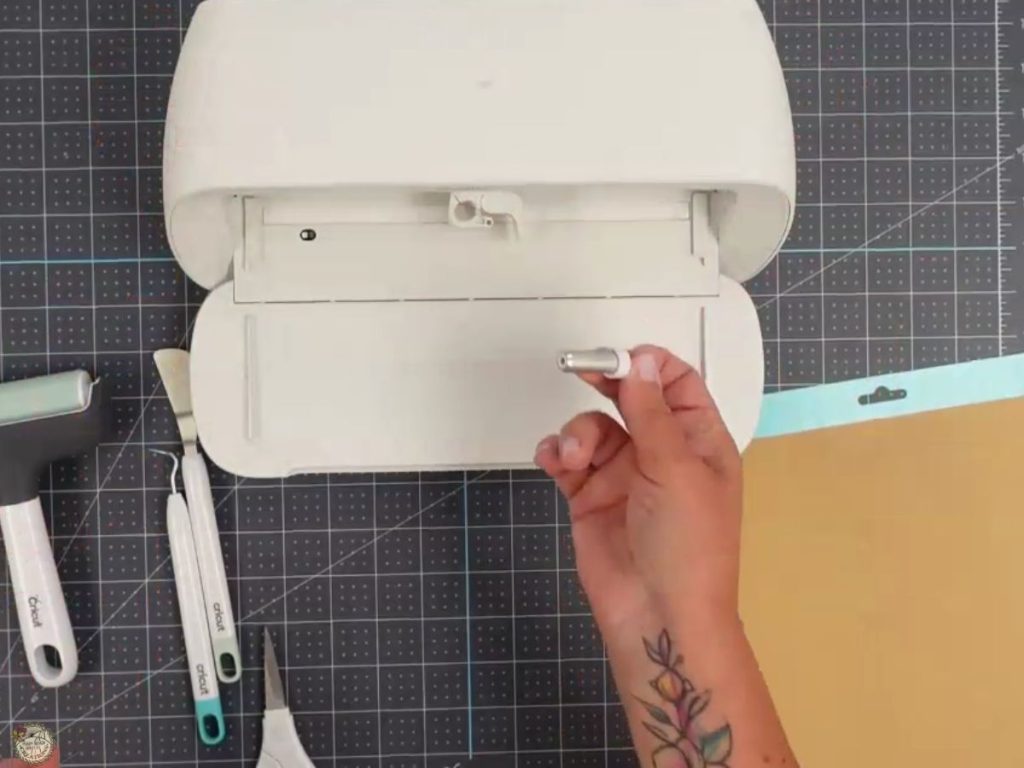
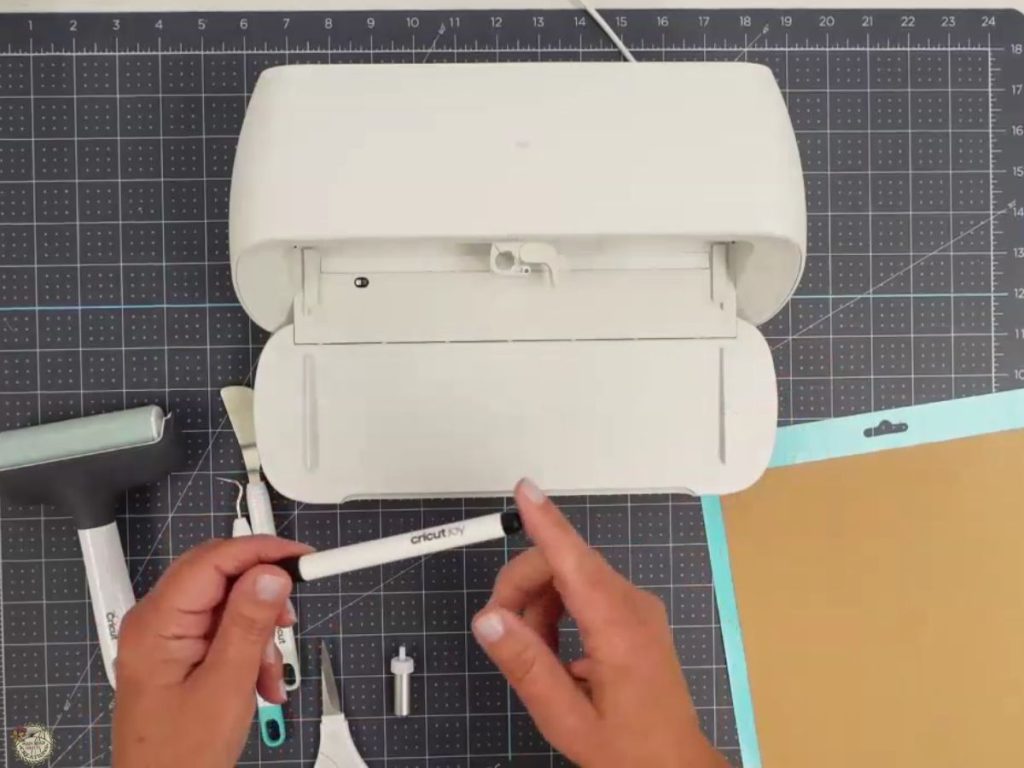
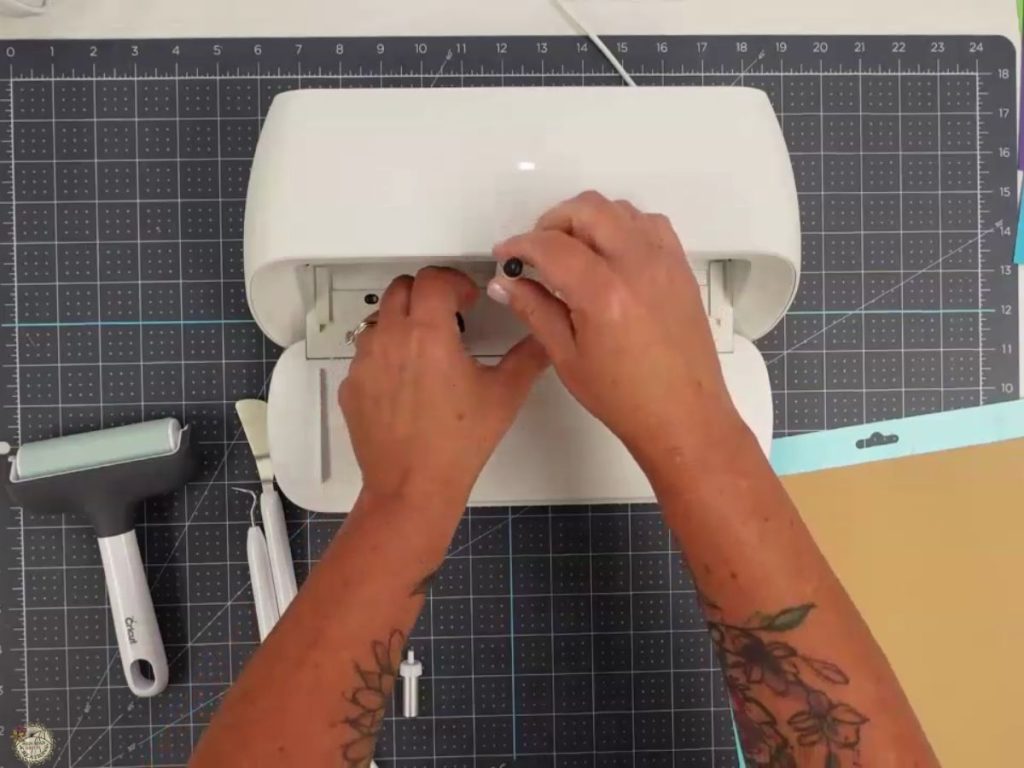
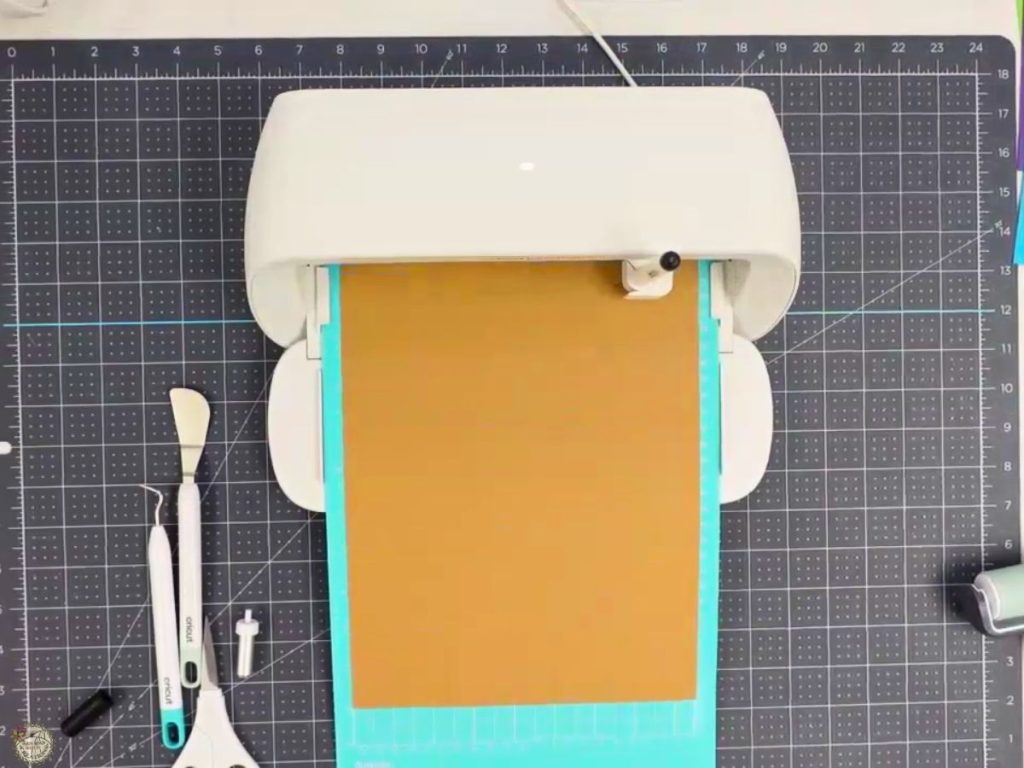
To use the pen with your Cricut Joy Xtra, open the housing and remove the blade. Insert the pen—note that it won’t click into place. Just set it in and close the housing. Once the pen has finished drawing, remove it and replace it with the blade. This allows you to seamlessly switch from drawing to cutting in your project.
Ensuring Clean Cuts with a Sticky Mat
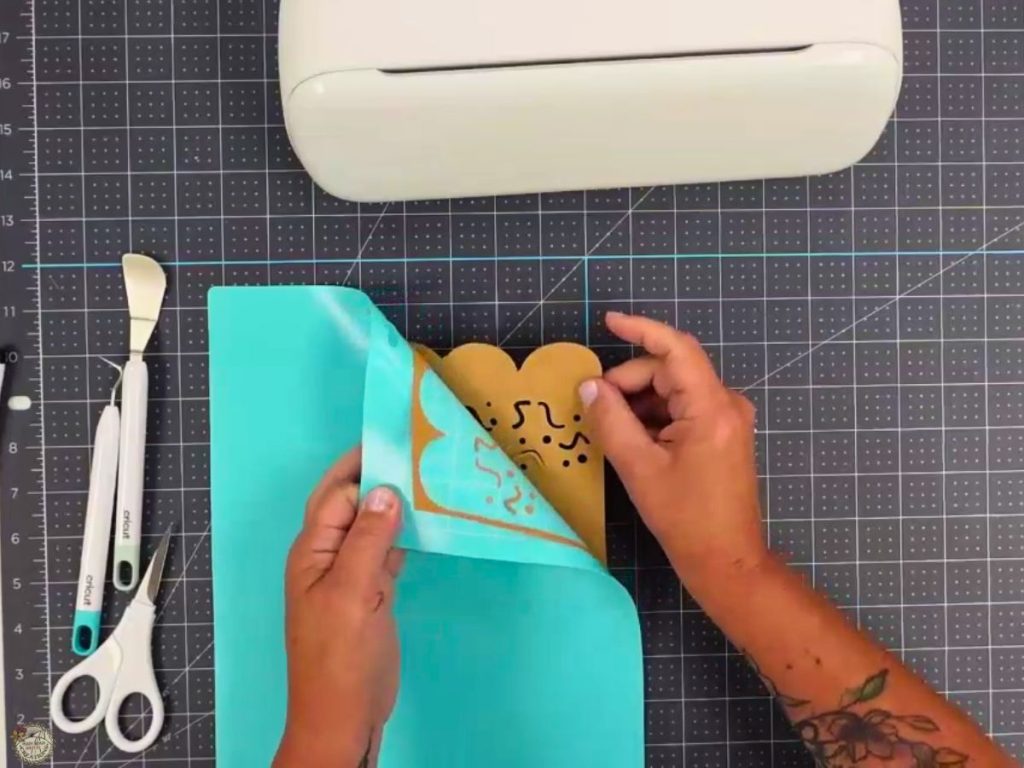
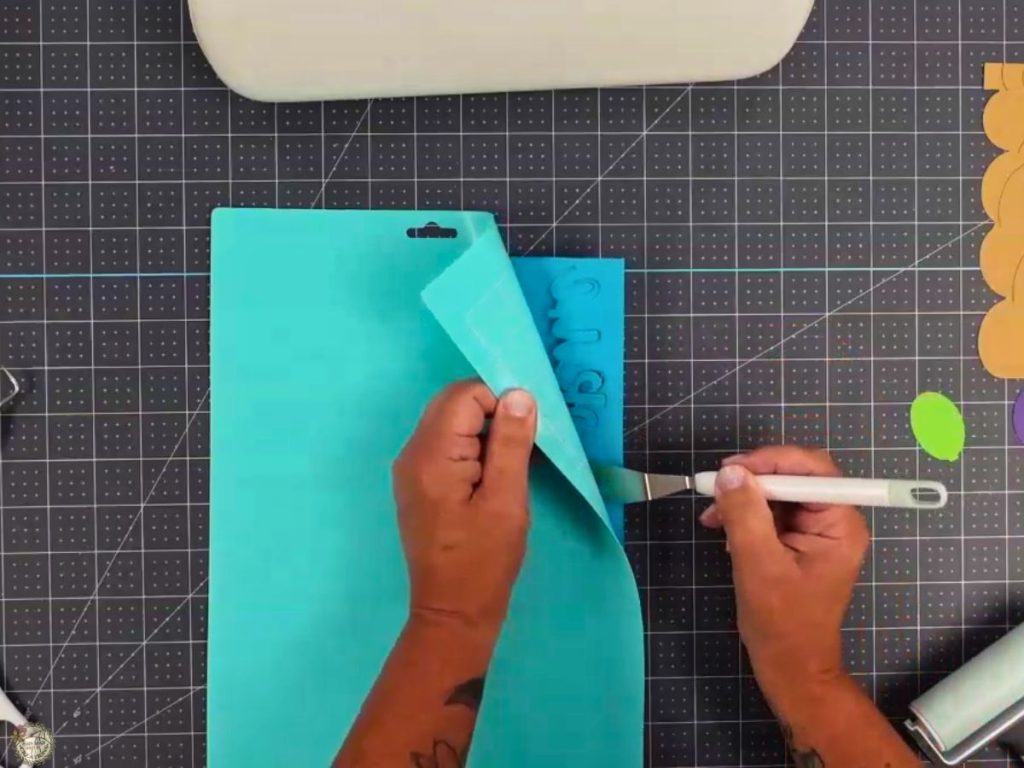
It’s important to have a good light-grip, sticky mat for clean cuts. If your cardstock doesn’t stick well to the mat, the blade and cardstock can fight against each other, leading to tearing. A stickier mat ensures that the cardstock stays in place, resulting in cleaner cuts and a more polished final product.
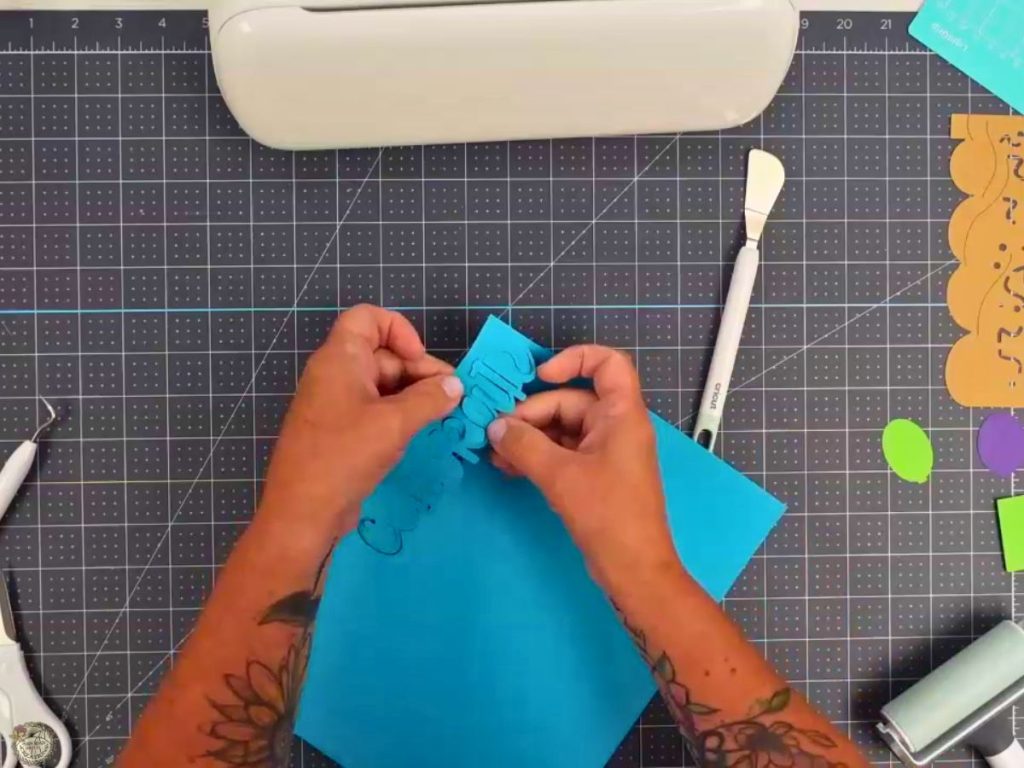
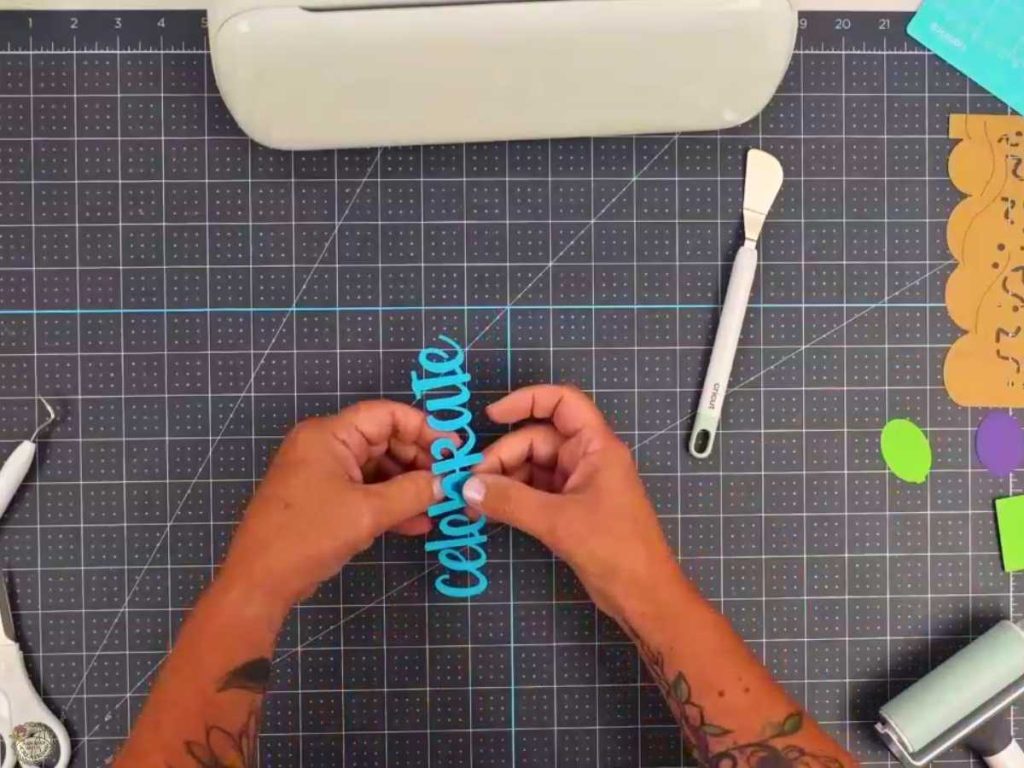
Assembling the Celebrate Side Edge Card
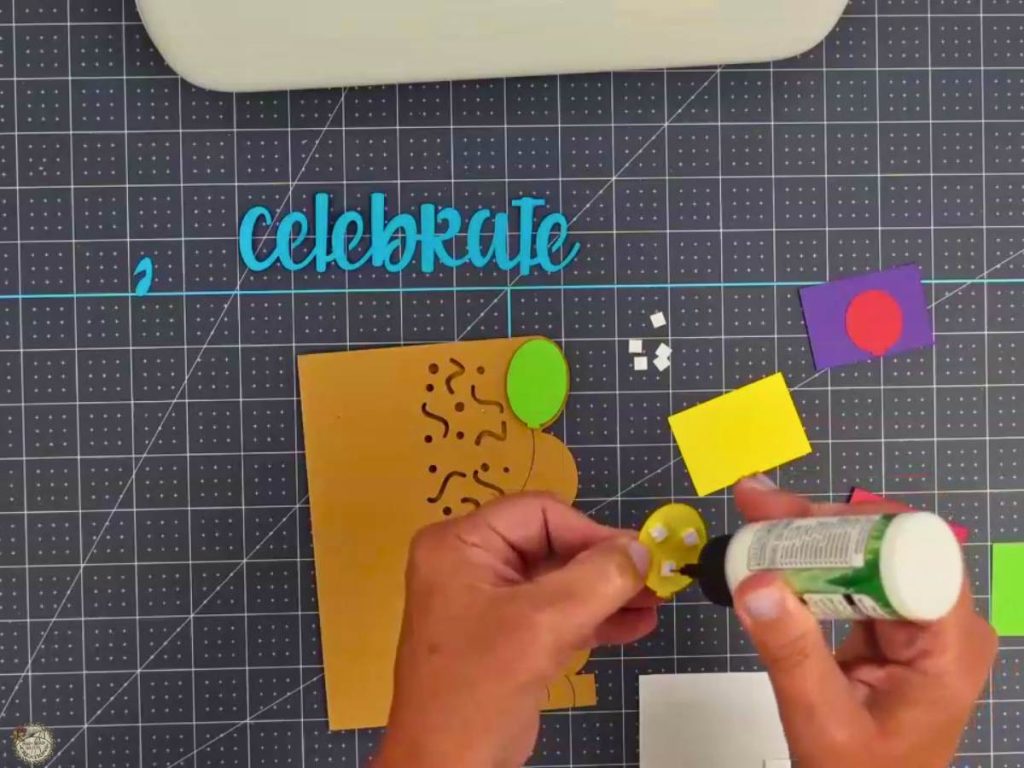
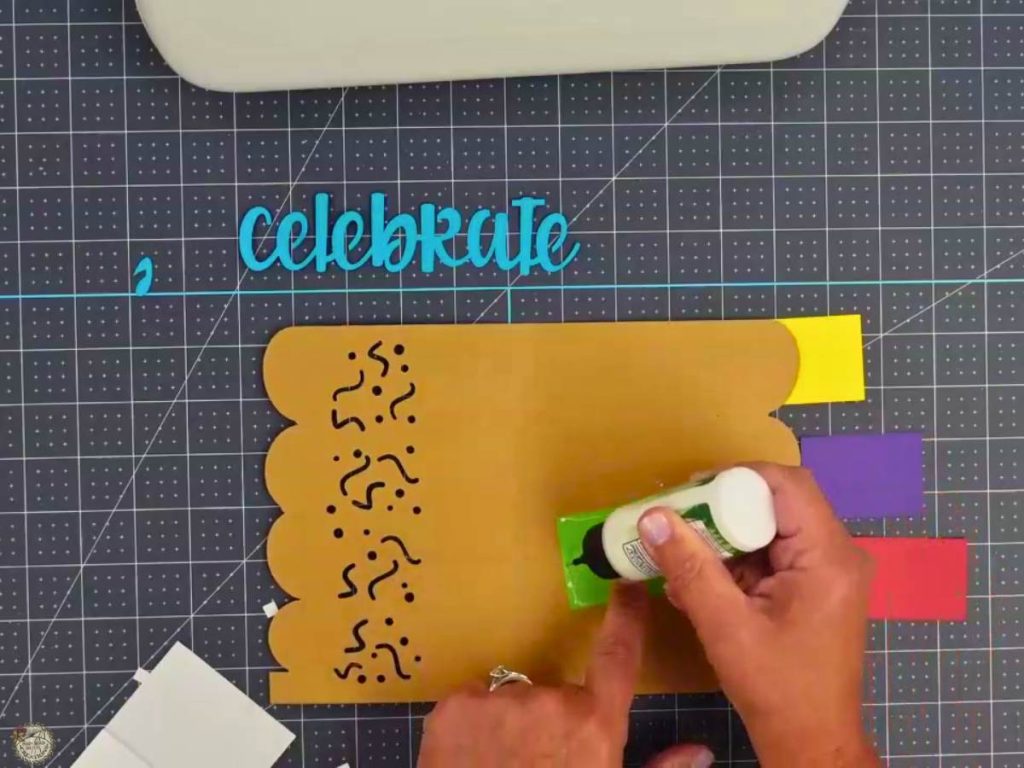
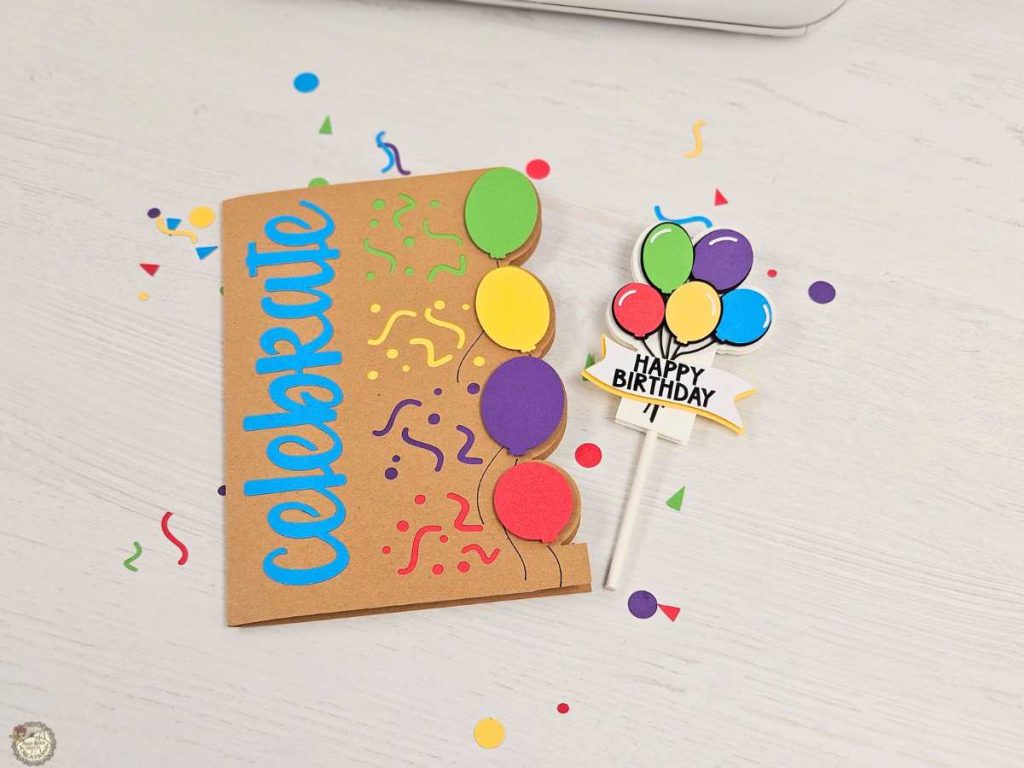
Adding foam squares to the balloons gives the card dimension. Glue the colored pieces in place and secure the card insert with glue. These steps will help you easily put together your Celebrate side-edge card.
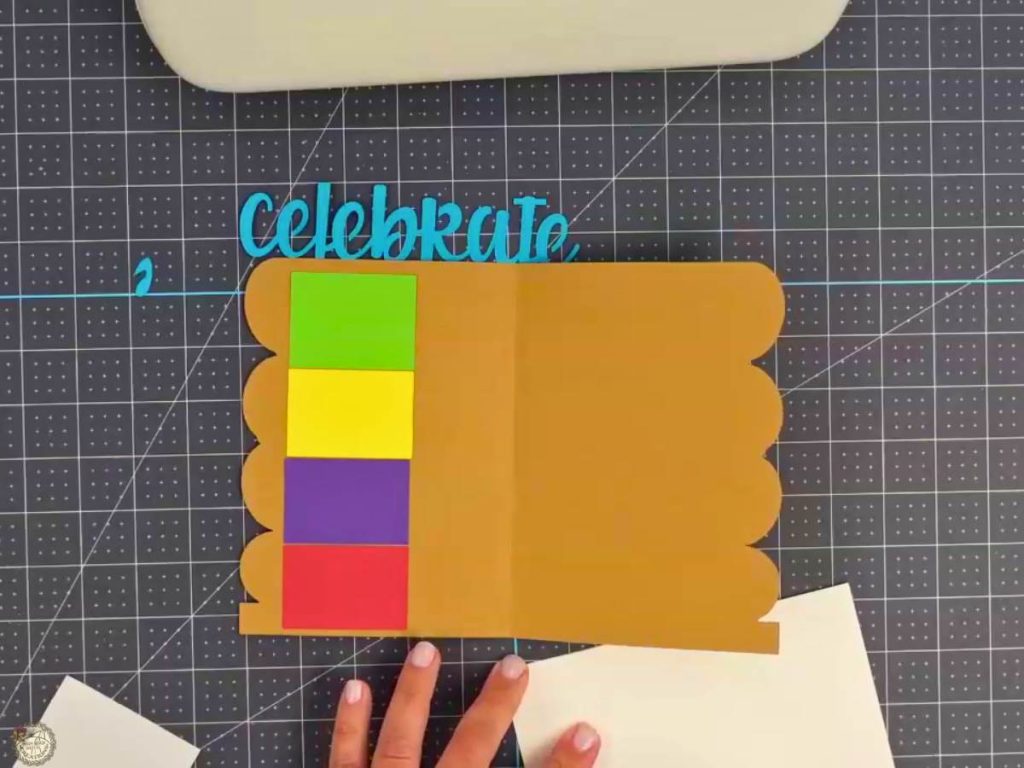
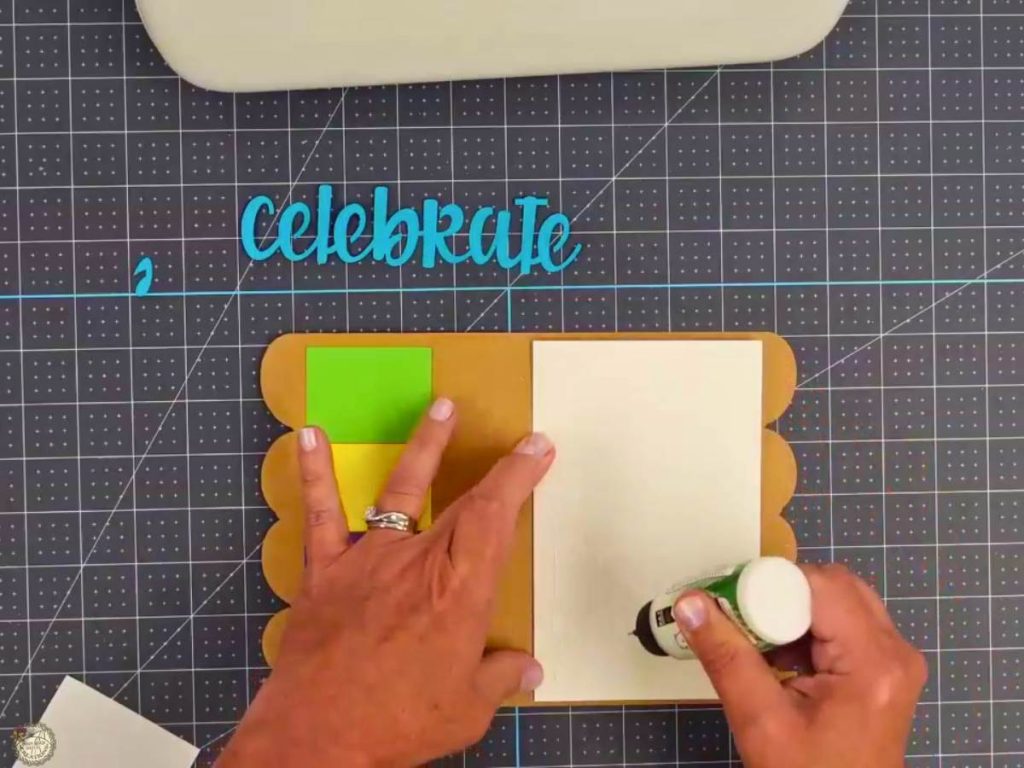
Finishing Touches and Final Card
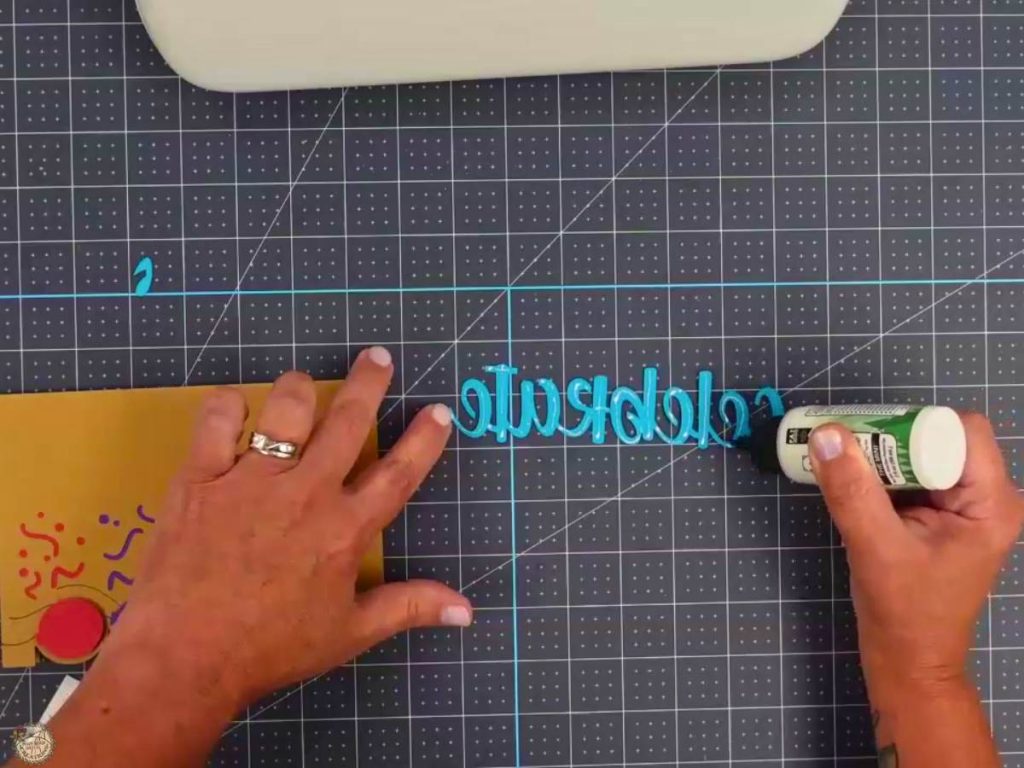
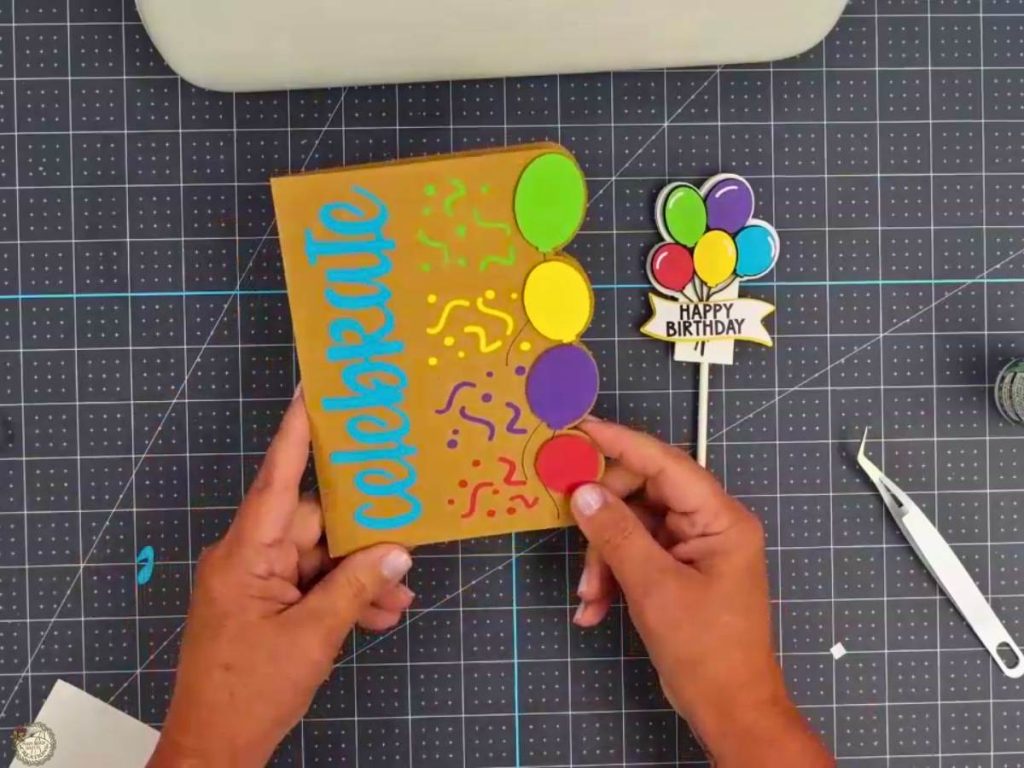
Apply glue to the word “Celebrate” and attach it to the card. That’s it! This card comes together so quickly and is perfect for birthdays, anniversaries, and more. Get creative and use a different word!
Adding Highlights to Your Balloons
After finishing my card, I realized I missed an opportunity to add the white highlights to the balloons, just like on the cupcake topper. You can easily grab these highlight parts from the cupcake topper SVG and resize them to fit the side edge card balloons!
I used heat transfer vinyl (HTV) for the white highlights on the cupcake topper. For the tutorial on how to add HTV to cardstock, check out the cupcake topper blog post and watch the video here.
Side Edge Card Video Tutorial
Watch the video below to learn how to make this adorable Celebrate side-edge card from start to finish. In it, I’ll walk you through setting up the design in Cricut Design Space, cutting and assembling the card, and adding the final touches.
Find the Free Cupcake Topper SVG blog post here!

Happy crafting, everyone! I can’t wait to see how your free side edge cards turn out. Be sure to share your projects, and let me know if you have any questions. Until next time, keep crafting and celebrating life’s special moments!

I’m excited to see what you’ll make with this week’s Free SVG! I’d be thrilled if you joined our Facebook group to share your projects. Come be a part of our crafting community, where you can showcase your work, connect with fellow crafters, and find even more inspiration. Let’s celebrate the joy of crafting together!
All of the Free Files on my website are for Personal and Commercial use. Check out my Terms of Use (TOU) here.

I’d love it if you could take a moment to pin the Free SVG image above to Pinterest. By sharing, you’re helping my business grow, which allows me to keep bringing you the free SVG files you adore. Thanks a bunch for your support. It means the world to me!
Here’s where you can find your Free SVG Download!
Design #213—Celebrate Side Edge Card SVG is available in my freebie library. To get the Password, click the button below and Join our Freebie Club!
If you enjoyed this week’s Free SVG & Cricut Tutorial, here’s another you will love!
Check out my shop for fun and creative designs you can use in your projects!

Join the Creative Fabrica Membership

Fonts, designs, and so much crafty goodness! Over 16 million digital files are waiting! In partnership with Main Road Digital Creations, your first 10 downloads are totally free. After that? It’s just $47 a year (yep, that’s $3.99/month) with full commercial and POD use included. Sign up for Free!
Discover My Designs in Cricut Design Space
Are you a Cricut Access member? If so, you’re in for a treat! I’ve got a range of designs available in my Cricut Design Space profile that you might not have seen yet. Perfect for vinyl cutting, sublimation, and more, these designs are ready to add that extra flair to your projects. Take a look and find your next inspiration!



Follow My Cricut Design Space Profile

Hi!, I love this card! It adorable and universal! What kind of cardstock is used for the balloons? I like the texture of it.
Hi Kimberly! Thank you so much for your comment! 😊 Unfortunately, I don’t have the packaging anymore! If I had to guess I’d say it’s Darice for the green balloon showing the texture. I have others from Darice, and it says smooth texture, so watch your packaging. It’s been in my stash for a while. Sorry.
Love it!! So cute. Thank you for the svg!!
You’re welcome 😊.Thank you for your comment and kindness! Happy crafting,Becky. 🥰