
How to Make Bookmarks with Your Cricut Using Cardstock
Step-by-Step Guide to Making Bookmarks with Cricut
This post may contain affiliate links. As an Amazon Associate, I earn from qualifying purchases. Please see my privacy policy for full details.

Creating custom bookmarks with your Cricut using cardstock is a fun and easy project! In this Cricut bookmarks tutorial, I’ll show you step-by-step how to make these beautiful bookmarks, perfect for any book lover. The best part? You can download my free bundle of bookmark SVG files to get started right away.
Supplies Needed for Your Cardstock Bookmarks
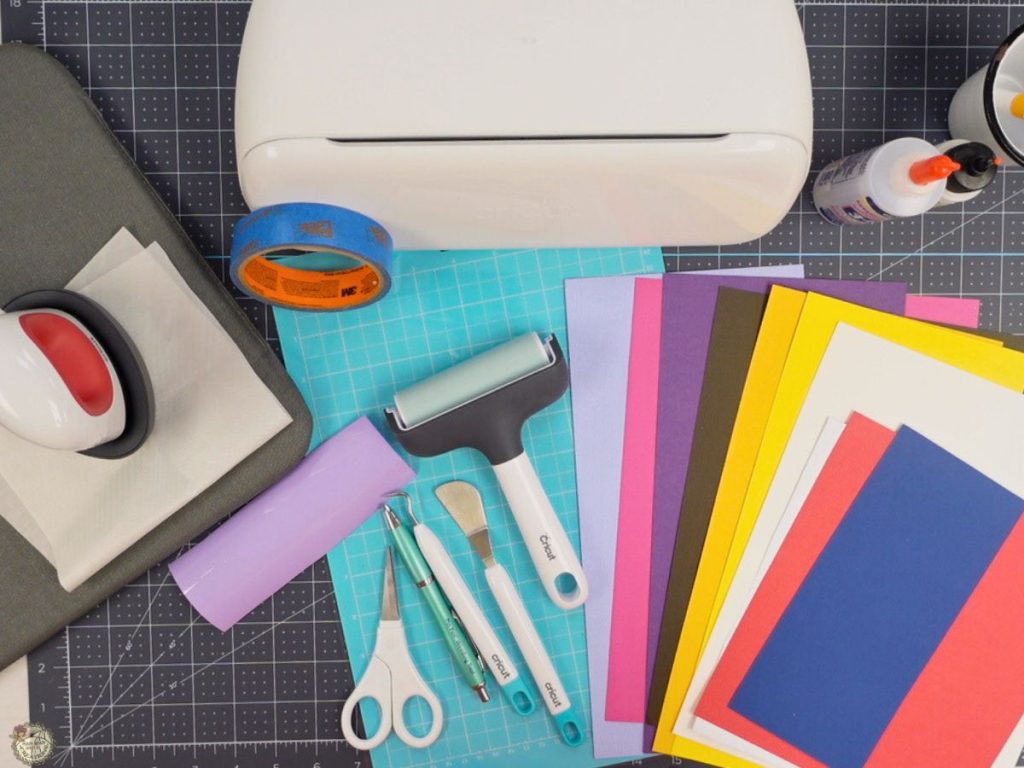
- Cricut Joy Xtra
- Light Grip Mat
- Painters Tape (optional)
- Weeding Tools
- Pin Pen
- Brayer
- Cardstock -I used 80 lb
- HTV (Heat Transfer Vinyl)
- Glue –Bearly Art and/or Beacon 3 in 1
- EasyPress Mini
- Heat Resistant Mat
- Teflon Sheet
- Hangers
Cricut Bookmark Tutorial-Free SVG Files
When you upload my free bookmark SVG bundle into Cricut Design Space, this is how it will appear on your canvas. The bundle includes a variety of bookmark designs that you can customize to your liking. You can easily change the colors to match your style or theme.
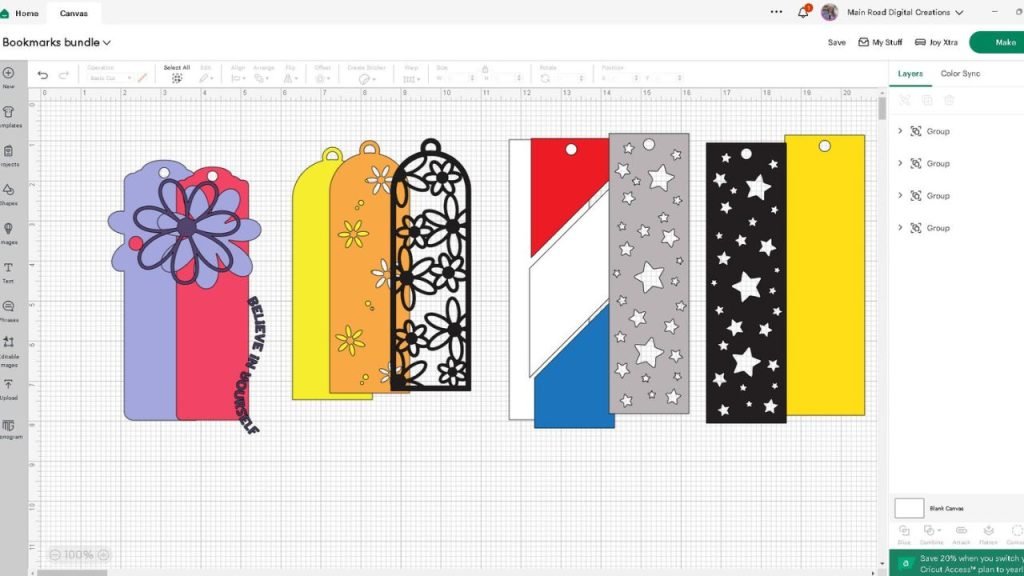
What’s that font?
The font I used for the flower bookmark is called Uncle Grump.

Cutting and Removing the Bookmarks
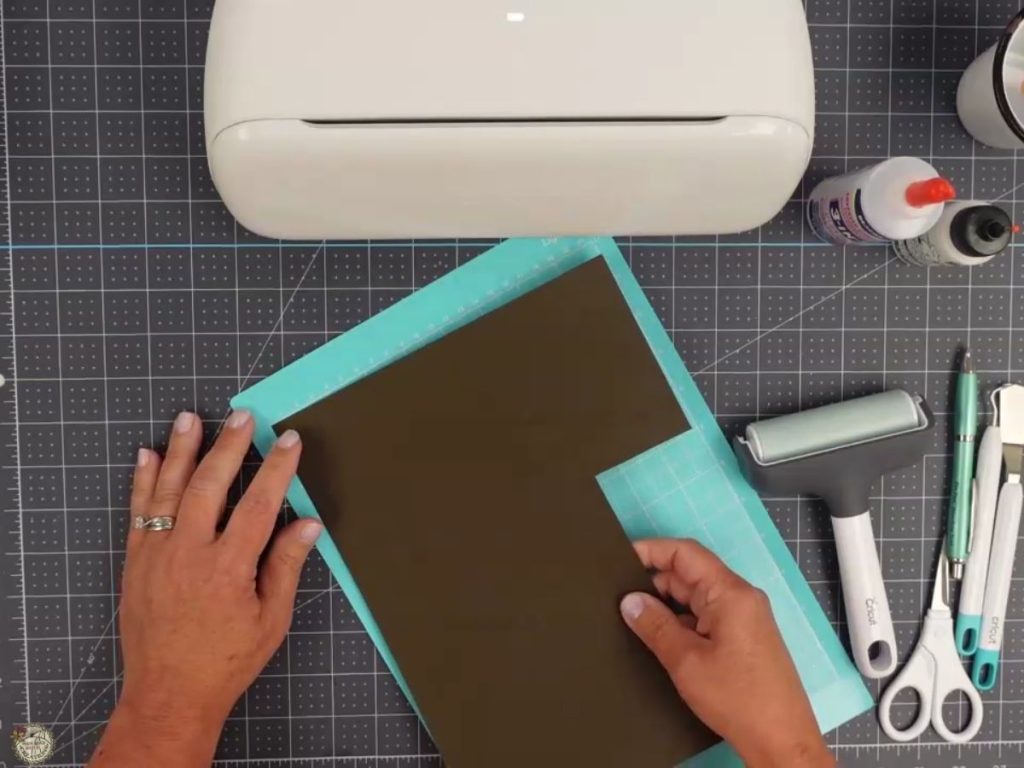
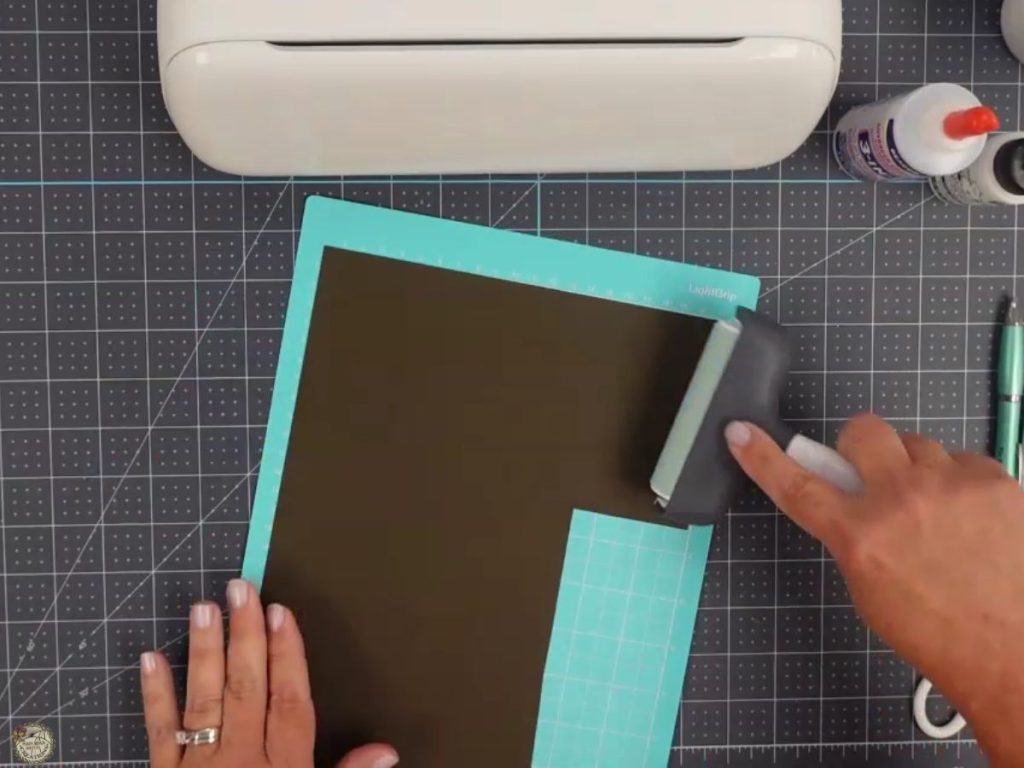
Place your cardstock on the light grip mat and use the brayer to secure it. If your mat isn’t sticky enough, use painter’s tape on the corners for extra hold. For intricate designs, make sure your mat is sticky enough to keep the cardstock in place. You can also flip the mat upside down for a stickier surface.
Removing the Bookmarks
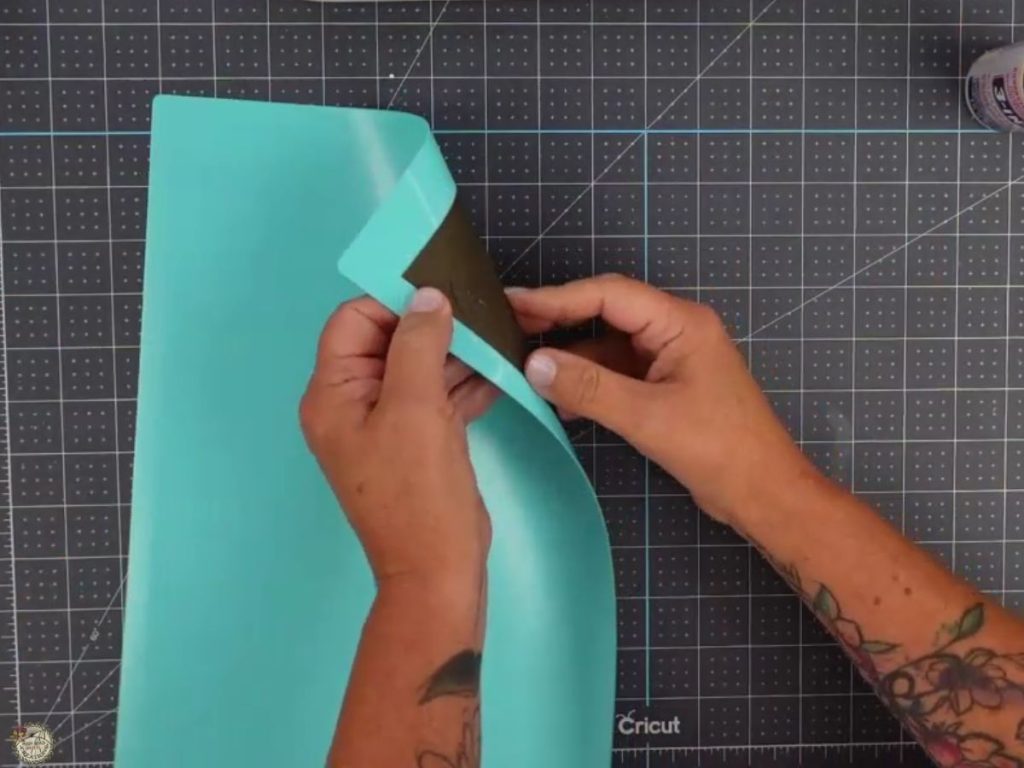
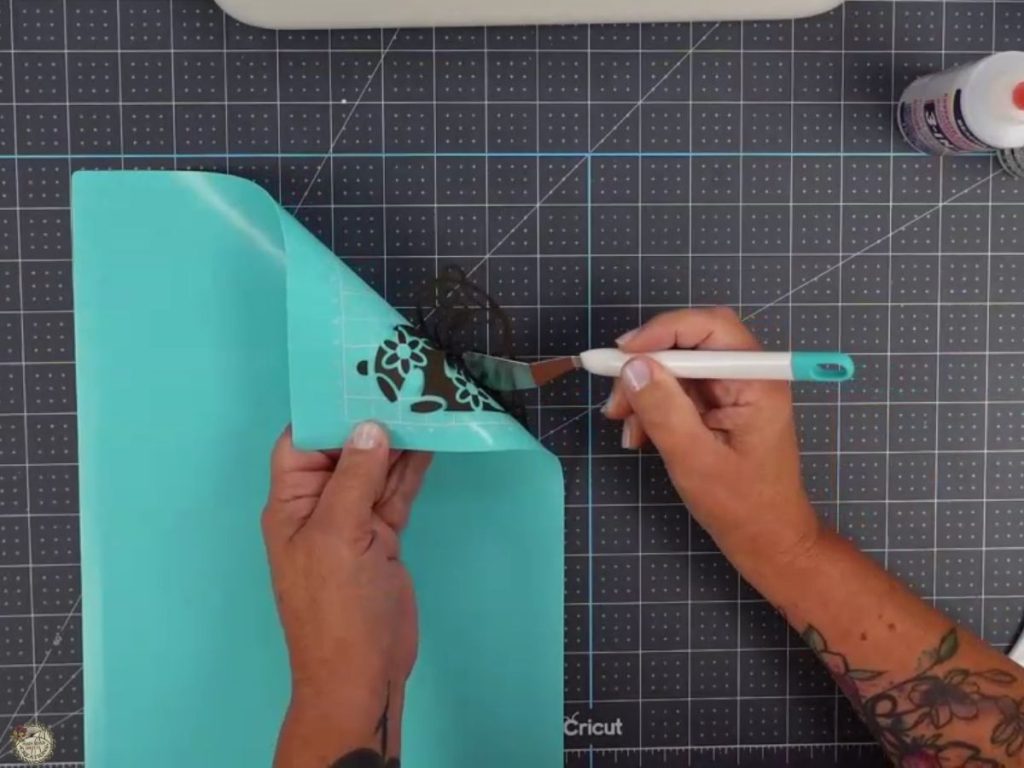
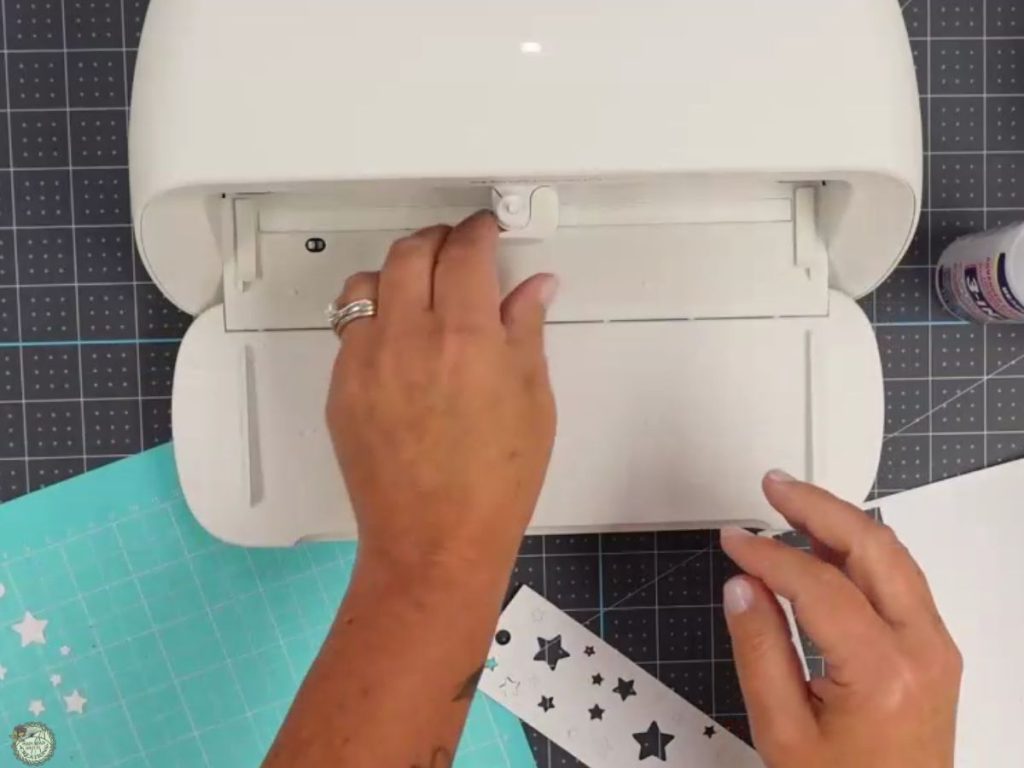
Flip the Mat: Once the cutting is complete, flip the mat upside down and carefully peel it away from the cardstock. This helps prevent the cardstock from curling.
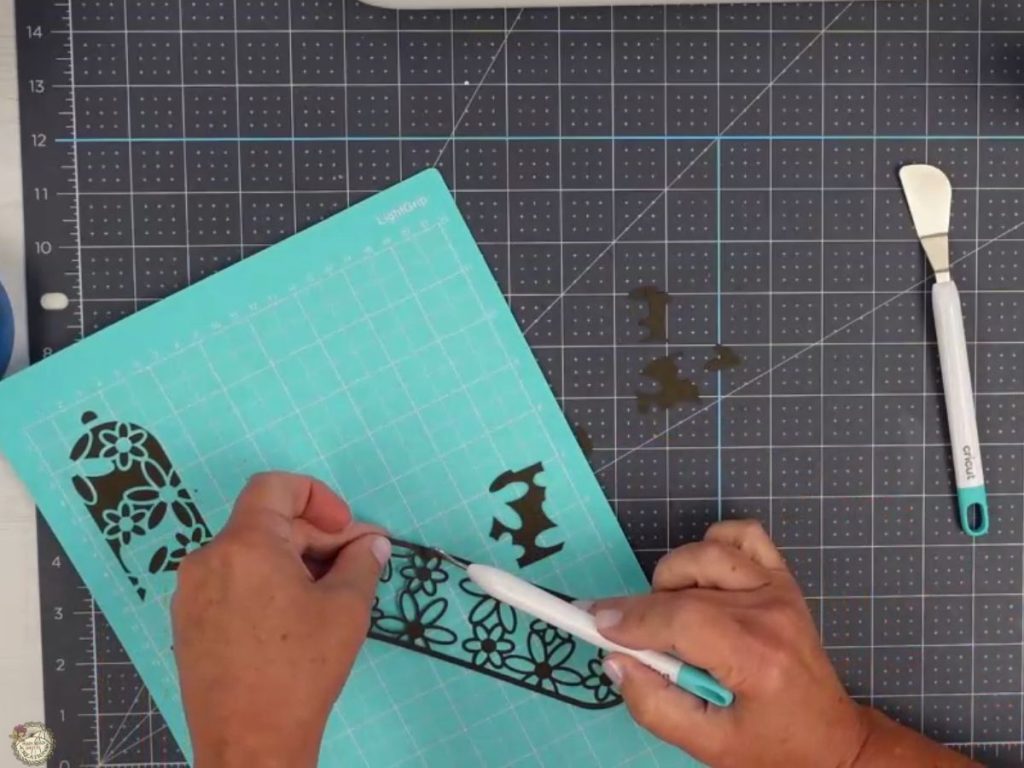
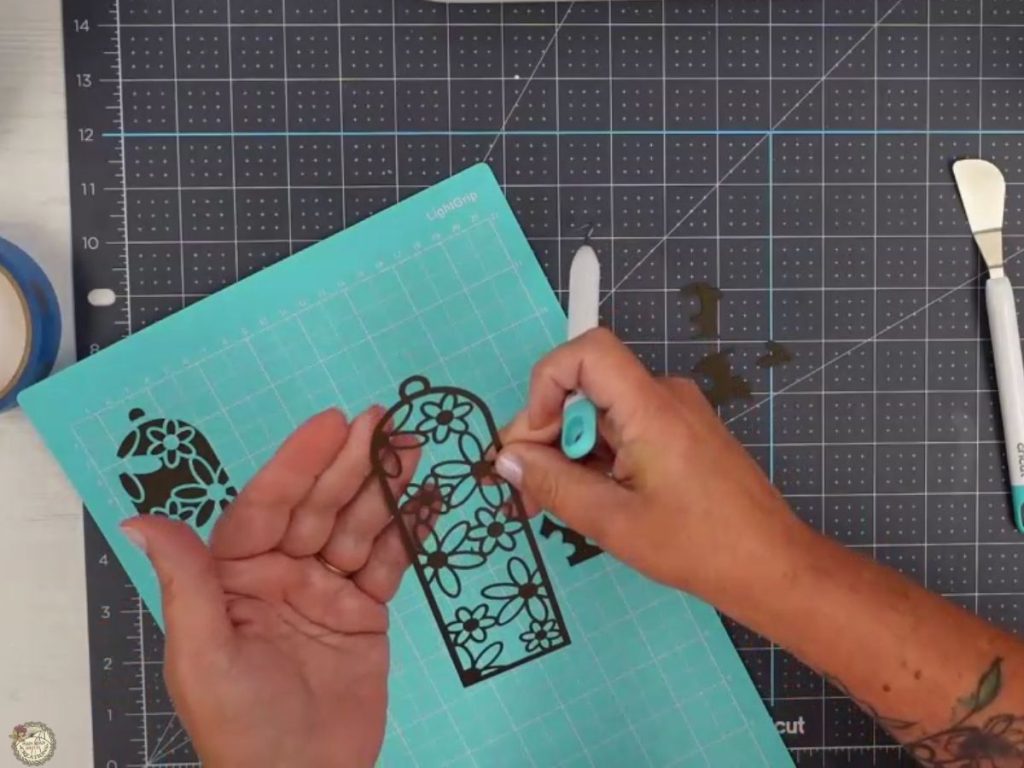
Remove Intricate Cuts: For intricate designs, gently poke out any remaining pieces using your weeding tool. Go slowly to avoid tearing the delicate cuts.
Clean Your Cricut Blade
Why It’s Important
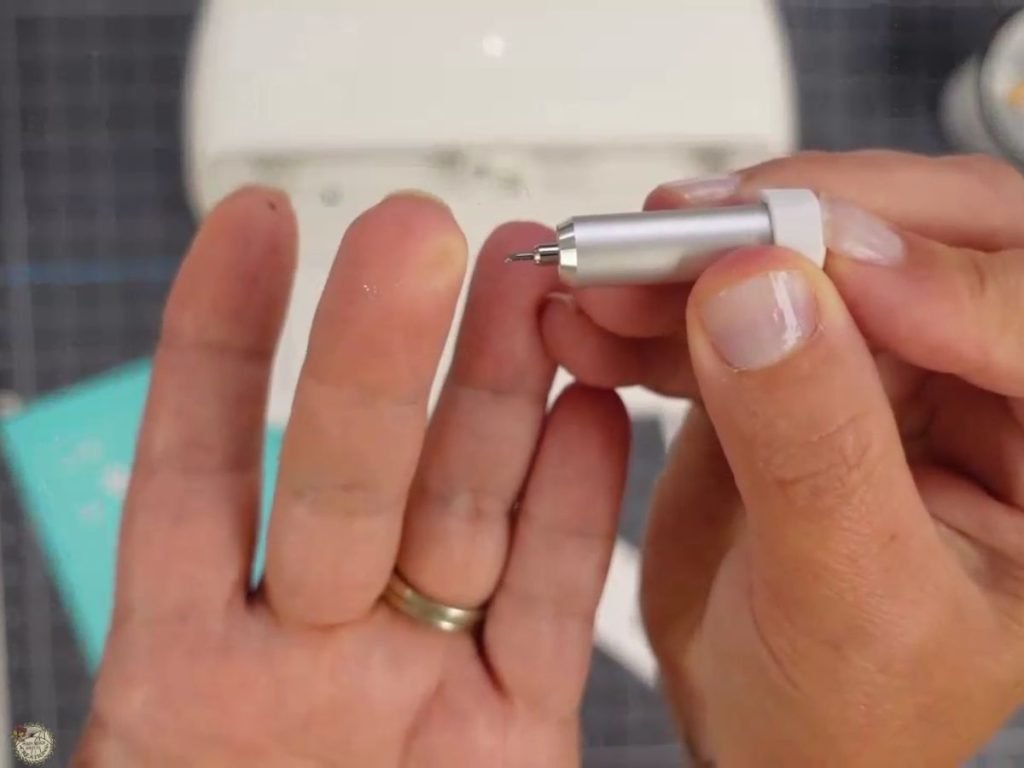
Keeping your blade clean is essential for achieving precise cuts, especially when working with intricate designs on cardstock. Debris buildup can affect the quality of your cuts and may cause tearing or uneven edges.
How to Clean the Blade:
- First, push the end of the blade plunger to make the blade come out.
- Inspect for Debris: Look for any pieces of cardstock or other materials that might be stuck to the blade.
- Clean the Blade: Carefully remove any debris using a small tool or your fingers. Be gentle to avoid damaging the blade.
Assembling Your Cardstock Bookmarks
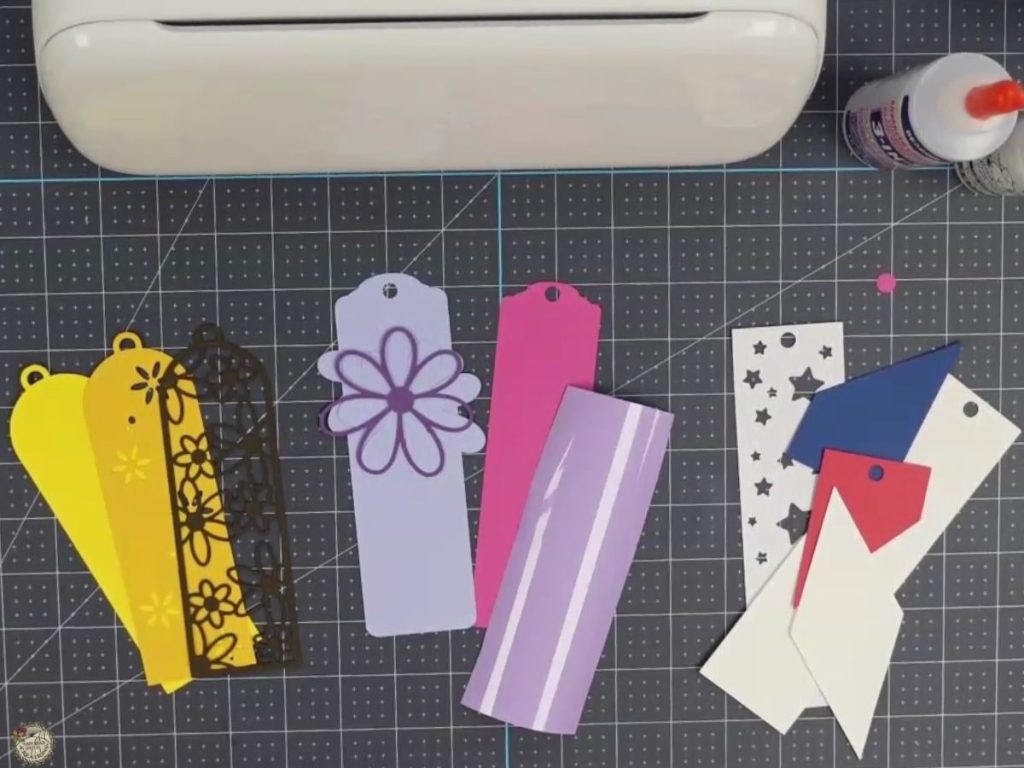
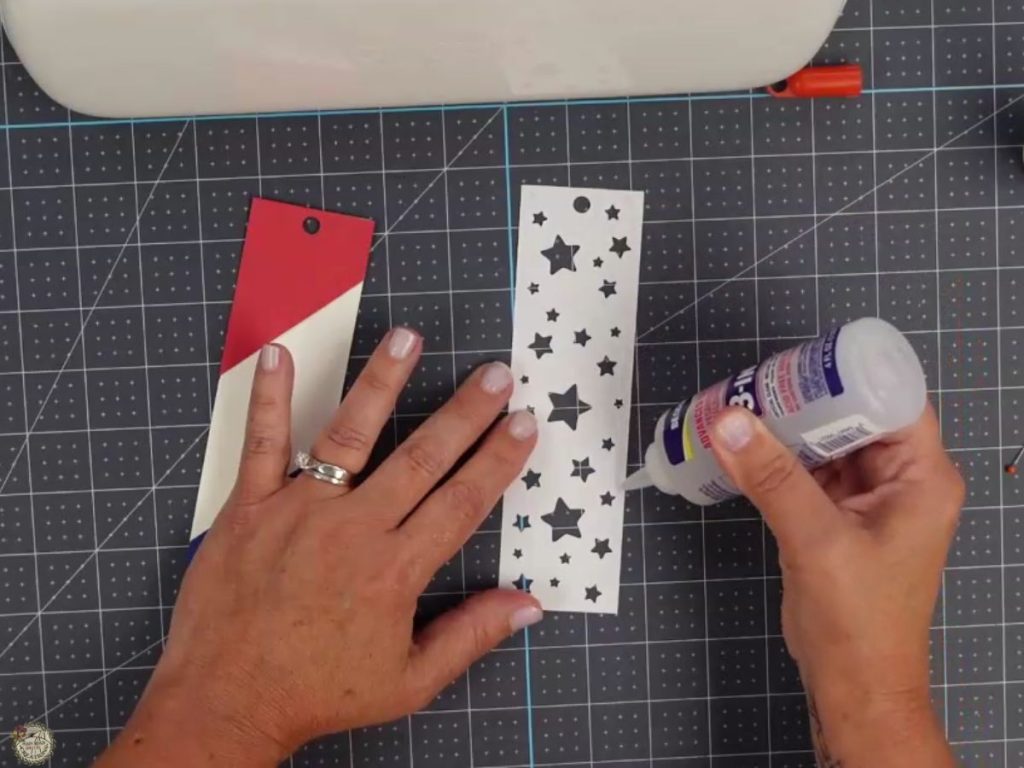
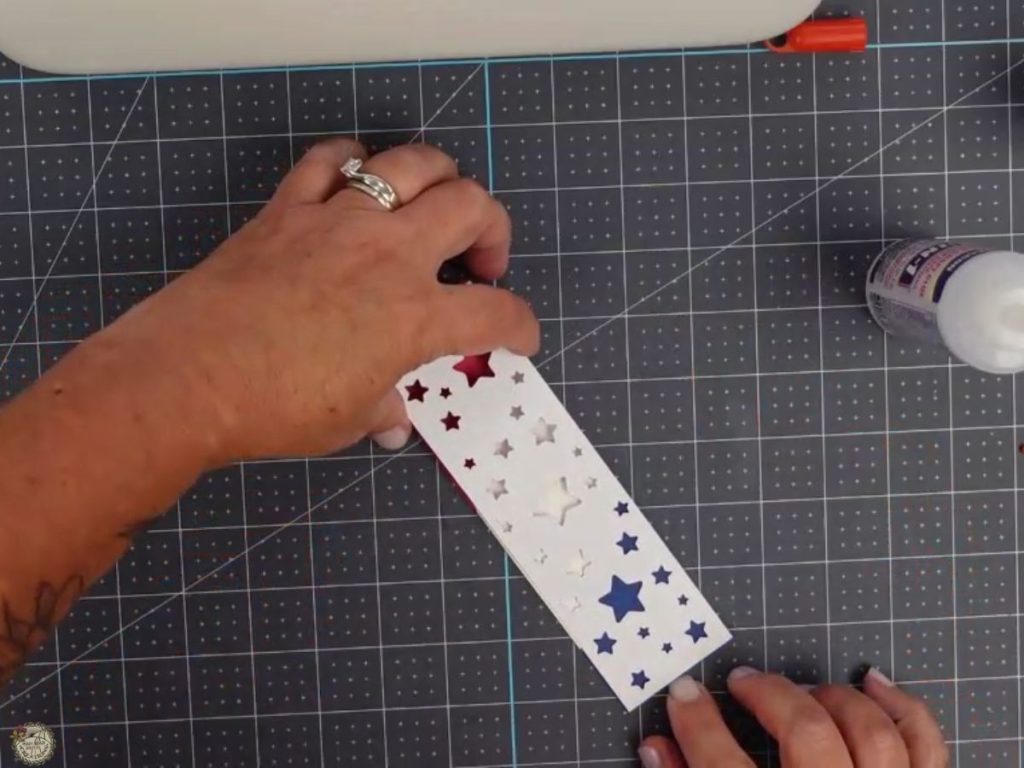
First Cardstock Bookmark
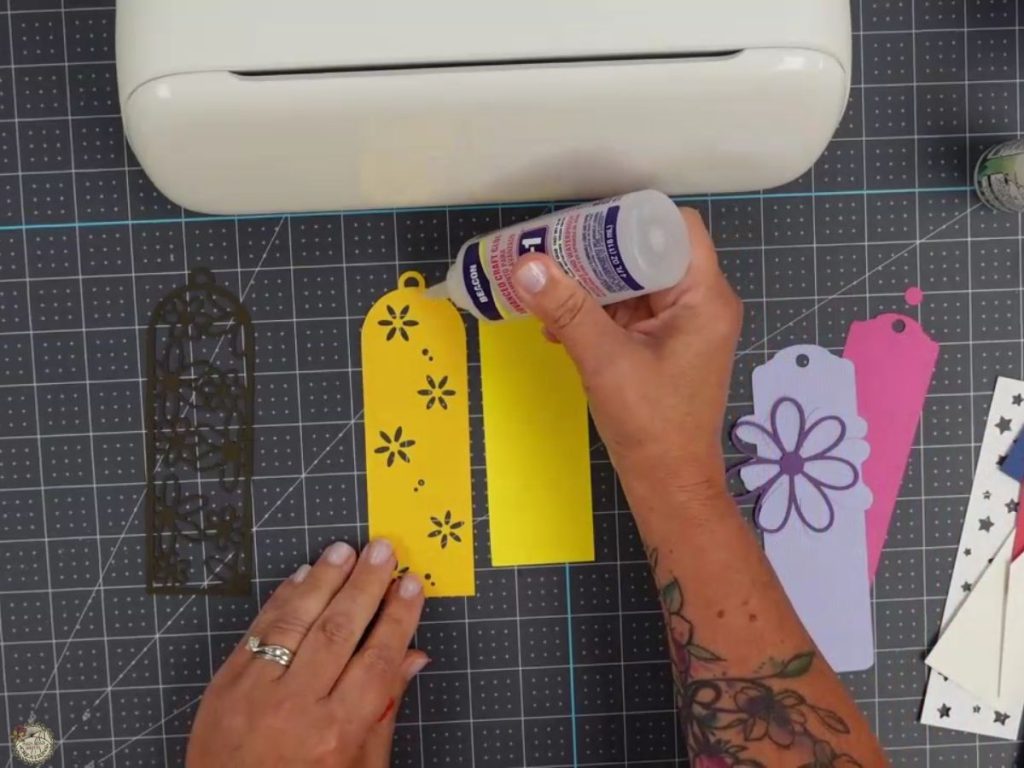
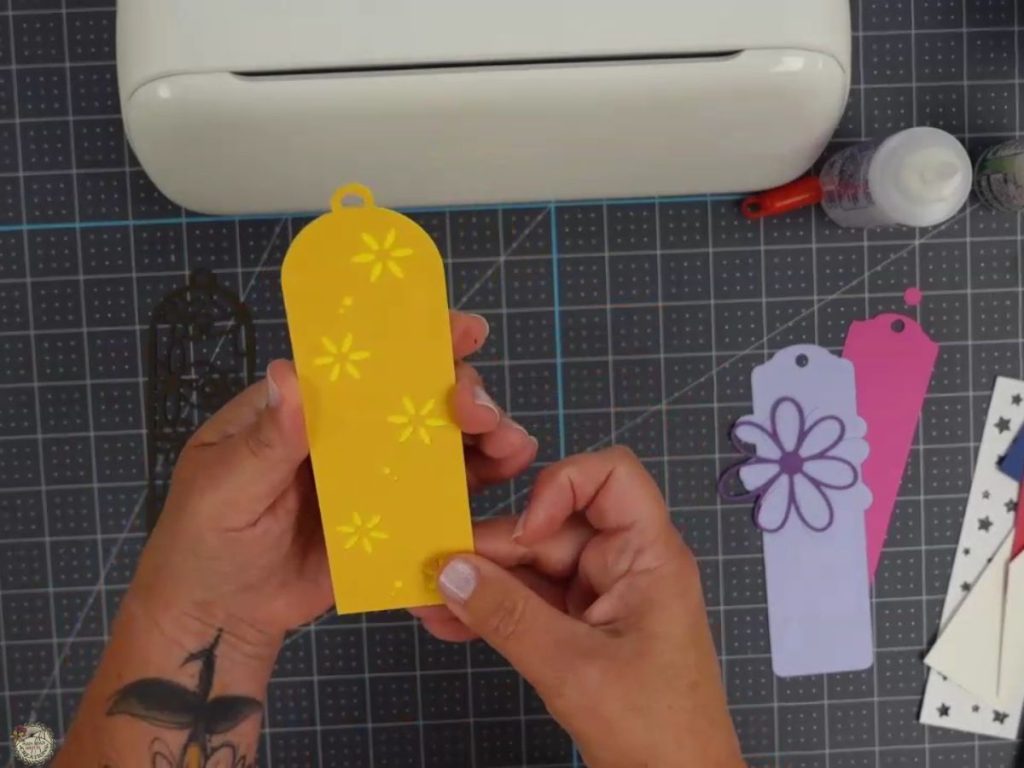
Glue the top piece to the base using Beacon 3-in-1 Glue. Ensure the pieces are aligned properly.
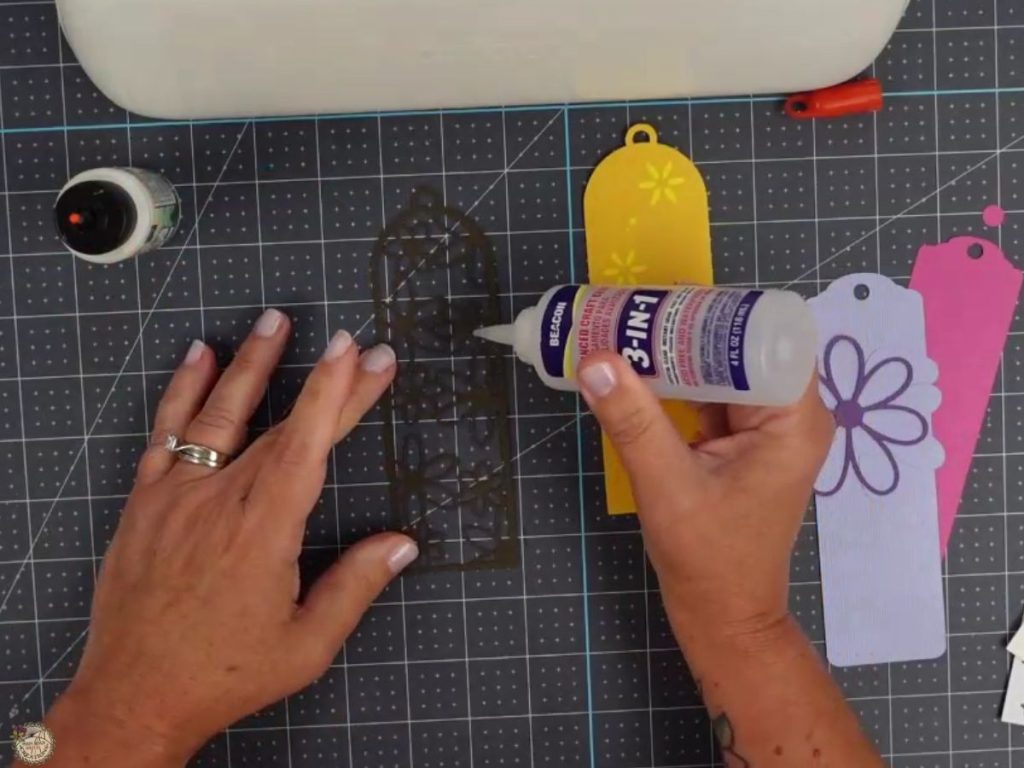
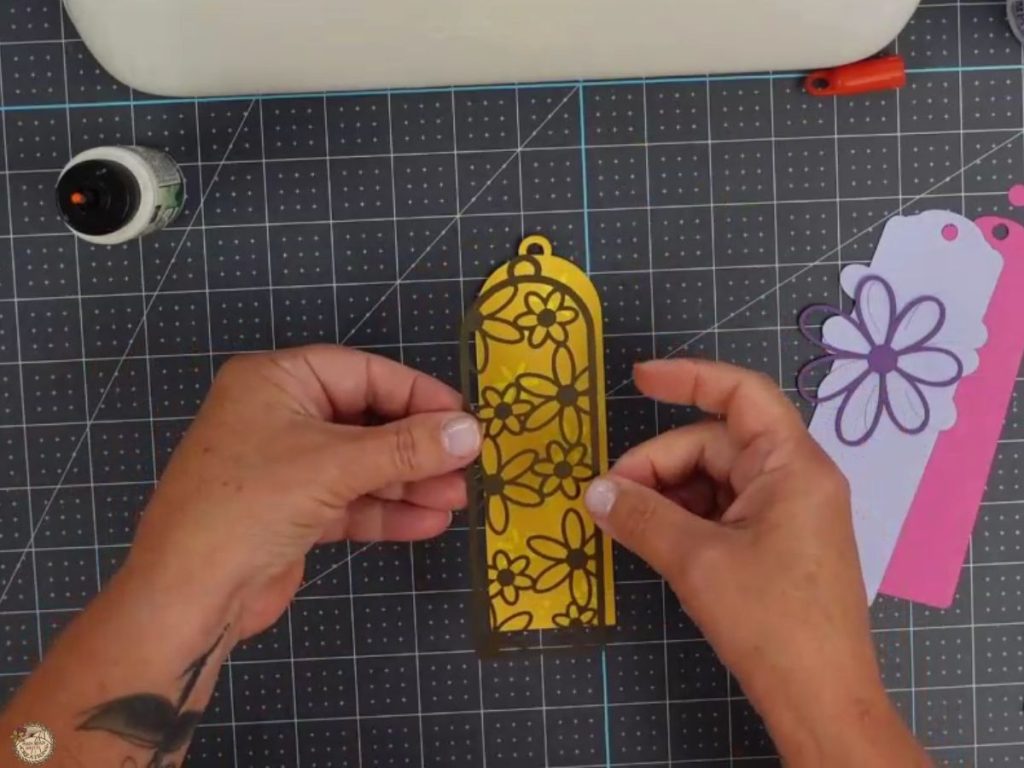
Second Cardstock Bookmark
Turn on the EasyPress Mini. Push the button on the EasyPress Mini one time to turn it on and allow it to heat up. You only need to push it once for it to reach the desired temperature.
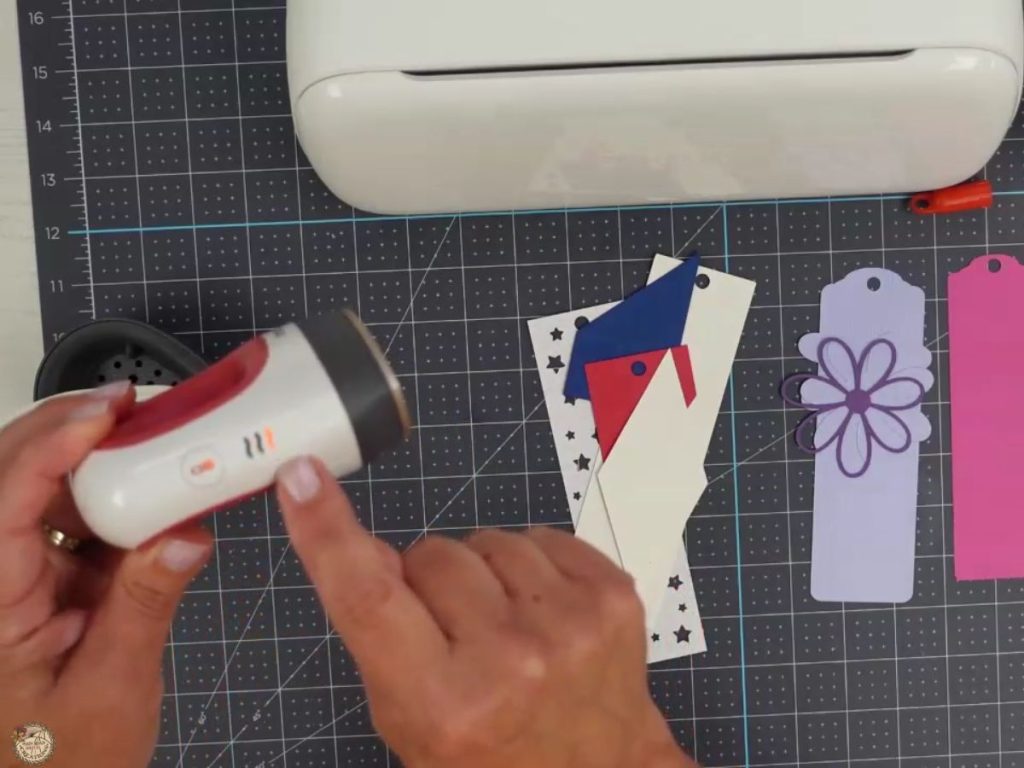
While the EasyPress is warming up, assemble your bookmark.
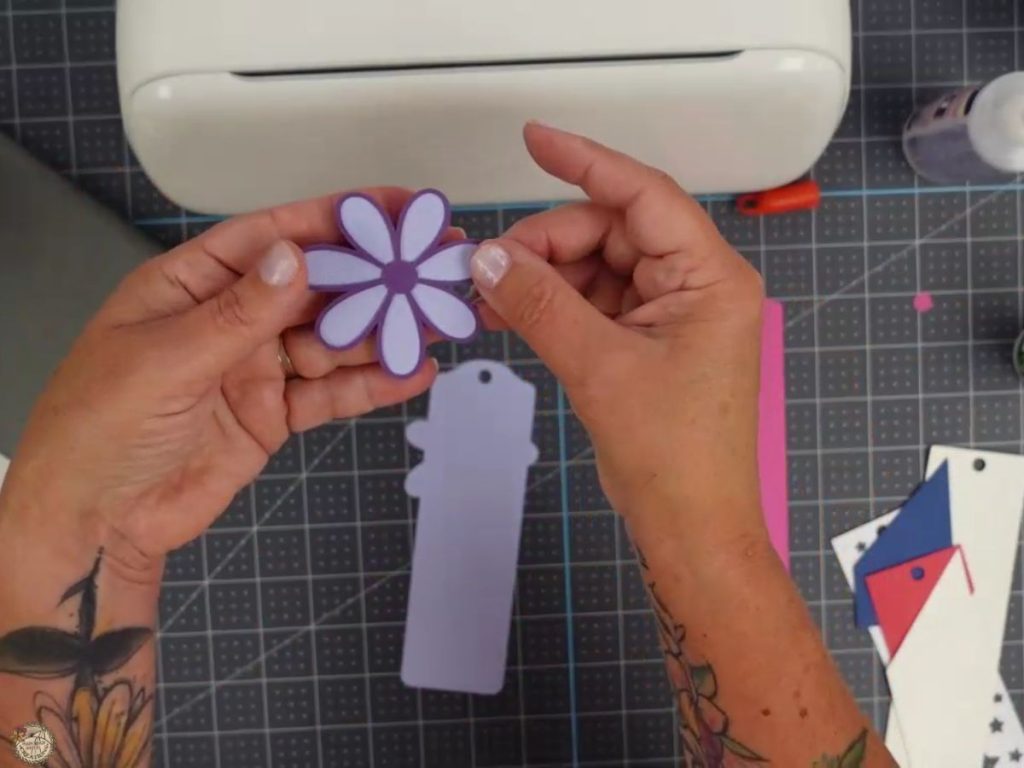
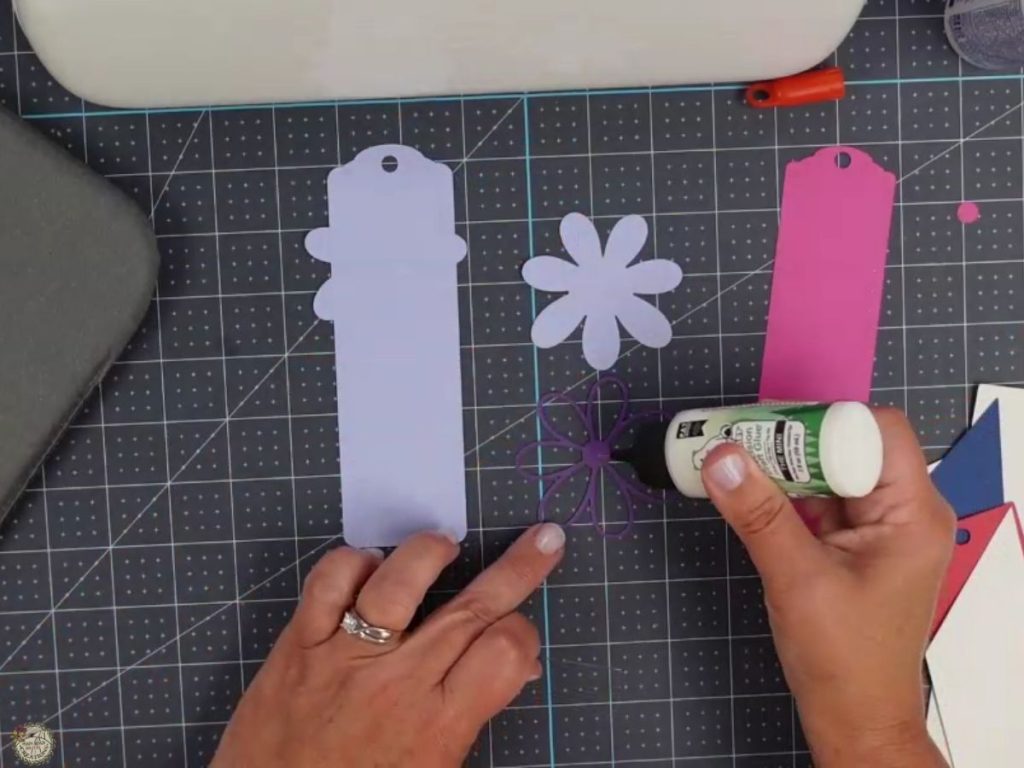
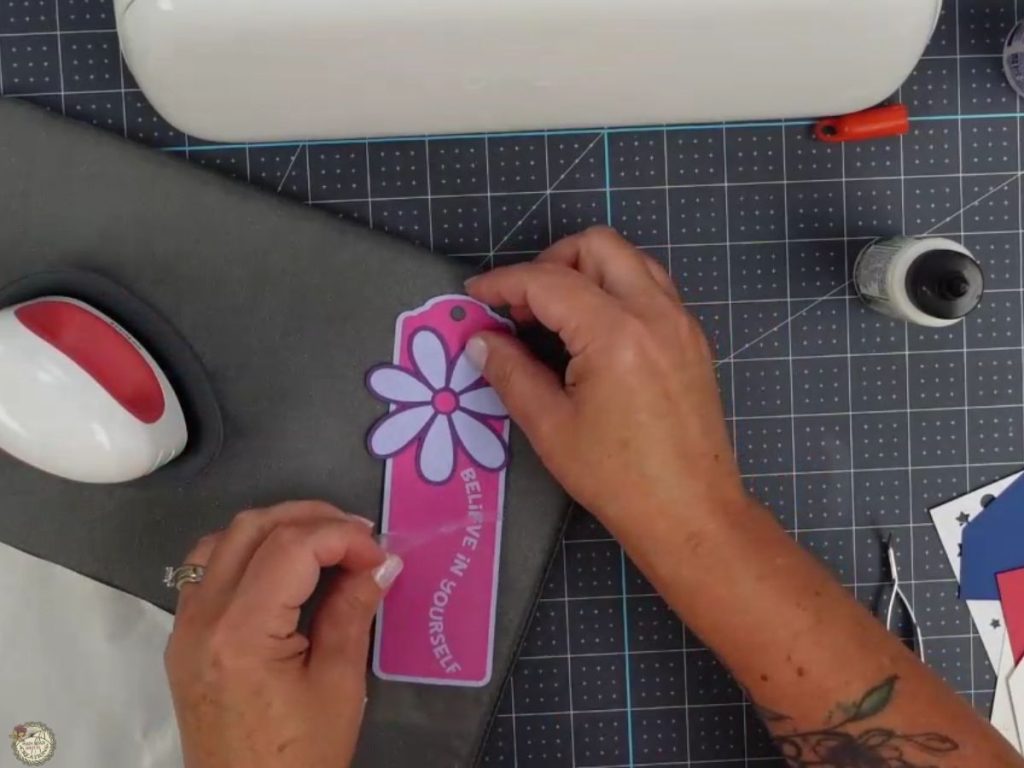
Layer and glue the flower pieces, ensuring correct alignment. Refer to the design images to ensure you have the right alignment.
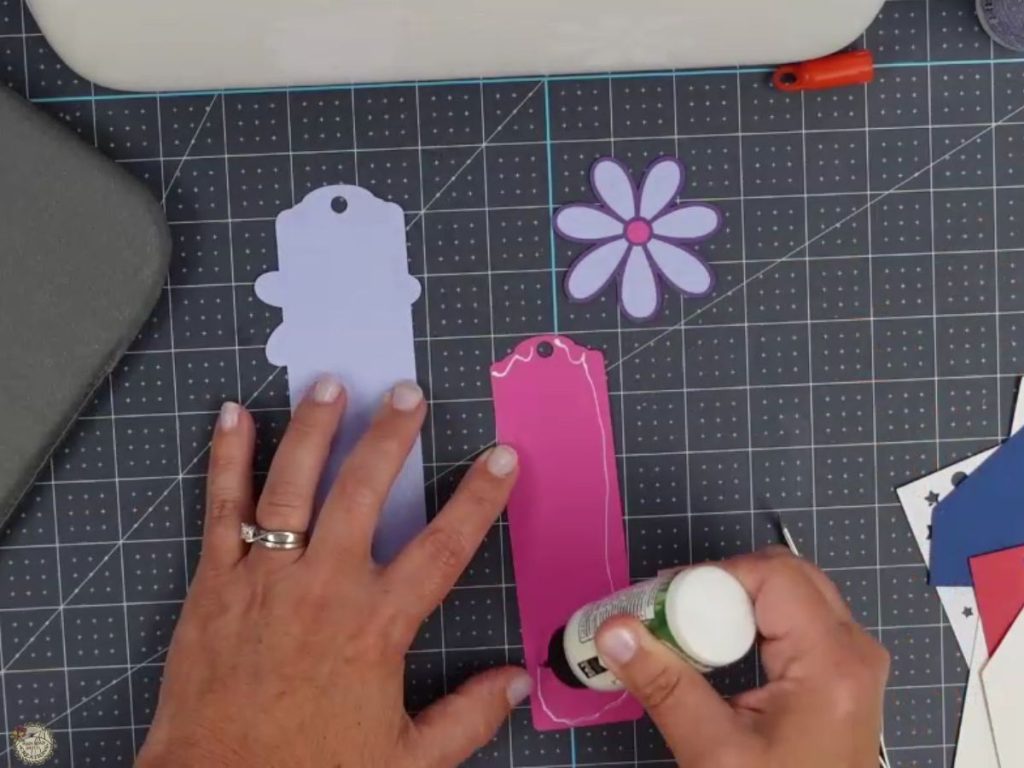
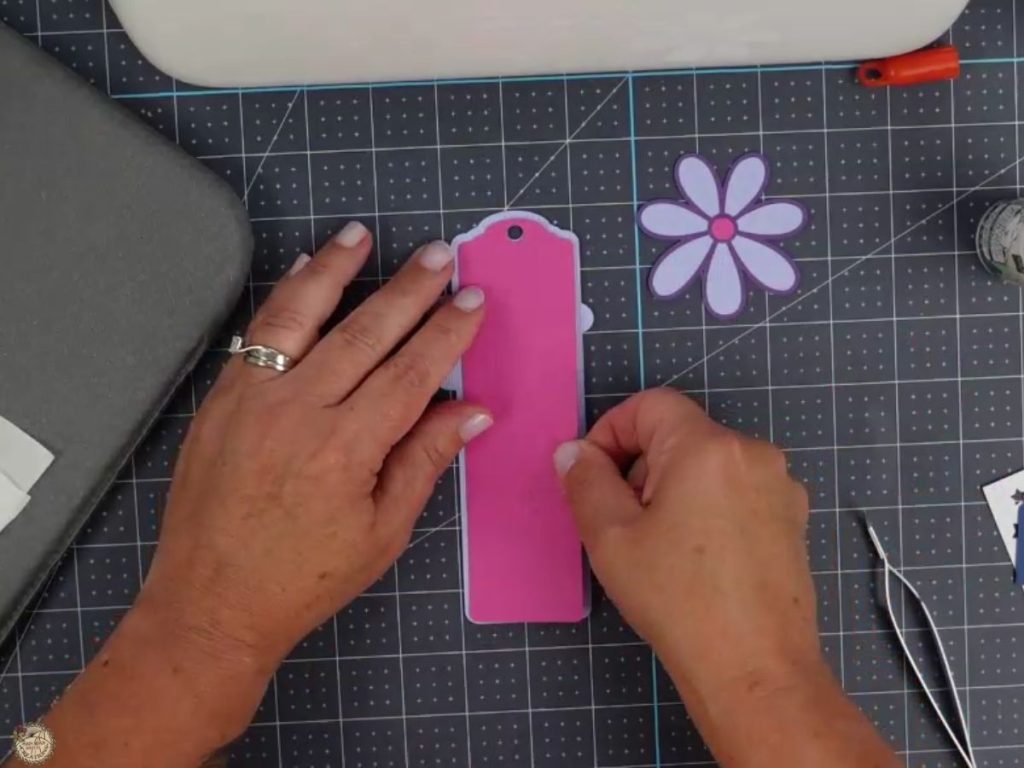
Apply the HTV to your Cardstock Bookmark:
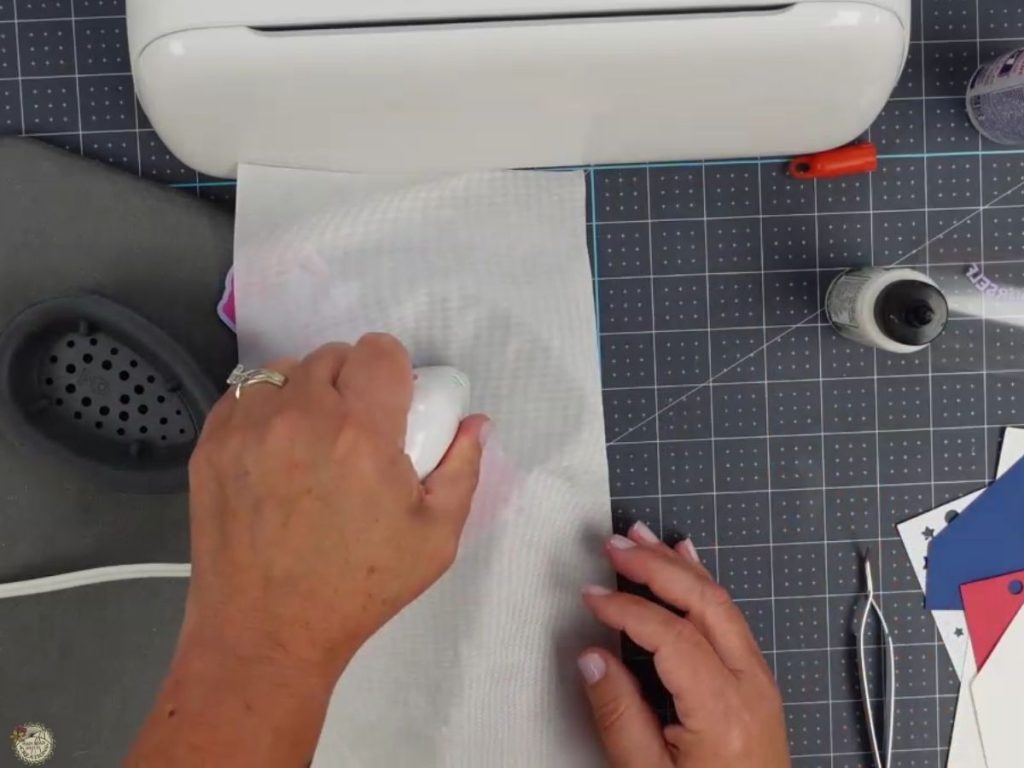
Place the bookmark on a heat-resistant mat. Cover the bookmark with a Teflon sheet to protect it from direct heat. Position the HTV on the bookmark. Use the EasyPress Mini to apply the HTV, pressing down firmly and moving it over the area for a few seconds until the HTV adheres properly.
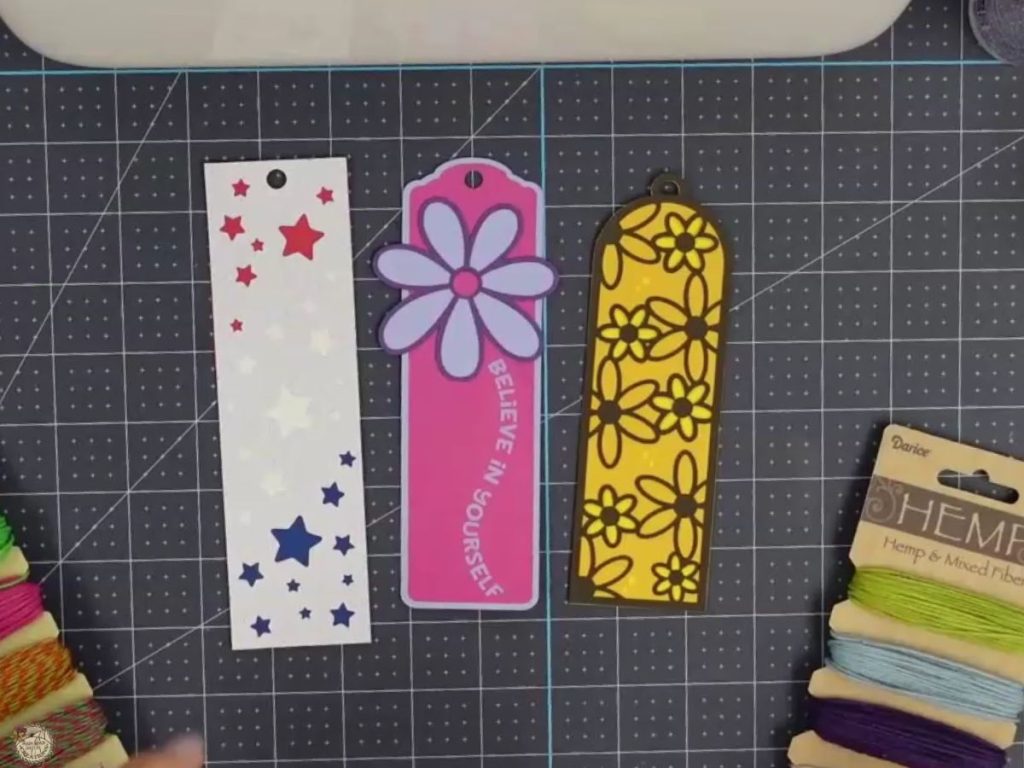
Third Cardstock Bookmark
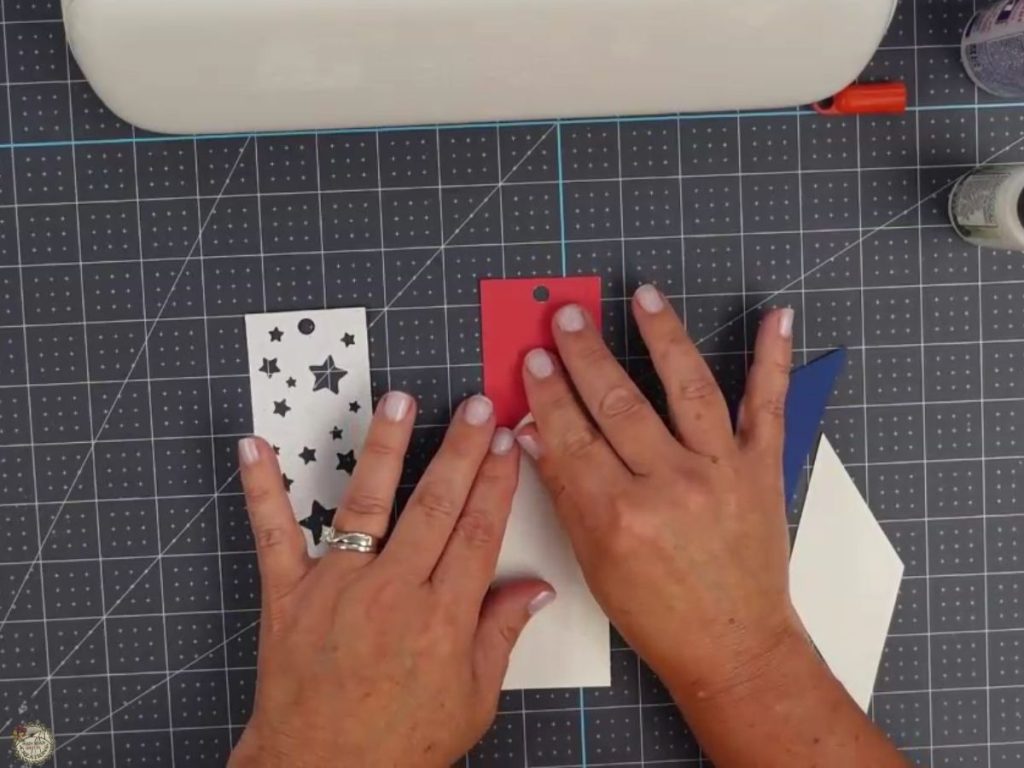
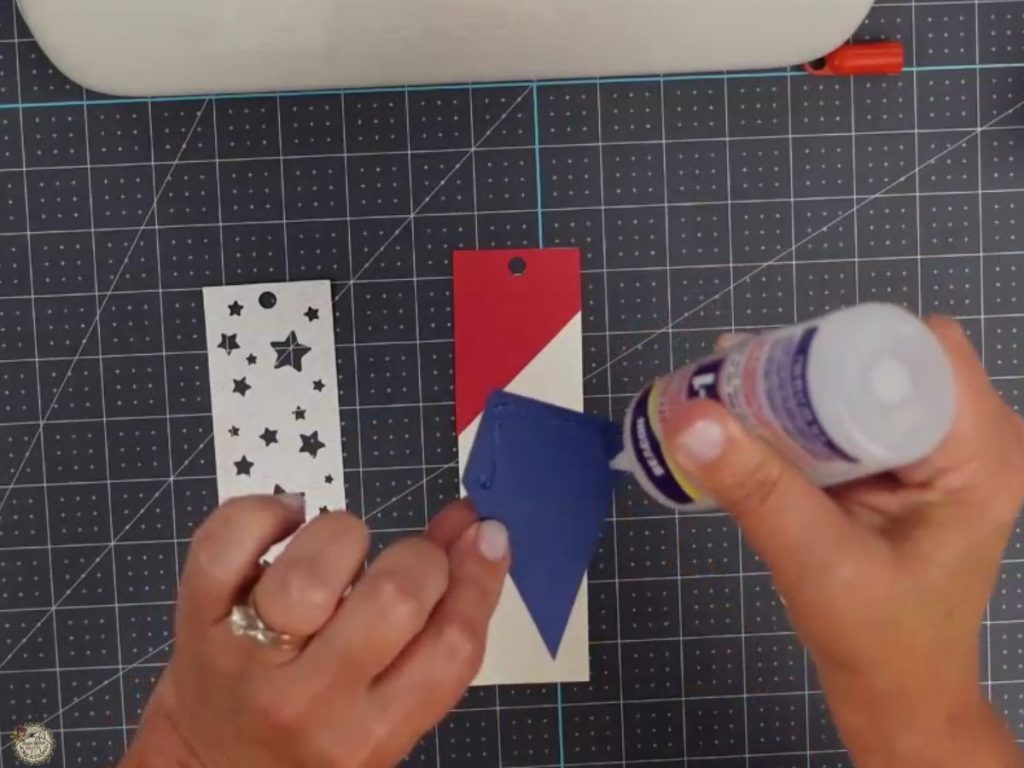
Glue the top piece to the base using Beacon 3-in-1 Glue. Ensure the pieces are aligned properly.
Adding Hangers to Your Cardstock Bookmarks
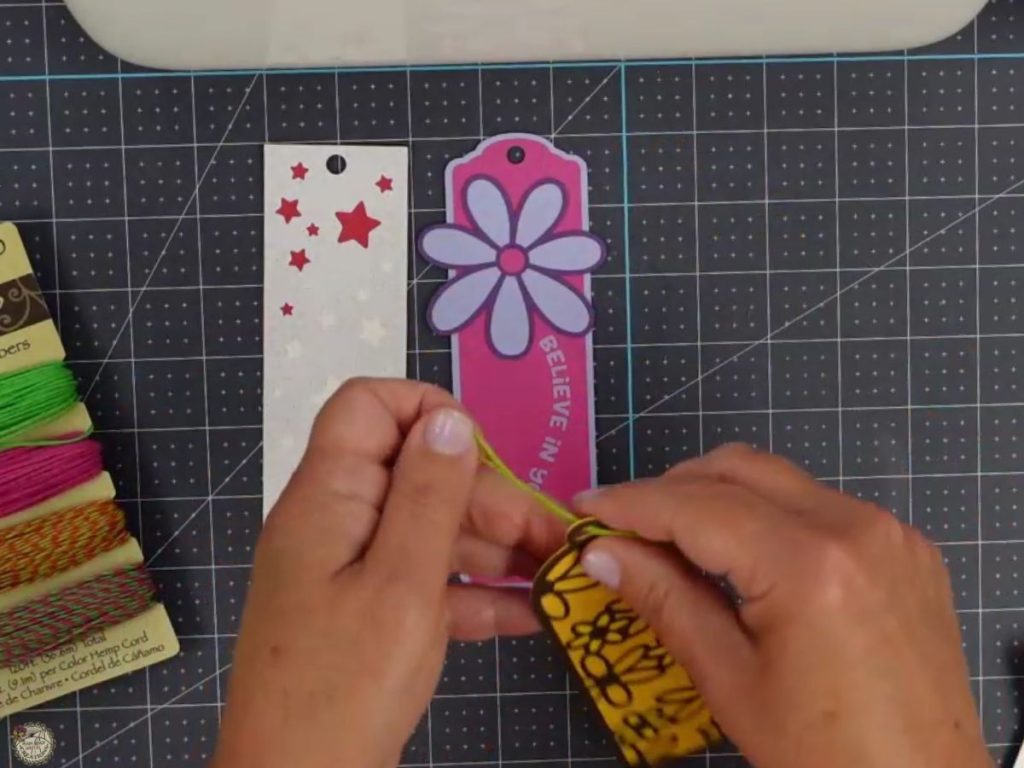
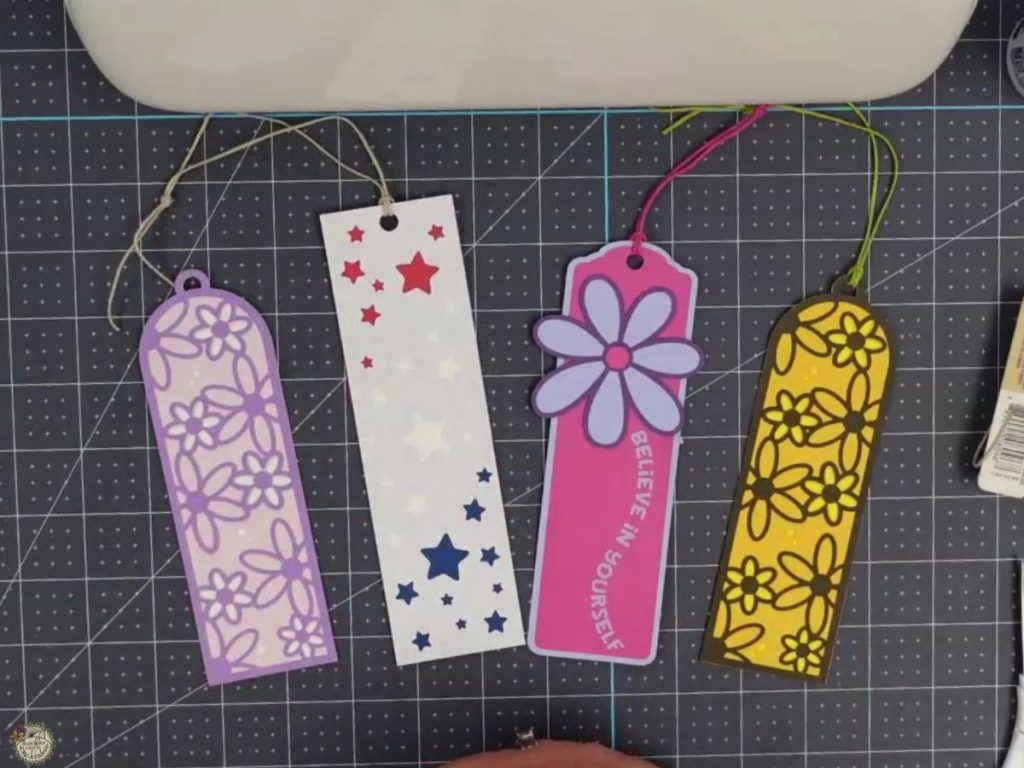
You can use jute, baker’s twine, ribbon, or hemp for the hangers. I used hemp from my craft stash. Make a small knot and thread it through the hole in the bookmark. Secure it tightly.
Watch the Cricut Bookmarks Tutorial
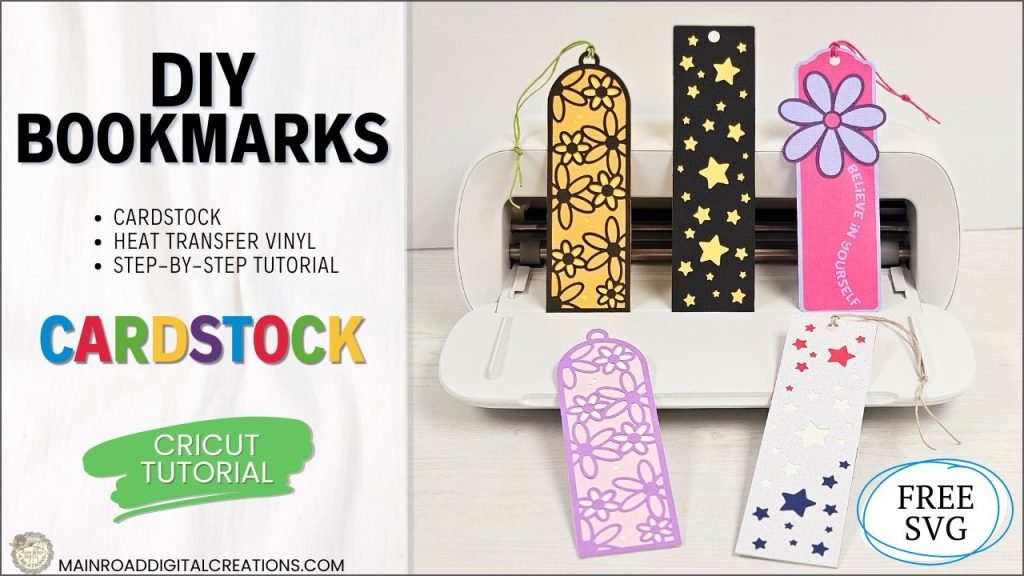
Watch the video below to learn how to make these beautiful cardstock bookmarks from start to finish. In it, I’ll walk you through setting up the bookmark designs in Cricut Design Space, cutting and removing the bookmarks, assembling the pieces, and adding the final touches, including using the EasyPress for HTV application.
Cricut Bookmarks Tutorial
And there you go! You’ve just completed a Cricut bookmarks tutorial, creating beautiful bookmarks that you can keep for yourself, give as gifts, or even sell in your small business.
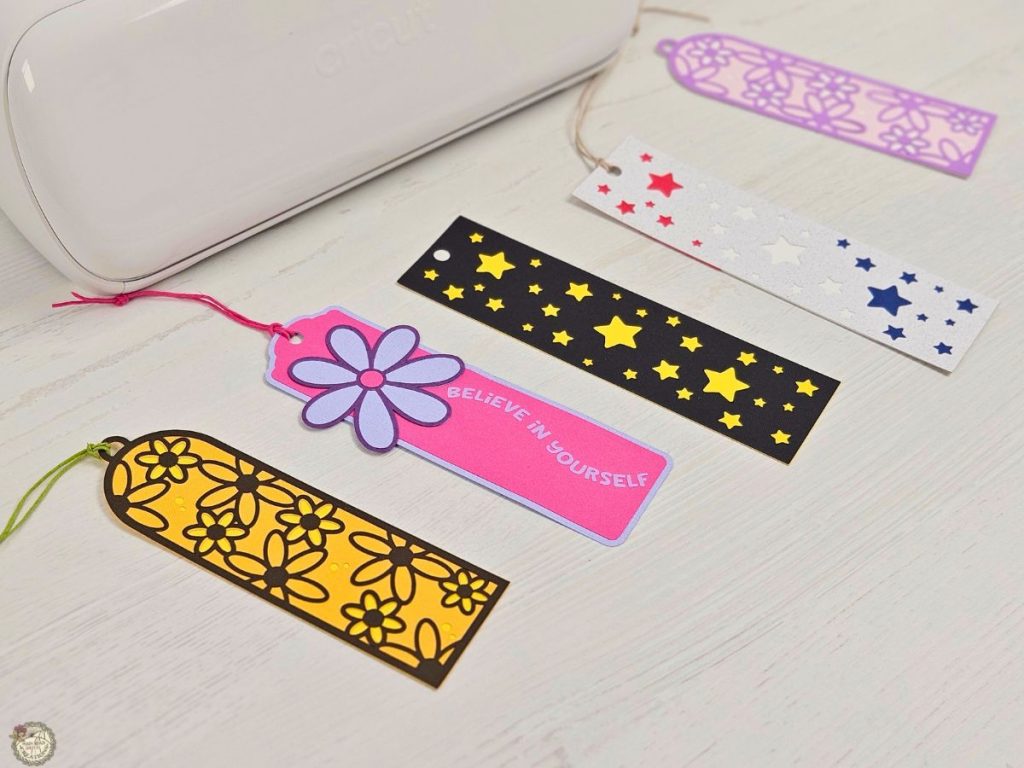
Happy crafting, everyone! I can’t wait to see how your cardstock bookmarks turn out. Be sure to share your projects, and let me know if you have any questions. Until next time, keep crafting and enjoying your creative moments!

I’m excited to see what you’ll make with this week’s Free SVG! I’d be thrilled if you joined our Facebook group to share your projects. Come be a part of our crafting community, where you can showcase your work, connect with fellow crafters, and find even more inspiration. Let’s celebrate the joy of crafting together!
All of the Free Files on my website are for Personal and Commercial use. Check out my Terms of Use (TOU) here.
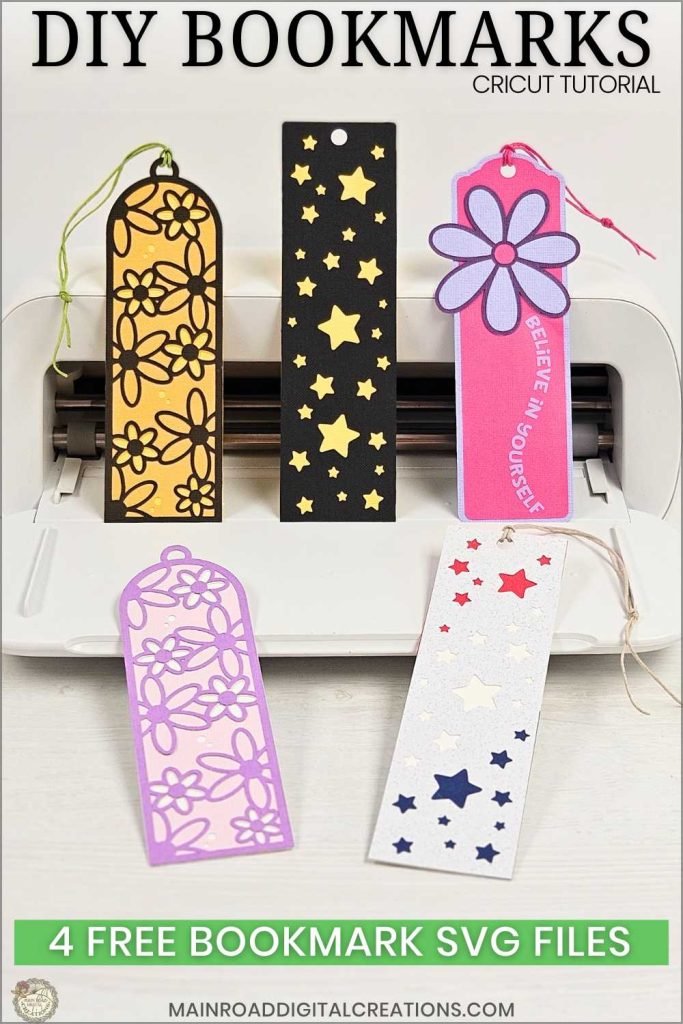
I’d love it if you could take a moment to pin the Free SVG image above to Pinterest. By sharing, you’re helping my business grow, which allows me to keep bringing you the free SVG files you adore. Thanks a bunch for your support. It means the world to me!
Here’s where you can find your Free SVG Download!
Design #214— Bookmark Bundle SVG is available in my freebie library. To get the Password, click the button below and Join our Freebie Club!
If you enjoyed this week’s Free SVG & Cricut tutorial, here’s another you will love!

Check out my shop for fun and creative designs!
Discover My Designs in Cricut Design Space
Are you a Cricut Access member? If so, you’re in for a treat! I’ve got a range of designs available in my Cricut Design Space profile that you might not have seen yet. Perfect for vinyl cutting, sublimation, and more, these designs are ready to add that extra flair to your projects. Take a look and find your next inspiration!



Follow My Cricut Design Space Profile

Join the Creative Fabrica Membership

Fonts, designs, and so much crafty goodness! Over 16 million digital files are waiting! In partnership with Main Road Digital Creations, your first 10 downloads are totally free. After that? It’s just $47 a year (yep, that’s $3.99/month) with full commercial and POD use included. Sign up for Free!