
How to Print Photos on Canvas with the xTool M2 | Easy DIY Tutorial
This post may contain affiliate links. As an Amazon Associate, I earn from qualifying purchases. Please see my privacy policy for full details.
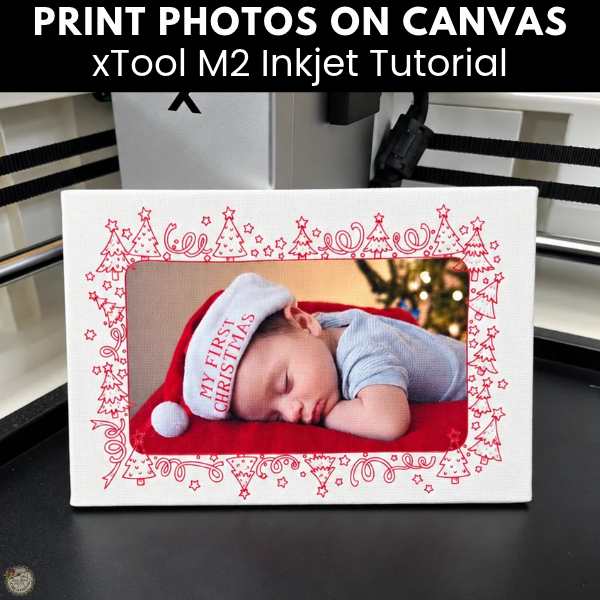
Have you ever thought about printing your favorite photos directly onto a canvas? I decided to give it a try using my xTool M2 and a little 4×6 canvas from Dollar Tree! For this project, I used a Christmas photo of my grandson and added a cute holiday frame to create a personalized keepsake. It took a little trial and error to get the results I wanted, but I finally figured out what worked! Today, I’m sharing how I made it, along with a few helpful tips I learned along the way.
Disclosure: xTool provided my M2 and accessories as part of a product collaboration. This post contains affiliate links, which means I may earn a small commission if you purchase through my links, at no additional cost to you. All opinions and project experiences are my own.
Can You Print Photos on Canvas with the xTool M2?
Yes! One of the features I was excited to try on my xTool M2 was the CMYK Inkjet Printing Module. Not only can the M2 cut and engrave materials, but it can also print full-color designs directly onto different surfaces, including canvas!
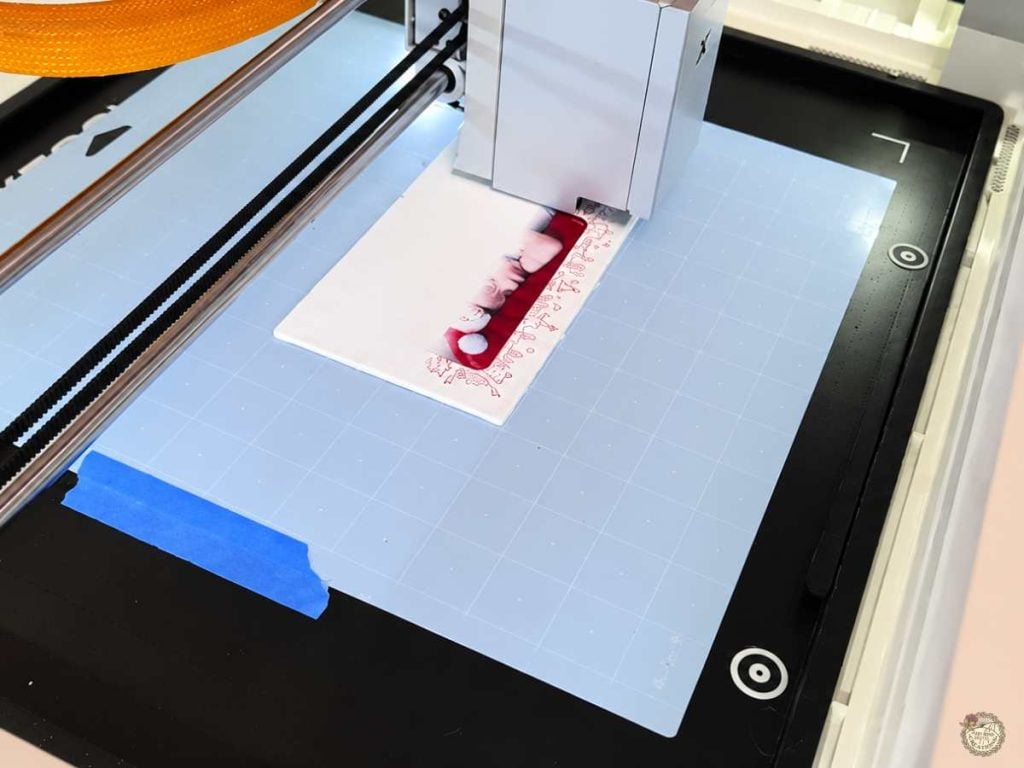
For this project, I wanted to see if I could turn an inexpensive Dollar Tree canvas into a personalized photo gift. What I quickly learned is that preparing the canvas makes a BIG difference in the finished print! I’ll show you the difference between printing with and without inkAID, along with the settings that gave me the best results.
Supplies Needed to Print Photos on Canvas
You don’t need many supplies for this project! I picked up my little 4×6 canvas at Dollar Tree and used inkAID White Matte to prepare the surface for printing.
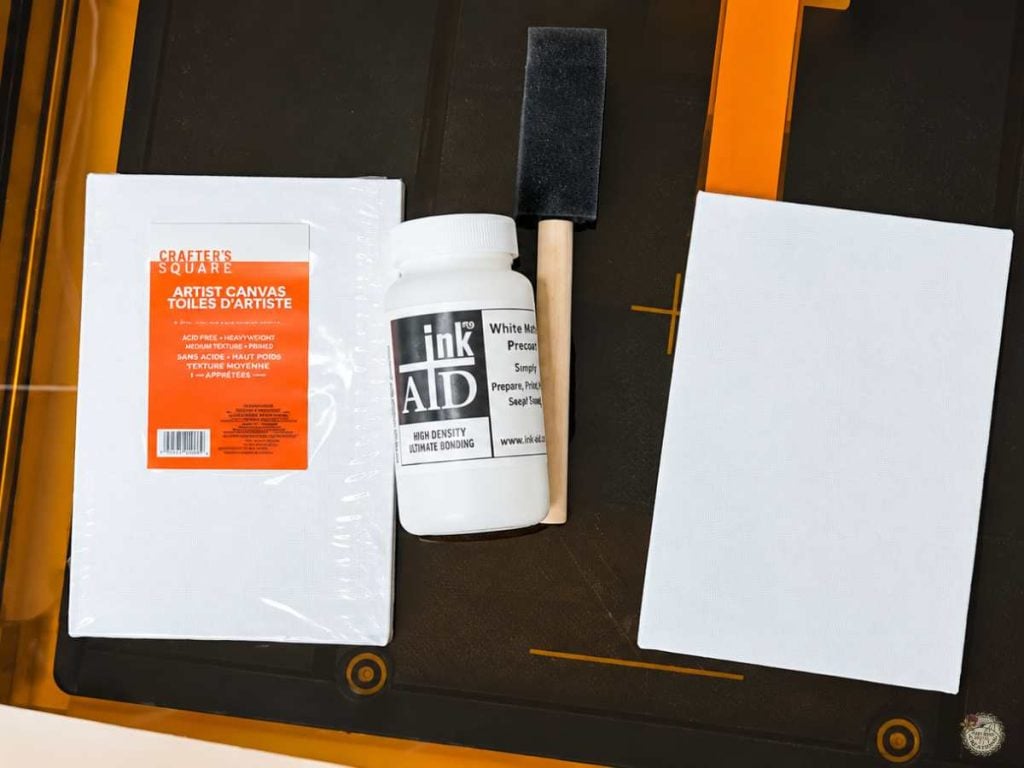
- xTool M2 Laser
- inkAID White Matte Precoat (from the manufacturer)
- 4×6 Canvas
- Foam Brush
- Digital Photo
- Christmas Frame Bundle – I used number 45
Save 10% on inkAID White Matte!
The folks at inkAID were kind enough to share a discount code for my readers! If you purchase your inkAID directly from the manufacturer, you can save 10% with coupon code XTM2FB20 at checkout. This discount applies to eligible pint and quart sizes and is valid for one use per customer.
Please note: The Amazon link is for a sample kit of different inkAID coatings, while the manufacturer’s website allows you to purchase the White Matte coating used in this tutorial.
Watch the Full Video Tutorial
Watch my full step-by-step video tutorial to see how I prepared my Dollar Tree canvas, set up my photo in xTool Studio, and printed it using the xTool M2 Inkjet Module. I’ll also show you my first attempts (yep, they didn’t turn out so great!) and compare the results using 80% and 90% ink concentration so you can see what worked for me!
Why I Used inkAID to Prepare My Canvas
When I first tried printing on these Dollar Tree canvases, I wasn’t getting the results I wanted. The photos looked faded and spotty, and I couldn’t figure out why! Turns out, those first two canvases hadn’t been prepared with inkAID like I thought.
Once I used inkAID White Matte Precoat, the difference was incredible! I applied two thin coats with a foam brush, allowing about 20 minutes after the first coat, and then let the canvas dry for 24 hours before printing.
The inkAID helped prepare the canvas surface to accept the ink, giving me much better color and print quality. It’s definitely a step I wouldn’t skip when making another one of these!
My canvas printing experiments: the first two were printed without inkAID, while the last two were prepared with inkAID White Matte.

Here’s a closer look at my four printing tests. I printed the first two on canvases not prepped with inkAID, and the last two on canvases prepped with inkAID White Matte. What a difference!
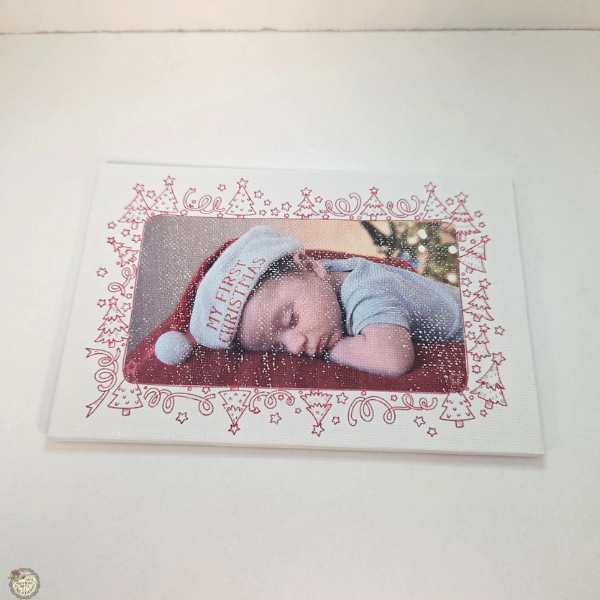
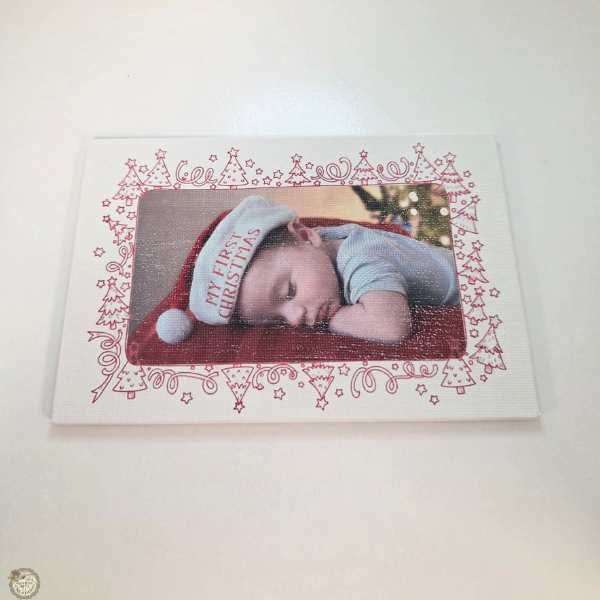
Tests 1 & 2 – Without inkAID: You can see the uneven printing, faded areas, and spotting in the photos.
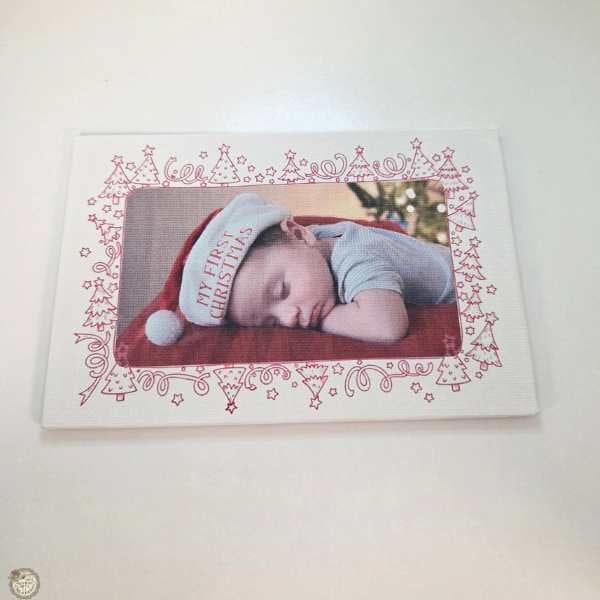
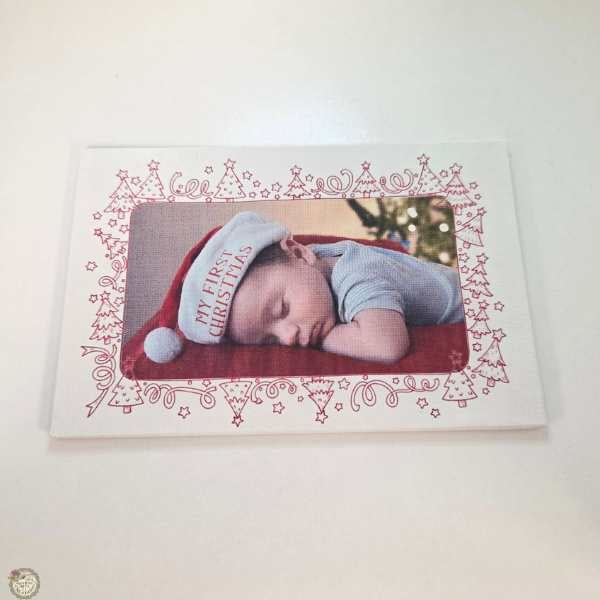
Tests 3 & 4 – With inkAID White Matte: Test 3 was printed at 80% ink concentration, and Test 4 at 90%. Both produced much better results!
Preparing Your Photo in xTool Studio
I started by uploading a Christmas photo of my grandson and a cute holiday frame from Creative Fabrica into xTool Studio. I resized the frame to fit my 4×6 canvas and adjusted the photo to fit inside.
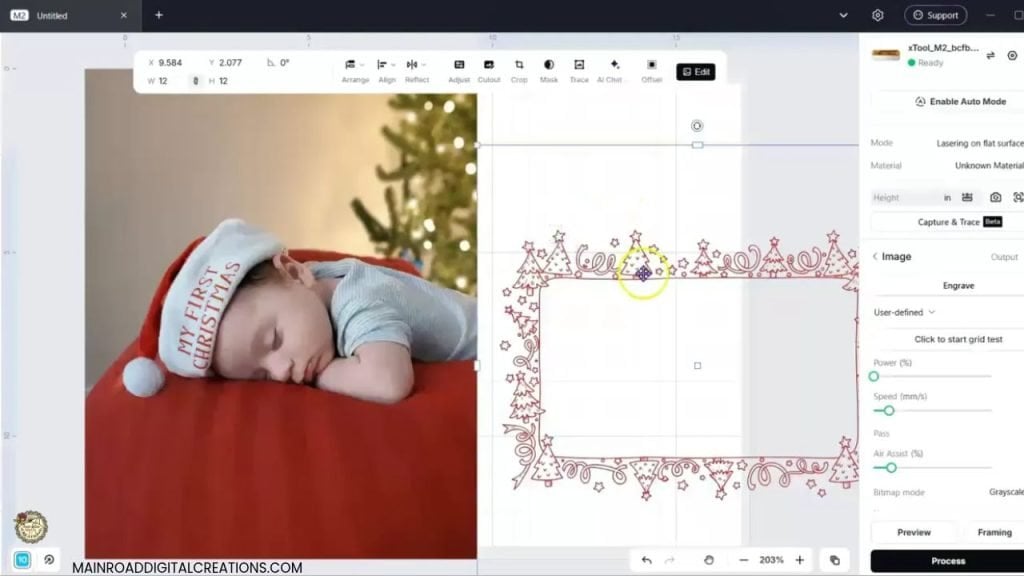
To make the photo fit inside the frame, I created a rounded rectangle and used the Mask tool in xTool Studio to crop the photo to the shape I wanted.
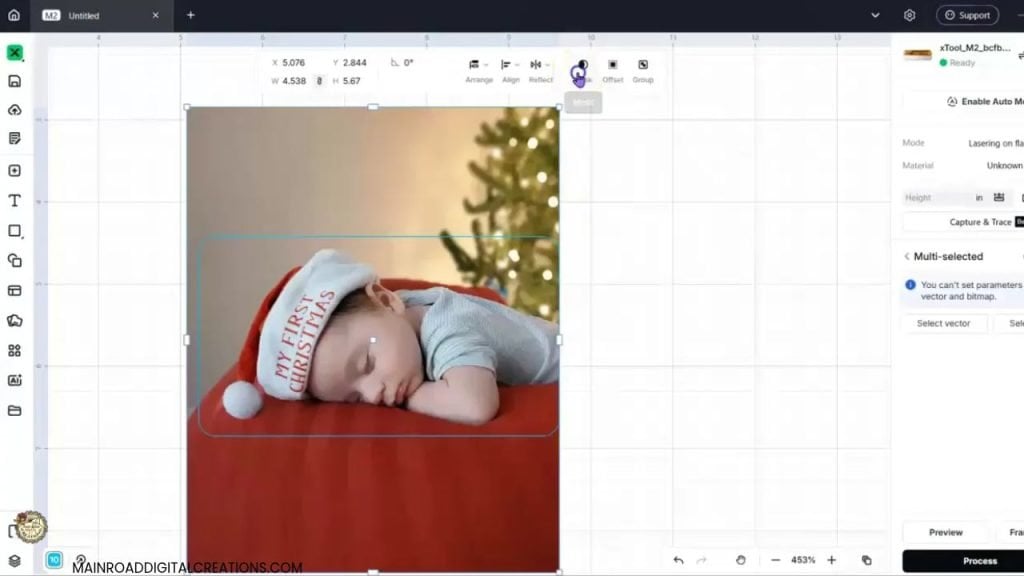
Once my photo was masked, I brought the Christmas frame back into view and grouped everything together. I then switched to Inkjet Printing mode and positioned my finished design over the canvas using the camera view in xTool Studio.
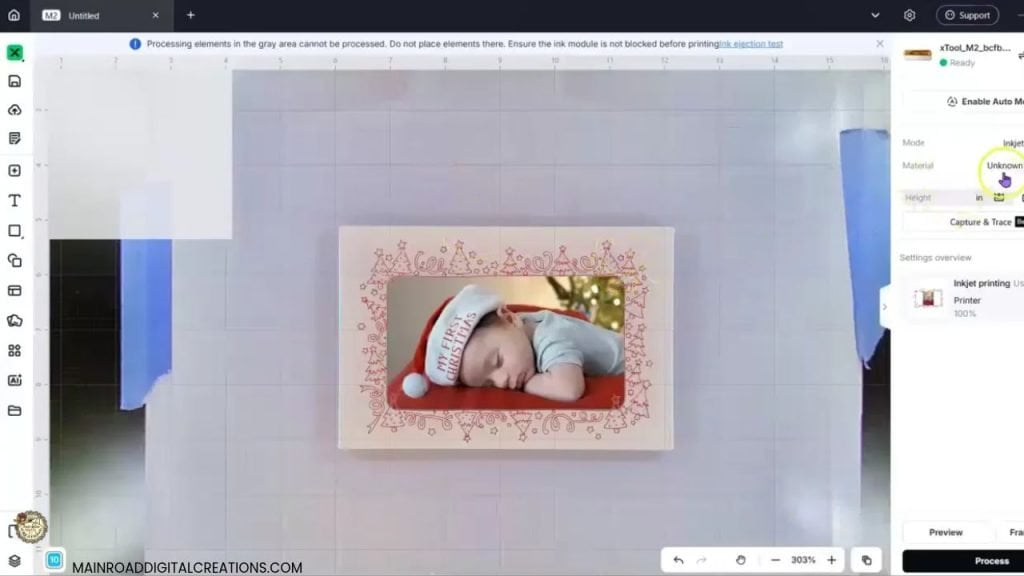
My xTool M2 Canvas Printing Settings
With my design ready, I selected Coated Canvas under the Fabric materials in xTool Studio. I used the automatic measurement feature to measure the canvas height and adjusted the design’s placement before printing.
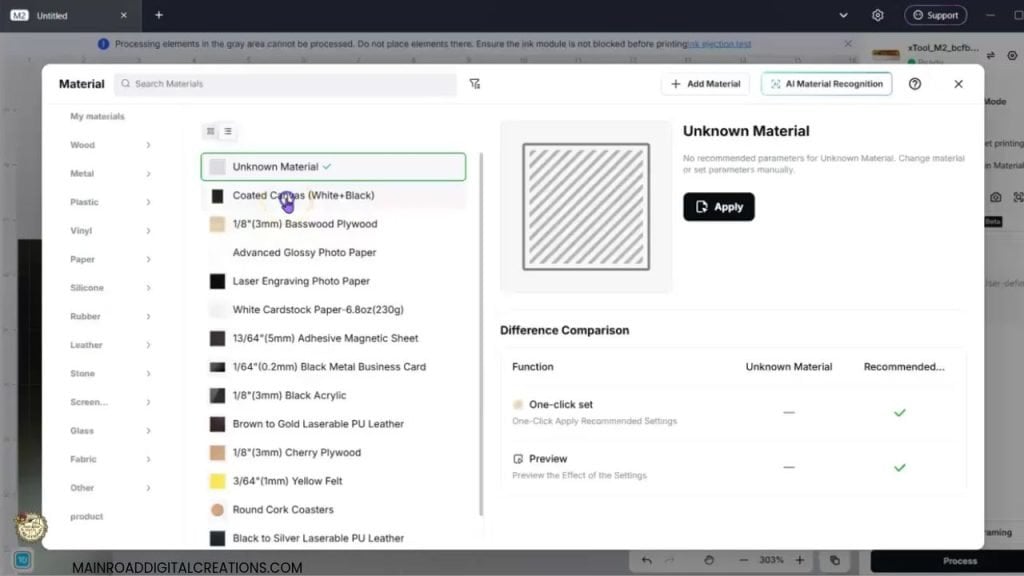
Don’t skip measuring your canvas! After selecting Coated Canvas, I clicked the automatic measurement button next to the Height setting in xTool Studio. This lets the M2 measure the distance to the canvas surface and set the correct printing height.
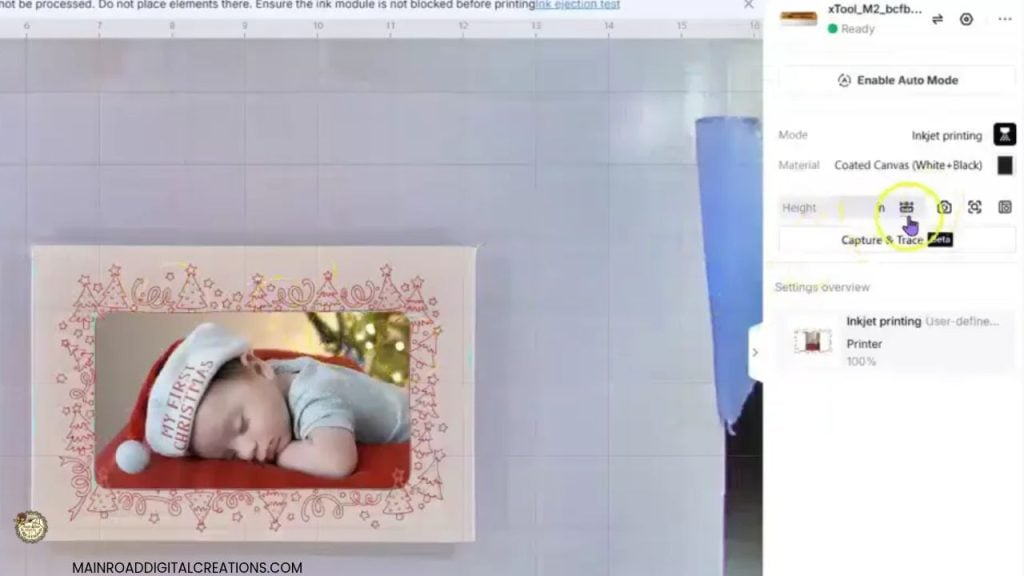
After that, I used the close-up camera view to make sure my design was centered exactly where I wanted it.
I also experimented with the ink concentration settings. My first canvas, prepared with inkAID and printed at 80%, turned out great! For my next canvas, I increased the concentration to 90% to see how it would look. Both settings gave me beautiful results!
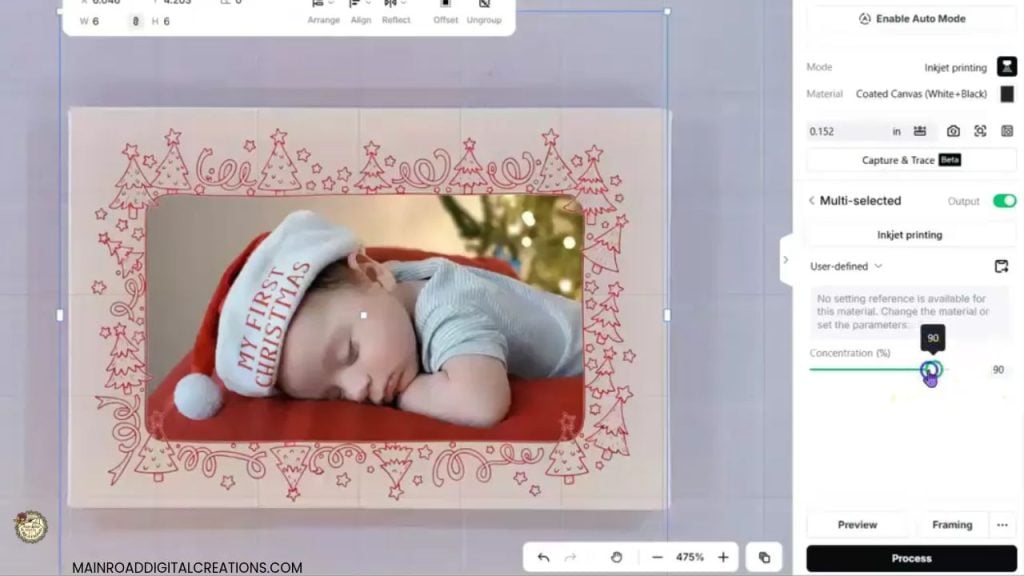
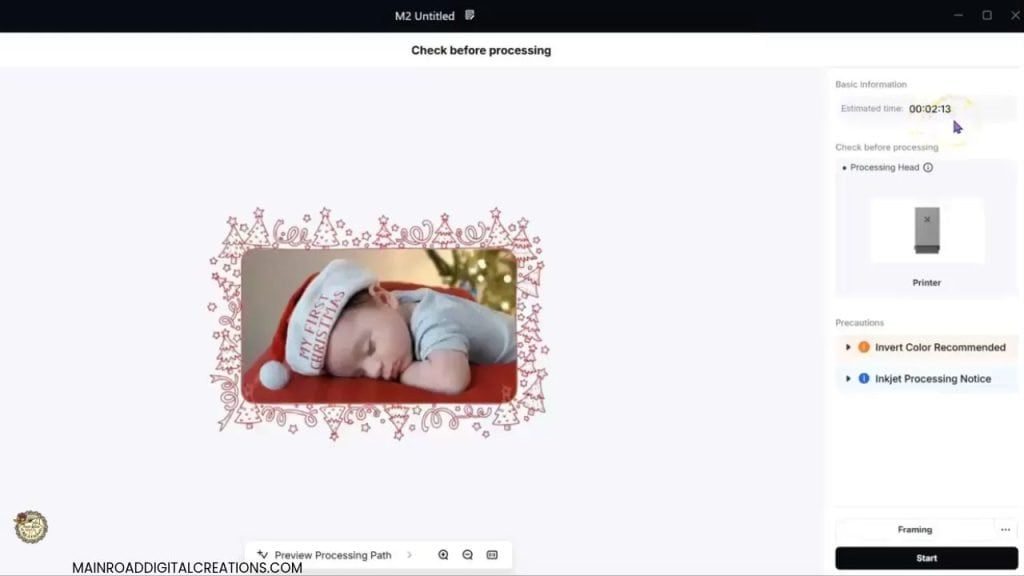
Once everything was positioned and my settings were ready, I clicked Process in xTool Studio to send the design to my M2. Printing took just over 2 minutes, and I loved watching the photo and Christmas frame come together on the canvas!
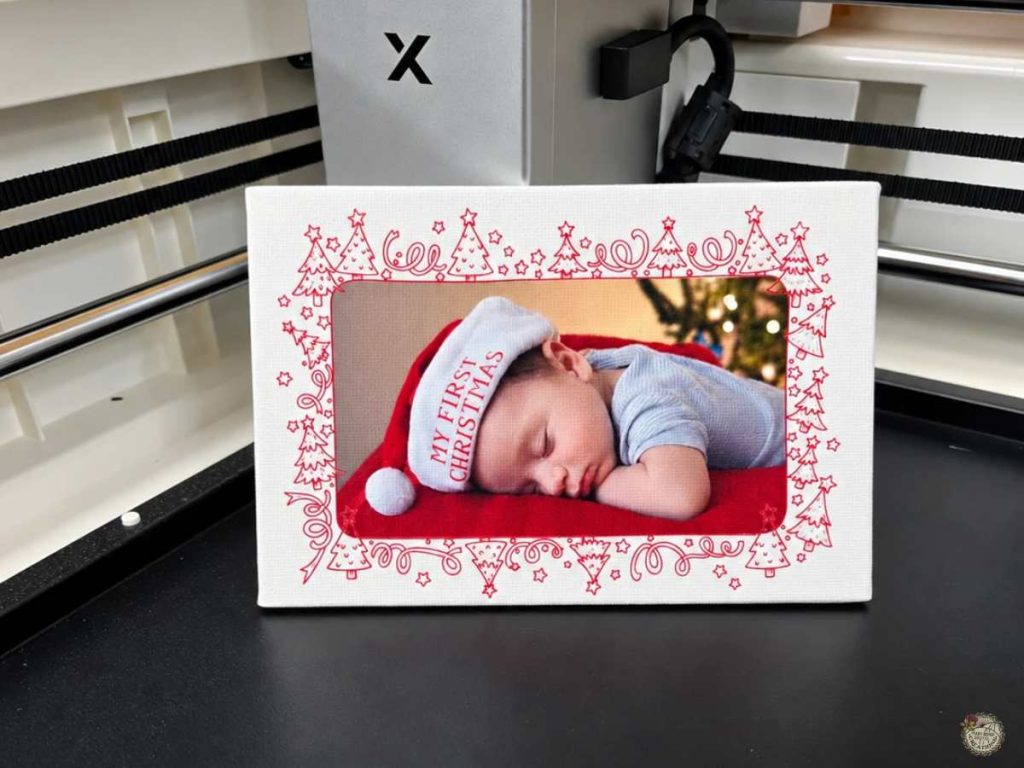
My Finished xTool M2 Photo Canvas
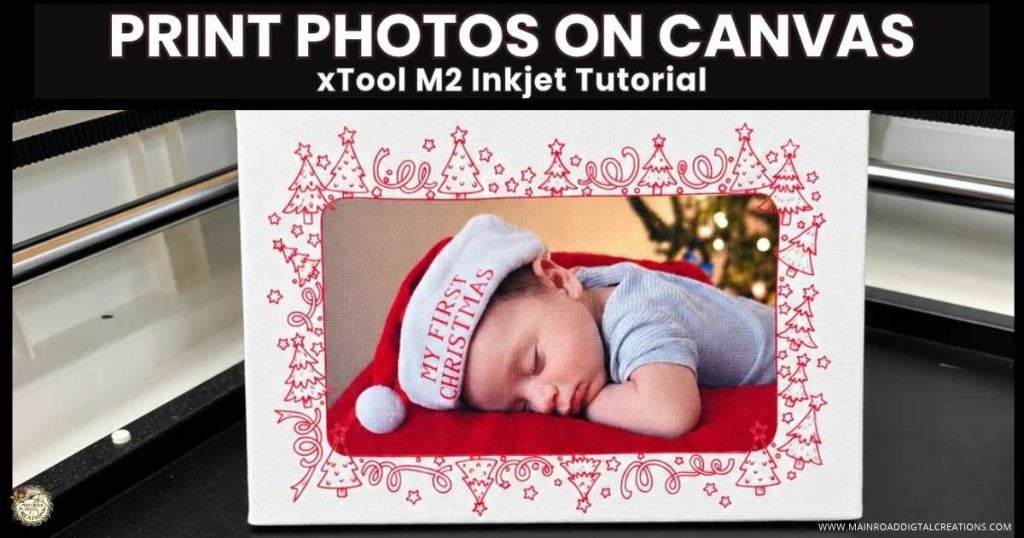
After a little trial and error, I couldn’t be happier with how my Christmas photo canvas turned out! The colors printed beautifully, and the holiday frame was the perfect finishing touch. It’s amazing how an inexpensive Dollar Tree canvas can become such a special keepsake!
Tips for Printing Photos on Canvas with the xTool M2
After experimenting with a few canvases, here are some helpful tips I learned along the way!
- Prepare your canvas: Using inkAID White Matte made a huge difference in my print quality.
- Allow enough drying time: I applied two coats, waited about 20 minutes between coats, and let the canvas dry for 24 hours before printing.
- Don’t skip measuring: Use the automatic measurement feature in xTool Studio before printing.
- Check your placement: Use the close-up camera view to make sure your design is centered on the canvas.
- Experiment with ink concentration: Both 80% and 90% worked well for my prepared canvases.
Final Thoughts
One of the things I’ve enjoyed most about learning to use my xTool M2 is discovering just how much this machine can do! From cutting and engraving to full-color printing with the CMYK Inkjet Printing Module, there are so many creative possibilities.
I love that I was able to turn an inexpensive Dollar Tree canvas into a personalized Christmas keepsake. It took a little trial and error, but I’m so happy with how it turned out!
I’m excited to keep exploring what my xTool M2 can do and sharing more projects with you along the way. If you’ve been thinking about trying the M2, I hope this project gives you a little inspiration!
xTool has some holiday deals going on, and I’ve got two discount codes to share with you!
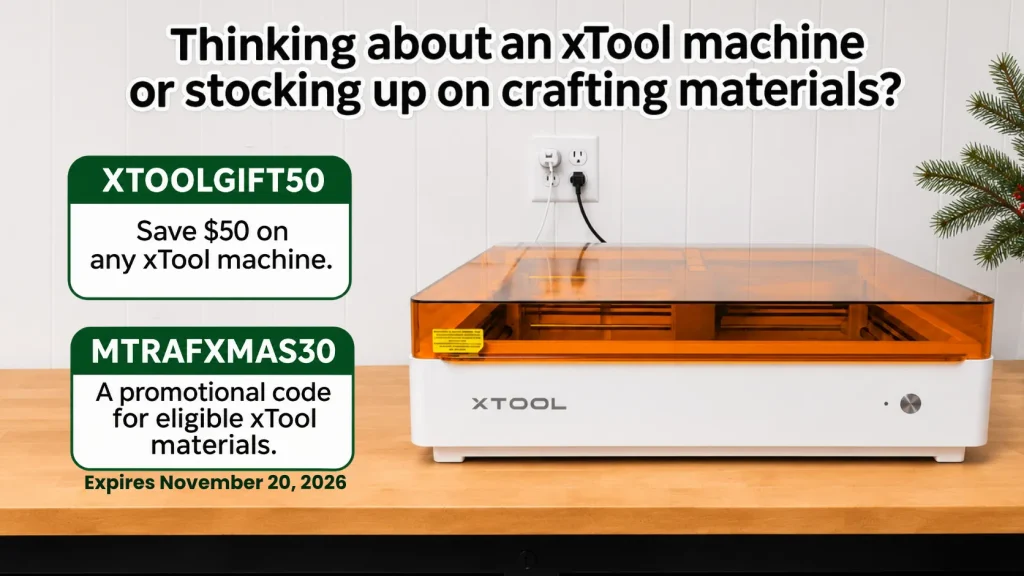
You can check out the xTool M2 and current offers here.
Be sure to check the offer details before ordering.
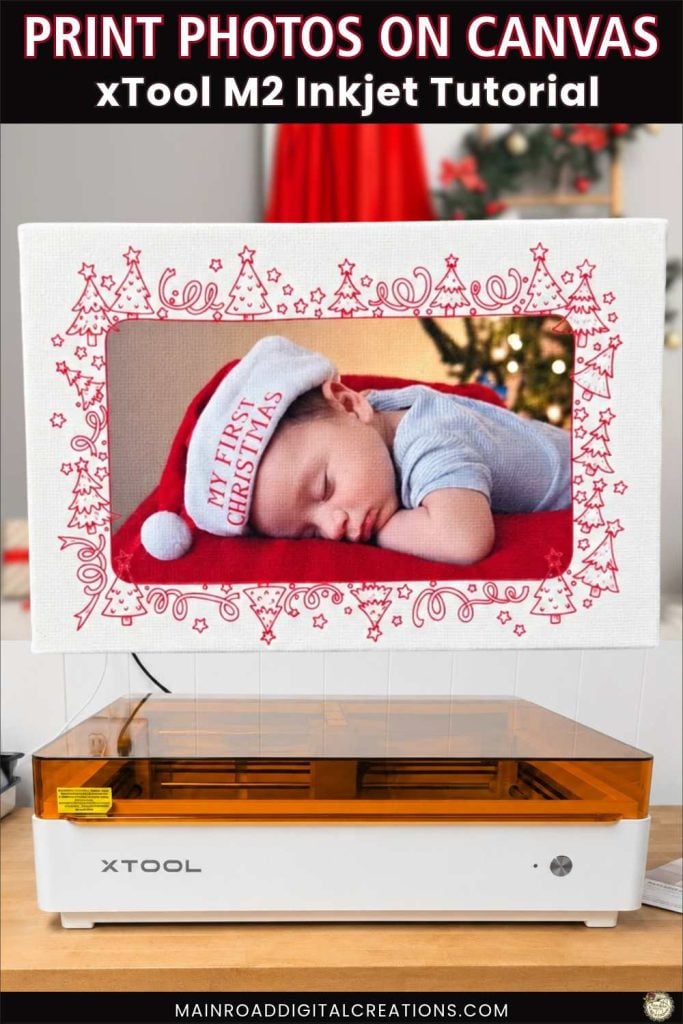
I’d love it if you could take a moment to pin the image above to Pinterest! By sharing my projects, you help my small business grow, which allows me to keep creating new tutorials, sharing creative ideas, and bringing you more projects to try. Thanks so much for your support. It truly means the world to me!
Here’s Another Fun xTool M2 Project You Might Like!
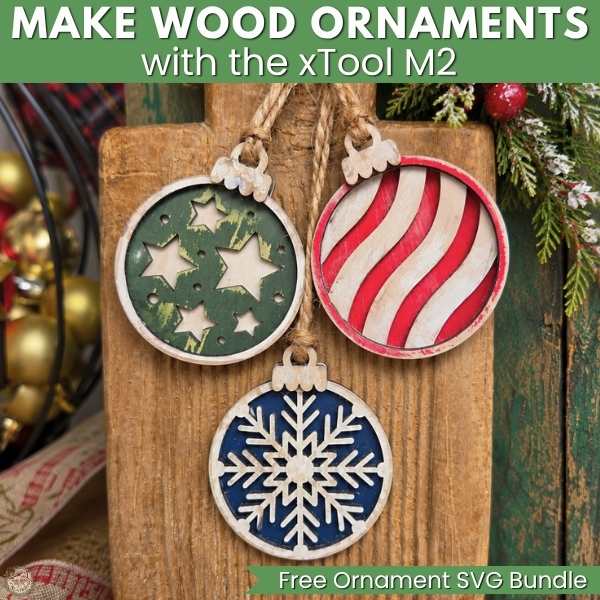
If you enjoyed this canvas printing project, you might also love making these layered wooden Christmas ornaments with the xTool M2! I used my free ornament SVG bundle to create three different designs. Check out the blog post here.
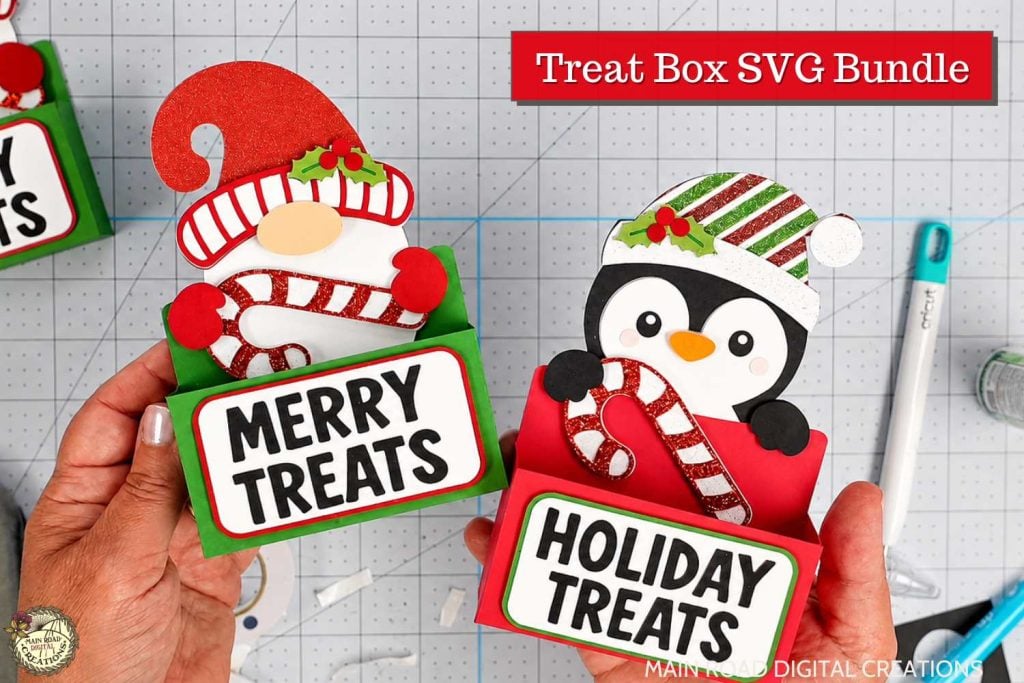
Check out My Shop
Visit my shop for even more SVGs to craft with! These are just a few of the designs waiting for you. Thank you for supporting my small business.



Join the Creative Fabrica Membership

Fonts, designs, and so much crafty goodness! Over 16 million digital files are waiting! In partnership with Main Road Digital Creations, your first 10 downloads are totally free. After that? It’s just $47 a year (yep, that’s $3.99/month) with full commercial and POD use included. Sign up for Free!