
Easy xTool M2 Project: Make Wood Ornaments with a Free SVG
How to Make Wood Ornaments with the xTool M2
This post may contain affiliate links. As an Amazon Associate, I earn from qualifying purchases. Please see my privacy policy for full details.
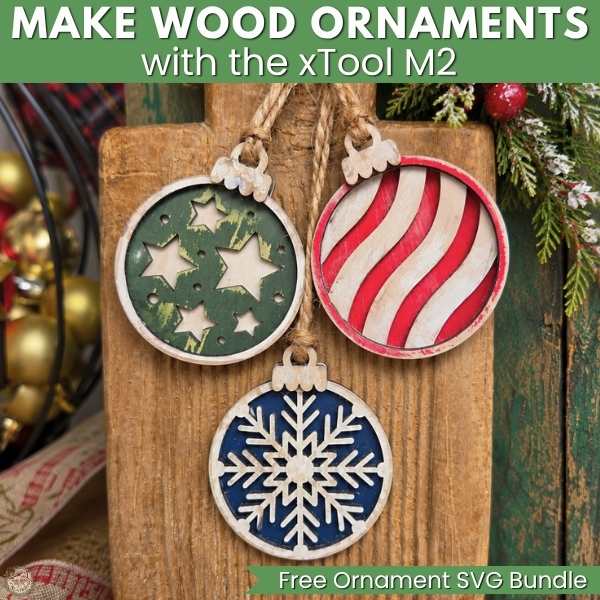
If you’re new to the xTool M2 and looking for an easy project to try, these wood ornaments are a great place to start. I took an SVG I originally designed for cardstock ornaments and used it with 3mm basswood in my xTool M2 instead. In this tutorial, I’ll show you how I imported the SVG, changed the pieces from engrave to cut, resized the ornaments, used the M2 camera to position everything, and turned the finished wood pieces into rustic Christmas ornaments.
Disclosure: xTool provided me with the M2 as part of a collaboration. This post is not sponsored, and all opinions and project ideas are my own. This post may also contain affiliate links, which means I may earn a small commission at no extra cost to you.
Use the Same Free SVG for Cardstock or Wood
I originally created this Free Ornament SVG Bundle for a set of cardstock Christmas ornaments, and the files are already available as a free download in my original ornament blog post. For this xTool M2 project, I’m using those same SVG files and cutting them from basswood instead.
One thing I like about the xTool M2 is that I can take SVGs I originally designed for cardstock and use them with materials like basswood instead. It gives me another way to use the same design without creating a completely different file.
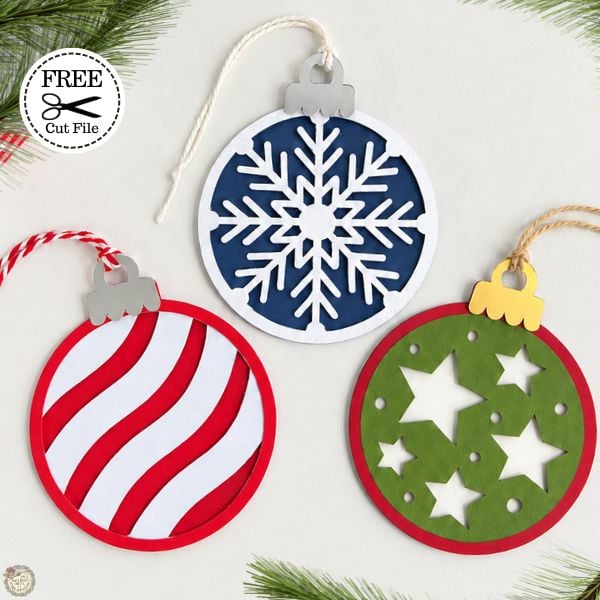
If you’d rather make the cardstock version, you can find the Free Ornament SVG Bundle blog post here. If you’re making the wood version with your xTool M2, keep reading, and I’ll show you how to set up the SVG for laser cutting.
I Love How These Wood Ornaments Turned Out!
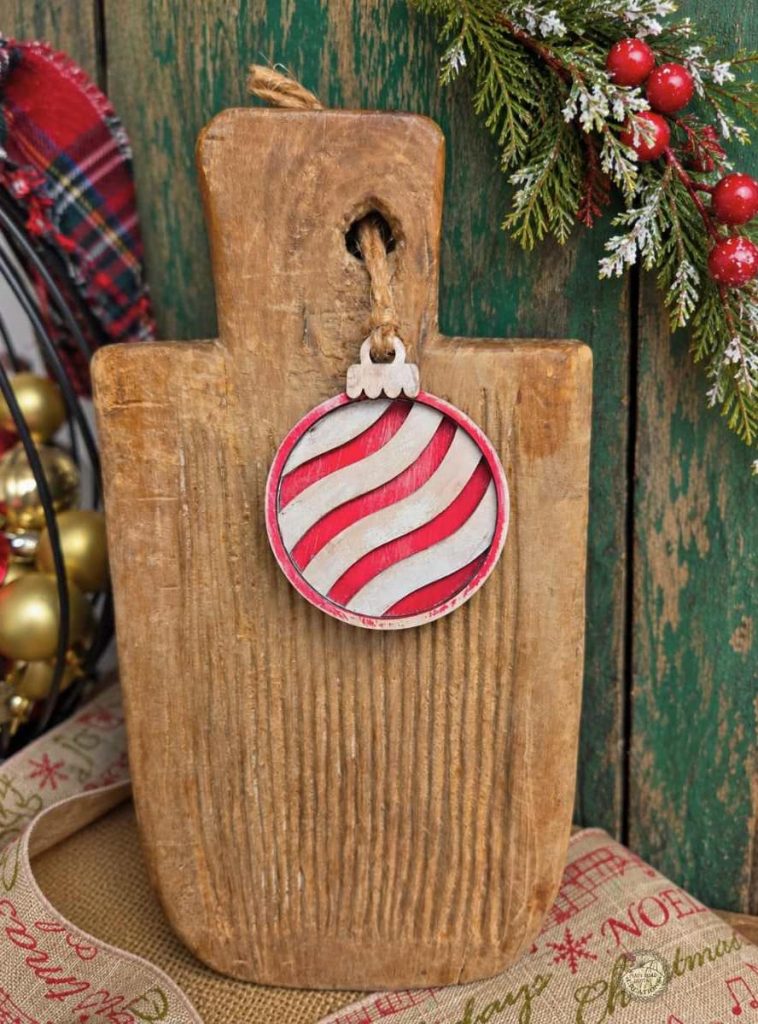
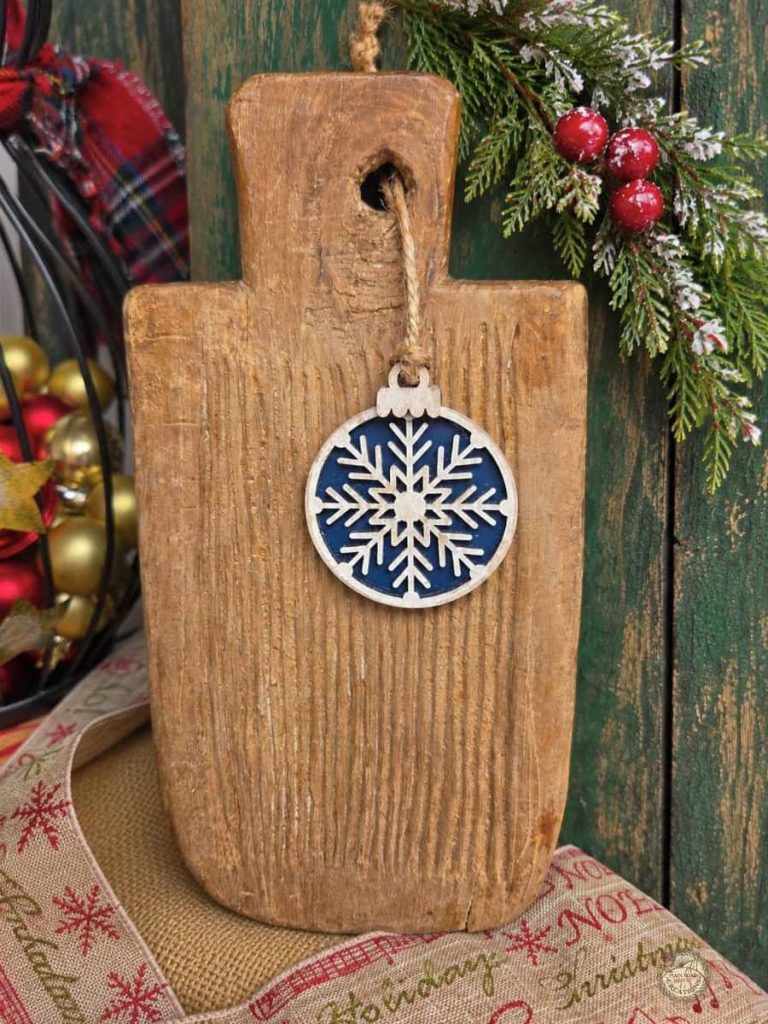
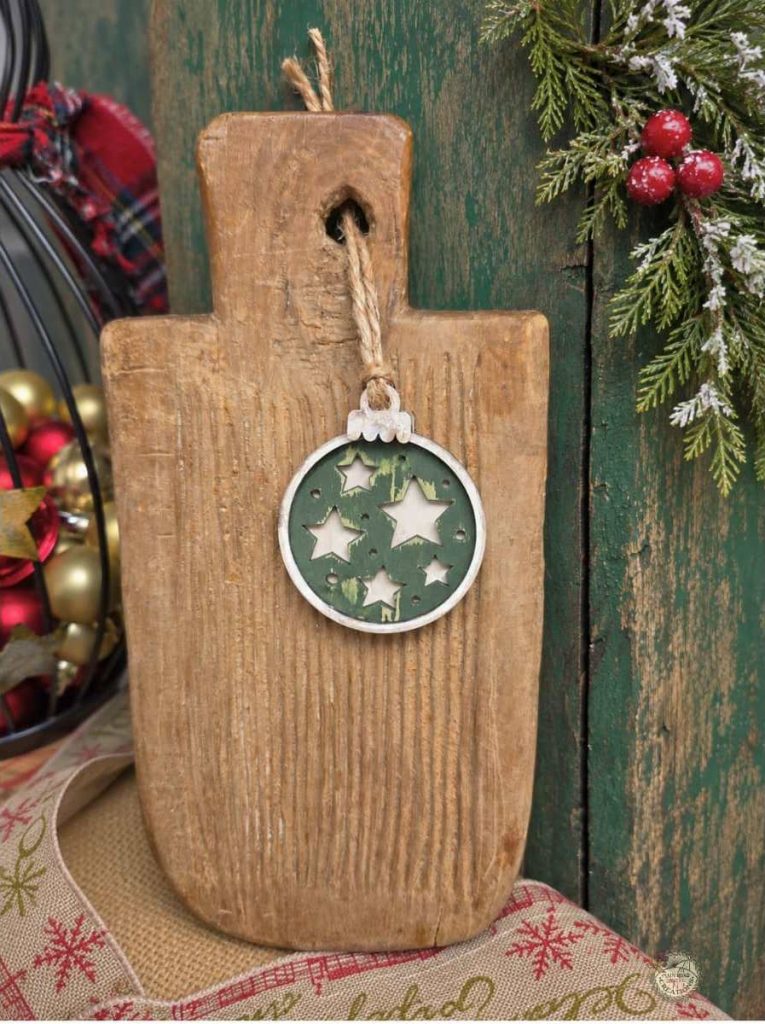
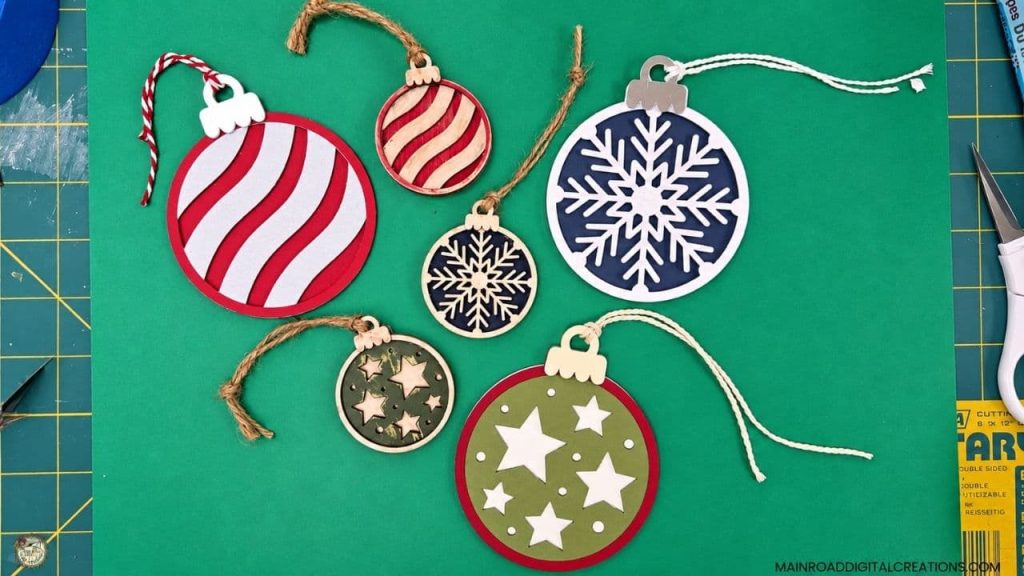
I had to show you each one on its own because I love how different they look in wood. The same SVGs I originally made for cardstock have such a fun rustic look when they’re cut from basswood, painted, and distressed. I honestly love all three!
Supplies for This xTool M2 Project
For this xTool M2 project, I’m using 3mm basswood along with a few basic painting and finishing supplies.
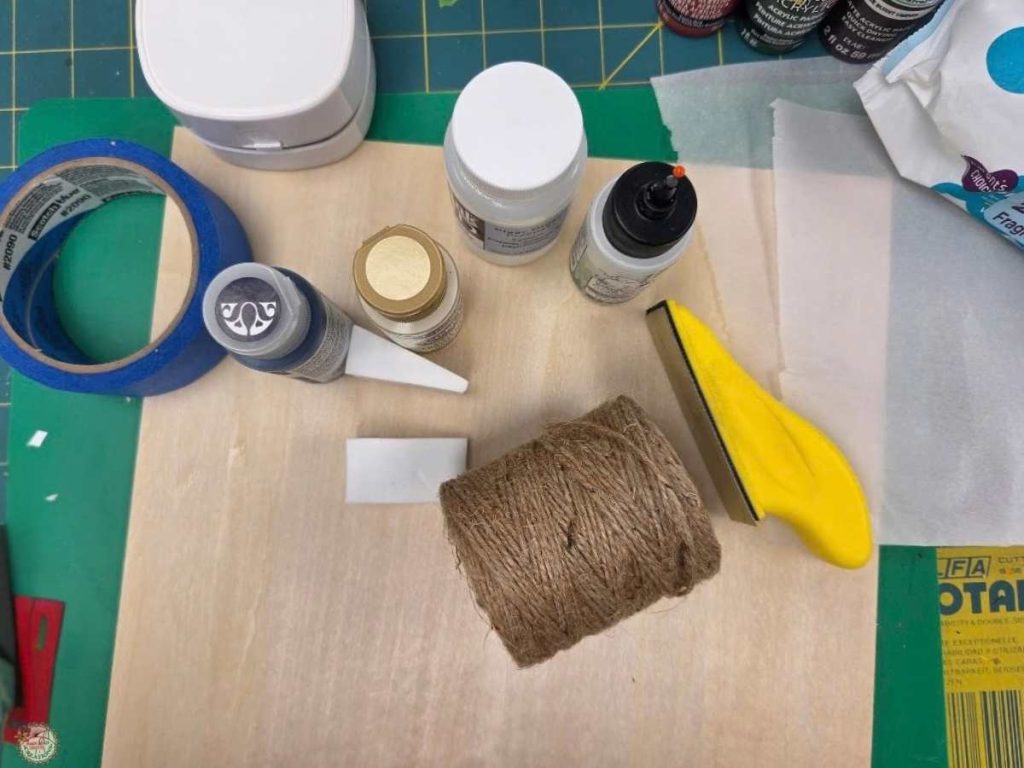
- xTool M2 10 W Laser
- xTool M2 Laser on Amazon
- 3mm Basswood
- inkAID sample kit on Amazon
- inkAID from manufacturer-use XTM2FB20 for 10% off Clear Gloss Type II, White Matte, and Iridescent Pearl Inkjet Receptive Coatings, Pints and Quarts
- Parchment Paper
- Acrylic Paint
- Makeup Sponges
- Bearly Art Glue
- Sander
- Desktop Vacuum
- Jute Twine for Hanger
- Honeycomb I added to my laser bed
- Painters Tape
Overview Steps for This xTool M2 Project
These wood ornaments come together in a few simple stages. I’ll walk through everything in more detail in the video tutorial below, but here’s a quick look at the process from SVG to finished ornament.
Before I start cutting, I make sure my xTool M2 is vented outside. That’s how I have mine set up, but if venting outside isn’t an option, xTool also offers an air purifier you can use with the machine.
How to Set Up the Ornament SVG in xTool Studio
Step 1. Import and Prepare the SVG
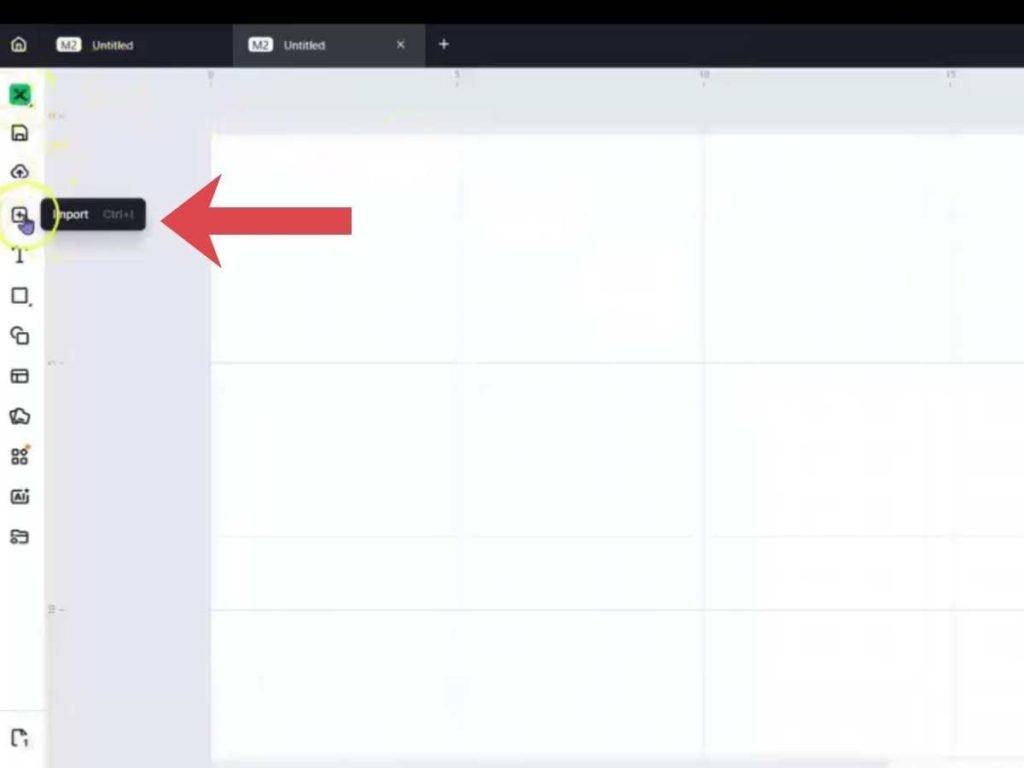
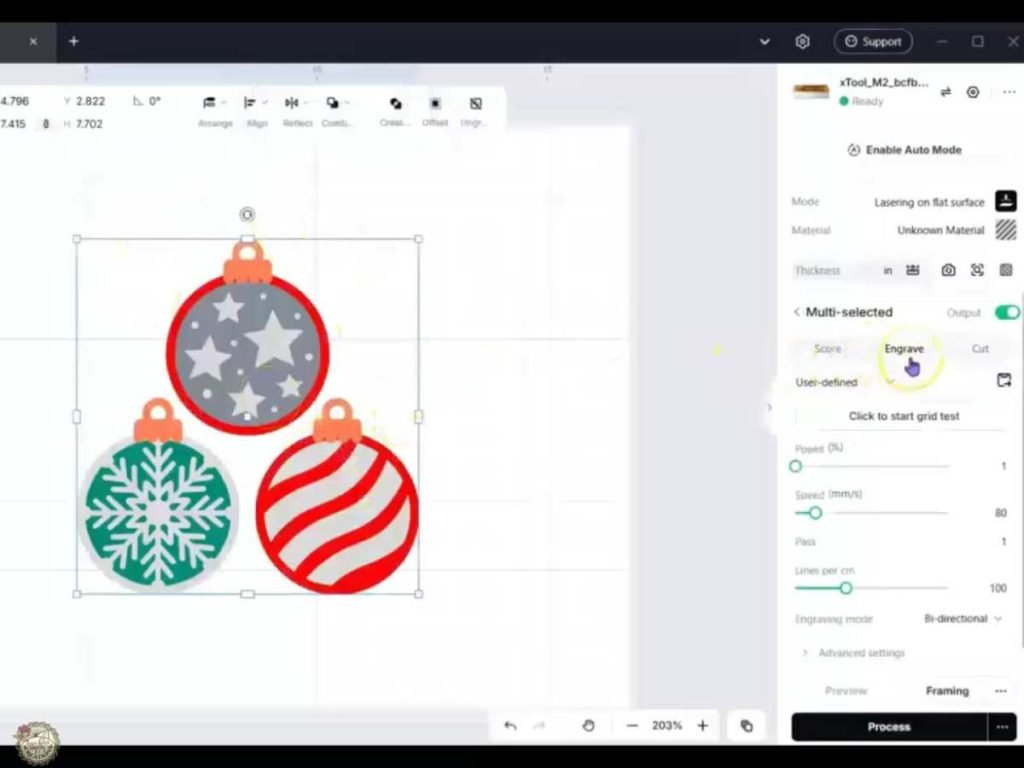
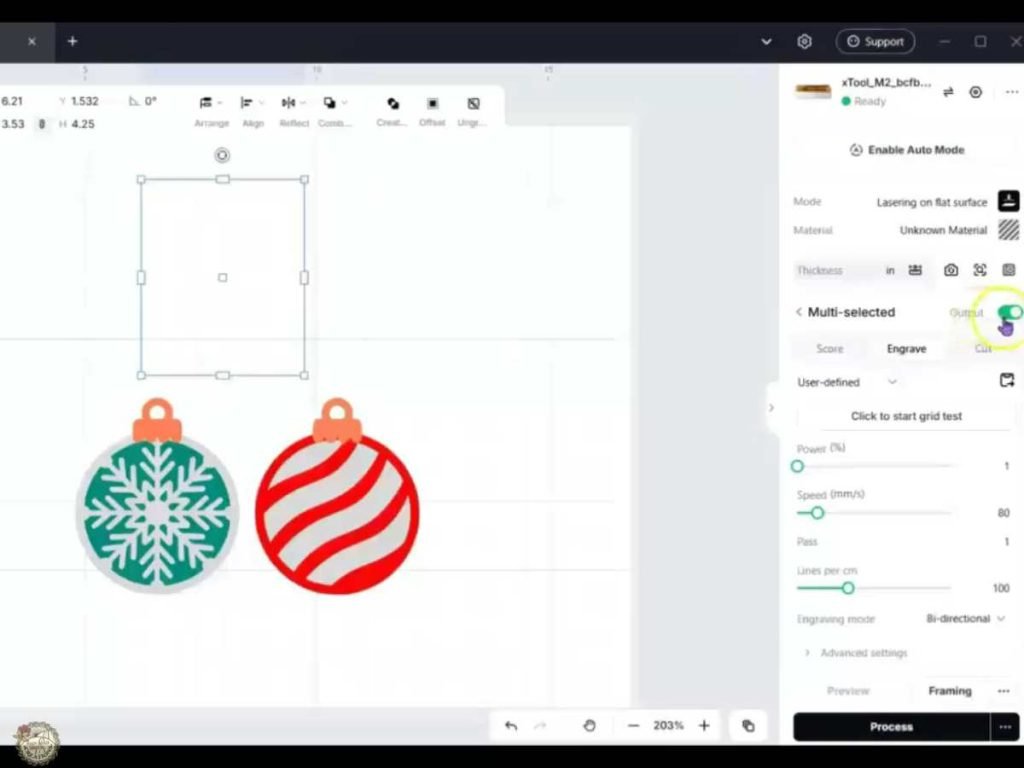
Before you cut the ornaments, import the SVG into xTool Studio and ungroup the design so you can work with each piece separately. You’ll also want to change the ornament layers from Engrave to Cut before moving on to the sizing and material setup.
Step 2. Resize and Adjust the Design
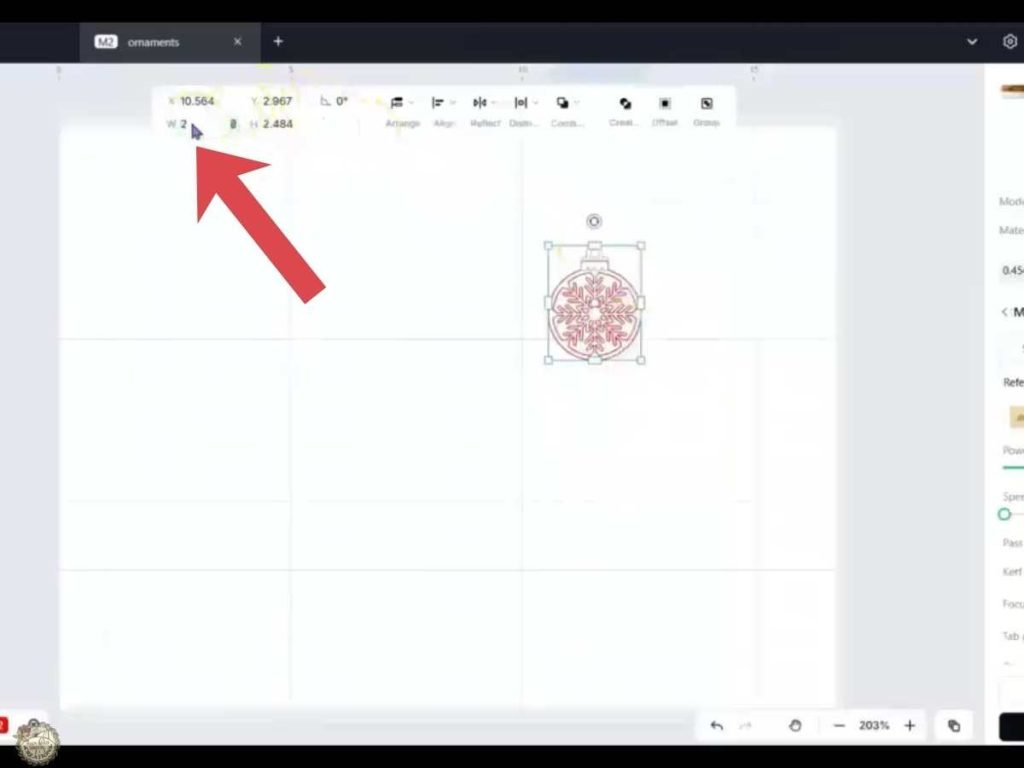
Next, turn off Output for any pieces you don’t need and resize the ornament to the size you want to cut. I made mine about 2 inches wide, which worked well for these small basswood ornaments.
Step 3. Select the Basswood and Measure the Thickness
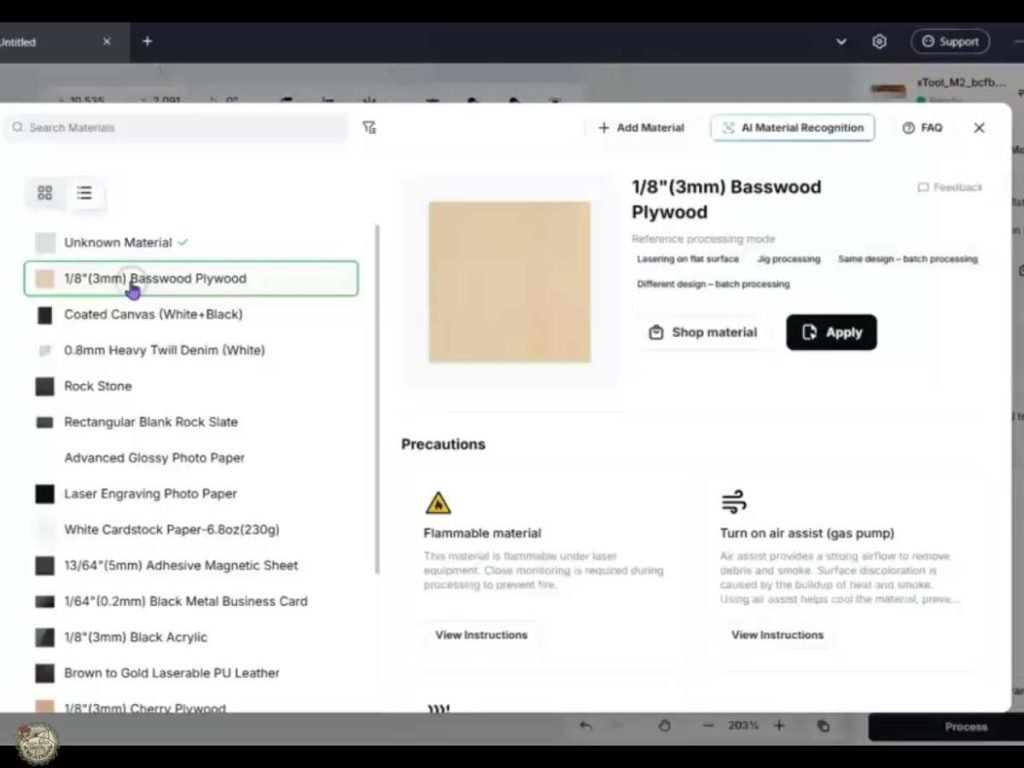
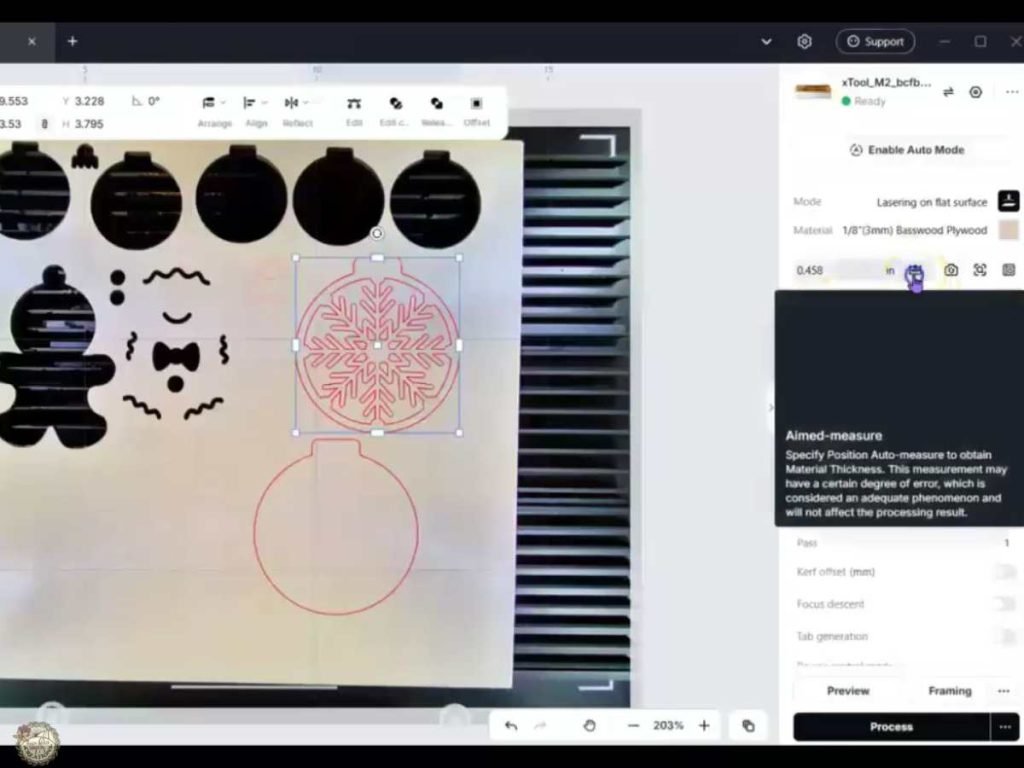
Next, choose 1/8″ (3mm) Basswood Plywood as your material in xTool Studio. The M2 will automatically load the recommended cut settings for that material. Before cutting, use the thickness tool to measure your basswood so the machine knows exactly where the surface of the material is.
Step 4. Position the Design with the M2 Camera
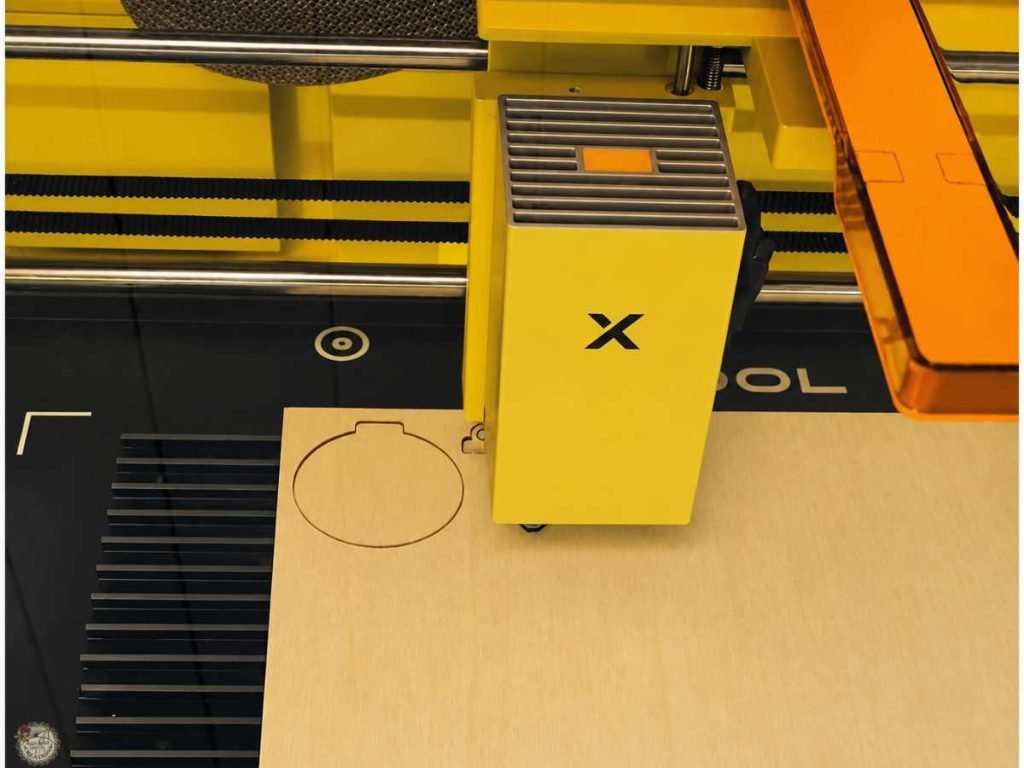
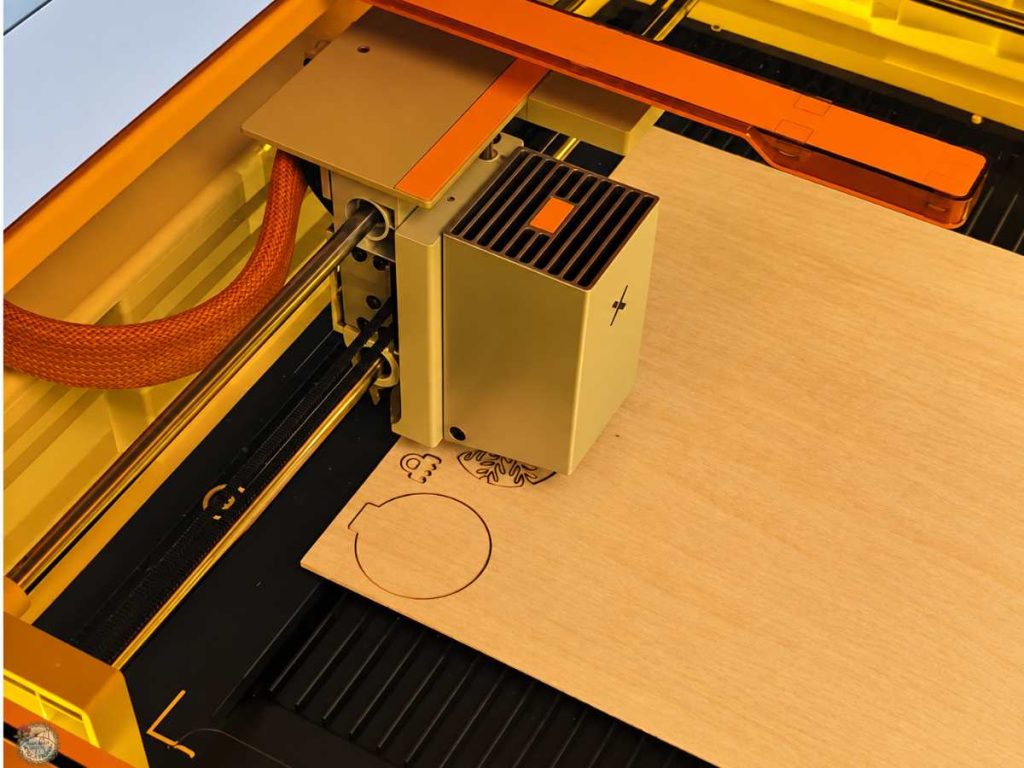
Once you’ve measured the basswood, use the M2’s dual-camera system to get a real-time view of the work area and position the ornament pieces on the wood. I resized my ornaments to 2 inches wide, so they’re small enough for the tree but still easy to see and assemble. Move the design away from any holes or previously cut areas, then use Close Shot to make sure each piece is sitting exactly where you want it before cutting.
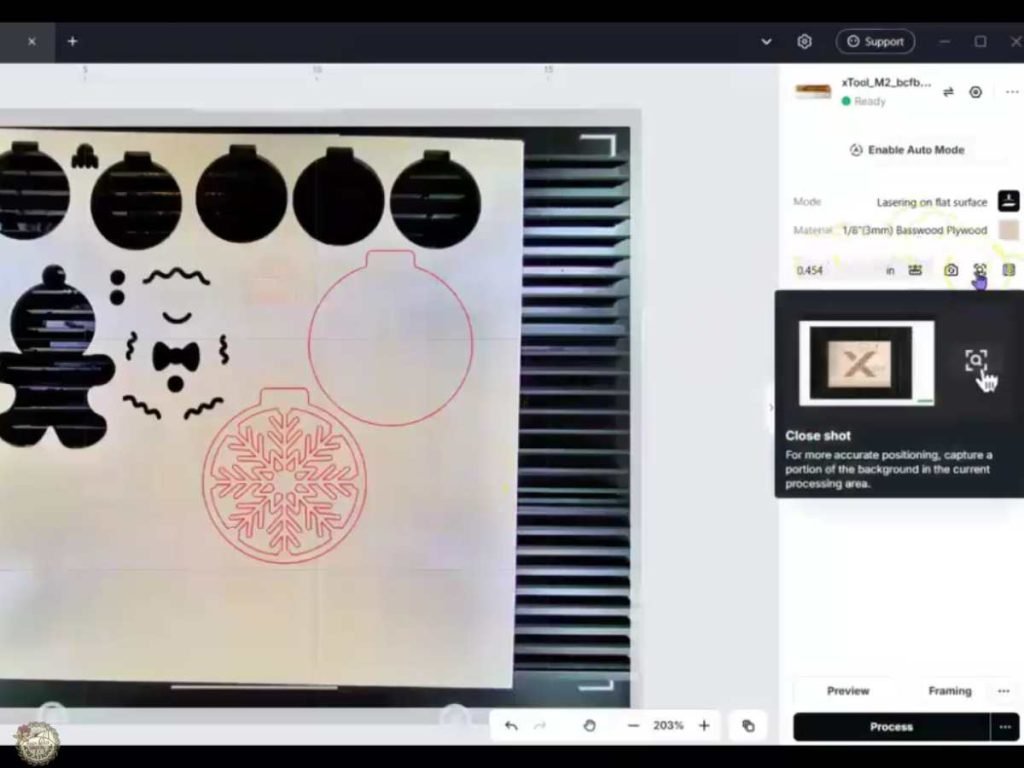
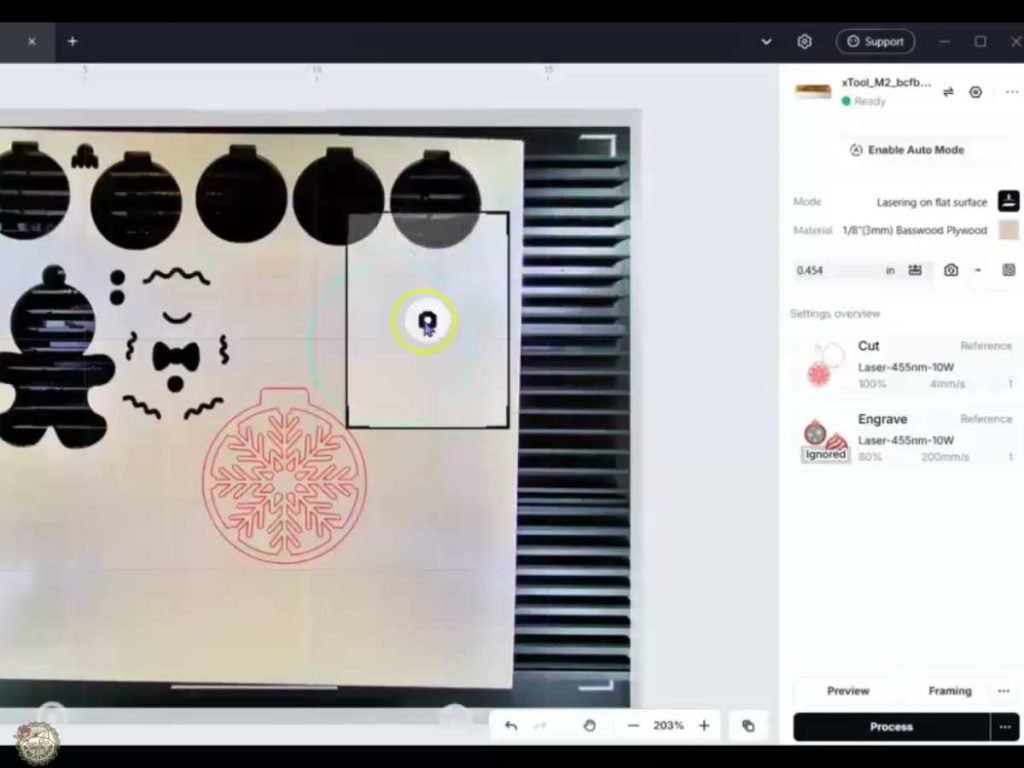
Step 5. Preview and Cut the Ornament Pieces
Before sending the project to the M2, use the preview to check the cut path and make sure each layer will process correctly. Once everything looks right, click Process, and xTool Studio will show you the estimated cut time before you start.
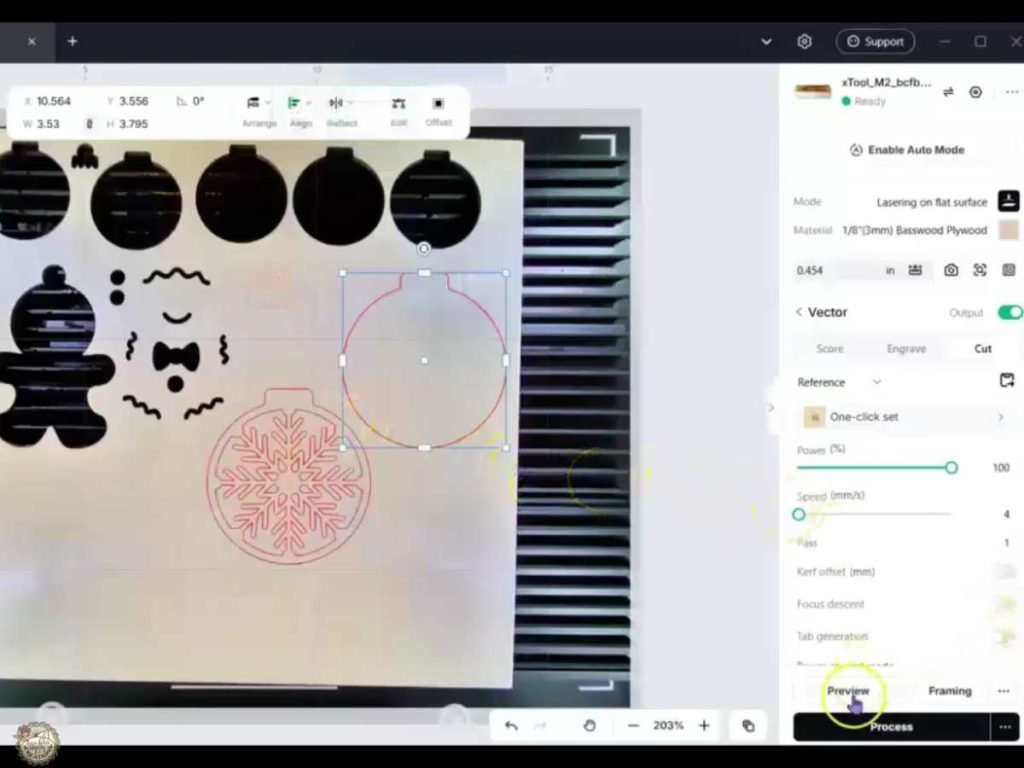
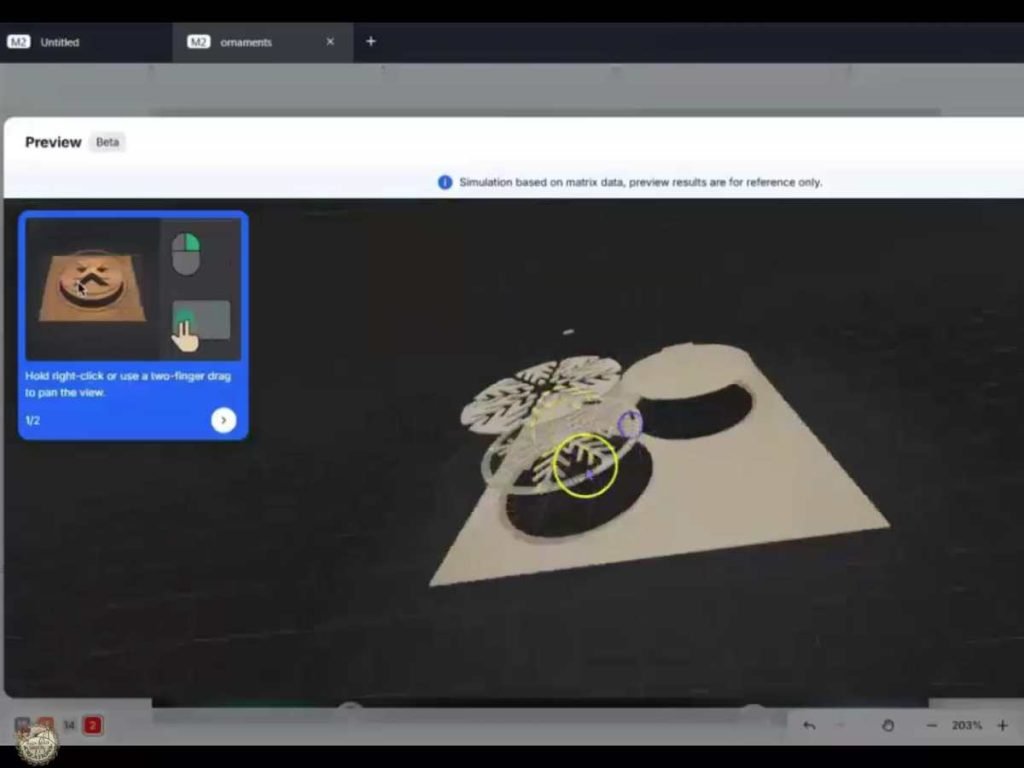
For my 2-inch ornament pieces, the estimated cutting time was about 5 minutes and 32 seconds. I’m using the xTool M2 with the 10W laser module, so your cut time and settings may vary if you’re using a different laser power.
Paint and Assemble the Wood Ornaments
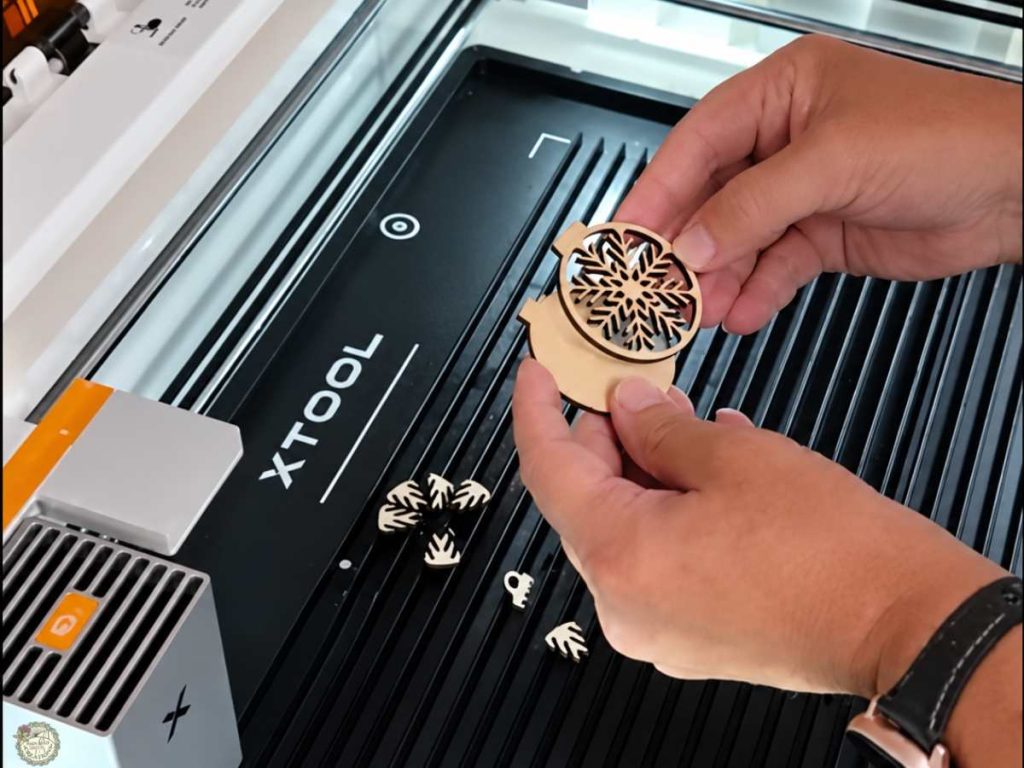
Once the basswood pieces are cut, it’s time to finish the ornaments. I painted mine with acrylic craft paint, then sanded the edges and surface to give them a more rustic, distressed look before gluing the layers together
Step 6. Paint the Basswood Pieces
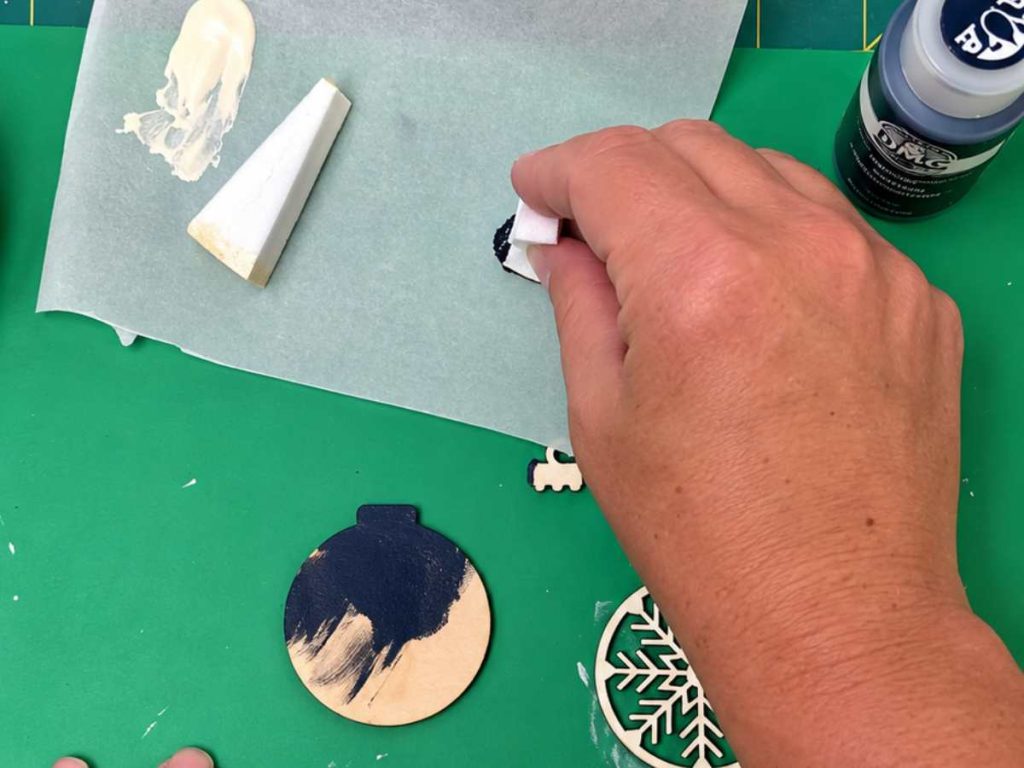
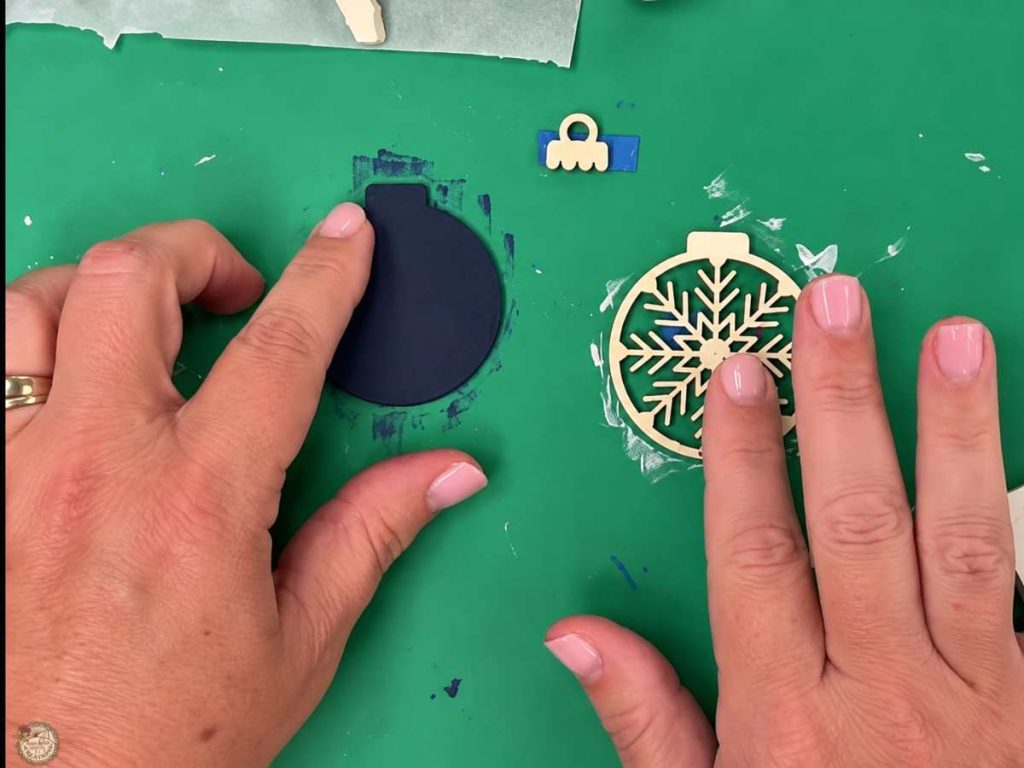
Paint each ornament layer in the colors you want, then let the pieces dry completely. I used navy blue and light buttermilk for this set and gave some of the lighter pieces a second coat for better coverage.
Step 7. Sand and Distress the Ornaments
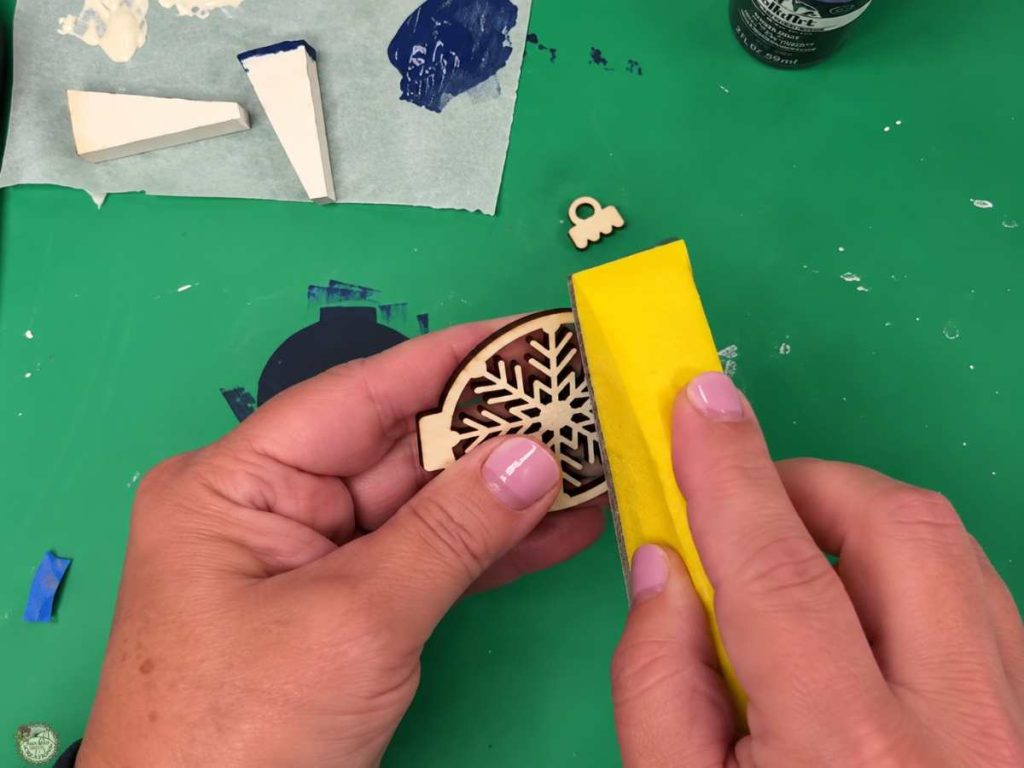
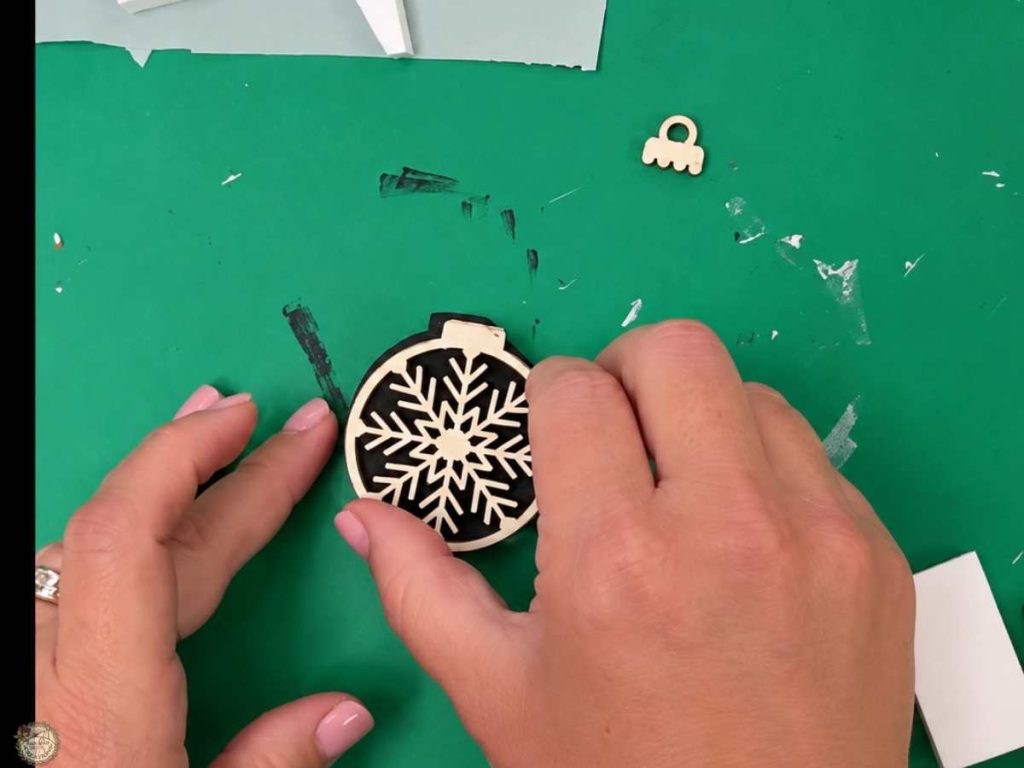
Once the paint is dry, lightly sand the pieces to soften the edges and let some of the wood show through. For an extra distressed finish, I also used a little brown acrylic paint on a baby wipe, wiped it onto the wood, and then sanded the pieces again.
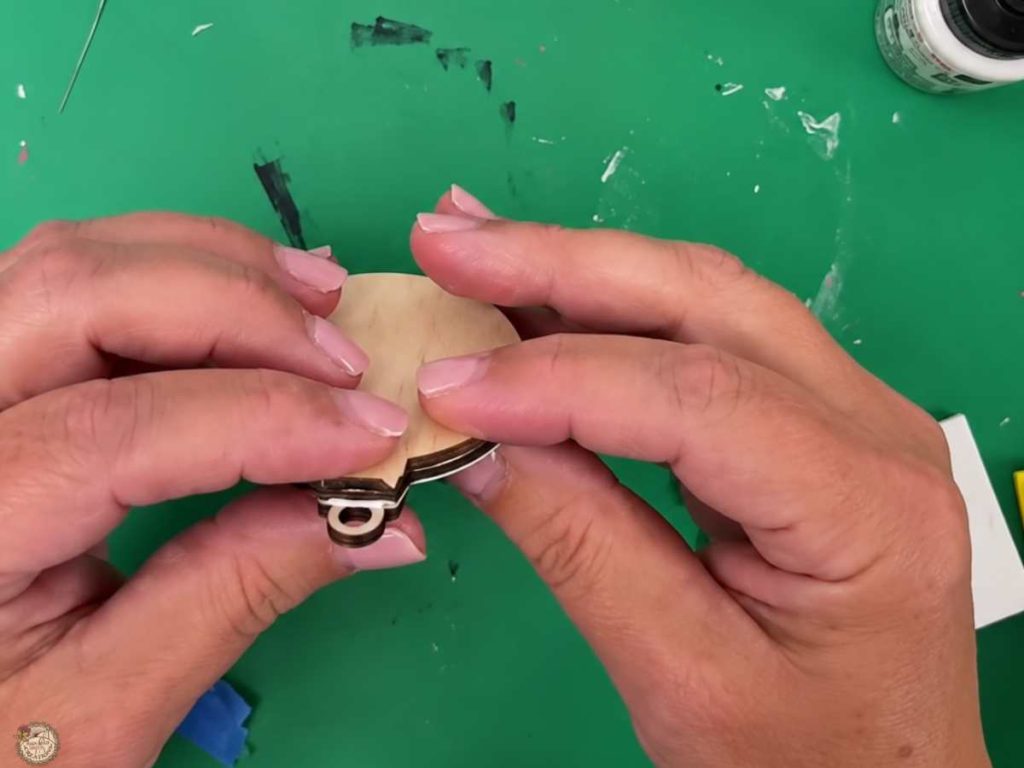
Step 8. Glue the Ornament Layers Together
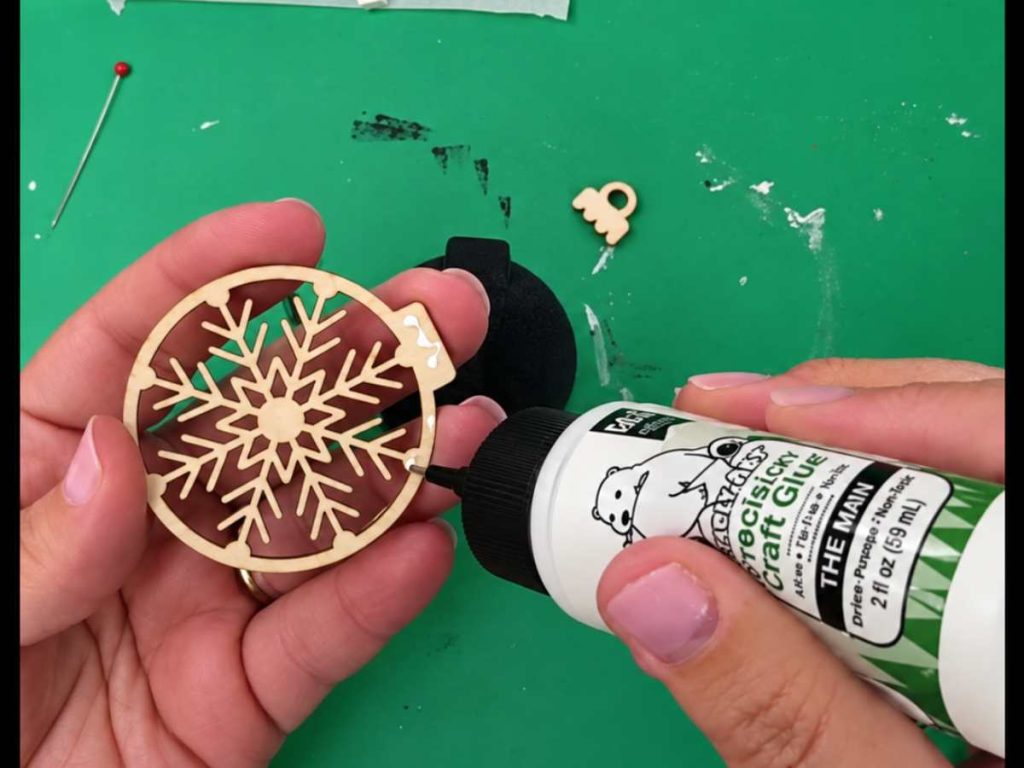
Line up the ornament layers and glue them together. I used Bearly Art Glue because the fine tip made it easy to control the glue around the smaller wood pieces. Let the glue dry before adding the hanger.
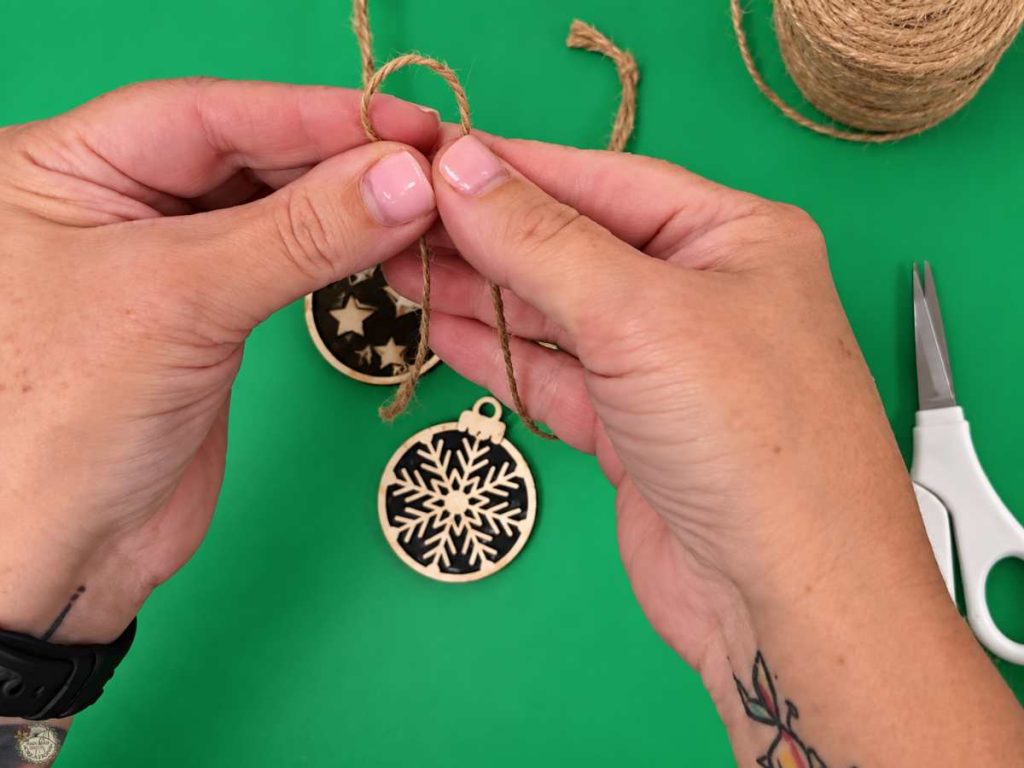
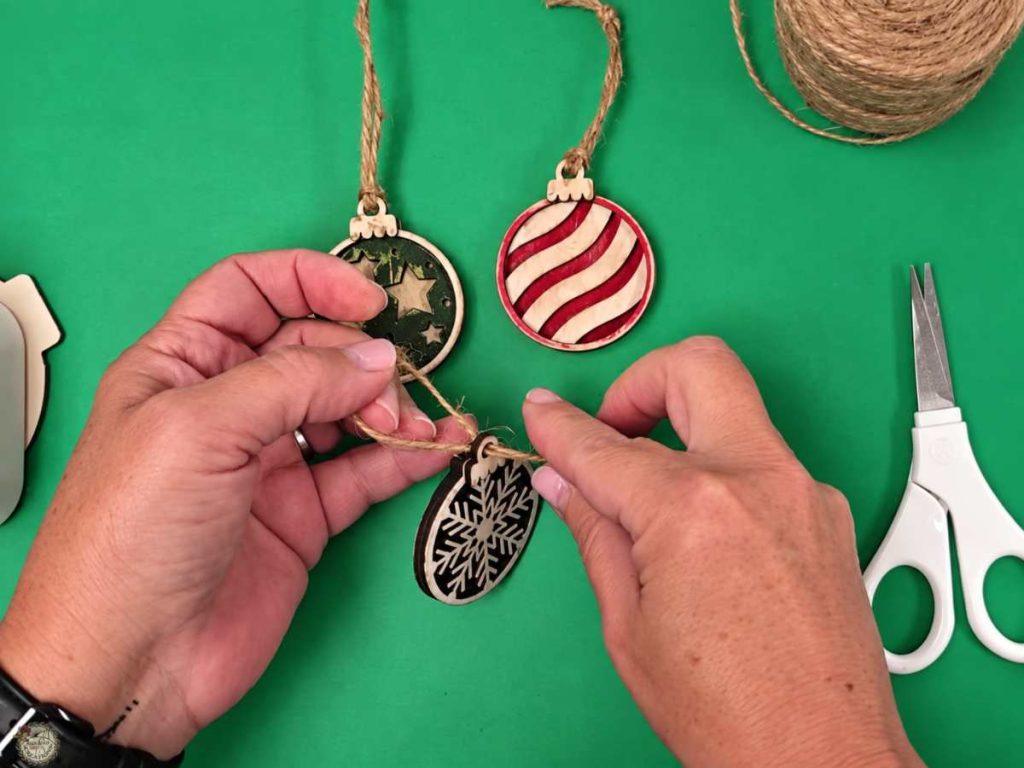
Step 9. Add the Jute Hanger
Fold a piece of jute in half, push the folded end through the hole at the top of the ornament, then pull the loose ends through the loop. Tie the ends together to create the hanger. You can also leave the ends untied if you want to use the ornament as a gift tag.
Video Tutorial: Make Wood Ornaments with the xTool M2
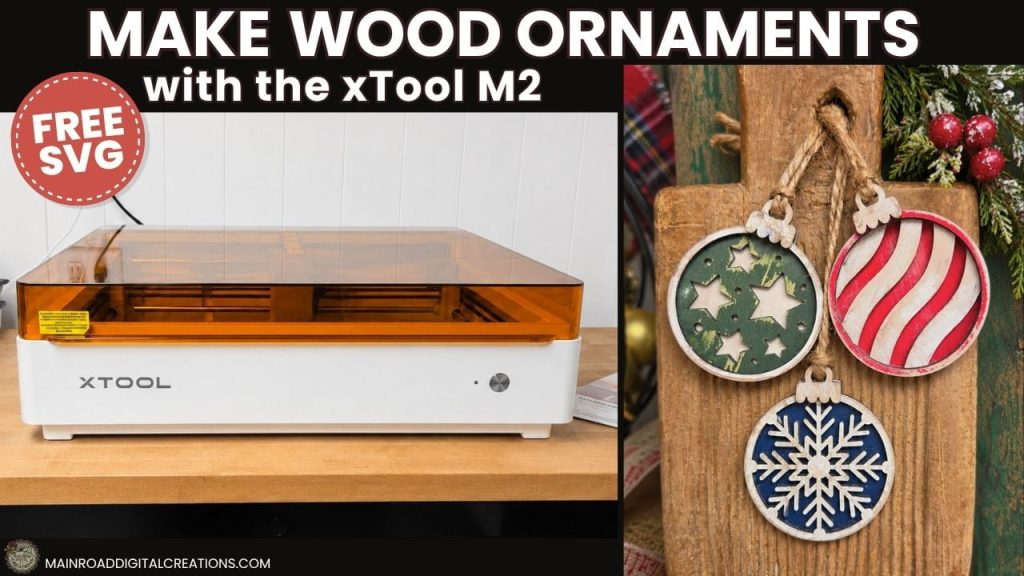
If you’d rather watch the full process, the video tutorial below walks you through everything from importing the SVG into xTool Studio to cutting the basswood, painting and distressing the pieces, assembling the ornaments, and adding the jute hangers.
xTool has some holiday deals going on, and I’ve got two discount codes to share with you!
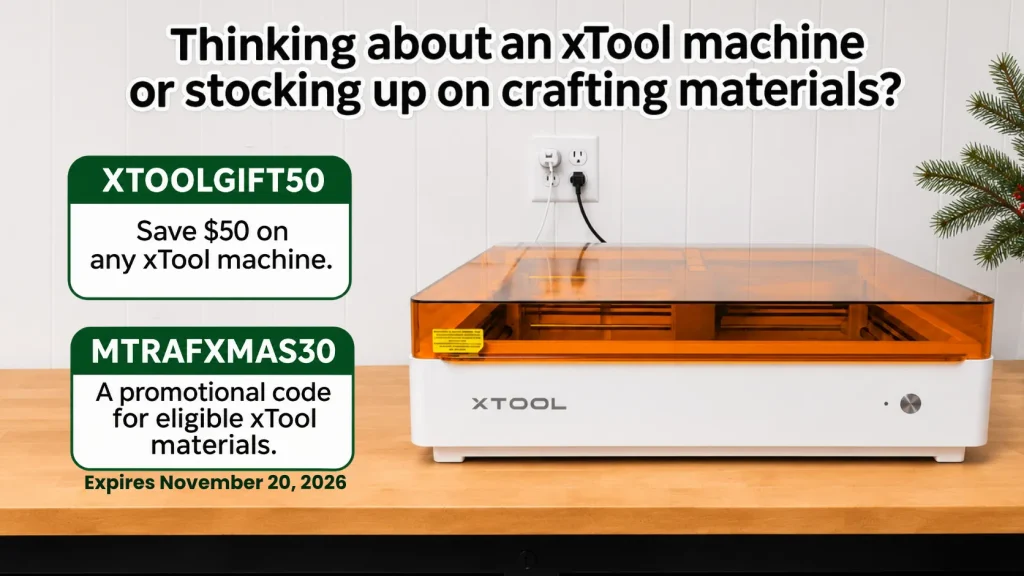
You can check out the xTool M2 and current offers here.
Be sure to check the offer details before ordering.
Get the Free Ornament SVG Bundle
These ornament designs were originally created for a cardstock project, but the same SVG files work beautifully with the xTool M2 and basswood too. The Free Ornament SVG Bundle is Design #287 in my Freebie Library, and you can download it from the original cardstock ornament tutorial.
Share your Creations
I can’t wait to see how you use this design in your projects! Be sure to share your creations in our Facebook group.

Are you on Facebook?
Join our group!
We’d love to have you!
All of the Free Files on my website are for Personal and Commercial use. Check out my Terms of Use (TOU) here.
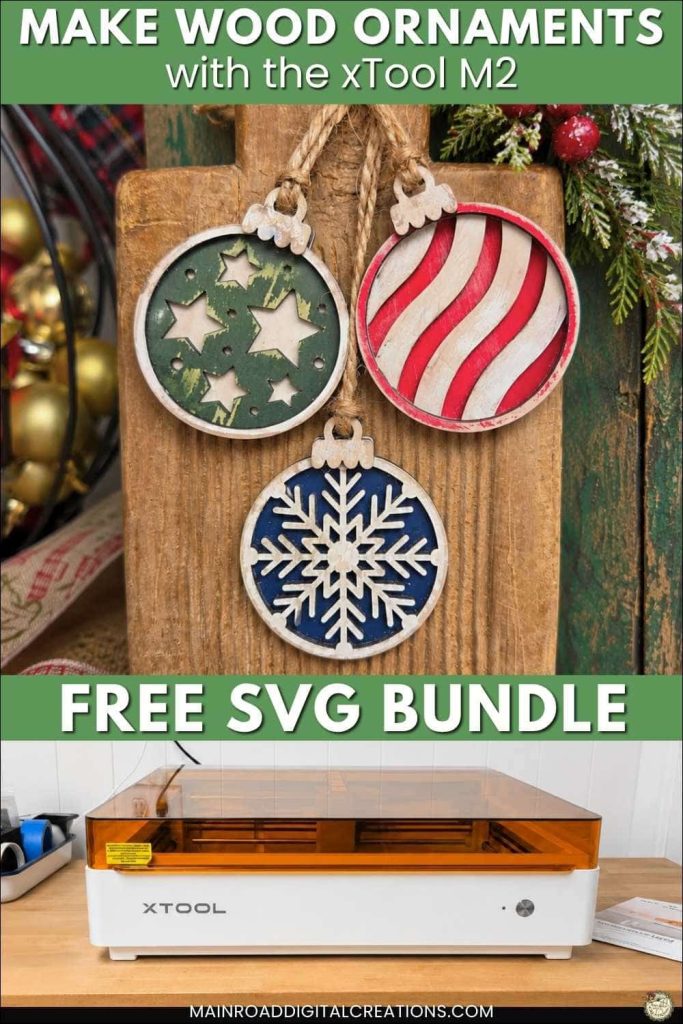
I’d love it if you could take a moment to pin the xTool M2 wood ornament project image above to Pinterest. By sharing, you help my business grow, which lets me keep creating free SVG files, tutorials, and new craft projects to share with you. Thanks so much for your support. It truly means a lot to me!
Here’s where to get the Free Ornament SVG Bundle
Design #287 – Christmas Ornament SVG Bundle is the same free SVG file I used for this xTool M2 wood ornament project. You can find it in my Freebie Library and use it for cardstock ornaments or laser-cut wood ornaments. To get the password, click the button below and join the Freebie Club!
More xTool M2 Project Ideas
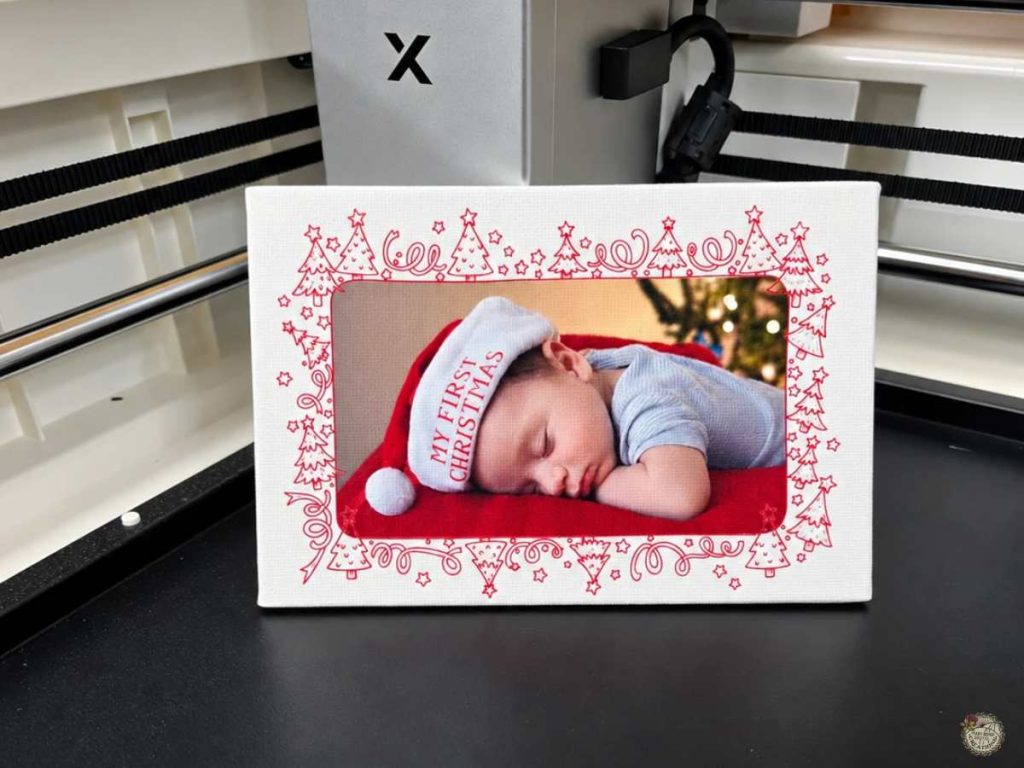
Looking for another fun project to make with your xTool M2? See how I printed a favorite photo directly onto canvas to create a personalized gift! I’ve included a step-by-step tutorial and tips to help you get great results. Check out the blog post here.
Check out my shop for fun and creative designs you can use in your projects!

Not sure where the free download is? Start here.
This page shows you where to find your design, how to get into the Freebie Library, and what to click to download your file.
Join the Creative Fabrica Membership

Fonts, designs, and so much crafty goodness! Over 16 million digital files are waiting! In partnership with Main Road Digital Creations, your first 10 downloads are totally free. After that? It’s just $47 a year (yep, that’s $3.99/month) with full commercial and POD use included. Sign up for Free!