
Free Thanksgiving Turkey SVG
DIY Give Thanks Thanksgiving Turkey Sign with Cardstock and Cricut
This post may contain affiliate links. As an Amazon Associate, I earn from qualifying purchases. Please see my privacy policy for full details.
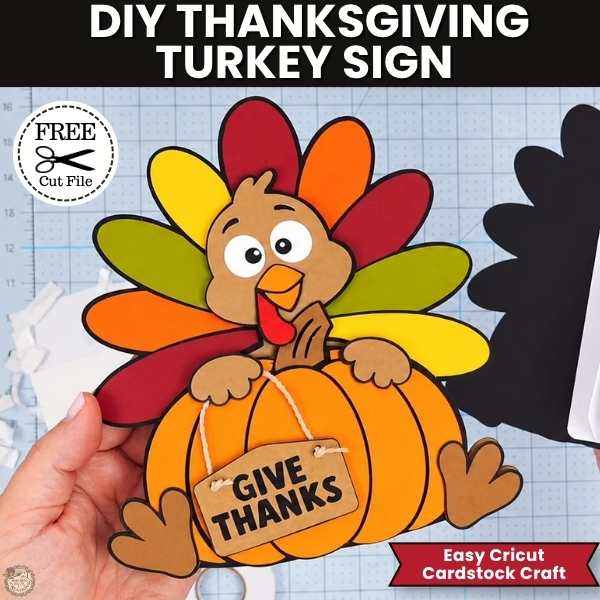
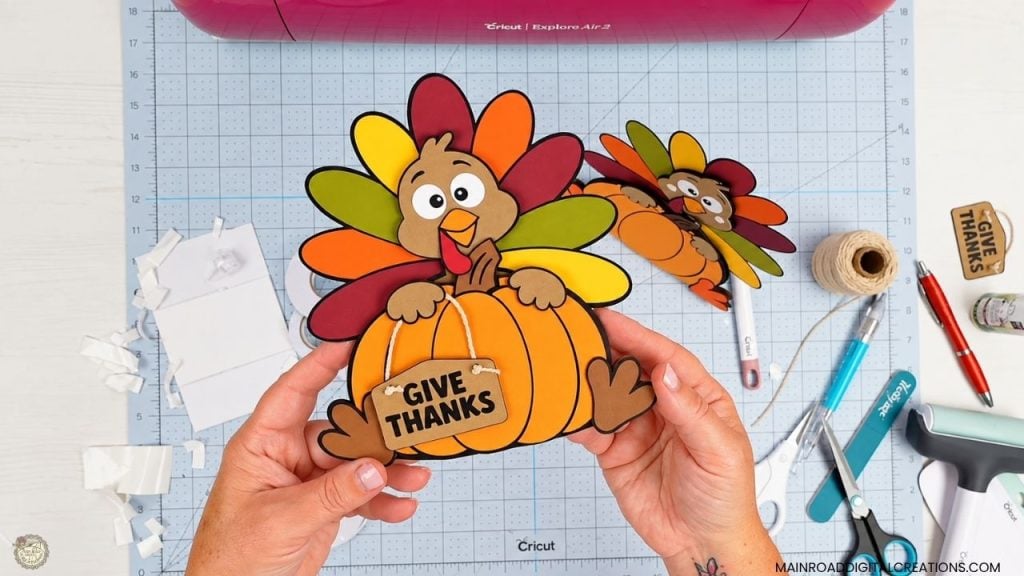
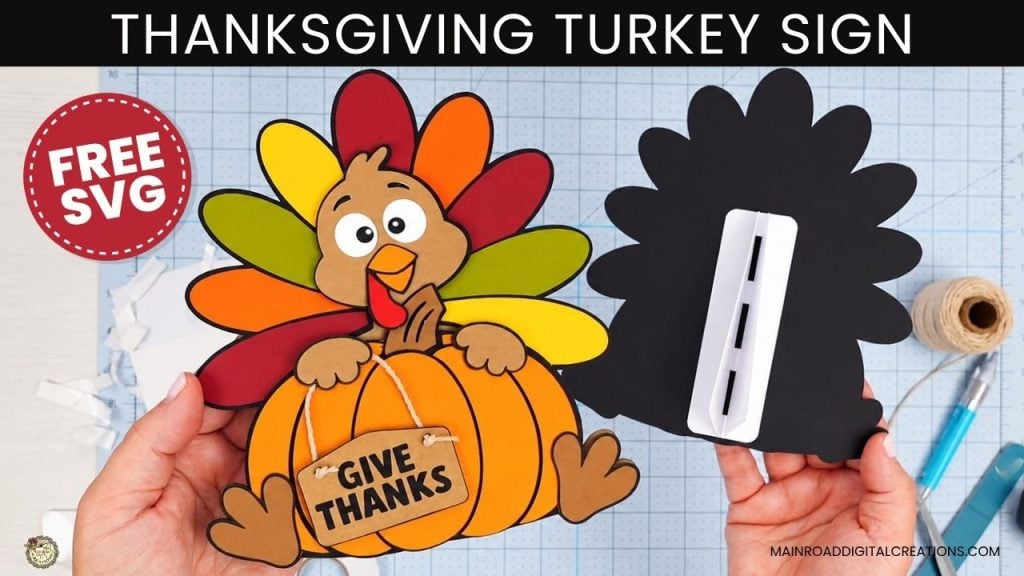
This Free Thanksgiving Turkey SVG is a fun cardstock project for your Thanksgiving decor! This little turkey is peeking out from behind a layered pumpkin with colorful tail feathers and holding a hanging “Give Thanks” sign.
Make an Easy Thanksgiving Cardstock Craft with Cricut
I also included an optional cardstock stand on the back, so you can display your finished turkey on a shelf, table, desk, or anywhere you need a little Thanksgiving cuteness. If you don’t want a standing project, simply leave the stand off and use the design flat.
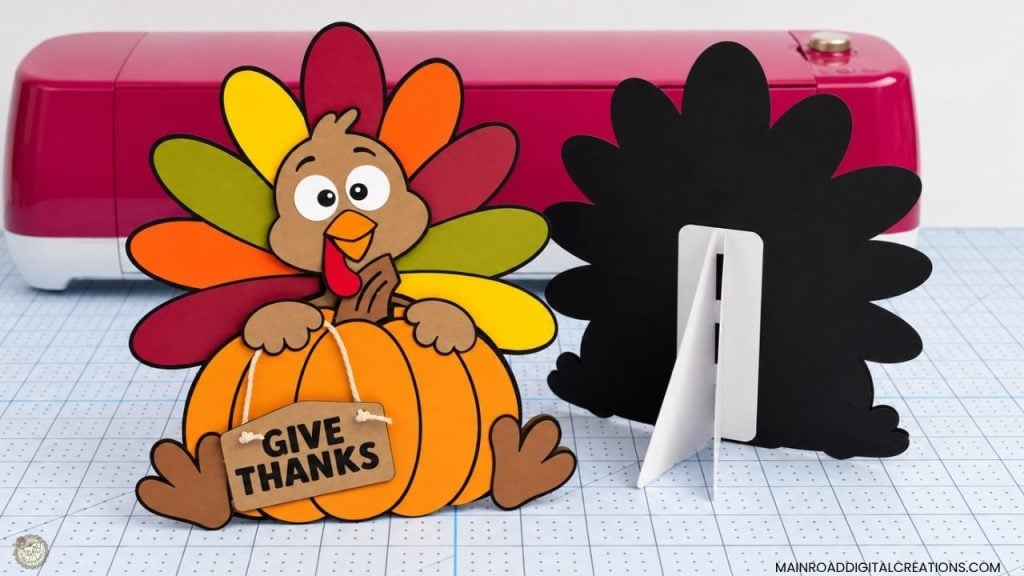
One of my favorite things about this design is that you can easily make it your own. Change the cardstock colors, leave the sign off, or replace “Give Thanks” with another saying or even a name for a cute Thanksgiving place setting.
What’s that font?
This is the font I used for this week’s Free Thanksgiving Turkey SVG and the “Give Thanks” wording on the sign.

Supplies for the Thanksgiving Turkey Cardstock Craft
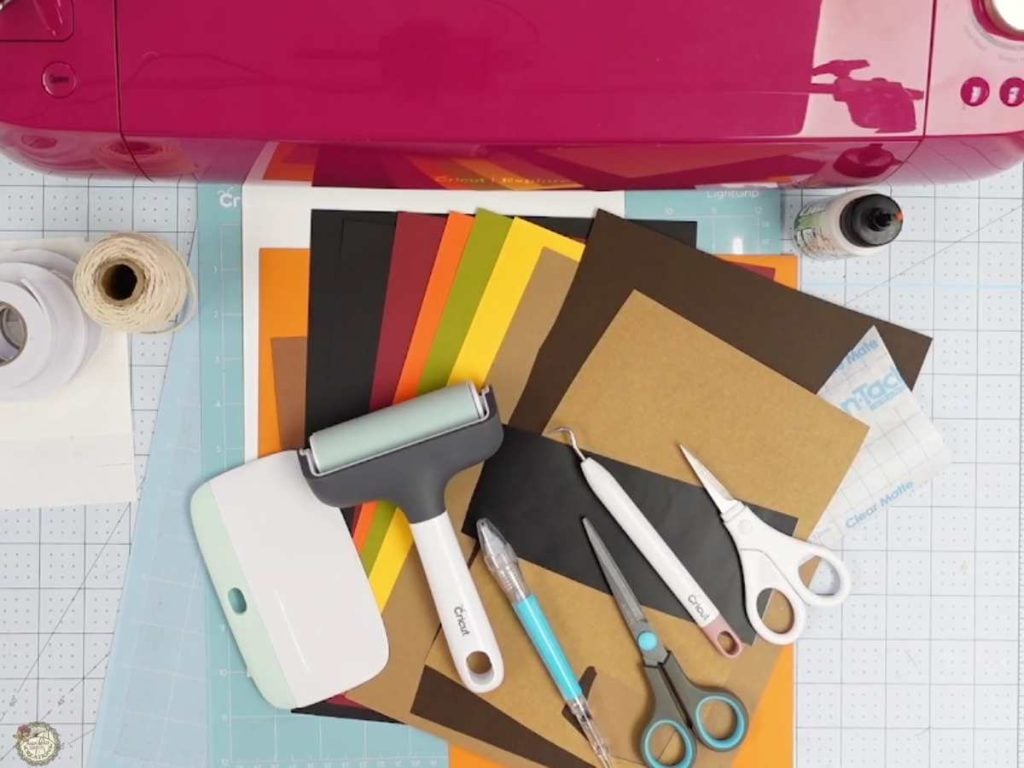
- Cricut (I used my Explore Air 2)
- Light Grip Mat
- Cardstock
- Favorites: Recollections 65lb, White 110lb, Encore 80lb
- Adhesive Vinyl
- Brayer
- XL Scraper
- Weeding Tools
- Pin Pen
- Foam Tape
- Teflon Coated Scissors
- Glue
- Pick-Up Tool
- Bakers Twine
- Contact Paper
How to Make the Thanksgiving Turkey Sign with Cricut
I’m keeping this part simple and showing you a few main steps so you can get an idea of how the turkey comes together. If you want to see the full process from start to finish, be sure to watch the video tutorial below.
Set Up the SVG in Cricut Design Space
Upload the SVG into Cricut Design Space and ungroup the design so you can see all of the individual pieces.
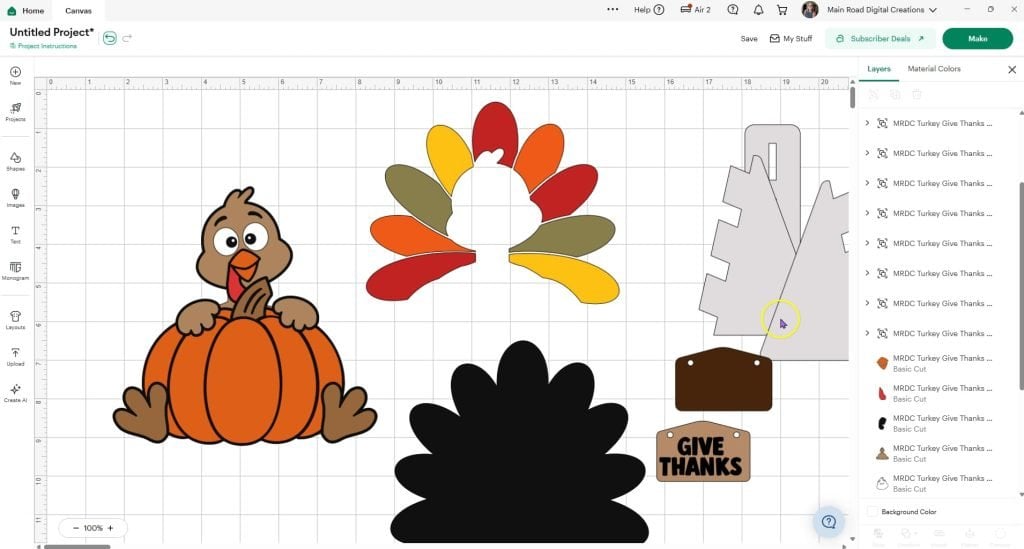
You’ll see the turkey, pumpkin, tail feathers, sign, and optional cardstock stand. You can also change the wording on the little sign if you want to personalize it.
Cut the Cardstock Pieces
Once everything is set up, send the design to your Cricut and cut the cardstock pieces. I like to use a brayer to press the cardstock firmly onto the cutting mat before loading it into my machine.
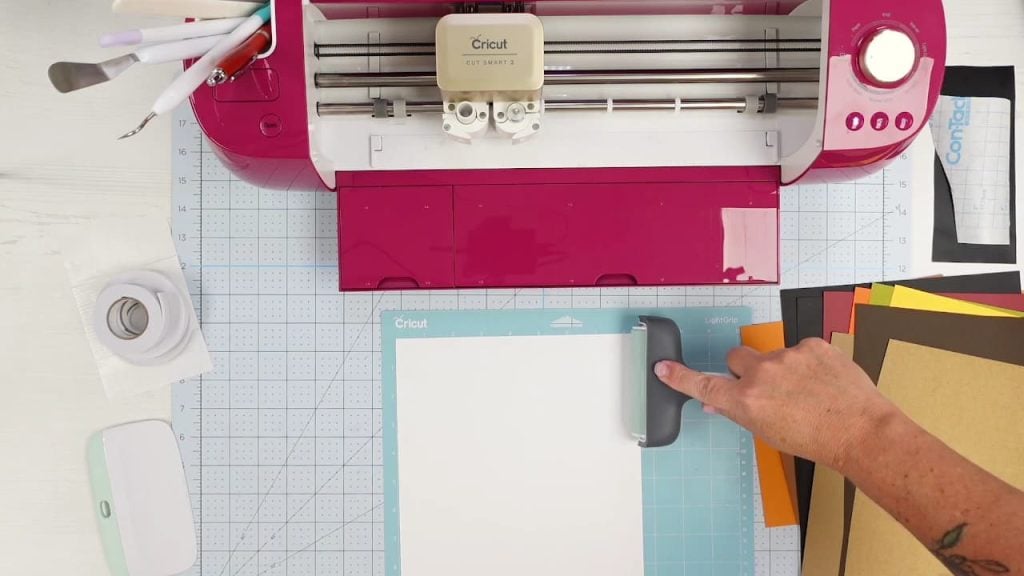
If your mat has lost some of its stickiness, add a little painter’s tape along the edges of the cardstock to keep it from shifting while it cuts.
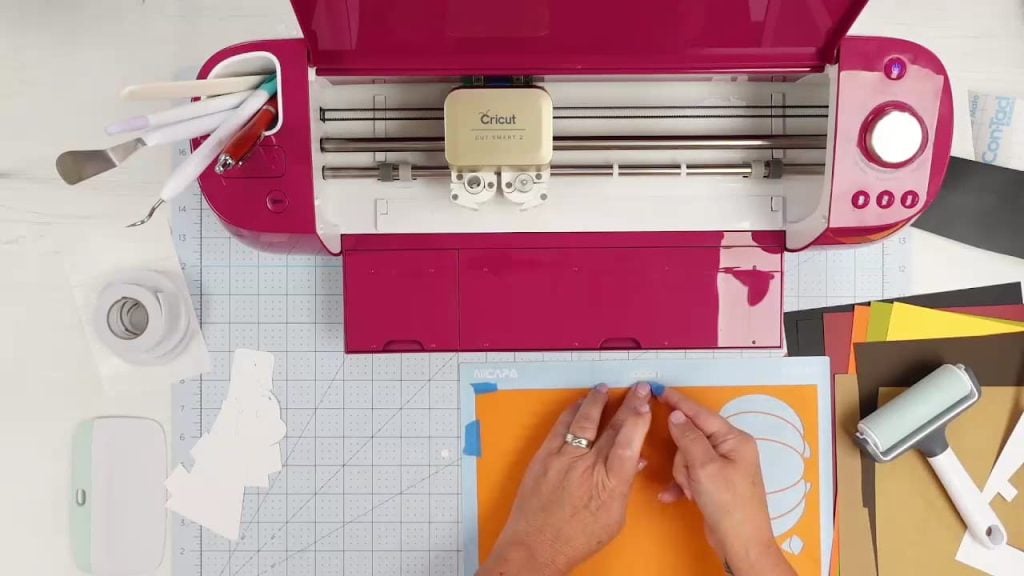
My Little Two-Mat Trick
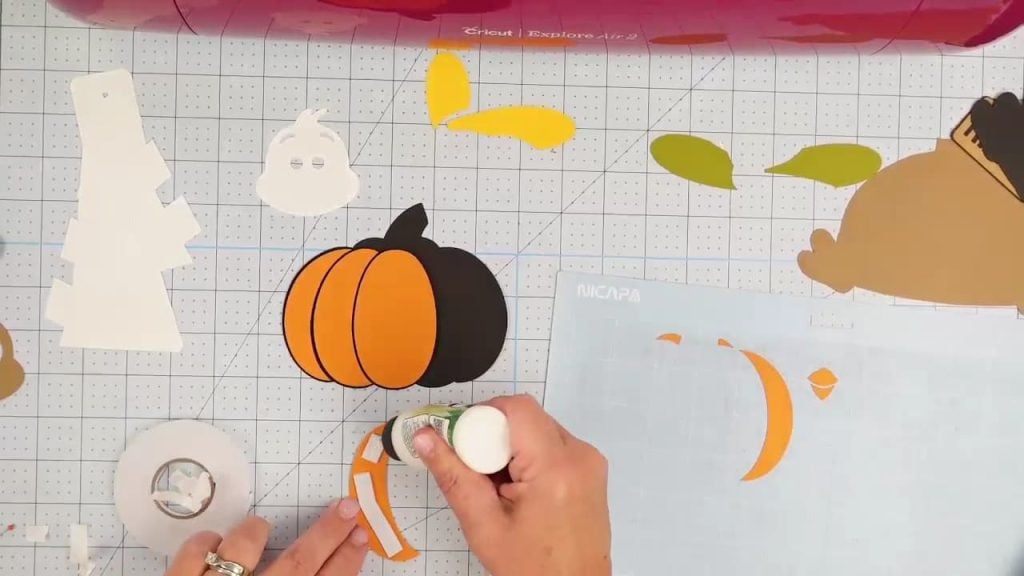
For the pumpkin pieces, I used a second cutting mat and left the cut pieces right on the mat after removing the extra cardstock. That keeps all of the pumpkin layers in the correct order so I don’t have to figure out where everything goes later. You definitely don’t have to use two mats, but it makes assembly much easier for me.
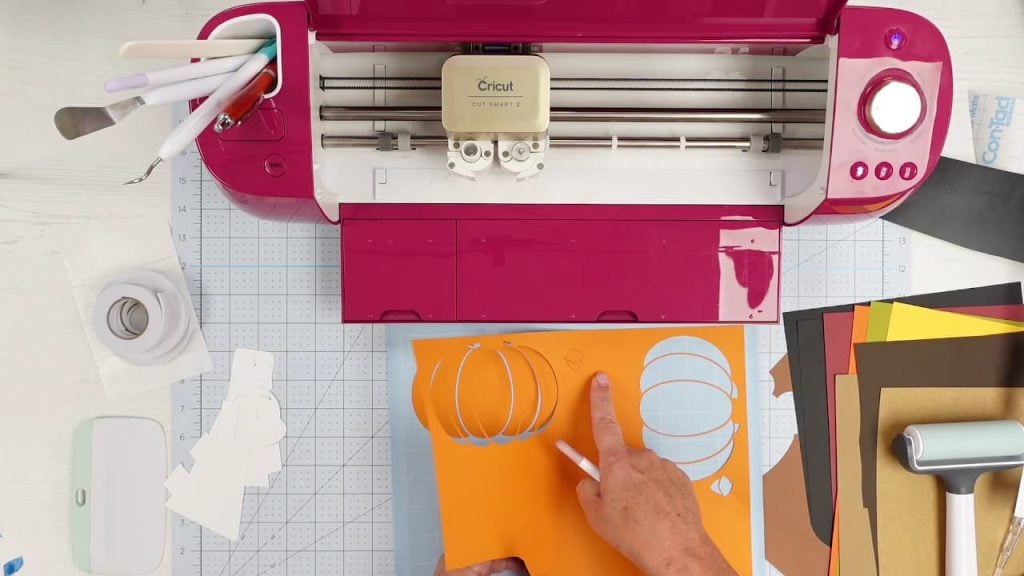
Start Assembling the Turkey
Once everything is cut, you can start assembling the turkey. I like to lay the pieces out so I can see how the colors and layers fit before I start gluing.
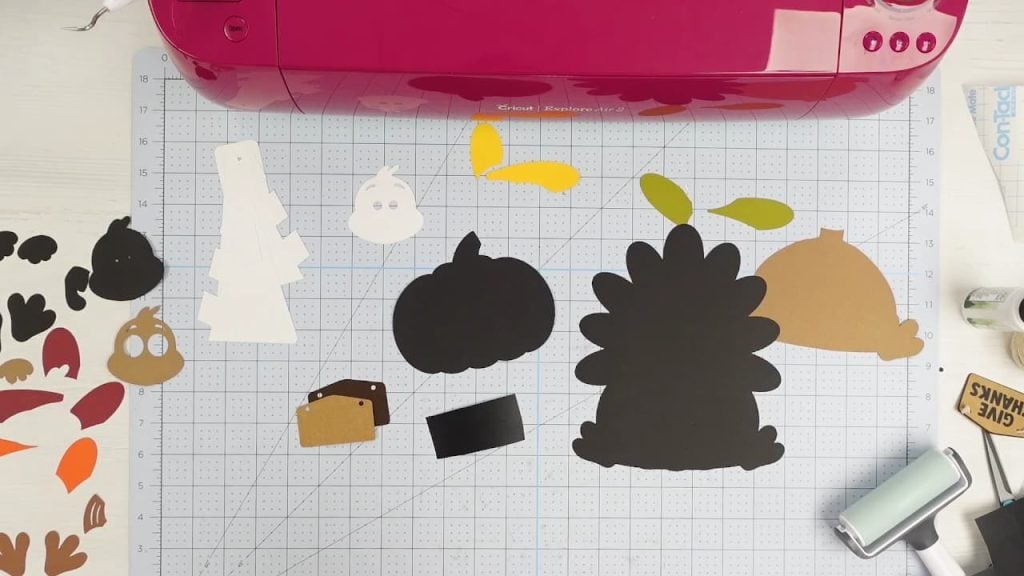
From here, I assemble the pumpkin, turkey face, tail feathers, hands, feet, and sign. I’ll show you the full assembly process in the video tutorial below so you can follow along step by step.
Add the Give Thanks Wording
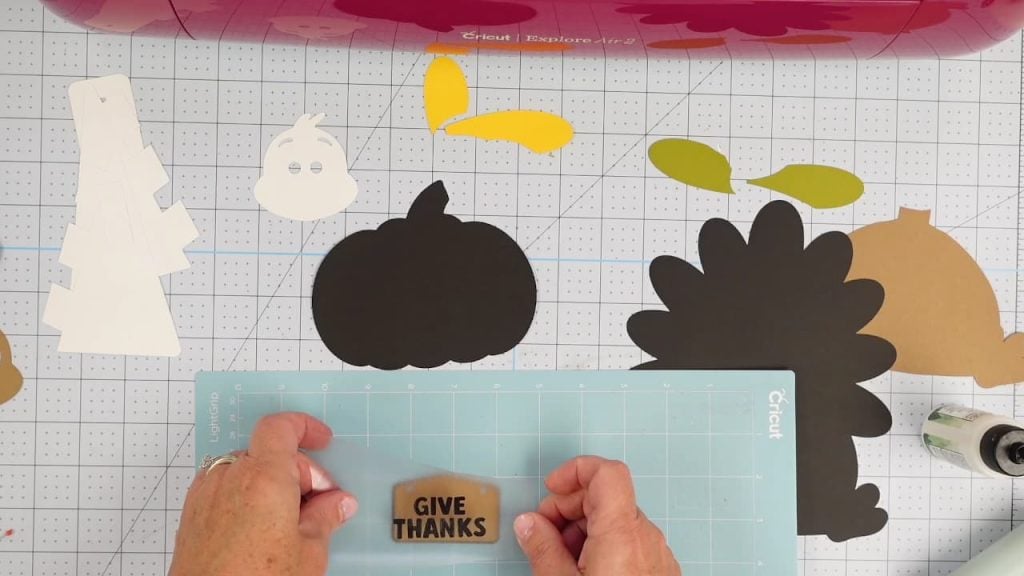
Weed the adhesive vinyl for the “Give Thanks” wording, then use a small piece of contact paper to transfer it to the cardstock sign.
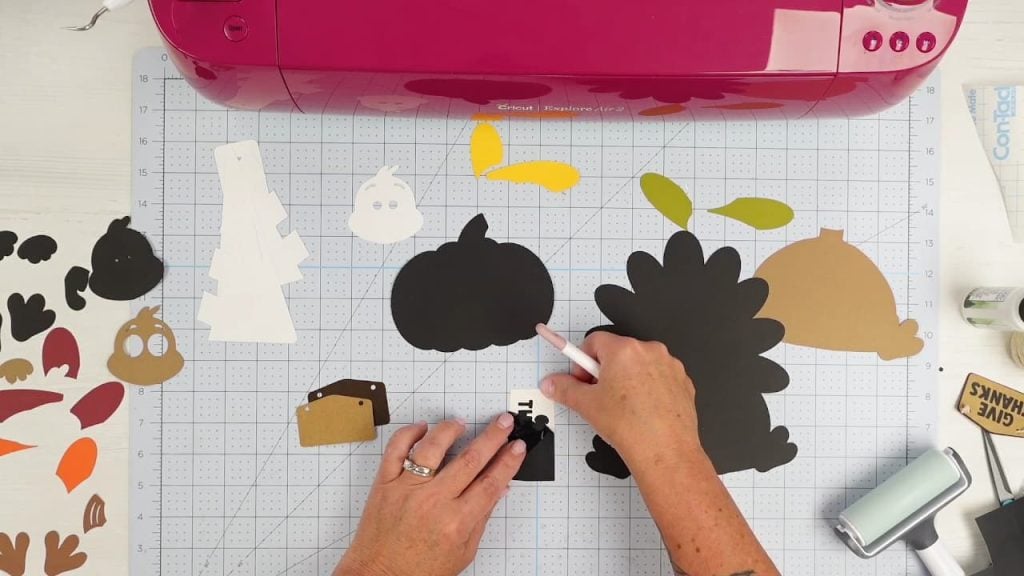
I use contact paper instead of regular transfer tape on cardstock because it isn’t as sticky and is much less likely to damage the paper when you peel it away.
Assemble the Layered Pumpkin
I used foam tape between the pumpkin layers to add a little dimension. Line up each piece so the black offset stays visible around the edges.
Assemble the Cardstock Stand
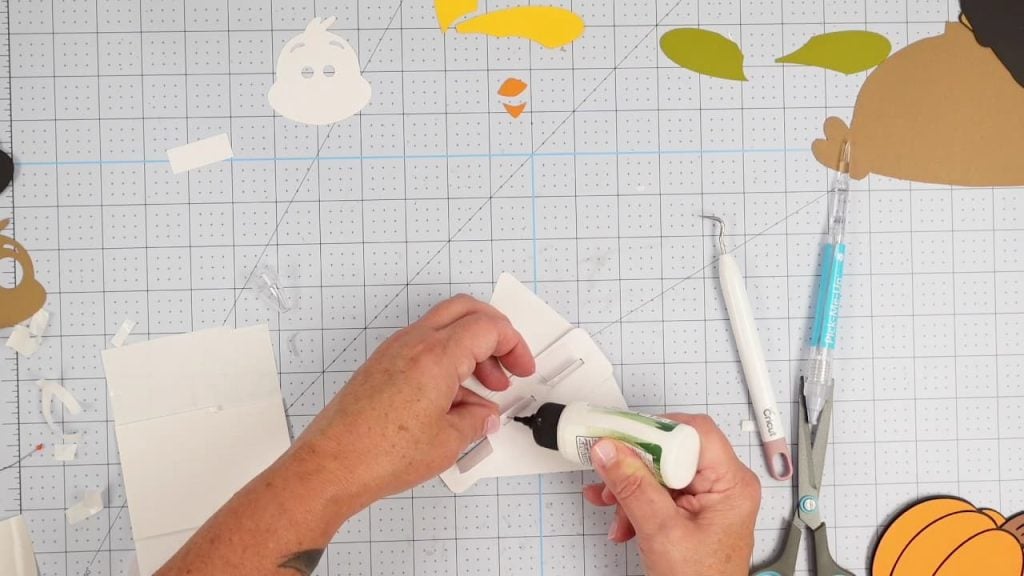
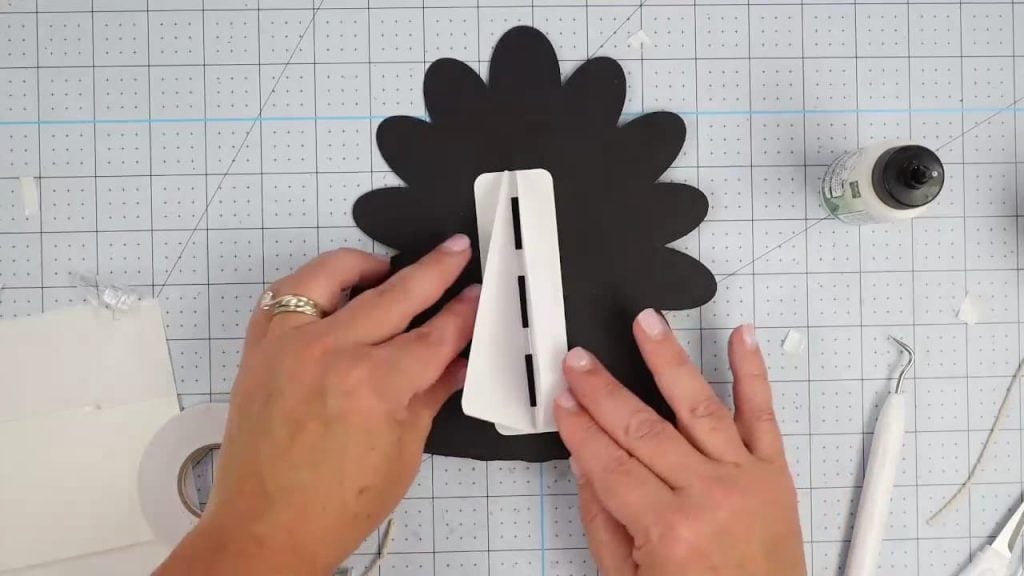
Slide the stand pieces together through the cut slots, fold the tabs, and glue them in place. I like to put the stand together early so the glue has time to dry while I work on the rest of the turkey.
Put the Turkey Layers Together
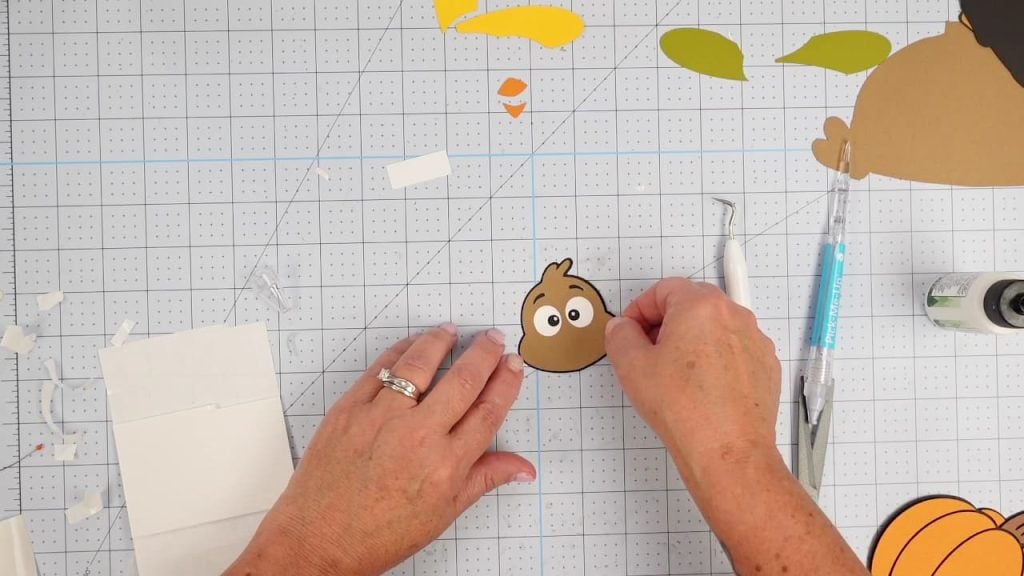
Glue the face pieces together, paying attention to the black offset around the outside as you line everything up.
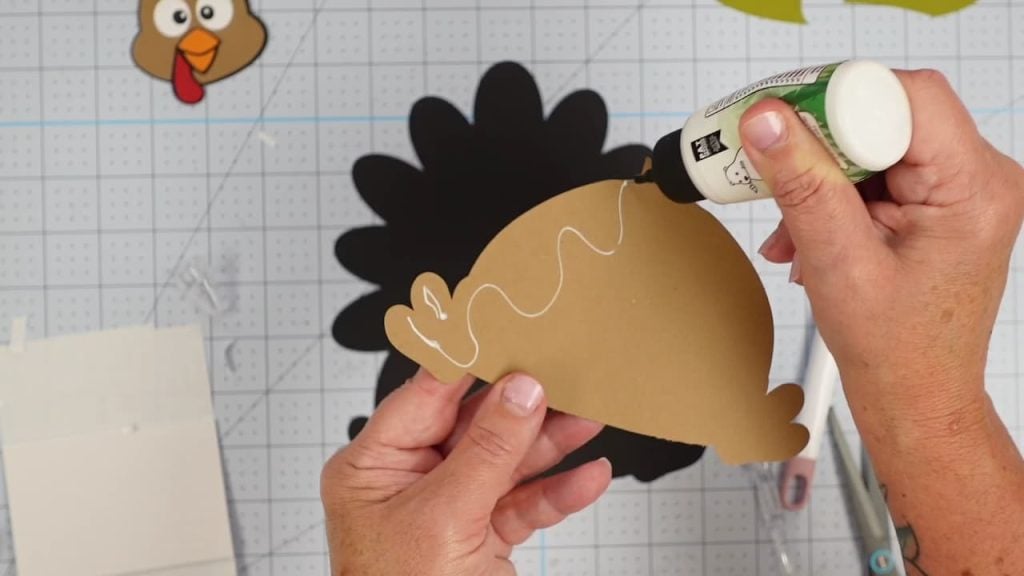
Then glue the turkey body layer onto its black backing, again leaving that black border showing around the edges.
Add the Tail Feathers
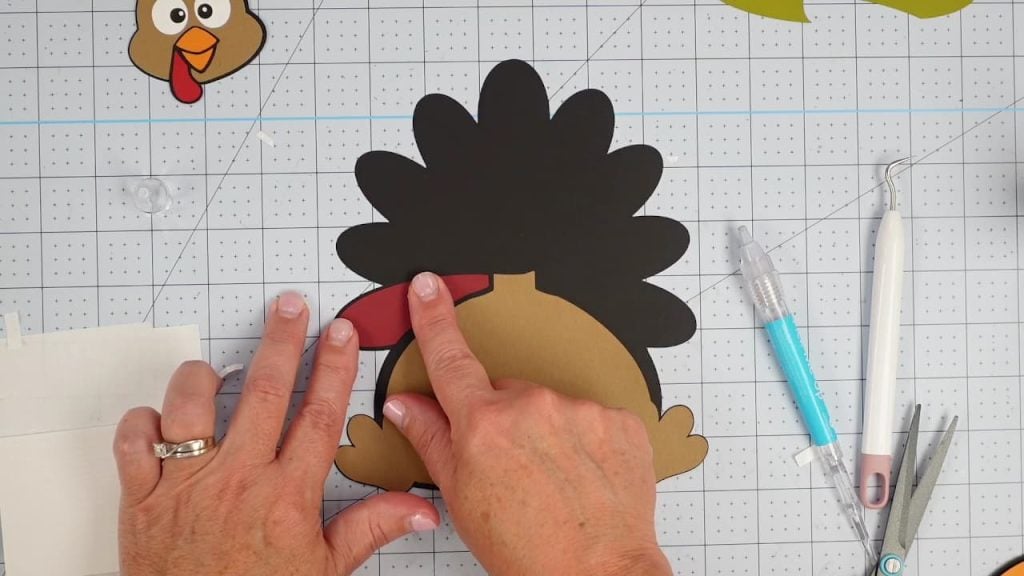
Glue the colorful feather pieces onto the black backing, leaving the black offset showing around the edges. Work your way around the turkey until all of the feather pieces are in place.
Add the Turkey Head
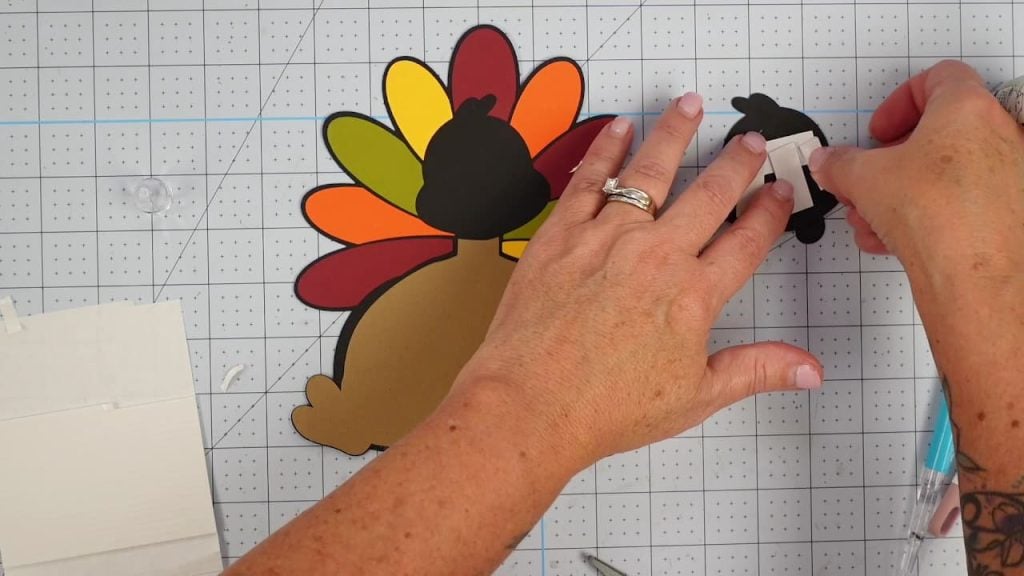
I used foam tape behind the turkey’s head to give it a little extra dimension. Line the head up with the opening in the feathers and press it into place.
Attach the Feet
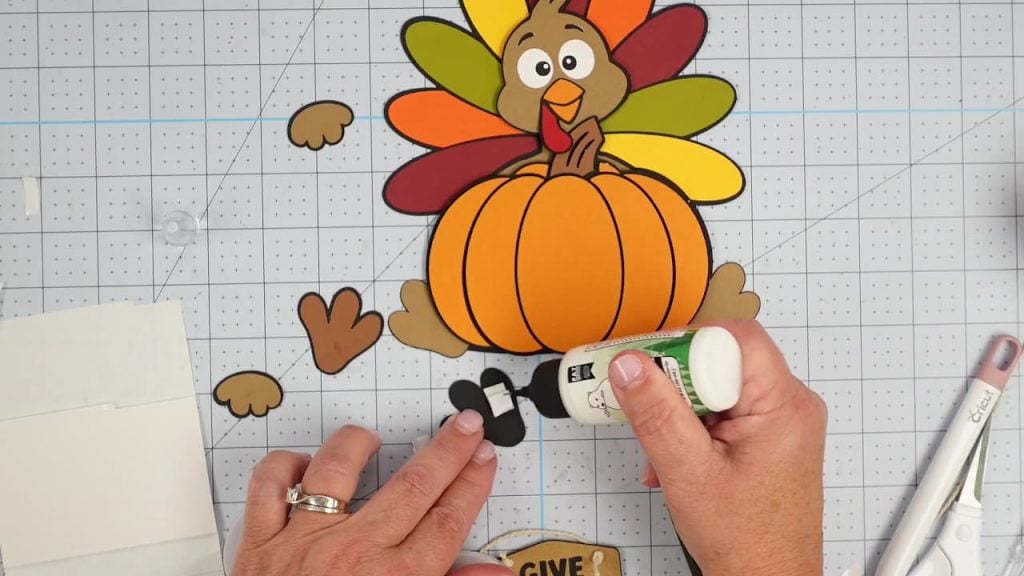
Because the pumpkin layers are already raised with foam tape, I double-stacked foam tape behind part of each foot so everything sits at the same height. I added glue to the part of the foot that overlaps the pumpkin, then pressed everything into place.
Add the Give Thanks Sign
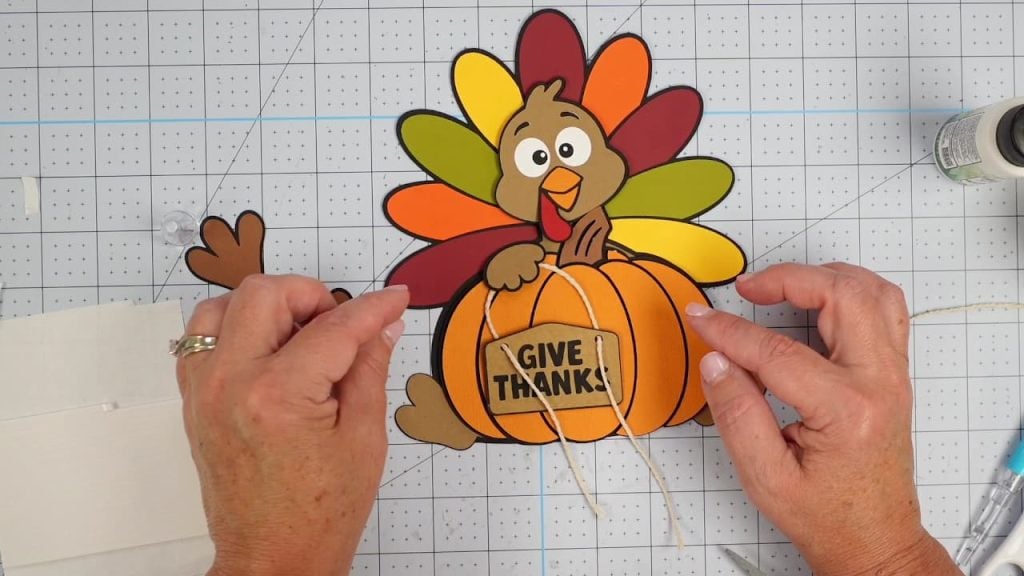
Thread baker’s twine through the holes in the sign and tie it on each side. I played around with the placement before deciding to have the turkey look like he was holding the sign. You can hang it across the pumpkin, glue it in place, or leave it off completely.
Attach the Cardstock Stand
Once the turkey is assembled, glue the finished stand onto the back of the black base. Check the placement before the glue dries completely to make sure your turkey stands the way you want it to.
The Finished Thanksgiving Turkey Sign
And that’s it! Once everything is dry, you’ve got a cute little freestanding Thanksgiving turkey ready to display. If you want to see every step and the little assembly details, watch the full video tutorial below.
Watch the Thanksgiving Turkey Sign Video Tutorial
Want to see exactly how this little turkey comes together? In the video tutorial, I’ll walk you through the full project from start to finish, including how I set up the SVG in Cricut Design Space, cut the cardstock and adhesive vinyl, assemble the layered turkey and pumpkin, add the “Give Thanks” sign, and attach the optional cardstock stand.
Share your Creations
I can’t wait to see how you use this design in your projects! Be sure to share your creations in our Facebook group.

Are you on Facebook?
Join our group!
We’d love to have you!
All of the Free Files on my website are for Personal and Commercial use. Check out my Terms of Use (TOU) here.
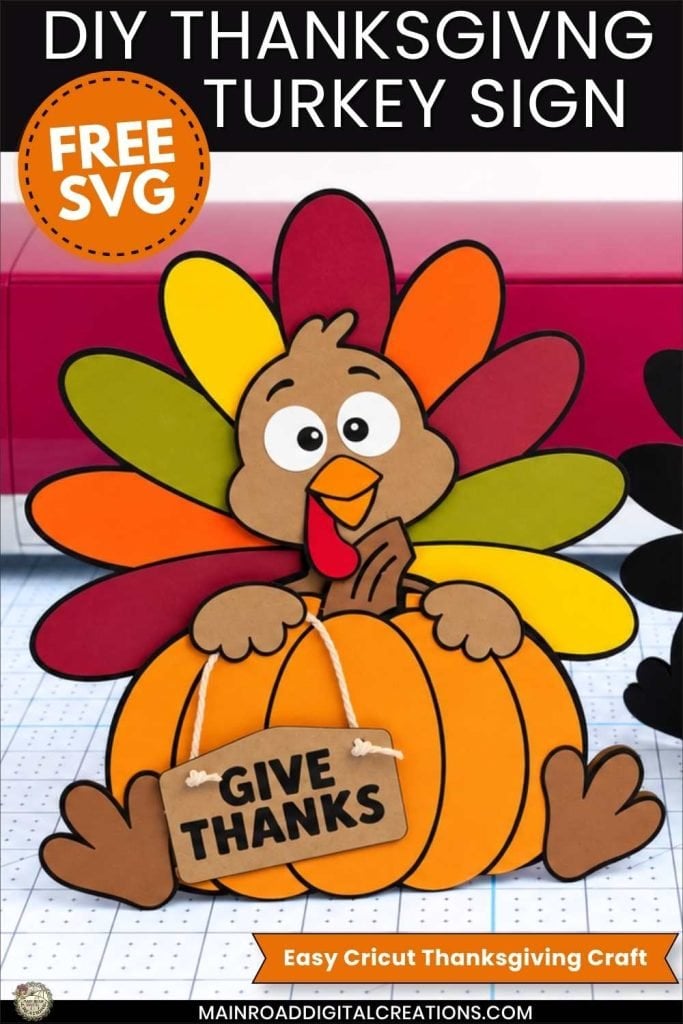
I’d love it if you could take a moment to pin the Free SVG image above to Pinterest. By sharing, you’re helping my business grow, which allows me to keep bringing you the free SVG files you adore. Thanks a bunch for your support. It means the world to me!
Here’s where to find your Free SVG download!
Design #288 – Give Thanks Turkey SVG is available in my freebie library. To get the Password, click the button below and Join our Freebie Club!
More Free SVGs for Your Holiday Crafting

Check out my shop for fun and creative designs you can use in your projects!
Not sure where the free download is? Start here.
This page shows you where to find your design, how to get into the Freebie Library, and what to click to download your file.
Join the Creative Fabrica Membership

Fonts, designs, and so much crafty goodness! Over 16 million digital files are waiting! In partnership with Main Road Digital Creations, your first 10 downloads are totally free. After that? It’s just $47 a year (yep, that’s $3.99/month) with full commercial and POD use included. Sign up for Free!
Thanks so much for the cute turkey. I love that it has a stand so the recipient can better show it off!
You’re welcome! I’m so happy to hear you like him! Happy crafting, Charlene! 😊
Thank you for sharing with us! I was just on the search for one, perfect timing.
You’re welcome! So happy you like him. Happy crafting, Marissa! 😊
Thank you for the cute pumpkin card!
You’re welcome 😊 Thank you for your comment and kindness. Happy crafting!
Thank you so much Tracy! These are always so cute, and really nice of you to design and share. My family and friends always love it wheen I make them one of your special “goodies”. 🥰. And I love making them. Thank you! ♥️
Thank you so much for your comment and kindness! I’m so happy to hear that. 😊 Happy crafting!
This turkey is adorable! Thank you for your generosity!
😊You’re welcome. Thank you so much for taking the time to comment, Nancy. I appreciate your kindness! ❤️
Your turkey is so cute! Thank you for sharing him.
You’re welcome. I’m so happy to hear you like him! Thank you for your comment and kindness, Ida. Happy crafting. 😊
Thanks for the turkey. He is super cute
You’re welcome! Thank you so much for your wonderful comment. Happy crafting, April. 😊
Thank you the turkey is adorable. I really like your style. Your colors a generally bold. You have just enough detail to give your designs definition, but not too much to make them fiddlie. Keep up the good work. Thanks for offering a bit of your work for free.
Thank you, Pam. I truly appreciate your comment and kindness. I’m so happy you enjoyed the turkey design. Happy crafting! 😊
Thank you for creating this super cute standup turkey. I live in Canada and just finished making two of these cuties for our Thanksgiving that is happening this weekend. I love their faces, your designs are always so cute!
You’re welcome! I’m so happy you like the turkey. I hope your Thanksgiving was great! I appreciate your comment and kindness, Donna. 😊