
Apply Vinyl to Notebooks: Cricut Tutorial + 3 Free SVG Files!
Can You Add Vinyl to Notebooks?
This post may contain affiliate links. As an Amazon Associate, I earn from qualifying purchases. Please see my privacy policy for full details.

Can you add vinyl to notebooks? Absolutely! I’m here to show you how easy and fun it is to apply vinyl and transform your notebooks. Personalizing your notebooks is not only possible, but it’s also a creative way to express your unique style. Whether you’re decorating notebooks for school, sprucing up your workspace, or crafting special gifts, a custom vinyl touch makes a big difference. Excited to start? I’ve got three free inspirational SVG files just for you!
How to Add Vinyl to Notebooks with Your Cricut

Let’s personalize your notebooks! I used my Cricut Joy Xtra in this tutorial, but don’t worry; you can use any Cricut or vinyl-cutting machine for this project! I’ll guide you through applying vinyl in two distinct ways—starting with adhesive vinyl and then moving to heat transfer vinyl (HTV). This tutorial is perfect for all Cricut users, whether you’re just starting out or you’ve got plenty of crafts under your belt. Get ready to transform your notebooks into something truly special!
What’s that font?
Believe in yourself – Ketikan
If You Are Going To –Malibu Beach
Rise/Shine – Blush and Bloom
Work/Dream/Never – The Romantic Absolute
Hard/Big/Quit – Brillant Soulmates

What Do I Need to Customize My Notebook with Vinyl?

Wondering what supplies you’ll need to add vinyl to your notebooks using your Cricut machine? Here’s everything you need to get started on this fun project!
- Cricut Machine – I used my Cricut Joy Xtra
- Standard Grip Mat
- Brayer
- Heat Transfer Vinyl (HTV) and/or Adhesive Vinyl
- Weeding Tools
- Pin Pen
- Squeegee
- Contact Paper and Parchment Paper for Adhesive Vinyl application
- Heat source for HTV application – I used my Cricut EasyPress Mini
- Heat Resistant Mat
- Teflon Sheet
- Notebooks
Cricut Tutorial Step-by-Step Instructions for Adding Vinyl to Notebooks

In this video, I’ll walk you through the steps from start to finish. We’ll begin in Cricut Design Space, where I’ll show you how to size and arrange your free SVG files for easier cutting. After that, it’s time to get our hands a bit crafty—cutting the vinyl, weeding the designs, and applying them to your notebooks. I’ll guide you through each process, demonstrating how to use both heat transfer vinyl (HTV) and adhesive vinyl, ensuring you know exactly what to do to achieve the best results.

I’m excited to see what you’ll make with this week’s Free SVG! I’d be thrilled if you joined our Facebook group to share your projects. Come be a part of our crafting community, where you can showcase your work, connect with fellow crafters, and find even more inspiration. Let’s celebrate the joy of crafting together!
All of the Free Files on my website are for Personal and Commercial use. Check out my Terms of Use (TOU) here.
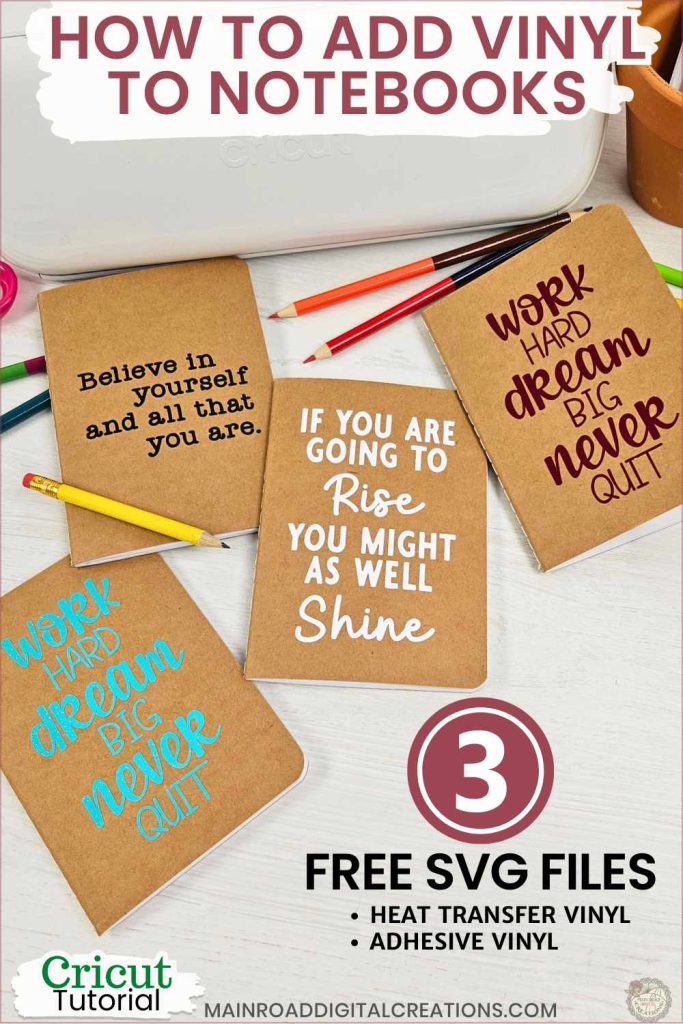
I’d love it if you could take a moment to pin the Free SVG image above to Pinterest. By sharing, you’re helping my business grow, which allows me to keep bringing you the free SVG files you adore. Thanks a bunch for your support. It means the world to me!
Here’s where you can find your Free SVG Download
Design #201- Notebook Designs SVG is available in my freebie library. Get the Password by clicking the button below and Joining our Freebie Club!
If you enjoyed this week’s Free SVG and Cricut Tutorial, here’s another you will love!

Check out my shop for fun and creative designs you can use in your projects!


Join the Creative Fabrica Membership

Fonts, designs, and so much crafty goodness! Over 16 million digital files are waiting! In partnership with Main Road Digital Creations, your first 10 downloads are totally free. After that? It’s just $47 a year (yep, that’s $3.99/month) with full commercial and POD use included. Sign up for Free!