
Free Gingerbread Card SVG Files
DIY Gingerbread Boy and Girl Christmas Cards
This post may contain affiliate links. As an Amazon Associate, I earn from qualifying purchases. Please see my privacy policy for full details.
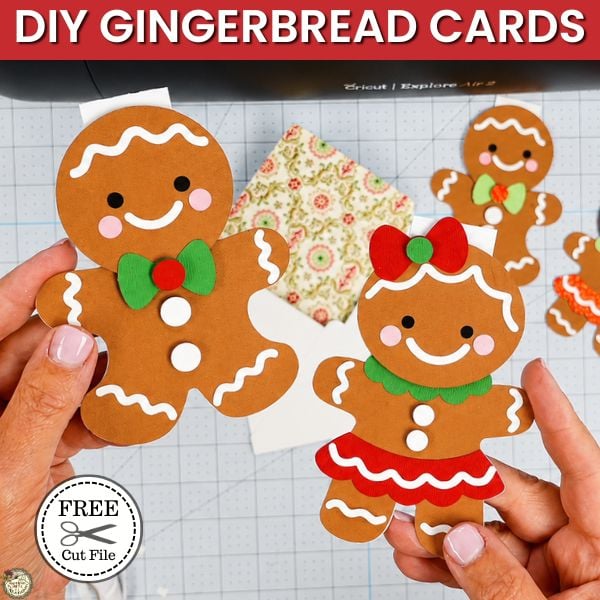
I’m bringing a little gingerbread cuteness to Christmas in July with these Free Gingerbread Card SVG files! The download includes both a boy and girl design, along with a matching envelope, so you can make a complete handmade card with your Cricut. Add glitter cardstock, use a fun pattern inside the envelope, and give the layers a little lift with foam tape. These are quick to put together, easy to customize, and almost too cute to tuck inside an envelope.
How the Gingerbread Cards Open
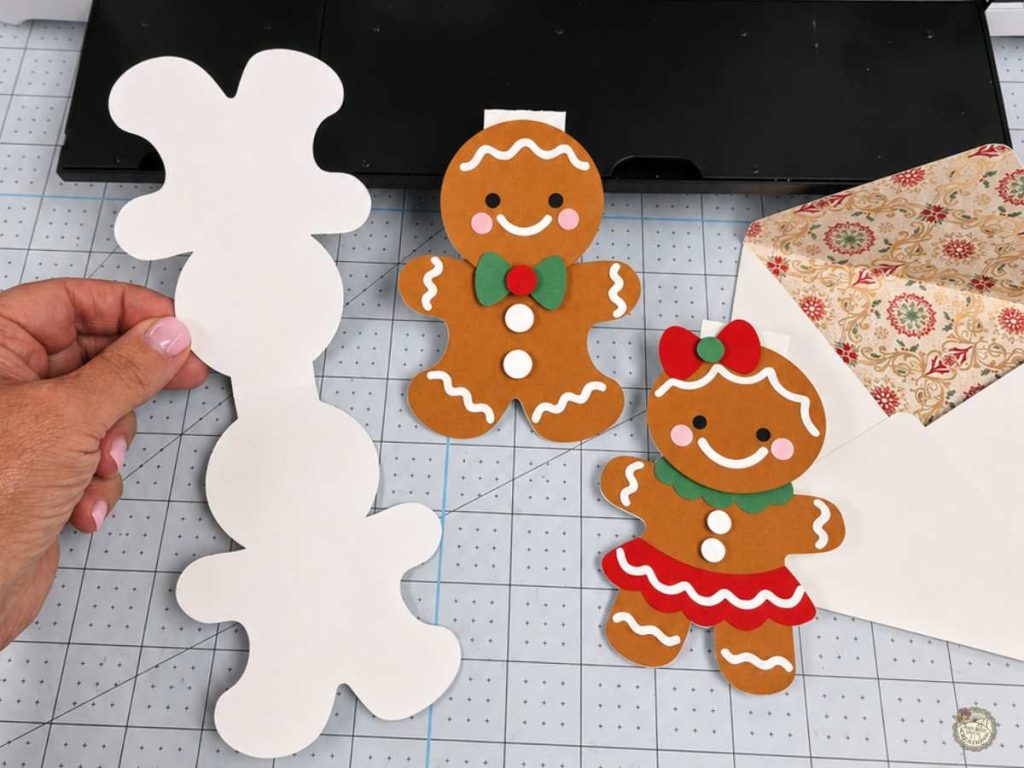
These cute gingerbread designs are more than just layered papercrafts because they open into actual Christmas cards! The folded white base is cut in the shape of the gingerbread, and the decorated boy or girl is attached to the front. Add your message inside, tuck the card into the matching envelope, and you have a handmade Christmas card that is way more fun than anything from the store.
Supplies For the Gingerbread Boy & Girl Cards
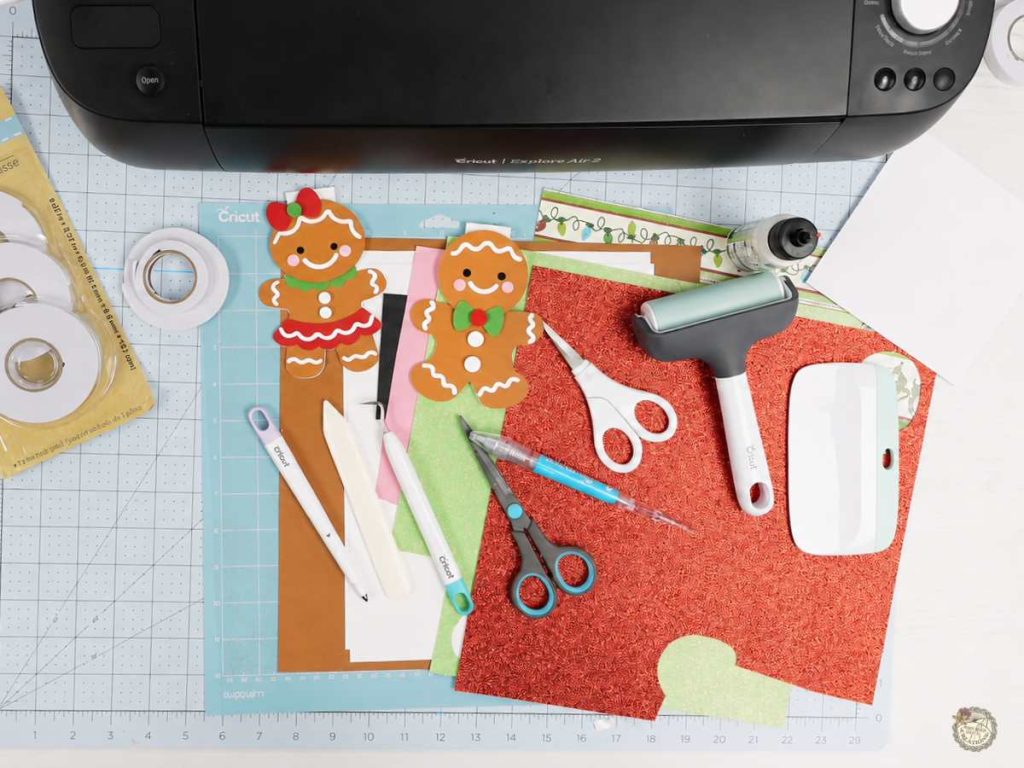
- Cricut– I used my Explore Air 2
- Light Grip Mat
- Scoring Stylus
- Cardstock-Assorted Colors & Patterned Cardstock
- My favorites:
- Brayer
How to Make Gingerbread Cards with Your Cricut
These gingerbread cards are easy to customize with your favorite cardstock colors and patterns. I’m sharing a quick overview of the Design Space, cutting, and assembly steps below, but you can watch the full video tutorial for a closer look at the entire project.
Upload the Gingerbread Card SVG to Cricut Design Space
Upload either the gingerbread boy or girl SVG to Cricut Design Space and add it to a new canvas. Each SVG includes the pieces for the gingerbread card and its matching envelope.
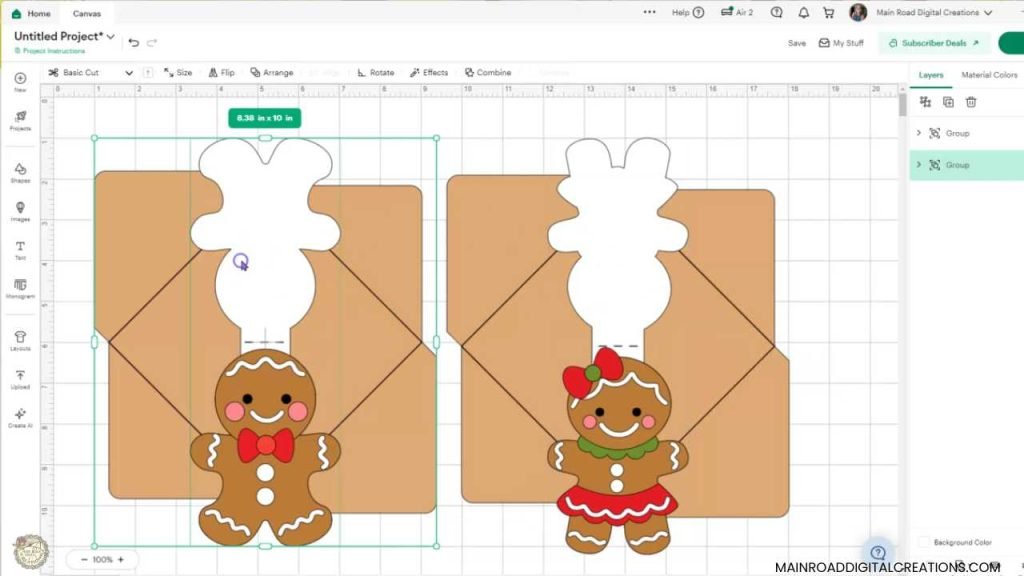
Right-click the design and choose Ungroup. Move the envelope away from the gingerbread pieces so you can work with each section more easily. The envelope is the same for both designs.
Change the Envelope Line to a Score Line
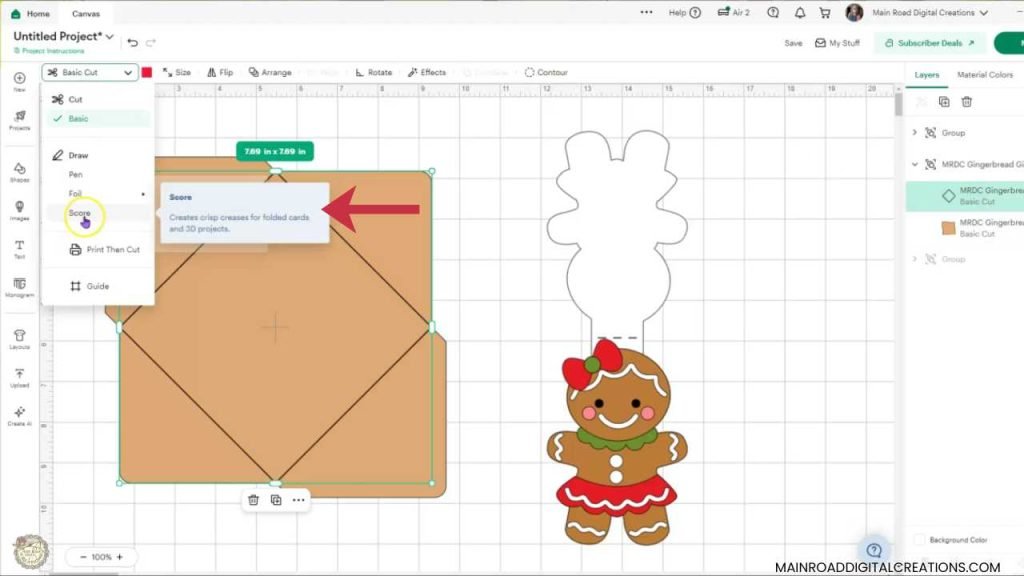
Select the line inside the envelope and change the operation from Basic Cut to Score. Then select the score line and the envelope shape and click Attach. This tells your Cricut to score and cut both parts in the correct positions.
Attach the Gingerbread Card Fold Line
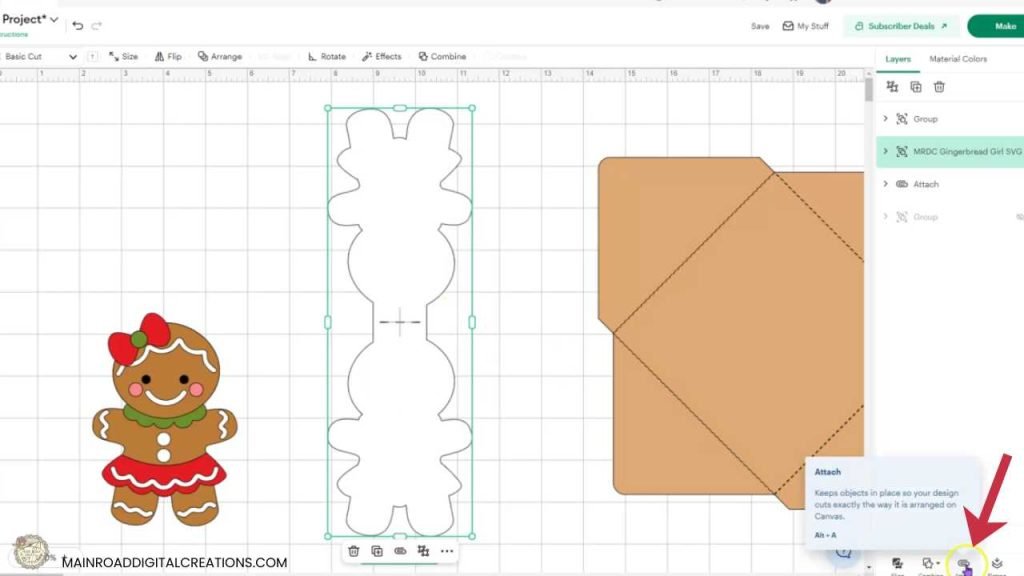
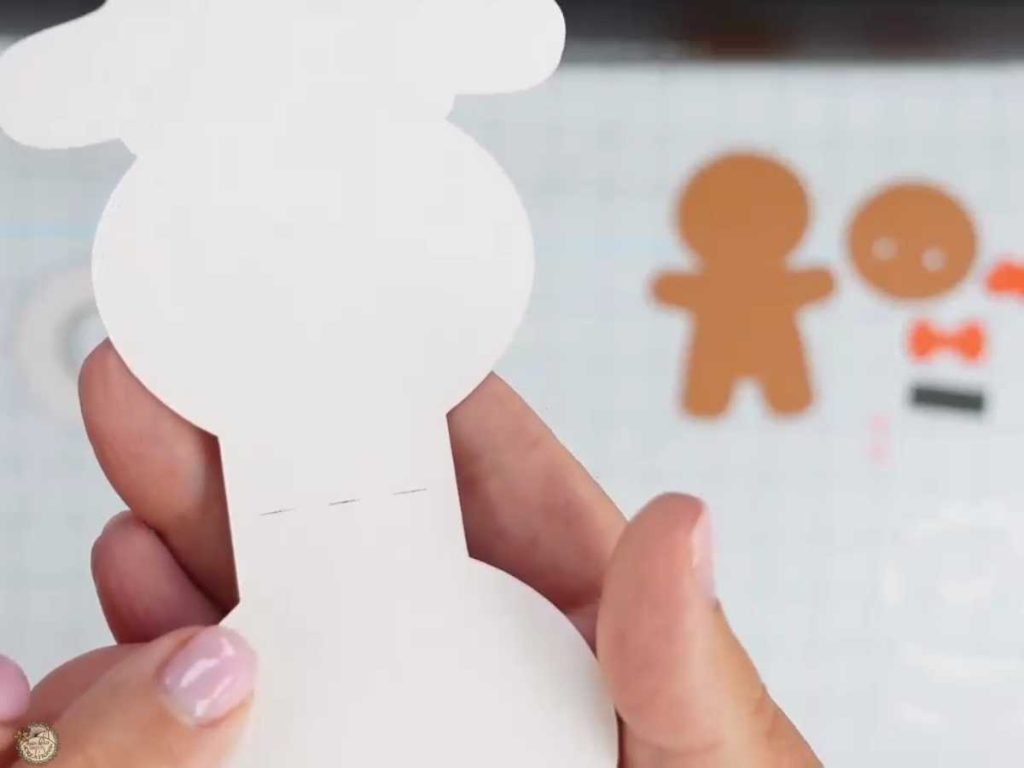
The white gingerbread card base includes a dashed fold line through the center. Select the entire card base and click Attach so the dashed line stays in place when you send the project to the mat.
Cut the Gingerbread Card Pieces
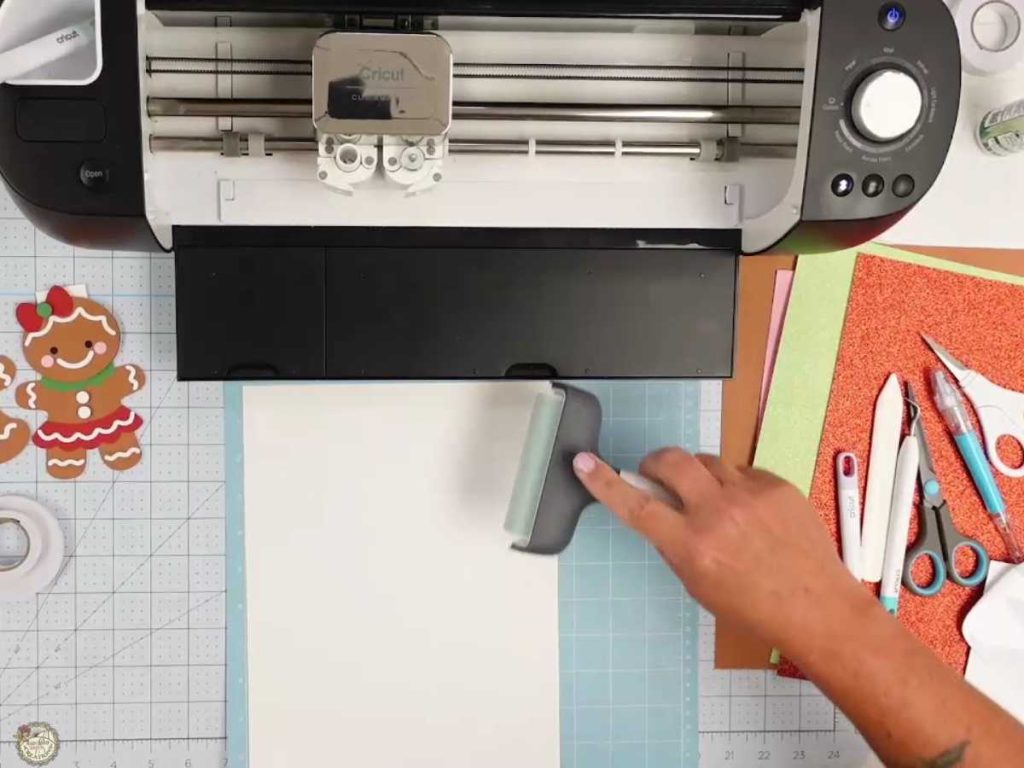
Place your cardstock on the cutting mat and use a brayer to press it down securely. This helps the cardstock stay flat and gives your Cricut a better chance of making clean cuts, especially when you’re working with textured or glitter cardstock.
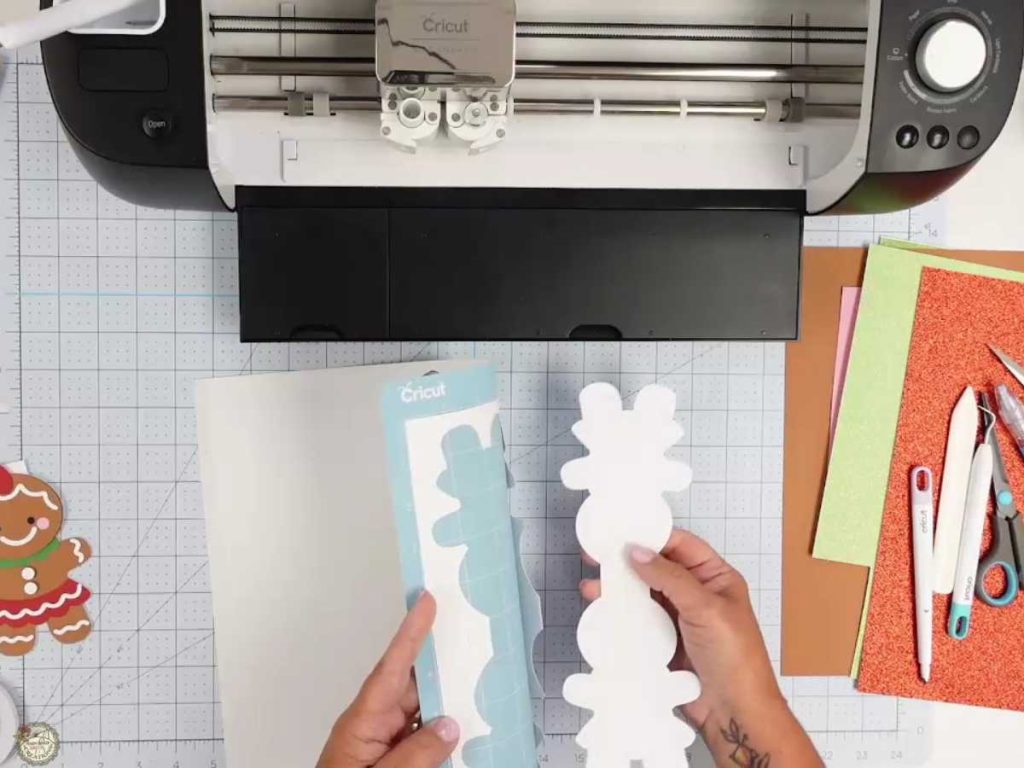
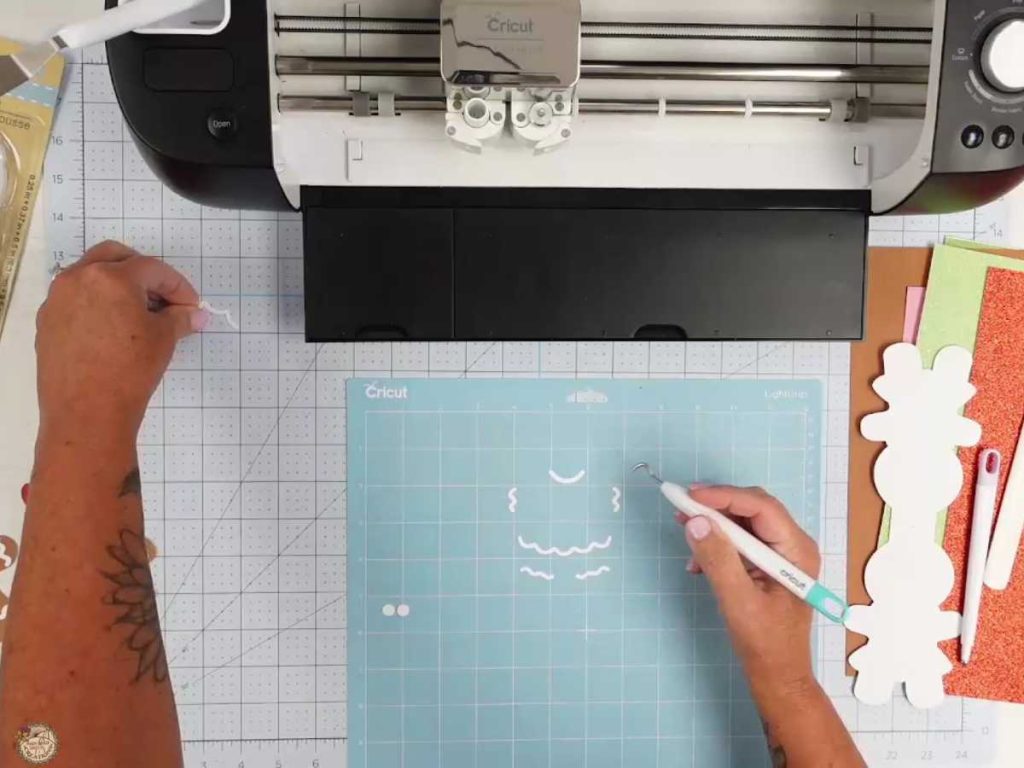
When the cut is finished, turn the mat over and gently bend the mat away from the cardstock. This helps keep the paper from curling while you remove it. I like to keep the small pieces in the same order they came off the mat. Sometimes I use two mats and leave the pieces right where they are until I’m ready to assemble. Other times, I use my hook tool to lift each piece and set it aside in the same arrangement. It saves me from playing “Which tiny white squiggle goes where?” later.
Add the Scoring Stylus and Check the Blade
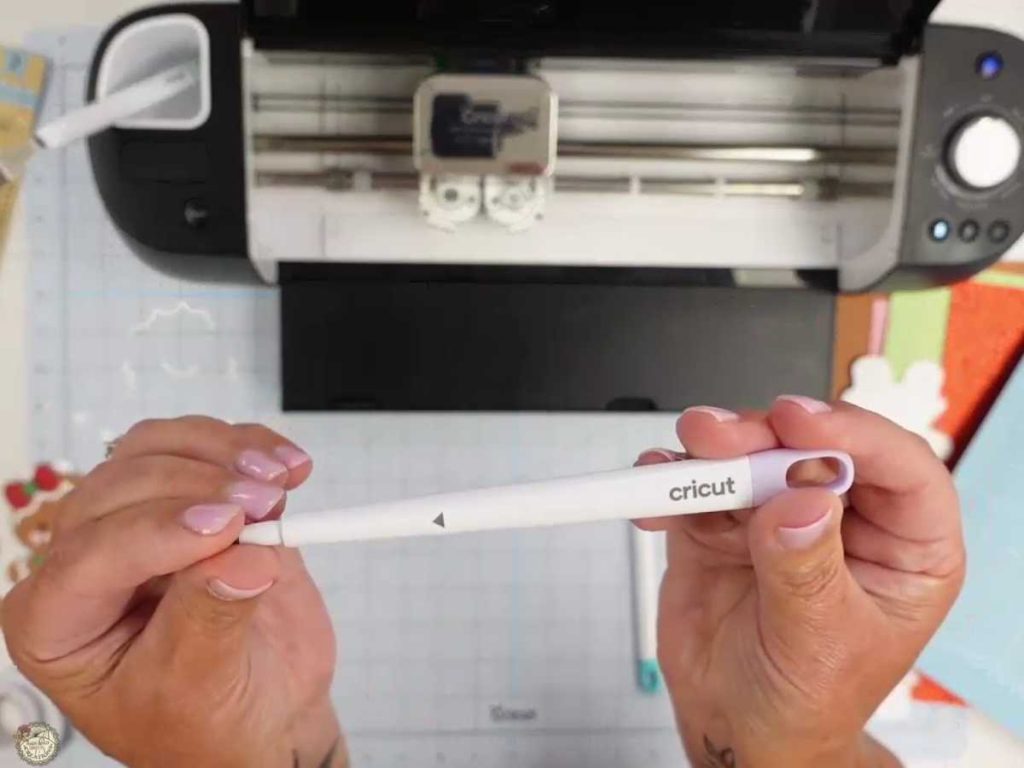
Before cutting the envelope, insert the scoring stylus into Clamp A. Open the clamp, line up the arrow on the stylus, press it down until it is fully seated, and close the clamp. Your Cricut will score the fold lines first and then cut the envelope shape.
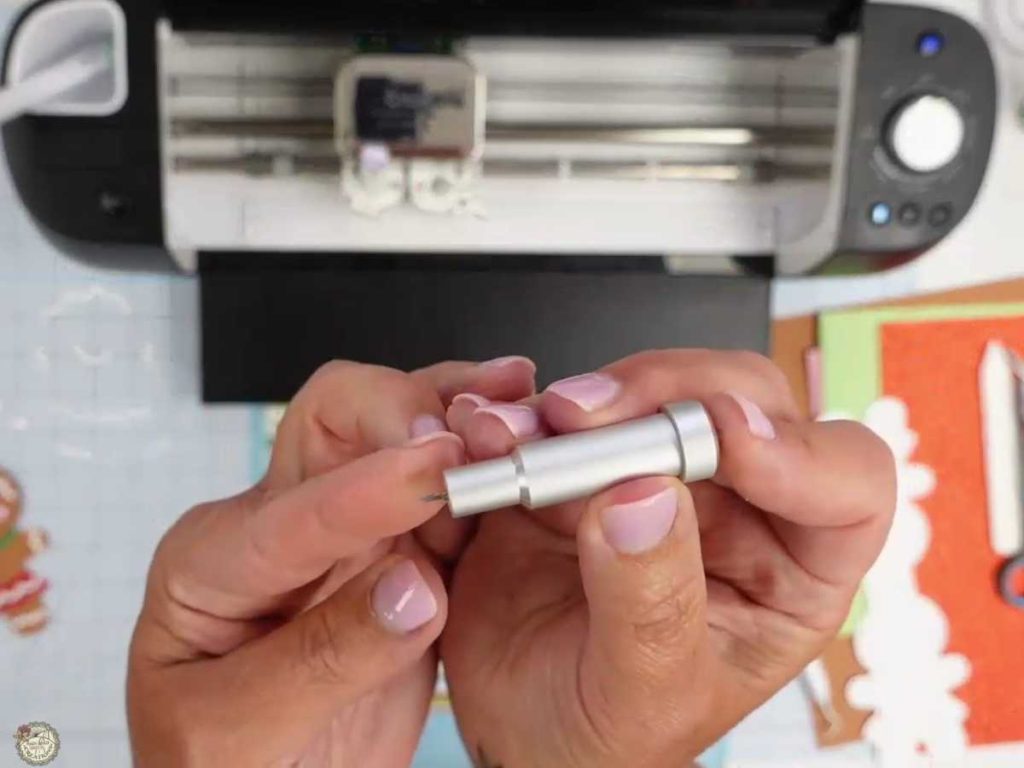
Quick tip: My patterned cardstock had glitter in it, so I checked my blade before cutting the next mat. Remove the blade housing from Clamp B, press the plunger to expose the blade, and make sure no glitter or tiny cardstock fibers are stuck around it. Those little bits can affect your next cut, and apparently glitter likes to travel.
Fold and Build the Gingerbread Card Base
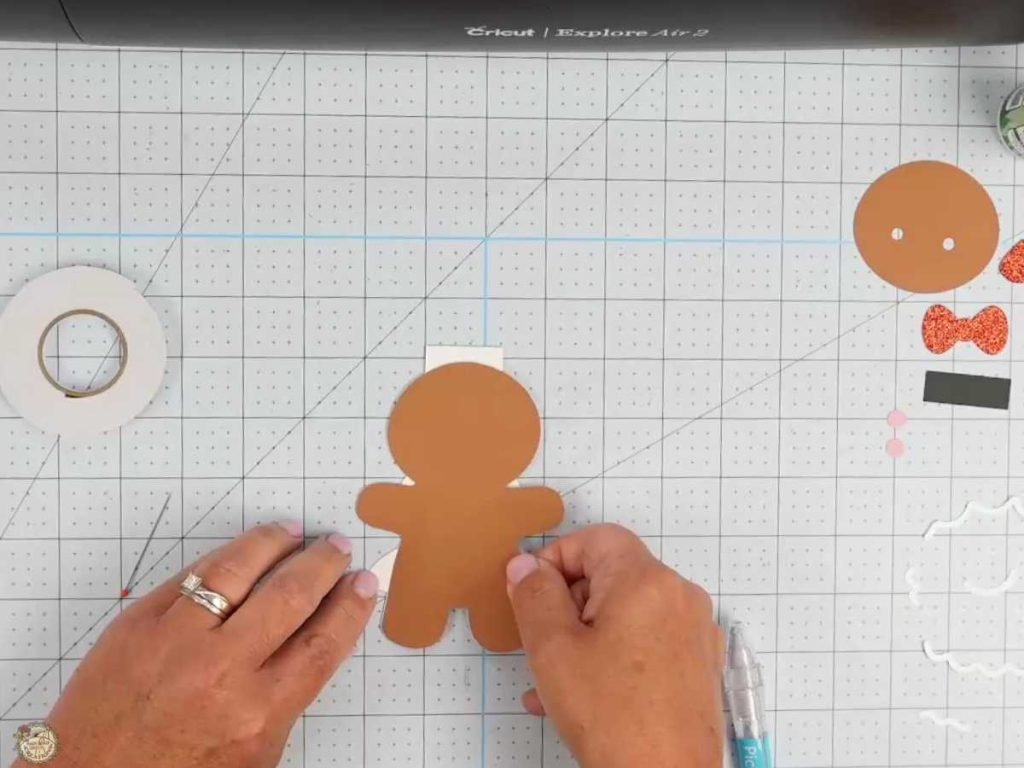
The dashed line cut into the gingerbread card base shows you exactly where to fold the card. Fold along that line, then use a bone folder or scraper to press the fold and make it nice and crisp. Next, add glue to the back of the gingerbread body layer and line it up on the front of the folded card base.
Add the Gingerbread Face and Details
Add foam tape to the back of the gingerbread head, then attach it to the card base to give the face a little extra dimension. Before pressing it down, make sure any pieces that tuck underneath the head, such as the girl’s collar, are already glued in place.
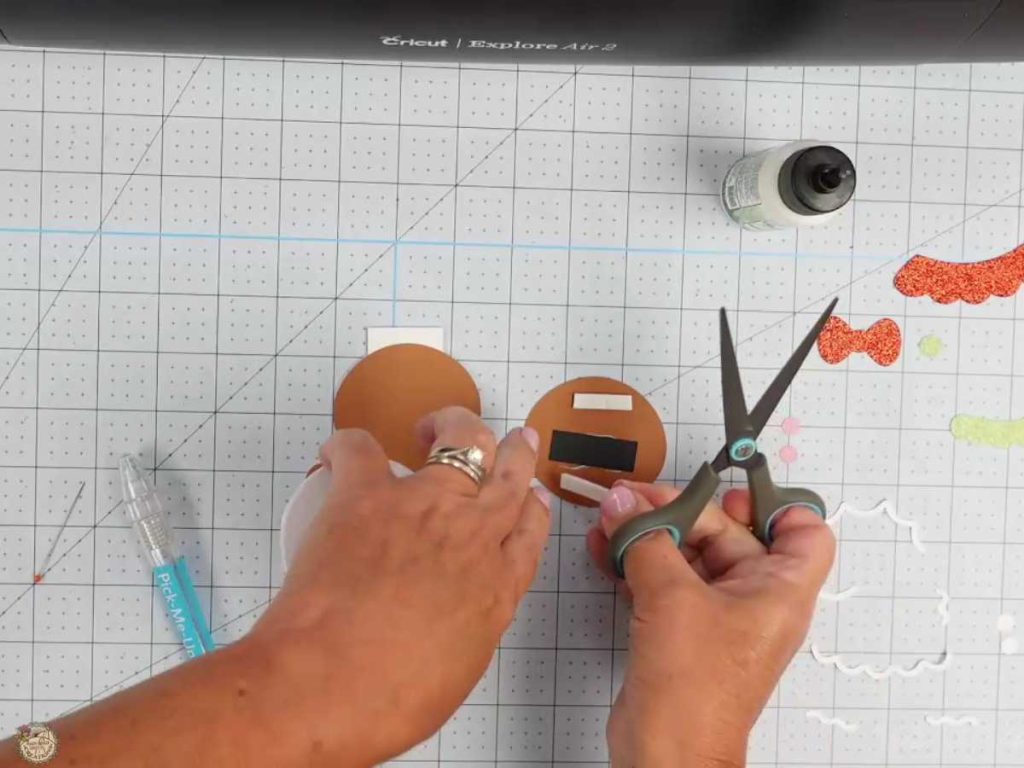
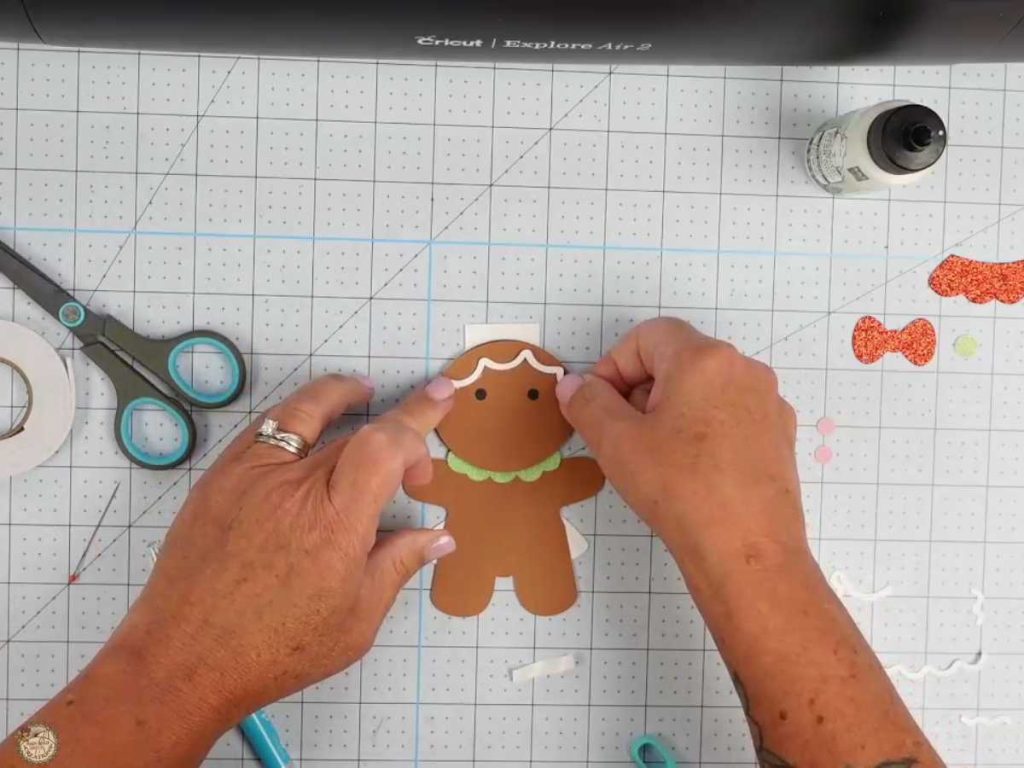
Next, glue the white icing pieces, and continue on with the rest of the details. I used foam tape behind the head, the buttons, and the small center dot on the bow.
The full video tutorial shows where each small piece goes and where I used glue and the foam tape.
Finish the Gingerbread Girl Details
Glue the remaining icing pieces onto the skirt, then add the bow, cheeks, buttons, and any other small details. I used foam tape on the buttons and the center of the bow to give those pieces a little extra lift.
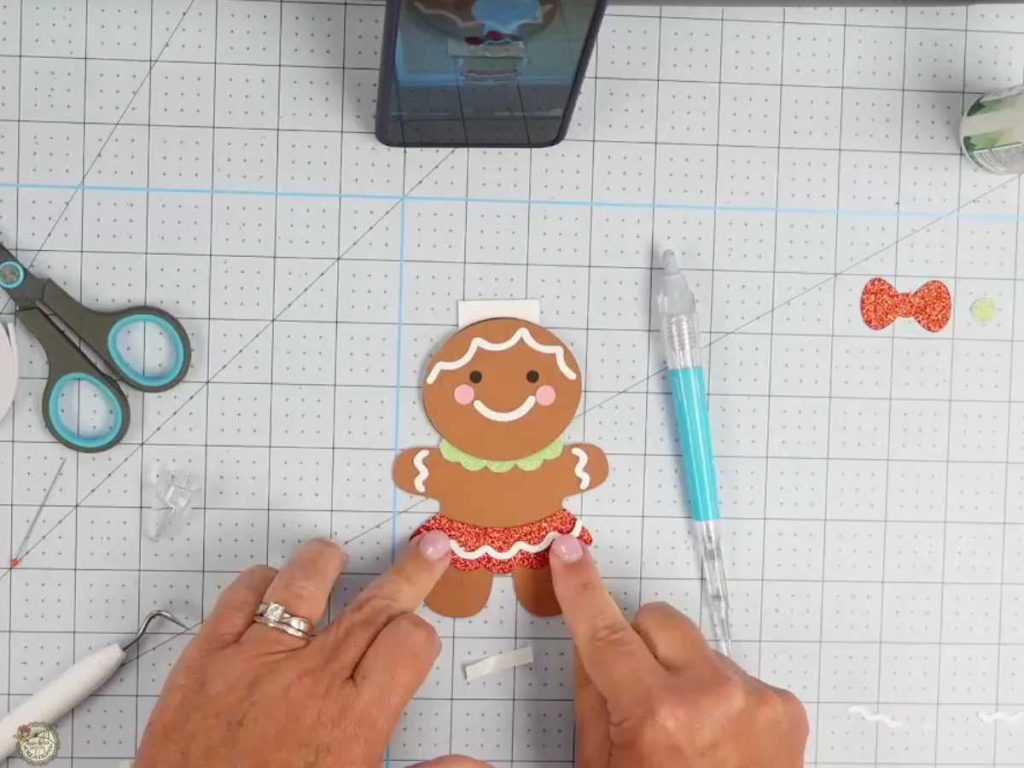
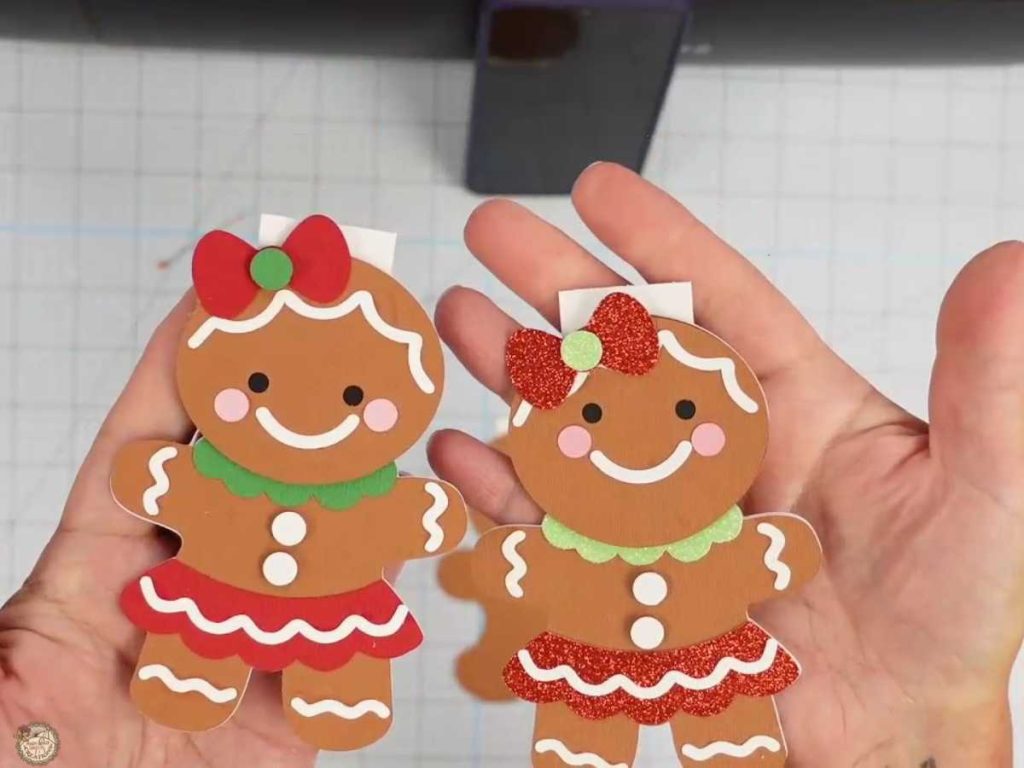
And here’s your reminder that handmade projects do not have to be perfect to be cute. While I was assembling the cards, I realized I had glued one girl’s head on upside down. She still looked adorable, just a little rounder than the other one, so clearly she had been sneaking extra cookies. Honestly, I’m not judging. It’s Christmas… well, close enough. Haha.
Finish the Gingerbread Boy and Fold the Envelope
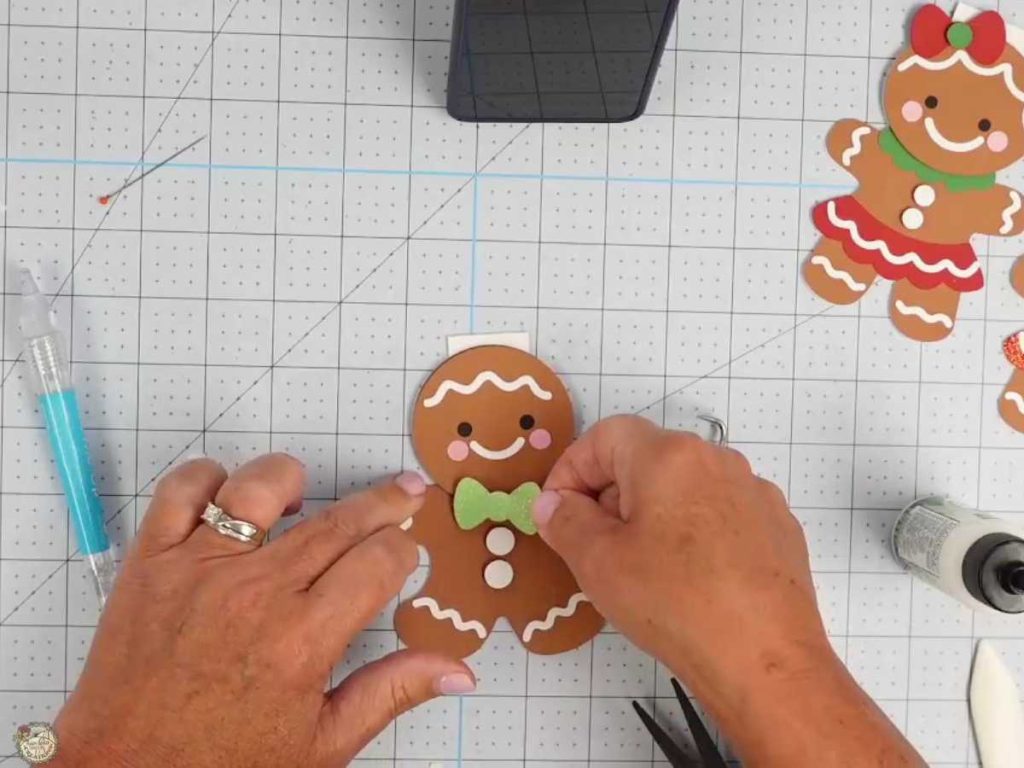
Glue the remaining details onto the gingerbread boy, including the icing pieces, buttons, and bow tie. I used a little foam tape on the center dot of the bow tie. To attach the bowtie, I added glue near the top and foam tape underneath so it would sit evenly against the raised head.
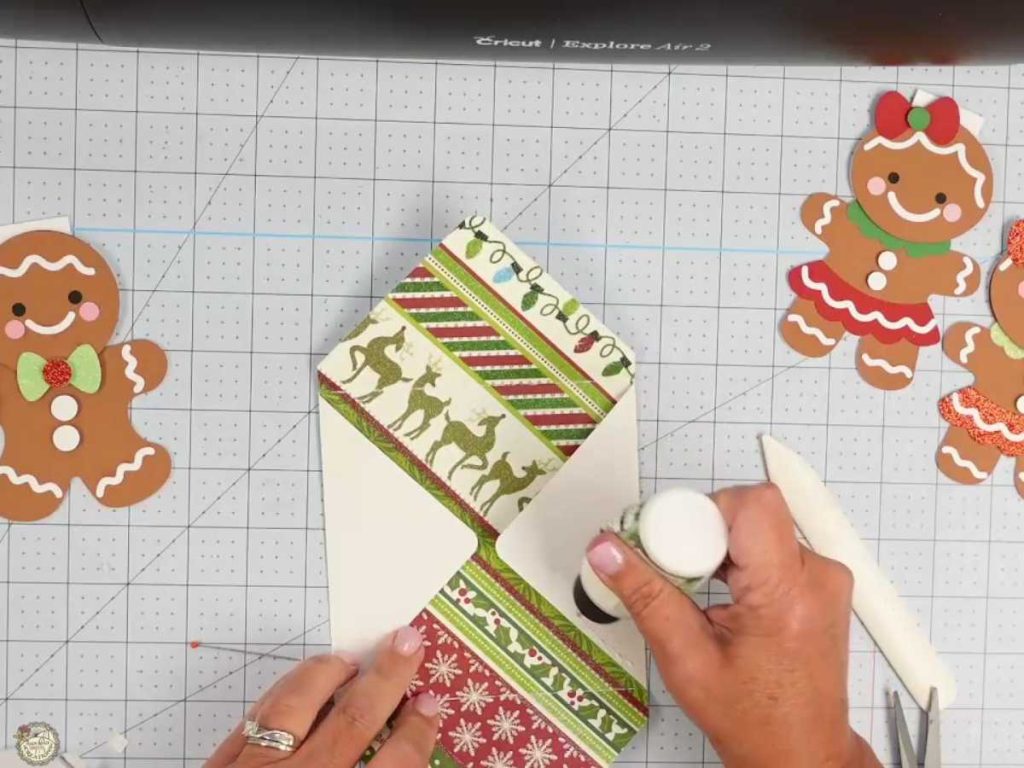
For the envelope, fold along each scored line, then use a bone folder to make the creases crisp. Decide which flap you want on top, add glue to the side flaps, and press everything together until it holds.
Your Finished Gingerbread Christmas Cards
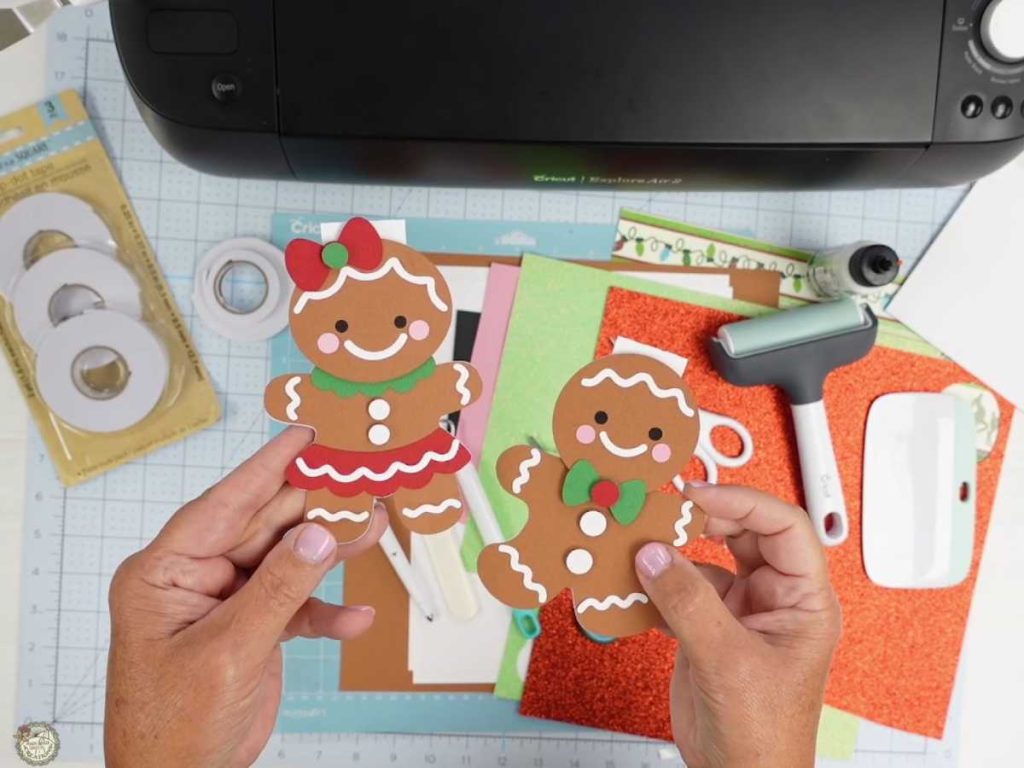
Once everything is glued together and the envelope is folded, your gingerbread cards are ready for a Christmas message. I made a few versions using regular and glitter cardstock, and they are all cute in their own way. The foam tape adds just enough dimension to the faces, buttons, and bows without making the cards too bulky.
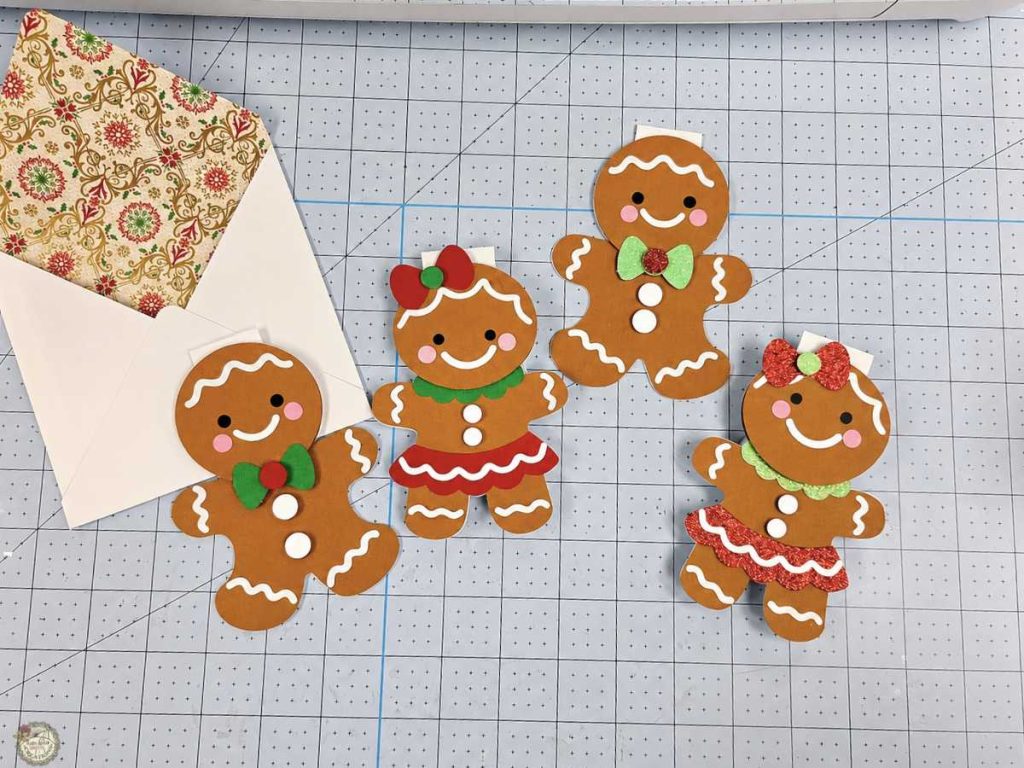
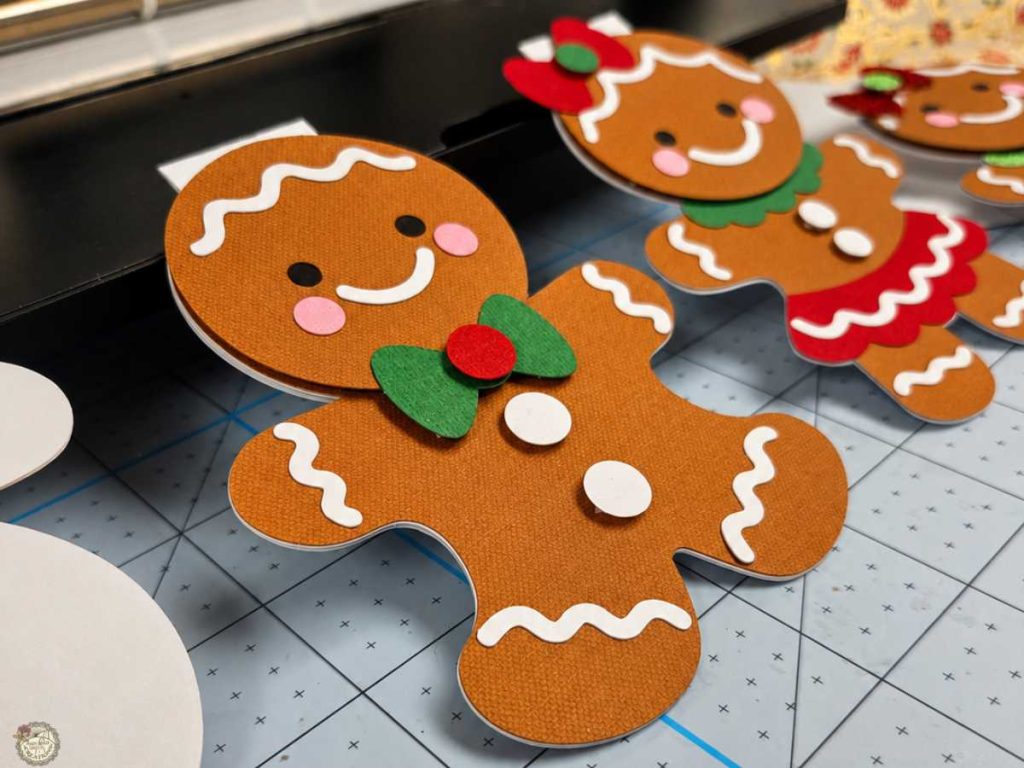
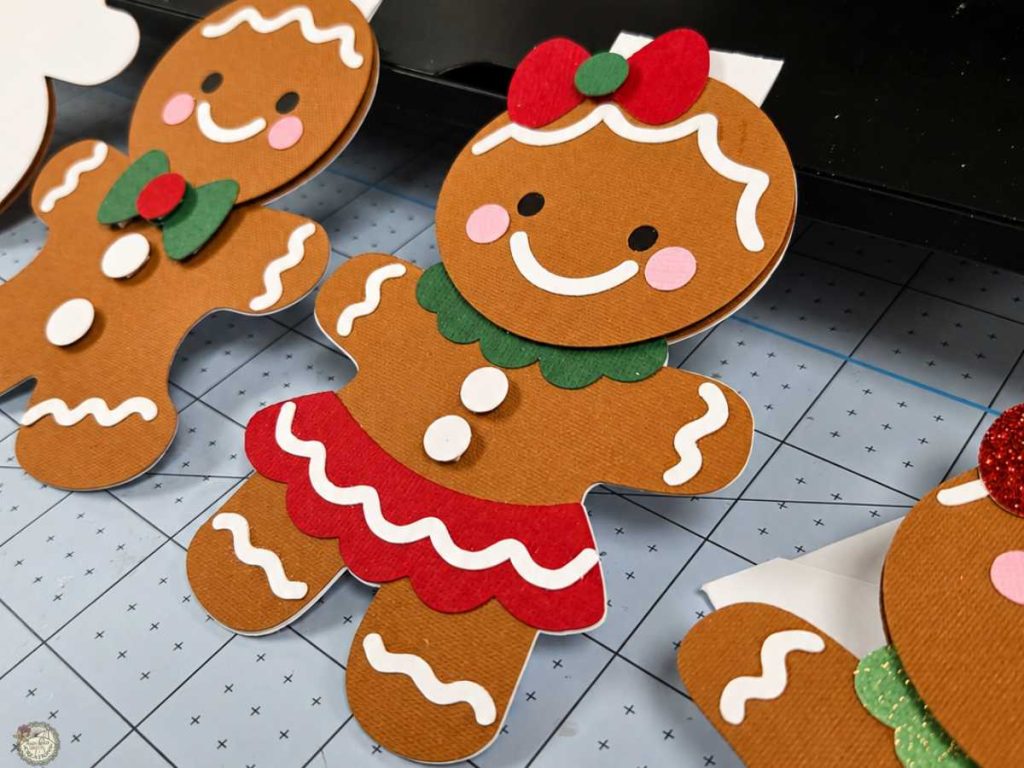
You can keep the colors traditional, switch up the cardstock, or add glitter wherever you need a little extra Christmas sparkle. Just be warned, once the glitter cardstock comes out, apparently every gingerbread needs a fancy outfit.
Watch the Gingerbread Card Video Tutorial
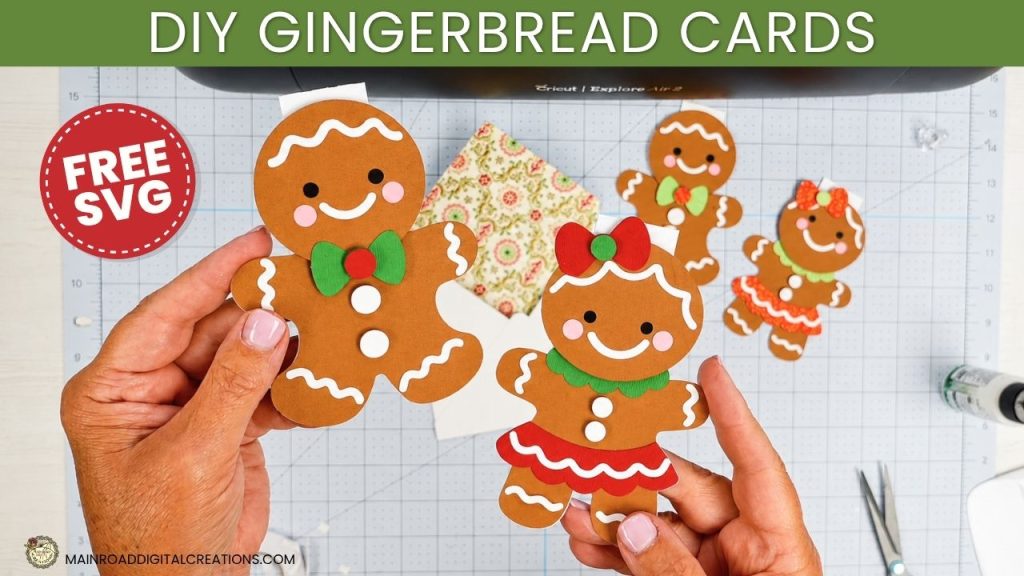
Need a little more help putting your gingerbread cards together? Watch my step-by-step video tutorial below. I’ll show you how to set up the SVG files in Cricut Design Space, cut and organize the cardstock pieces, assemble the gingerbread boy and girl one layer at a time, and fold the matching envelope.
Share your Creations
I can’t wait to see how you use this design in your projects! Be sure to share your creations in our Facebook group.

Are you on Facebook?
Join our group!
We’d love to have you!
All of the Free Files on my website are for Personal and Commercial use. Check out my Terms of Use (TOU) here.
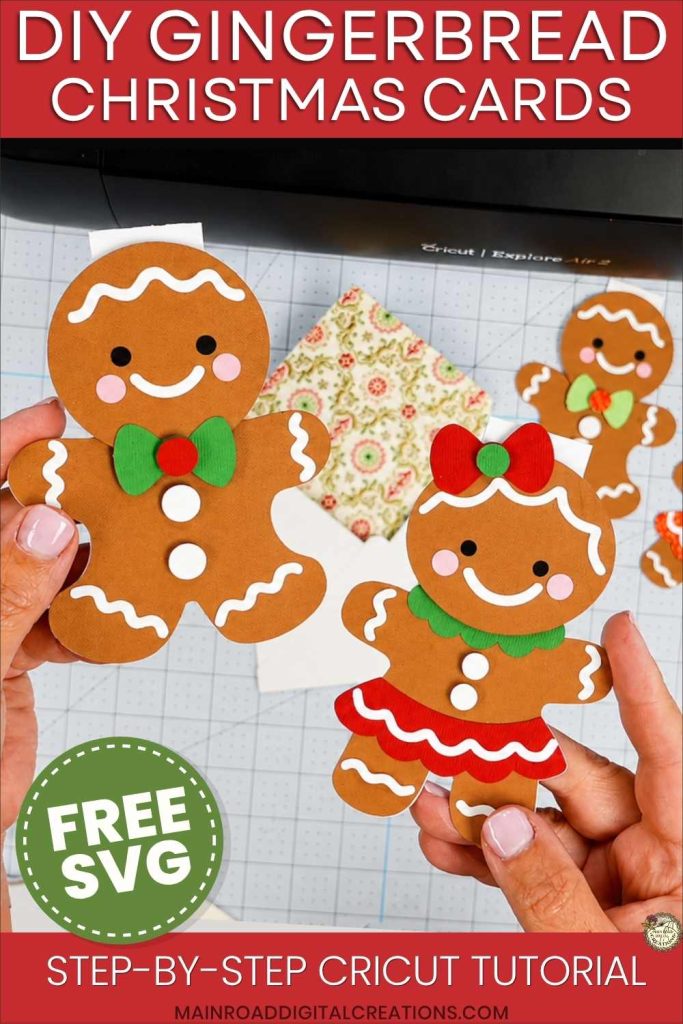
I’d love it if you could take a moment to pin the Free SVG image above to Pinterest. By sharing, you’re helping my business grow, which allows me to keep bringing you the free SVG files you adore. Thanks a bunch for your support. It means the world to me!
Here’s where to find your Free SVG download!
Design #282 – Gingerbread Cards SVG is available in my freebie library. To get the Password, click the button below and Join our Freebie Club!
Love this week’s Free SVG? Try another Fun Cricut Project!

Check out my shop for fun and creative designs!

Join the Creative Fabrica Membership

Fonts, designs, and so much crafty goodness! Over 16 million digital files are waiting! In partnership with Main Road Digital Creations, your first 10 downloads are totally free. After that? It’s just $47 a year (yep, that’s $3.99/month) with full commercial and POD use included. Sign up for Free!
Tracy Thank you for all of the freebies while I am learning.
Are there any tutorials that teach how to put svg images on a t-shirt?
I have learned so much from you and your tutorials.
Thanks again Sam
Hi Sam! Thank you so much for your comment, I appreciate your kindness! As for adding images to a shirt- I have a couple tutorials on adding HTV (iron-on vinyl). Is that what you are looking for? Or are you referring to sublimation? You can scroll through the craft tutorials page here on my website to see what I have. https://mainroaddigitalcreations.com/category/tutorial/
Hope that helps! 😊