
Free Girl Gnome Ornament SVG
DIY Personalized Girl Gnome Ornament with Cardstock and HTV
This post may contain affiliate links. As an Amazon Associate, I earn from qualifying purchases. Please see my privacy policy for full details.
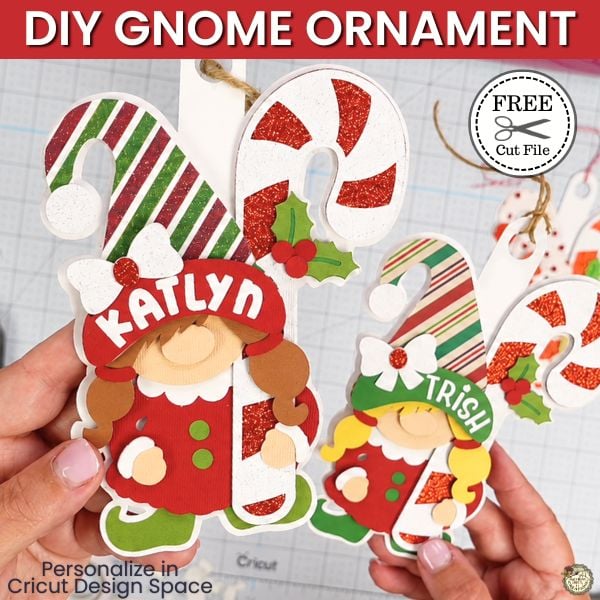
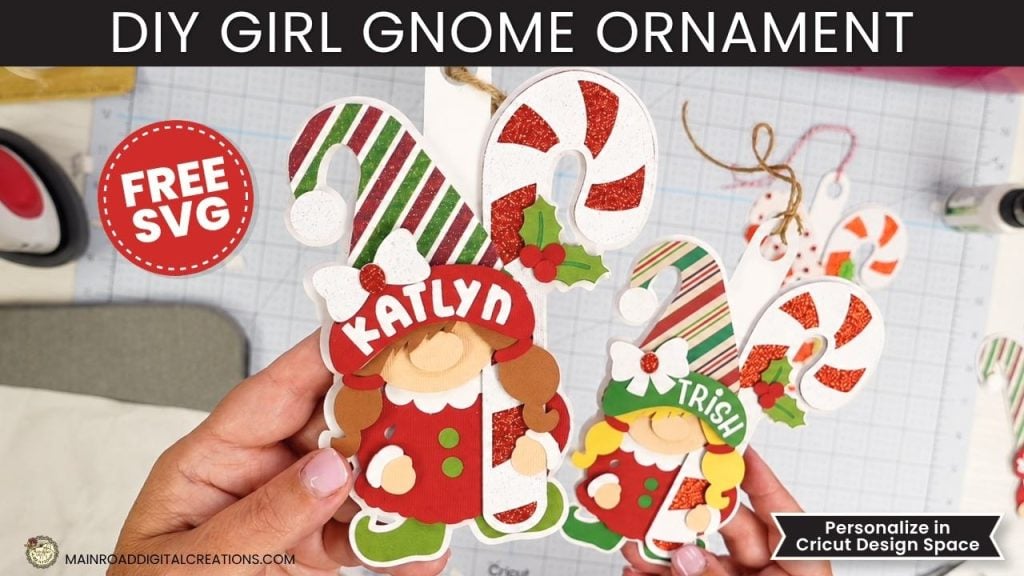
Add another cute Christmas character to your holiday crafting with this Free Girl Gnome Ornament SVG! After sharing my boy gnome ornament a couple of weeks ago, several crafty friends asked if I could make a girl version too. Of course, I had to give him a matching gnome friend, complete with pigtails, a candy cane, and plenty of cute little details to personalize.
Customize Your Girl Gnome Christmas Ornament
One of my favorite things about this ornament is how easily you can change her look. Use brown, blonde, black, red, or any other cardstock color for her hair. You can also change the colors of her dress, shoes, hat brim, buttons, and hair bands to match the person receiving the ornament.
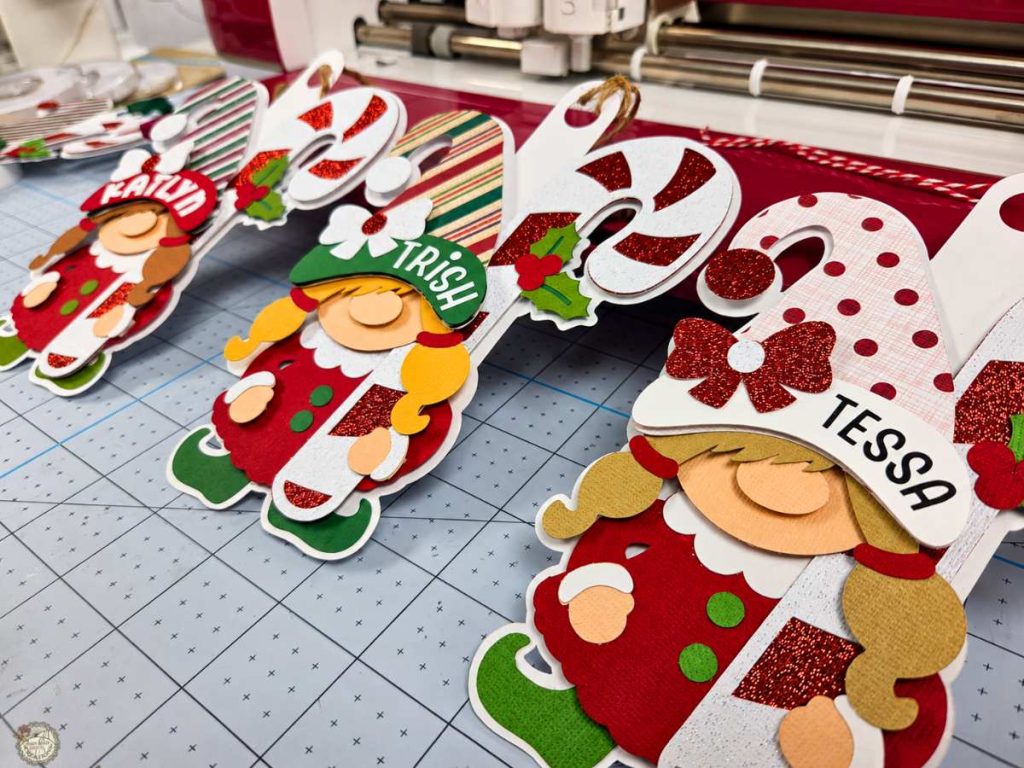
Patterned cardstock gives the hat a completely different look, while glitter cardstock adds extra sparkle to the candy cane, bow, collar, and cuffs. The SVG includes a large bow and a smaller bow. The larger bow leaves room to place a shorter name toward one side of the hat brim. The smaller bow gives you more room for a longer name, the year, or a short Christmas message.
What’s that font?
In the tutorial, the name Trish is written in this font. I made two other ornaments, as you can see in the picture. Katlyn is written in this font, and the font for Tessa is Hayden found in this font bundle.

Supplies For the Girl Gnome Ornament
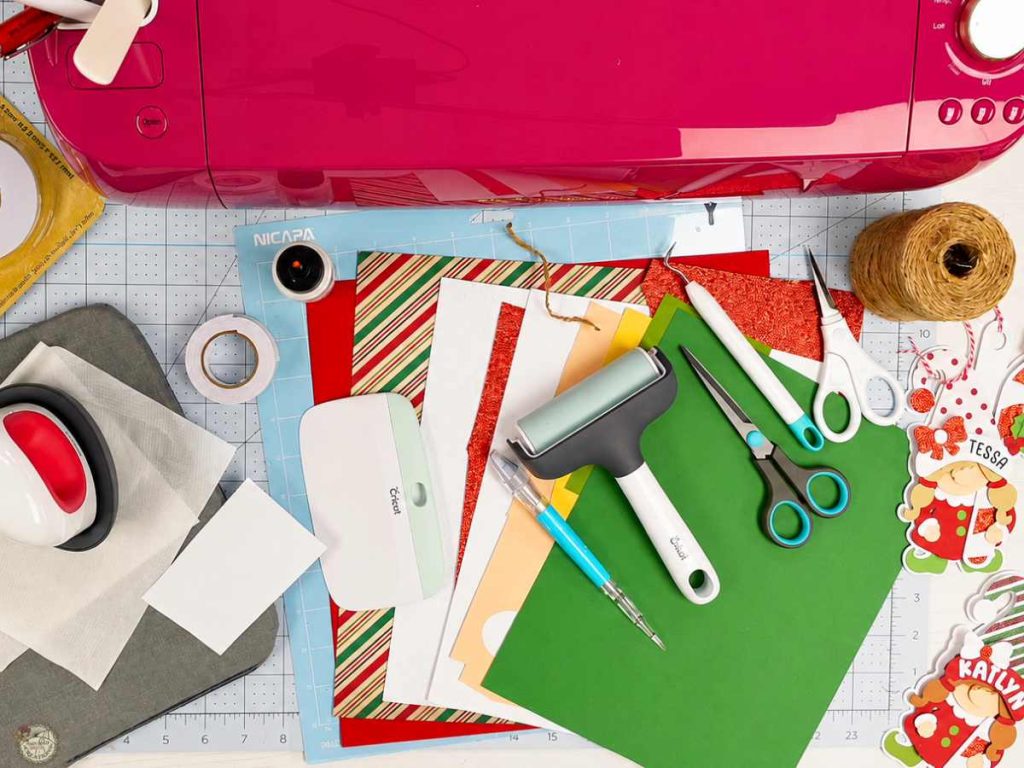
- Cricut – I used my Explore Air 2
- Light Grip Mat
- Brayer
- Cardstock
- My Favorites:
- 110 lb White, White Glitter, Red Glitter, Encore Textured, Recollections, Patterned Cardstock
- My Favorites:
- HTV (also called iron-on vinyl)
How to Make a Personalized Gnome Ornament with Cricut
Upload the Girl Gnome Ornament into Cricut Design Space
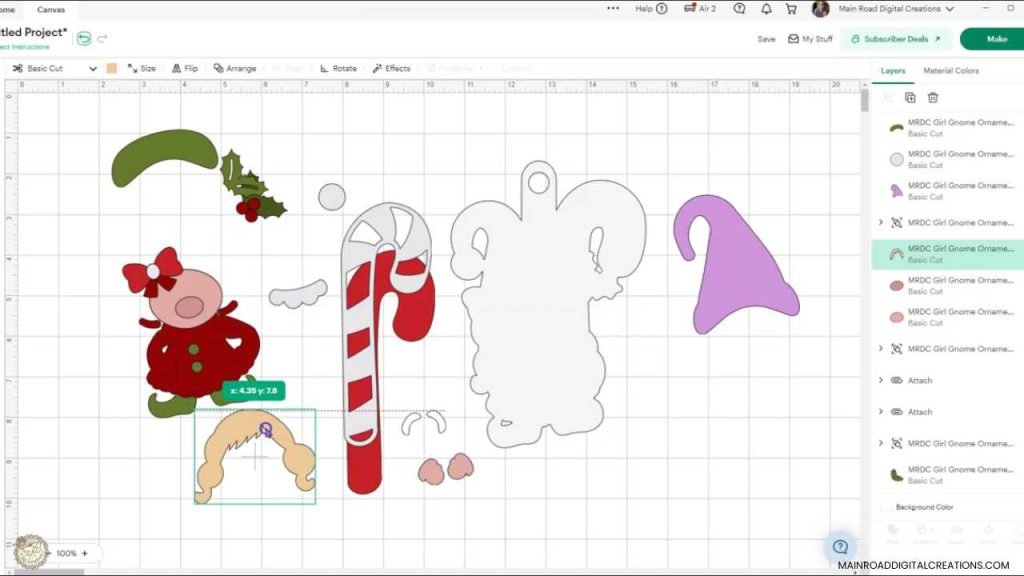
Upload the Girl Gnome Ornament SVG to Cricut Design Space and add it to your canvas. Right-click on the design and select Ungroup to see all the individual layers. The ornament includes one solid backing layer that all the cardstock pieces will be assembled onto.
Add and Curve a Name in Cricut Design Space
Click Text and type the name you want to add to the hat brim. I used this font for this ornament. A non-script font works best because the letters stay separate and are easier to curve and read on the hat brim.
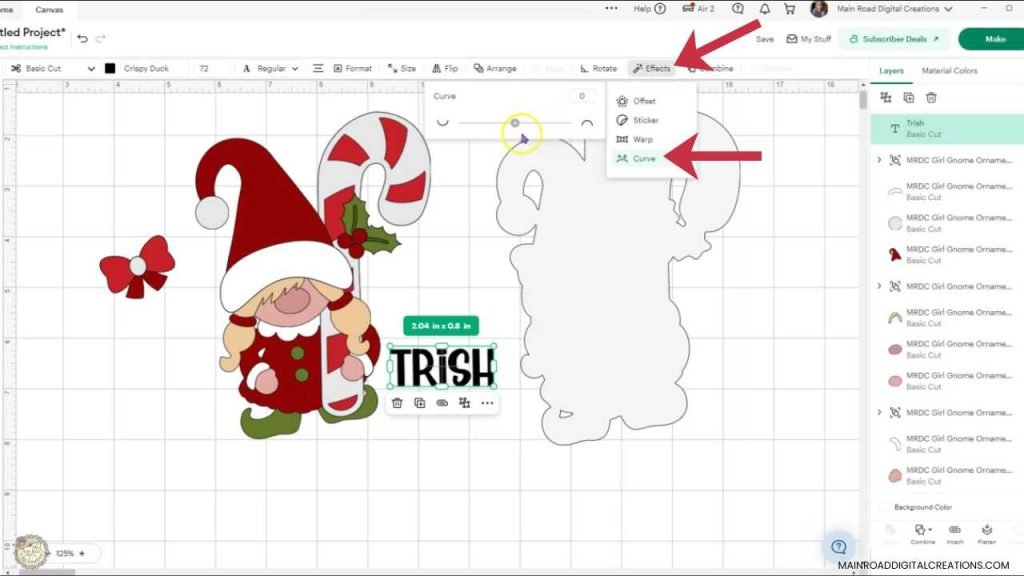
With the name selected, click Effects, then choose Curve. Adjust the curve until the name follows the shape of the hat brim. Resize and rotate it as needed, and use the Letter Space setting under the Format tab if you need to move the letters closer together or farther apart.
Cut the Cardstock
Prepare your mats in Cricut Design Space, choose the correct material setting for each one, and cut all of the cardstock and HTV pieces. You can watch the video tutorial below to see these steps in more detail.
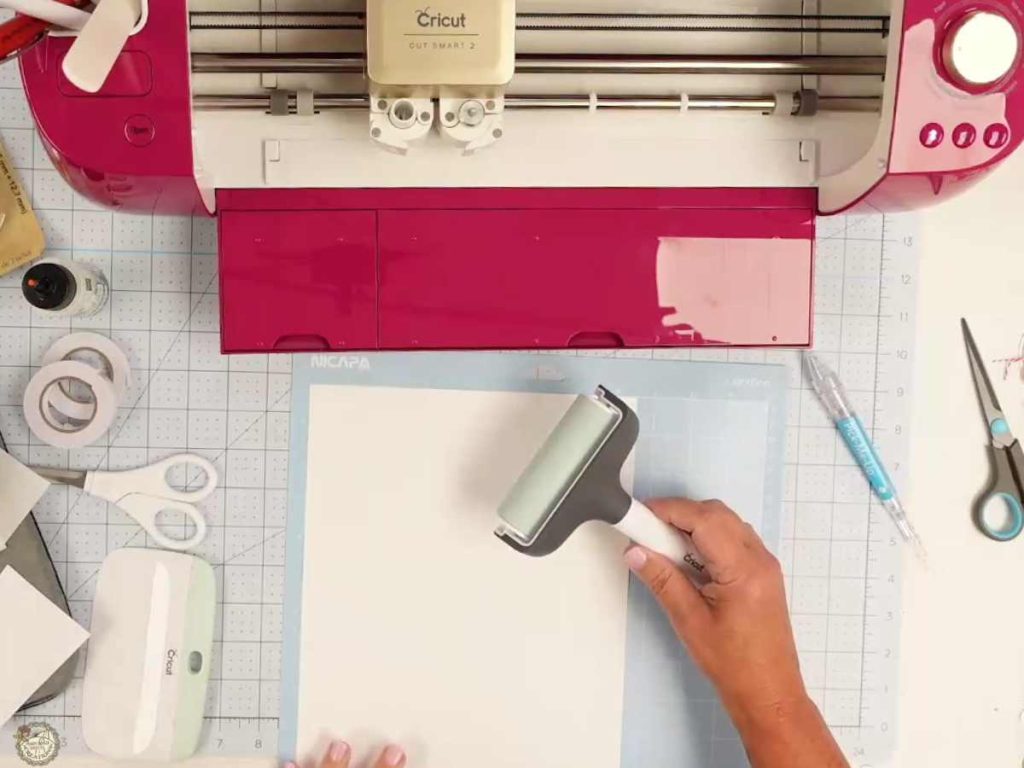
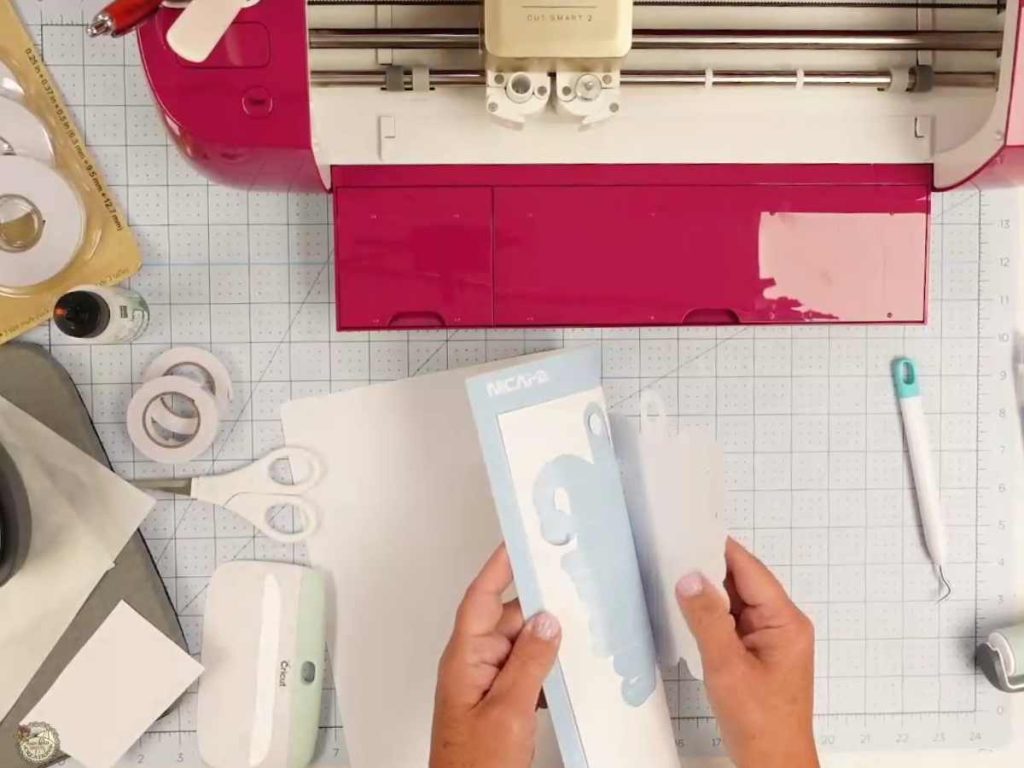
Use a brayer to press the cardstock firmly onto the cutting mat before cutting. When the cut is finished, turn the mat over and gently bend the mat away from the cardstock to help keep the pieces flat instead of curled. Once all the cardstock and HTV is cut, gather everything together and keep the smaller pieces organized before you begin assembling the ornament.
Prepare the HTV Name
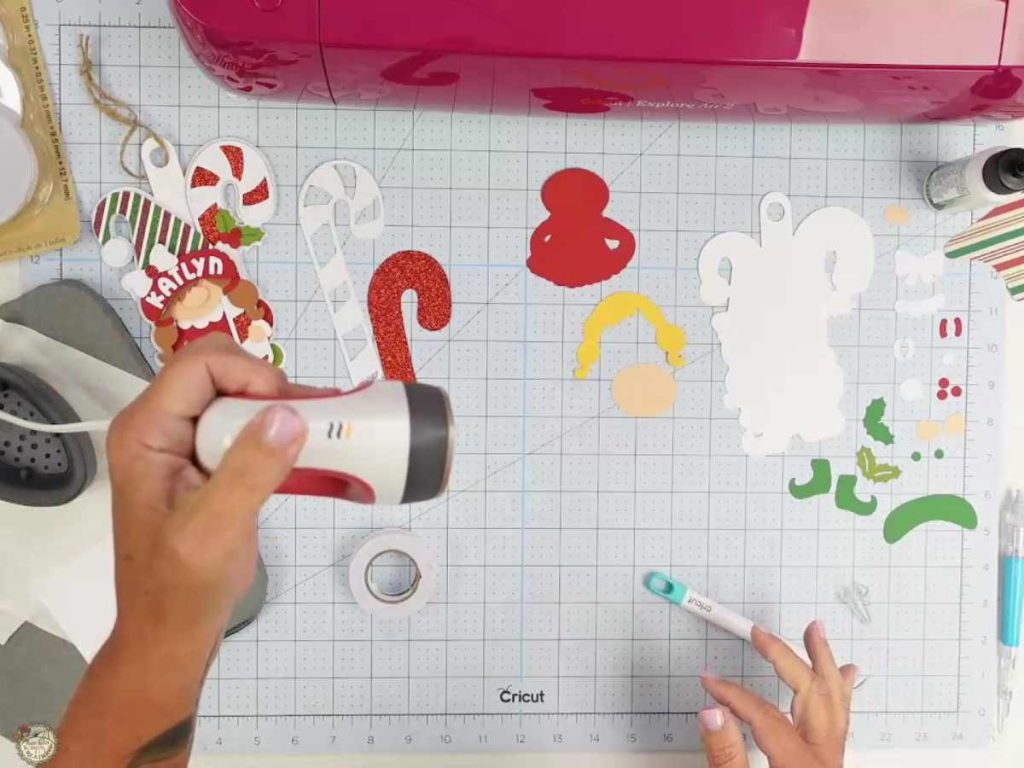
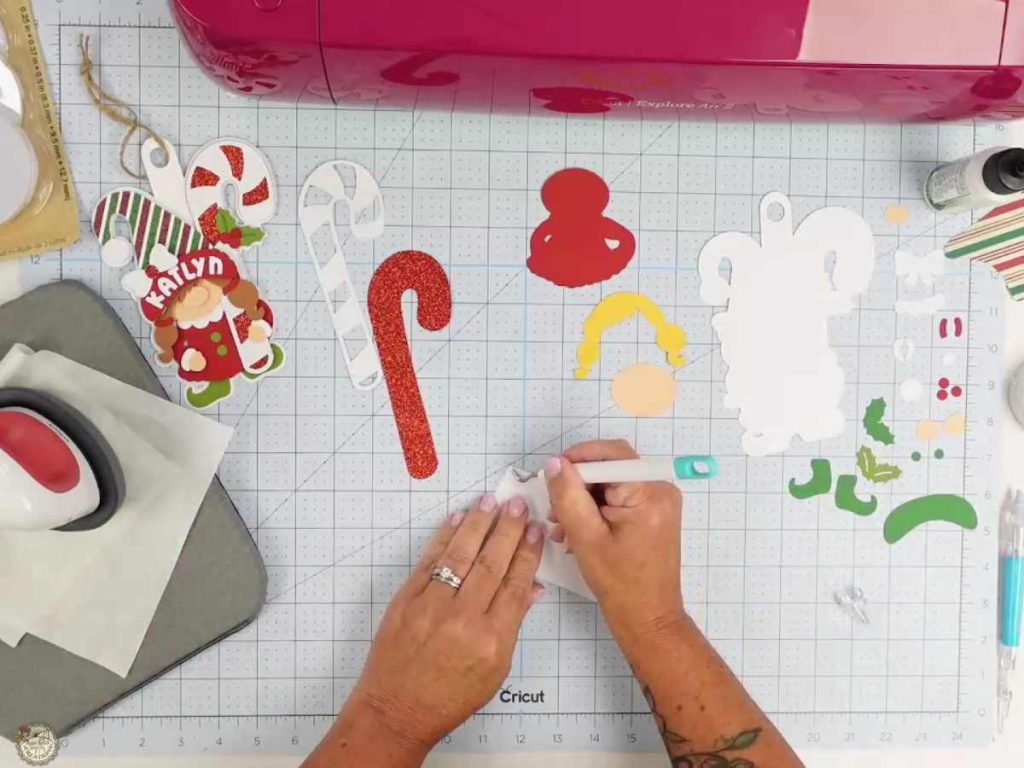
When all the pieces are cut, turn on the Cricut EasyPress Mini so it can warm up while you weed the name. Place the HTV with the matte side facing up, and use a weeding hook to lift a corner to pull the vinyl away from the carrier sheet. Weed the extra vinyl from around the letters and inside any small openings.
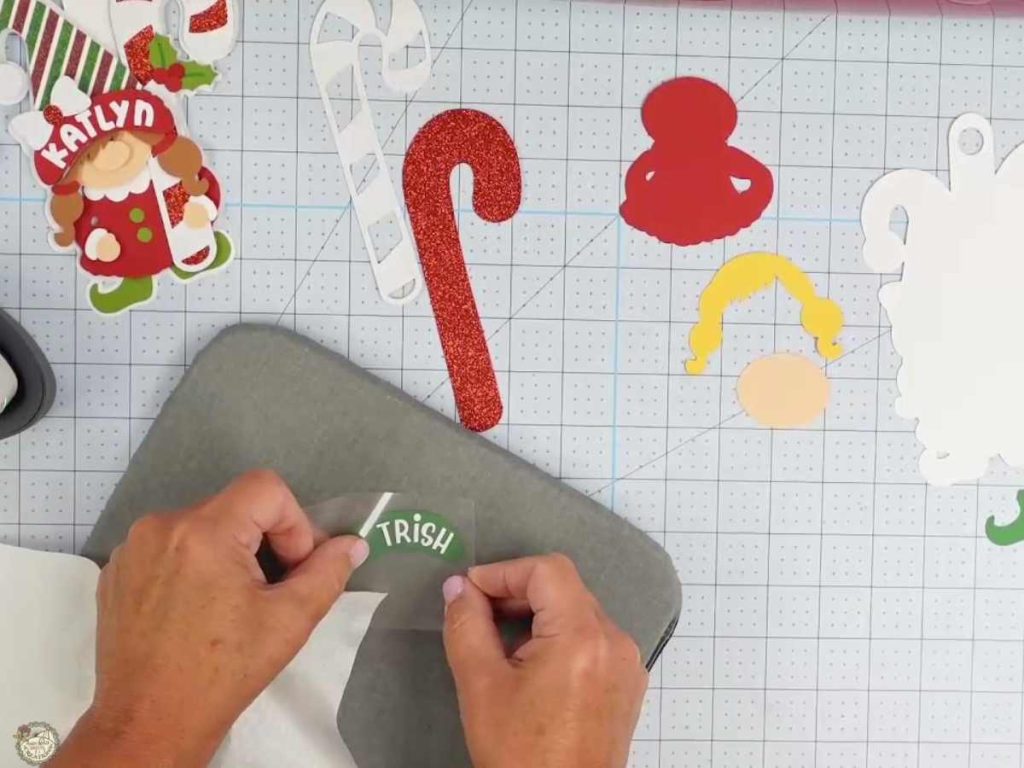
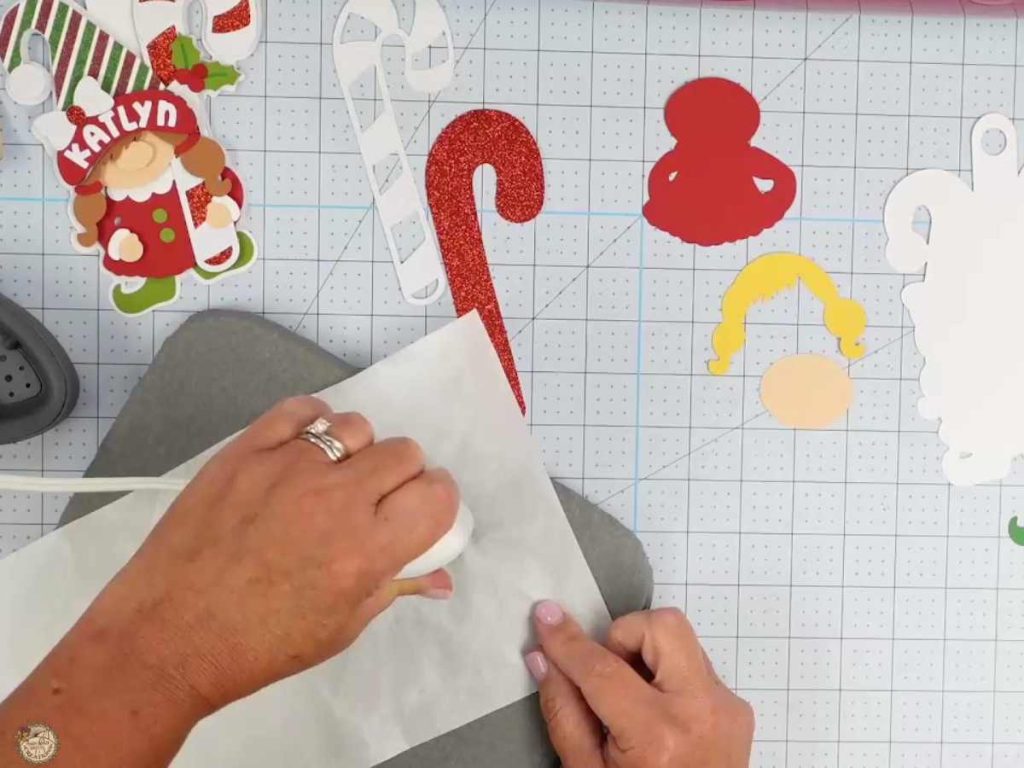
Place the weeded HTV name onto the cardstock hat brim and make sure it is positioned where you want it. Cover it with a Teflon sheet, then use the EasyPress Mini to apply the HTV. Once it has adhered, slowly peel back the carrier sheet and set the brim aside to cool before moving on to assembly.
Assemble the Girl Gnome Ornament
Start by gluing the two candy cane layers together, lining up the cutout details so the glitter cardstock shows through.
Next, begin building the ornament on the solid backing layer. Glue on the shoes, and add foam tape behind selected sections to create dimension and help the overlapping layers sit evenly.
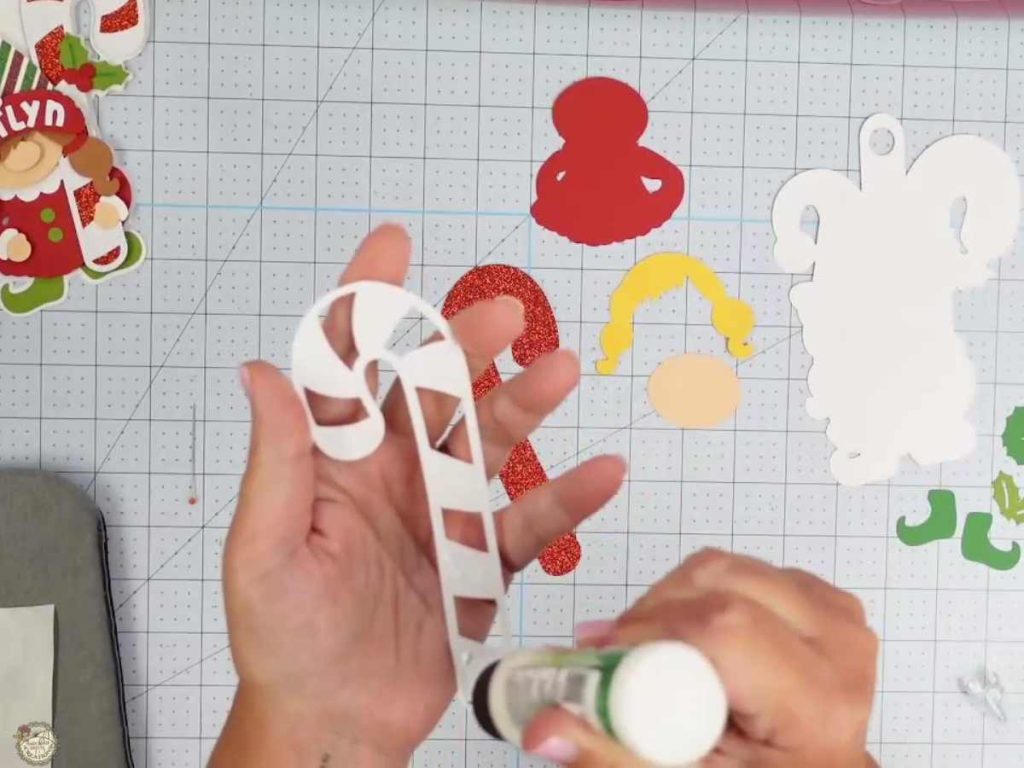
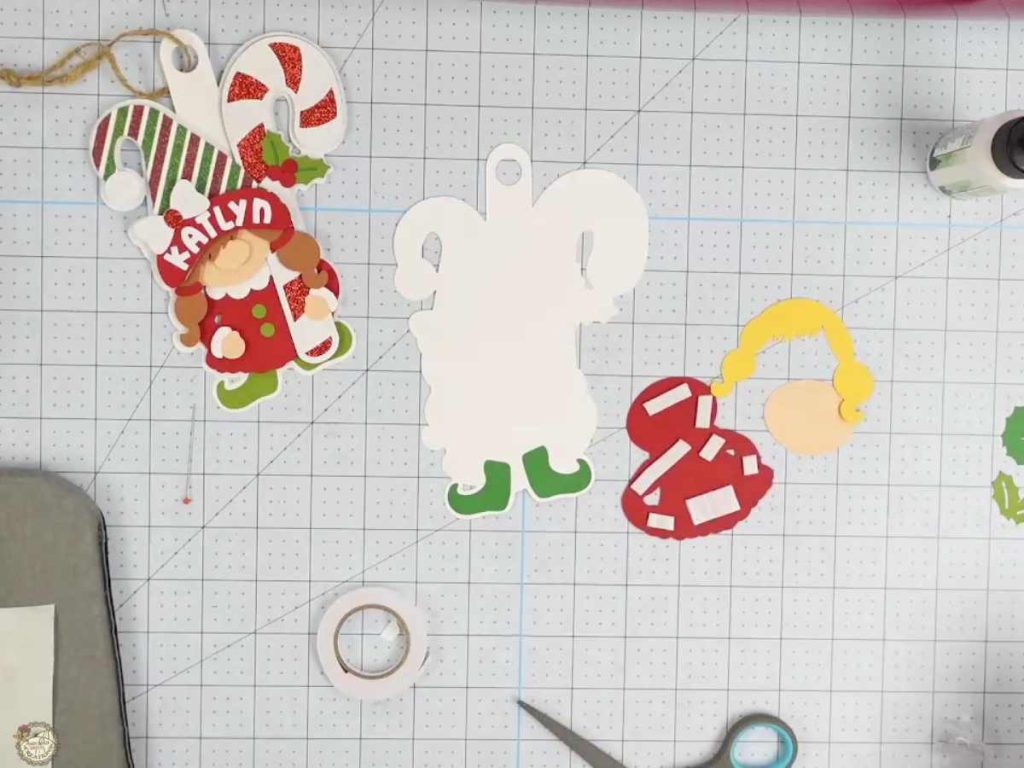
I included a printable assembly guide with the free gnome SVG download to help with the order of the pieces. You can also follow along with the video tutorial below if you need a closer look at the exact placement of each layer.
I like to add a small amount of glue over the foam tape before placing each layer. It gives me a few extra seconds to adjust the cardstock if the piece does not land exactly where I want it the first time.
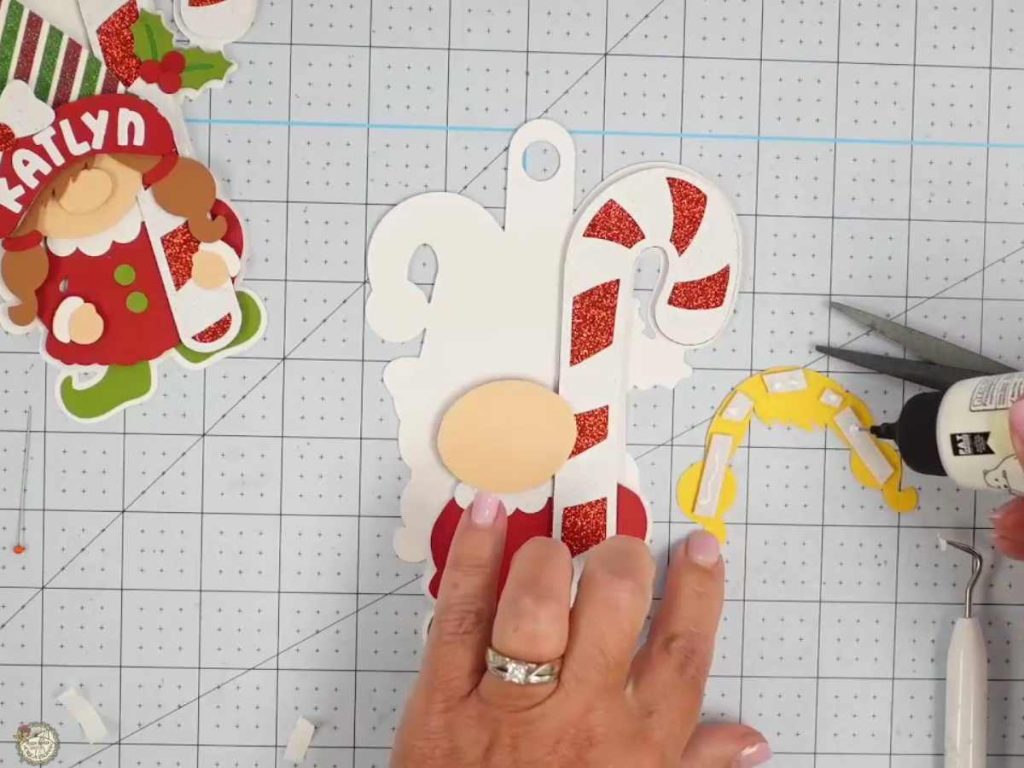
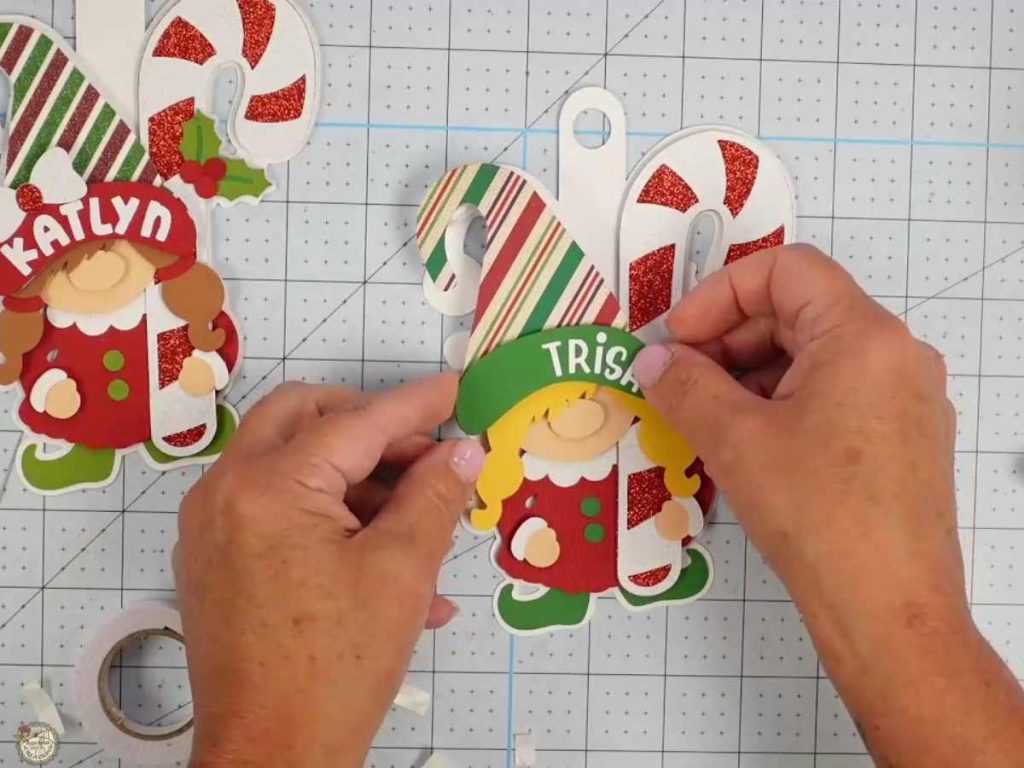
Some sections, especially around the hat, may need two or more layers of foam tape stacked together so the piece sits level with the raised layers underneath.
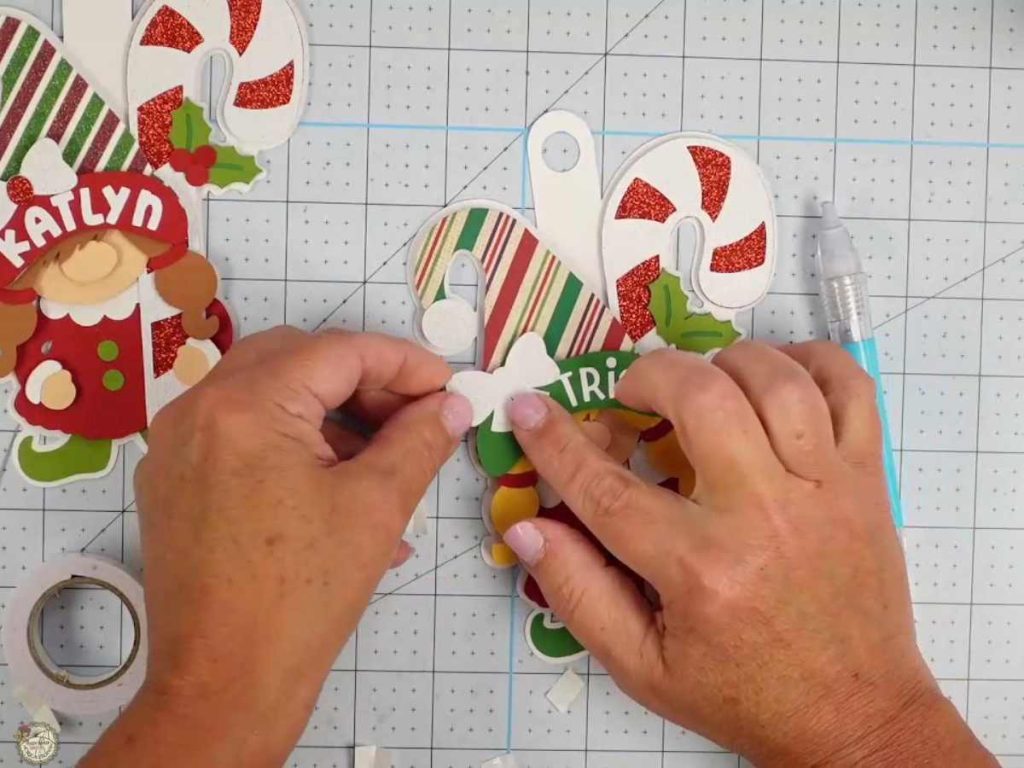
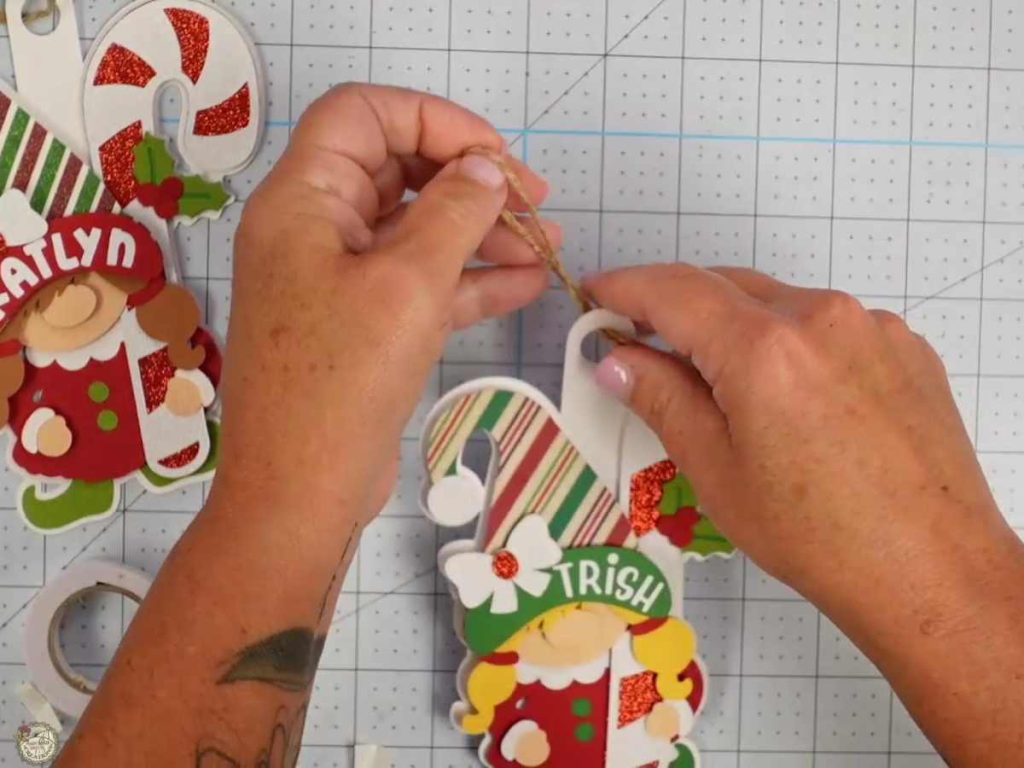
Finish the ornament by adding the remaining small details, including the bow, holly, berries, buttons, and hair bands. Then thread ribbon, baker’s twine, or regular twine through the opening at the top and tie it into a loop for hanging.
Finished Personalized Gnome Ornaments
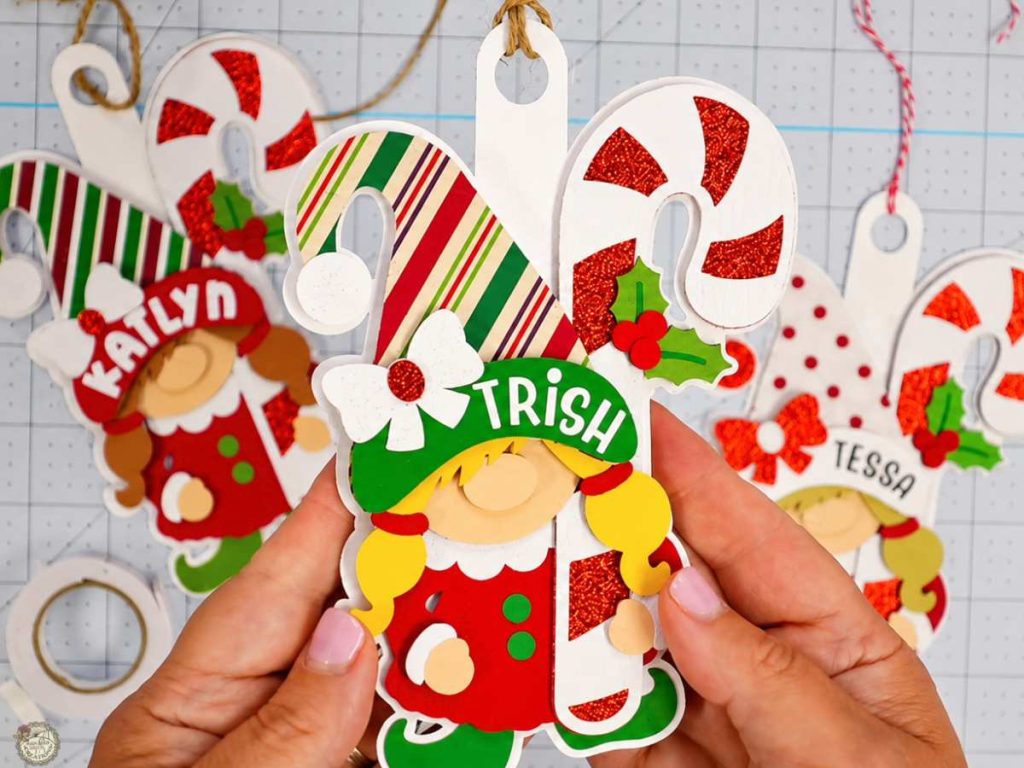
How cute did she turn out?! Your personalized girl gnome ornament is ready to hang. These are perfect for Christmas trees, gift tags, teacher gifts, stocking stuffers, or adding a little handmade something extra to a wrapped present.
Make a Matching Boy and Girl Gnome Ornament Set
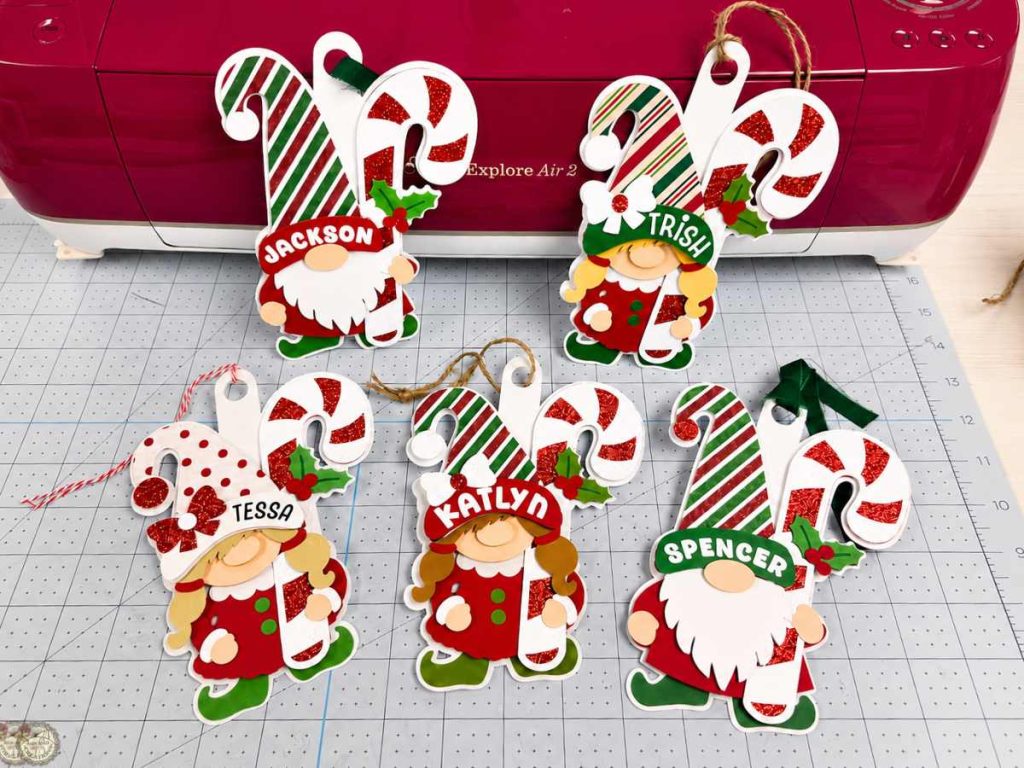
And yes, the boy gnome had to come back for the group photo. 😊 These two designs make such a cute matching set, and you can personalize each one for the people on your Christmas list.
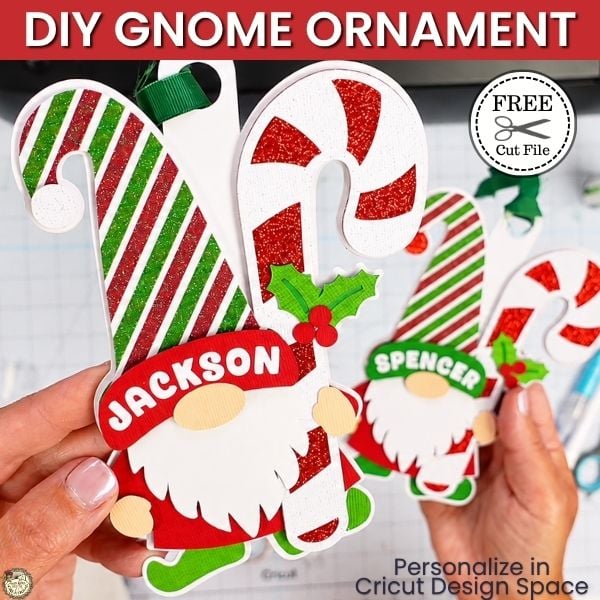
Make the Matching Boy Gnome Ornament
The girl gnome looks even cuter paired with the boy gnome ornament. Personalize both designs with names and change the cardstock colors and patterns to make a matching set.
Watch the Girl Gnome Ornament Video Tutorial
Need a little more help putting your ornament together? Watch the step-by-step video tutorial below. I’ll show you how to set up the Girl Gnome Ornament SVG in Cricut Design Space, add and curve the personalized name, apply HTV to the cardstock, and assemble the ornament with glue and foam tape. You’ll also see where the layers overlap, and when stacking the foam tape helps keep everything level.
Share your Creations
I can’t wait to see how you use this design in your projects! Be sure to share your creations in our Facebook group.

Are you on Facebook?
Join our group!
We’d love to have you!
All of the Free Files on my website are for Personal and Commercial use. Check out my Terms of Use (TOU) here.
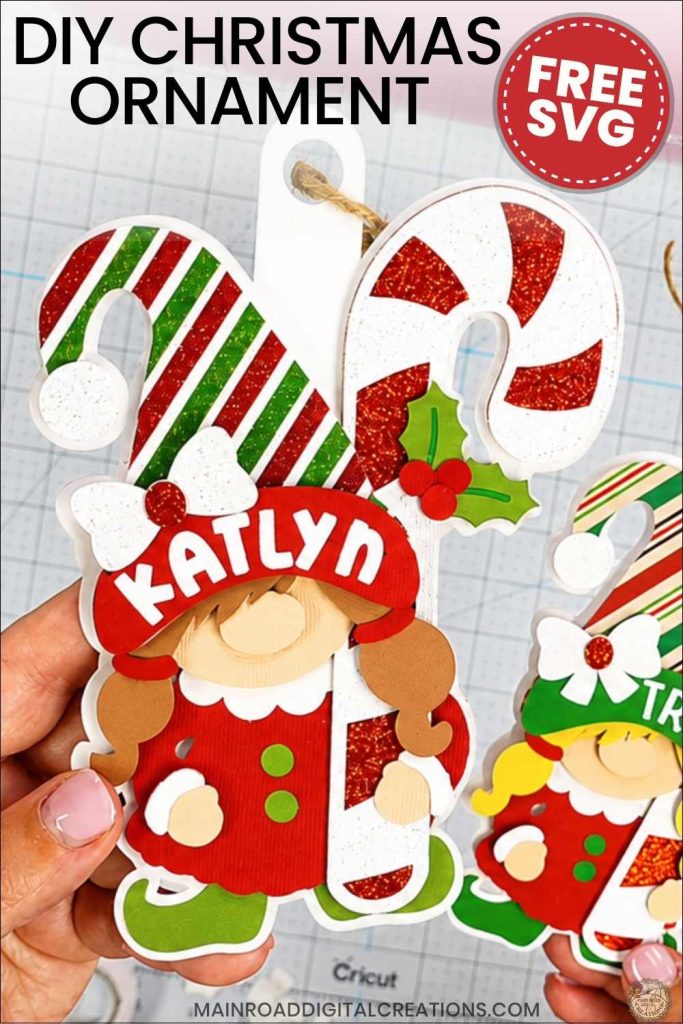
I’d love it if you could take a moment to pin the Free SVG image above to Pinterest. By sharing, you’re helping my business grow, which allows me to keep bringing you the free SVG files you adore. Thanks a bunch for your support. It means the world to me!
Here’s where to find your Free SVG download!
Design #283 – Girl Gnome Ornament SVG is available in my freebie library. To get the Password, click the button below and Join our Freebie Club!
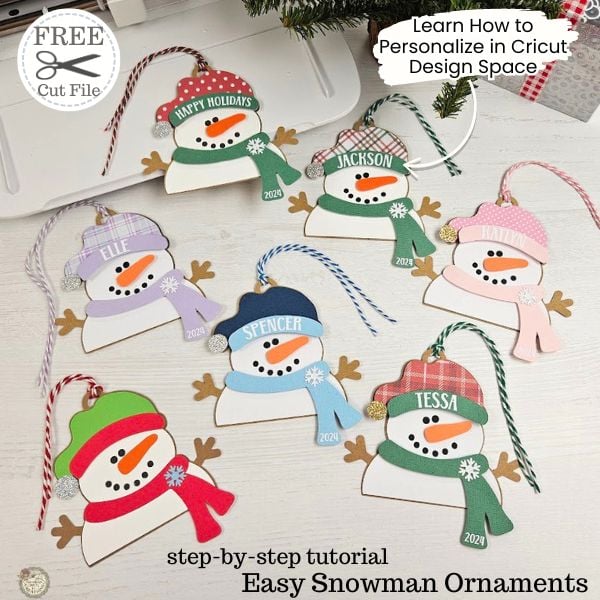
Love this week’s Free SVG? Try another Fun Cricut Project!
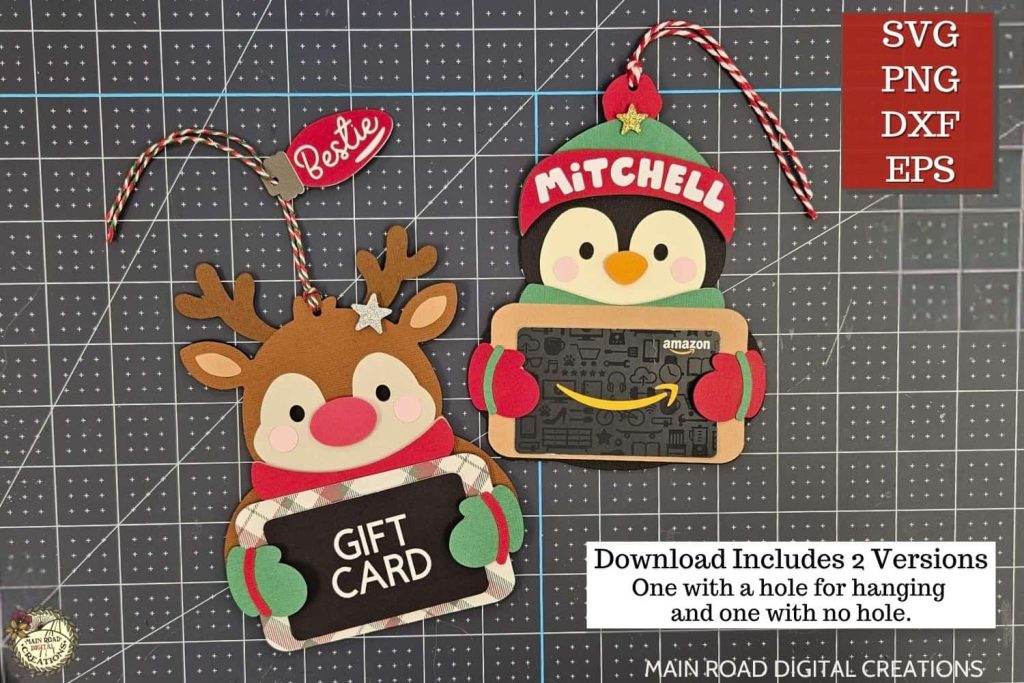
Check out my shop for fun and creative designs you can use in your projects!
Join the Creative Fabrica Membership

Fonts, designs, and so much crafty goodness! Over 16 million digital files are waiting! In partnership with Main Road Digital Creations, your first 10 downloads are totally free. After that? It’s just $47 a year (yep, that’s $3.99/month) with full commercial and POD use included. Sign up for Free!
I can’t find where to download the girl gnome ornament. Can you help me?
Hi Pattie! On the blog post, if you scroll down towards the bottom there is always a section on my website that says
Here is where to find your free SVG download.
Under that is the design number and the link to the freebie library.
This is design #283
You will need to enter the password on the freebie library page. The password is always at the bottom of my emails. 😊
Once in the freebie library you will see the design picture- under that are 2 buttons. One says Download the other says Blog Post.
Click the download button and the freebie will automatically download to your device.
I hope that helps. 😊
Tracy