
Free Halloween Skeleton SVG
DIY Halloween Boo Crew Sign
This post may contain affiliate links. As an Amazon Associate, I earn from qualifying purchases. Please see my privacy policy for full details.
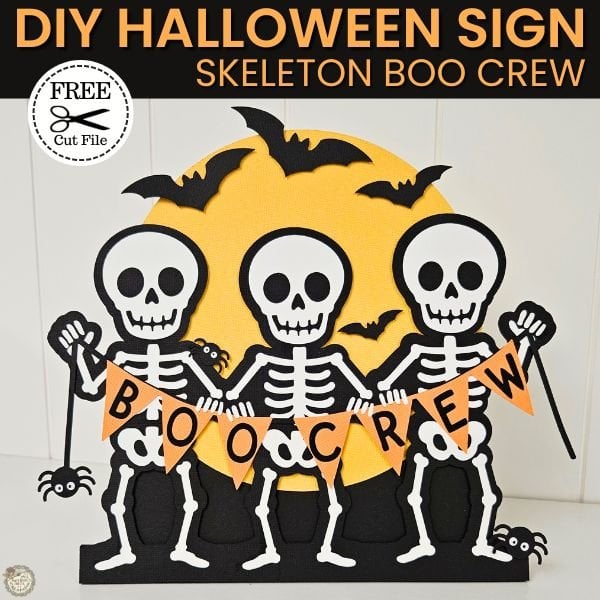
This Free Halloween Skeleton SVG is ready to bring a little spooky fun to your Halloween crafting! The layered Boo Crew sign features three skeletons holding a banner, along with bats, spiders, and a big yellow moon. Made with cardstock and a few HTV details, it even has stands on the back so you can add it to a shelf, mantel, or Halloween display.
A Halloween Sign That Stands on Its Own
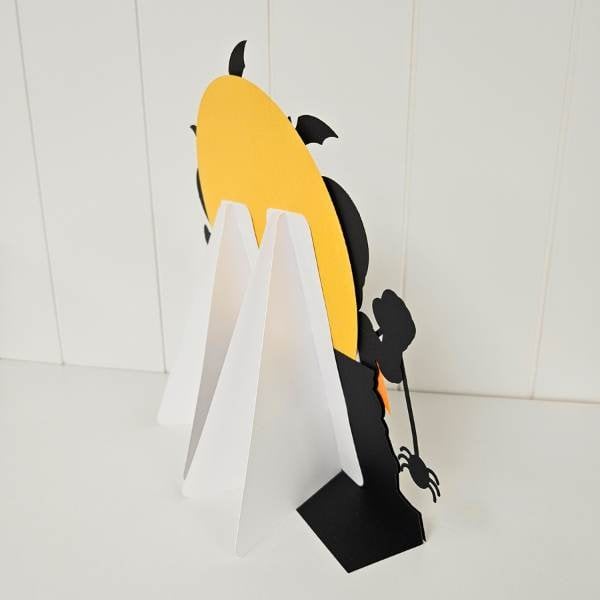
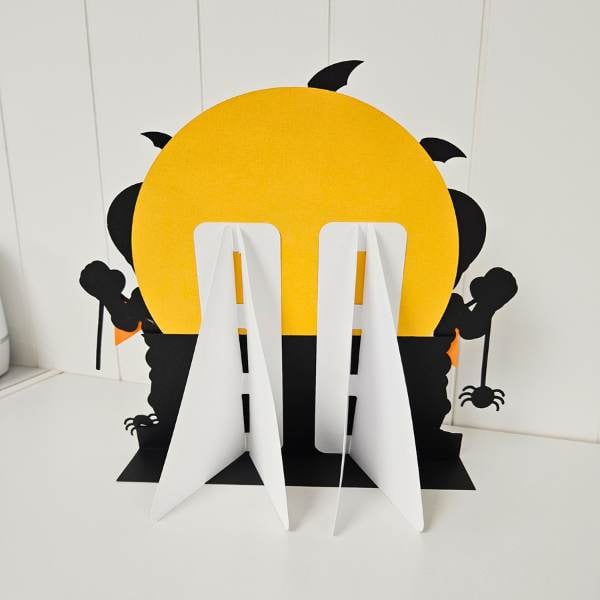
The cardstock stands on the back help keep the sign upright, so you can place your Boo Crew on a shelf, mantel, table, or anywhere your Halloween decorations need a few extra skeletons causing trouble.
What’s that font?
This is the font I used for the phrase Boo Crew.

Supplies for your Halloween Boo Crew Sign
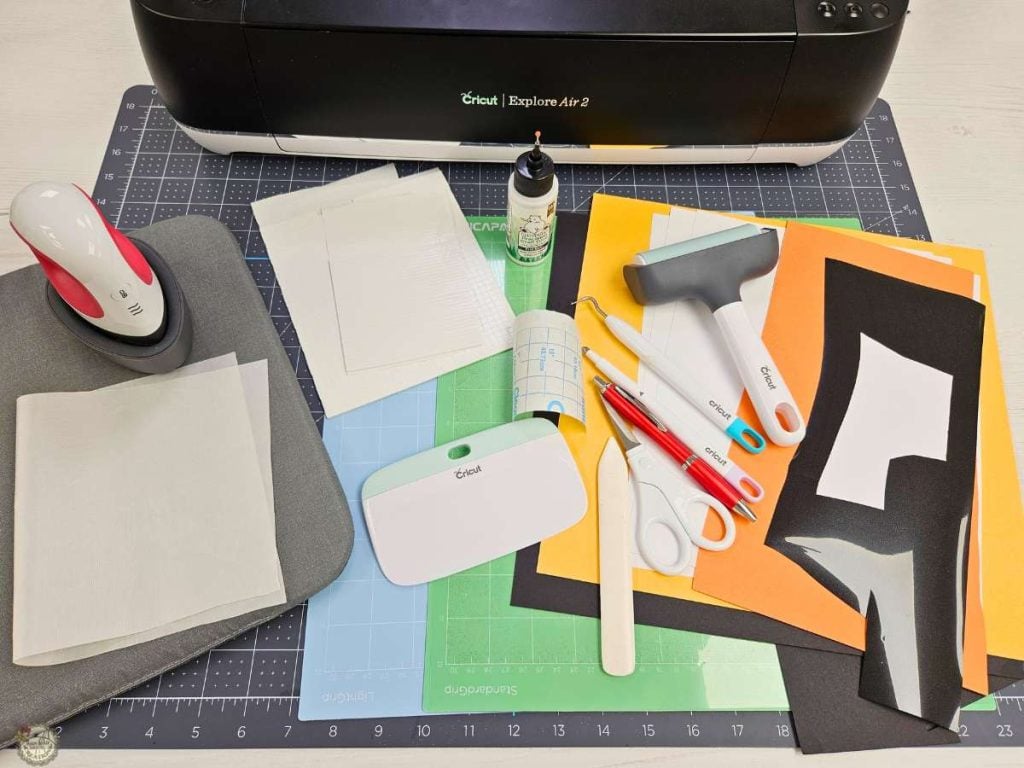
- Explore Air 2
- Standard or Light Grip Mat
- Fine Point Blade
- Cardstock
- White 110 lb
- Encore 65 lb -Jet Black, Goldfish, & Beehive
- Black and White HTV
- Scoring Stylus
- Brayer
- Weeding Tools
- Pin Pen
Make a Matching Skeleton Treat Box
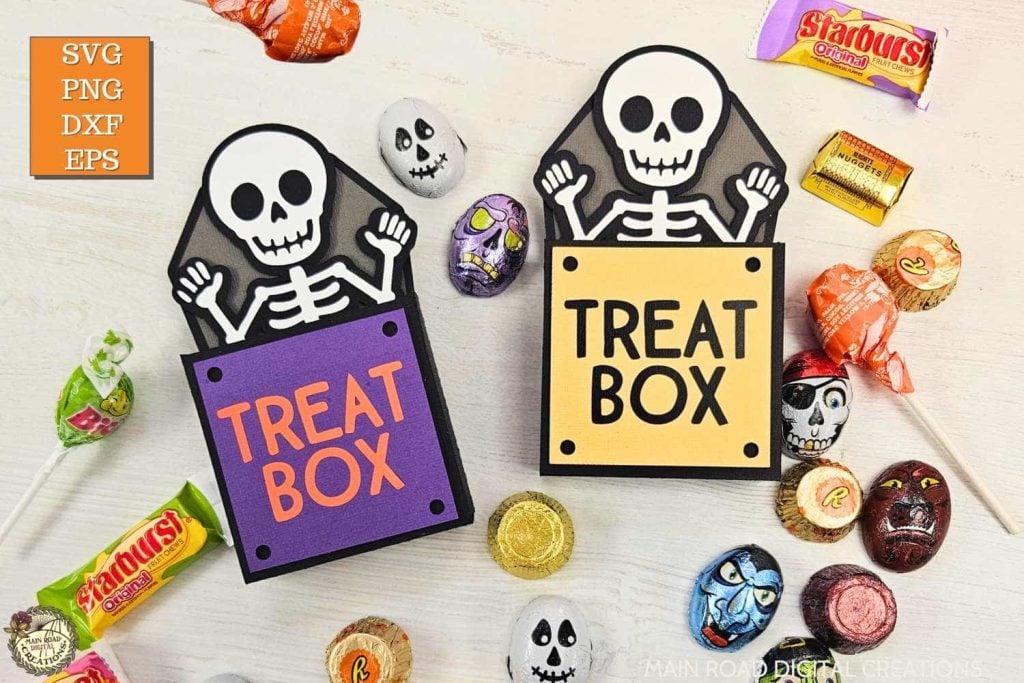
This Skeleton Treat Box SVG is available in my shop and coordinates perfectly with the Boo Crew sign. Make it with cardstock and HTV, fill it with Halloween candy, and use it for classroom treats, party favors, or trick-or-treat goodies.
Watch the Skeleton Treat Box Video Tutorial
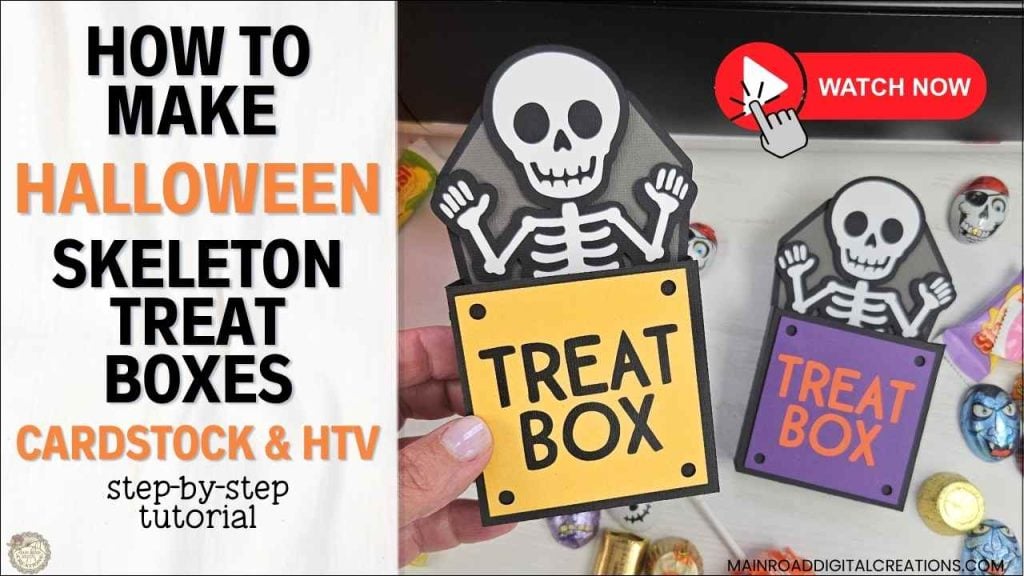
Want to see how the treat boxes come together? In this step-by-step tutorial, I’ll show you how to cut the cardstock and HTV, assemble the layered skeleton, and turn it into a Halloween treat box ready to fill with candy.
How to Make a Halloween Sign with Cricut
Set Up the Boo Crew SVG in Cricut Design Space
When you first upload the SVG into Cricut Design Space, the Boo Crew sign and the pieces for the cardstock stands will appear grouped together.
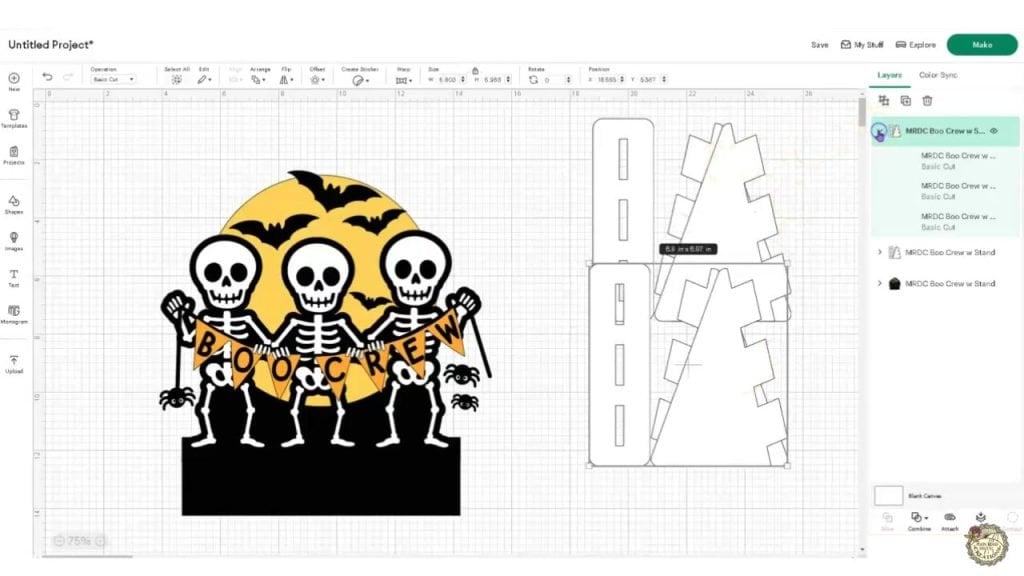
Ungroup the design so you can see all the individual layers, including the skeletons, banner, bats, spiders, moon, base, and stand pieces.
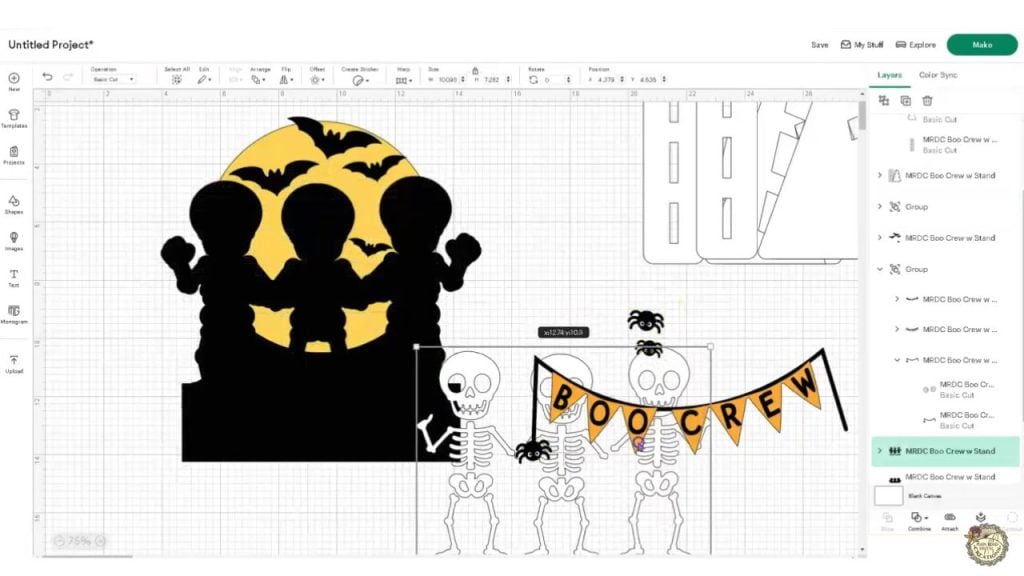
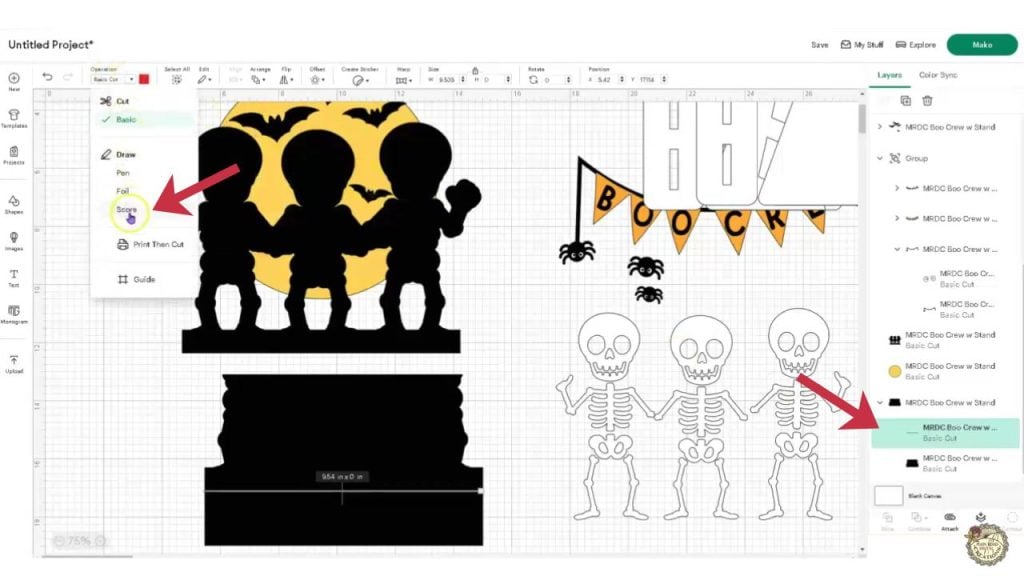
The base includes a line that needs to be changed from a Basic Cut line to a Score line. Select the line, open the Operation menu, and choose Score.
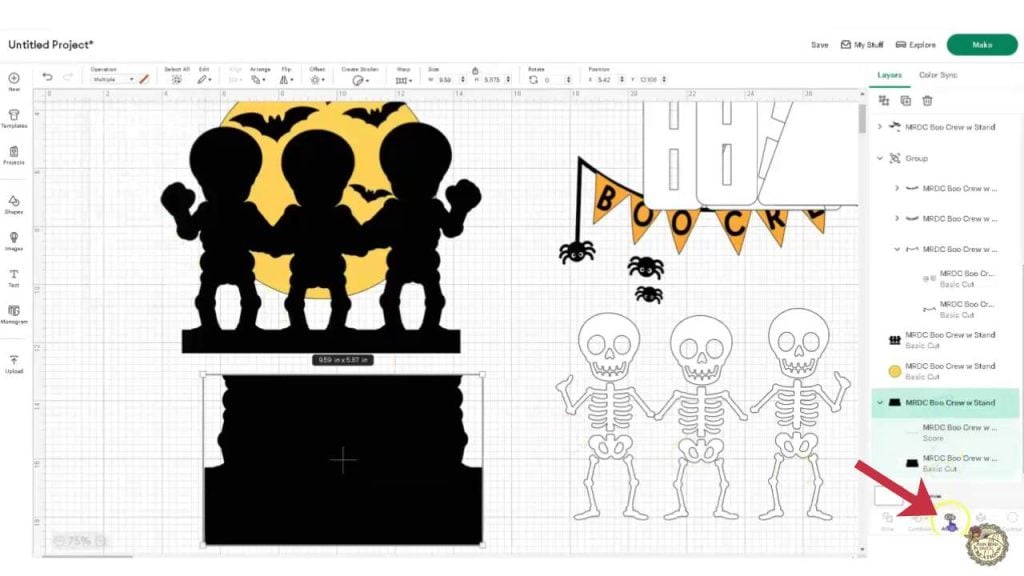
Once the line has been changed, select both the score line and the base layer, then click Attach. This keeps the score line in the correct position when the project is sent to the cutting mat.
Prepare the Cutting Mats and Add the Scoring Stylus
Before cutting, arrange the cardstock and HTV pieces on the mats and choose the cut settings that work best for your materials and Cricut machine. I used heavier cardstock for the white skeleton pieces and lighter cardstock for the colored layers. Remember to mirror the elements you plan to cut from HTV on your Design Space screen before cutting.
I show how I arrange the pieces and choose my material settings in the video tutorial below.
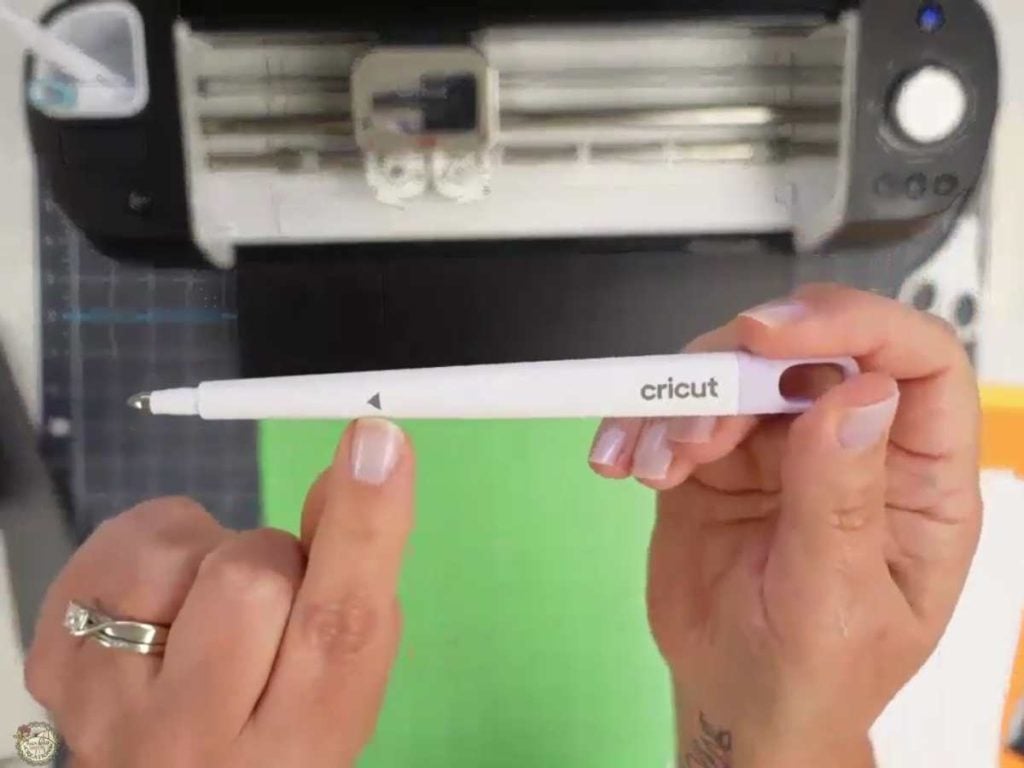
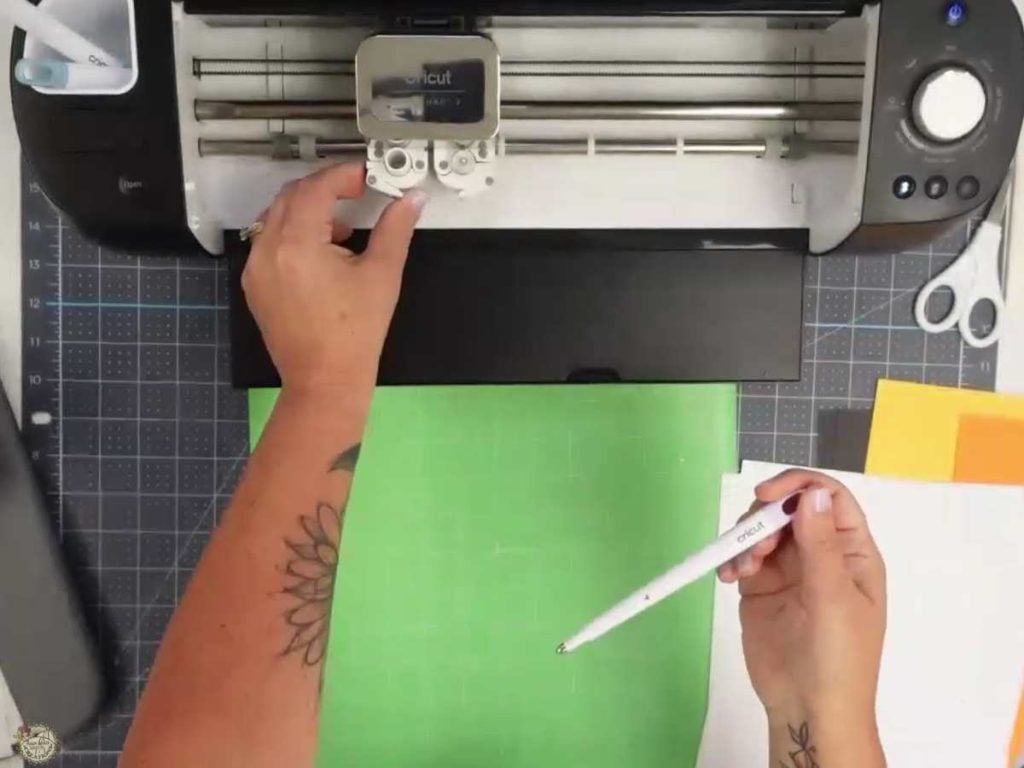
I like to add the Scoring Stylus to Clamp A before I start cutting because if I wait until I need it, there is a very good chance I’ll forget. Open Clamp A, push the stylus down until it clicks into place, and close the clamp securely. Then it is ready when the Cricut gets to the score line for the base.
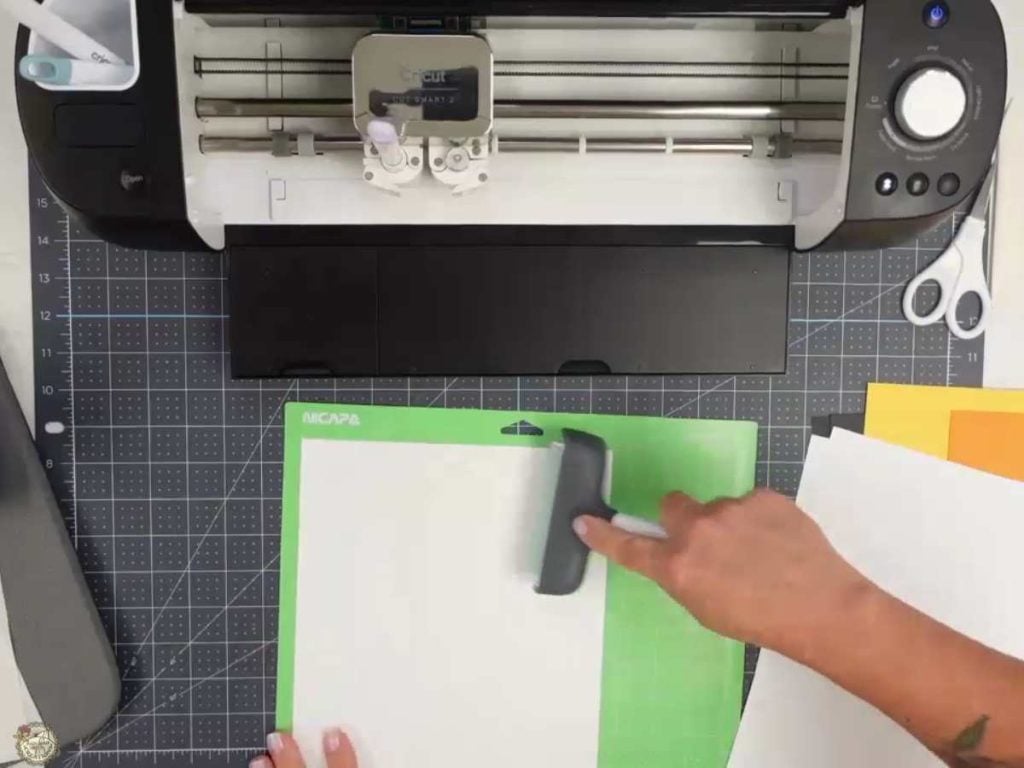
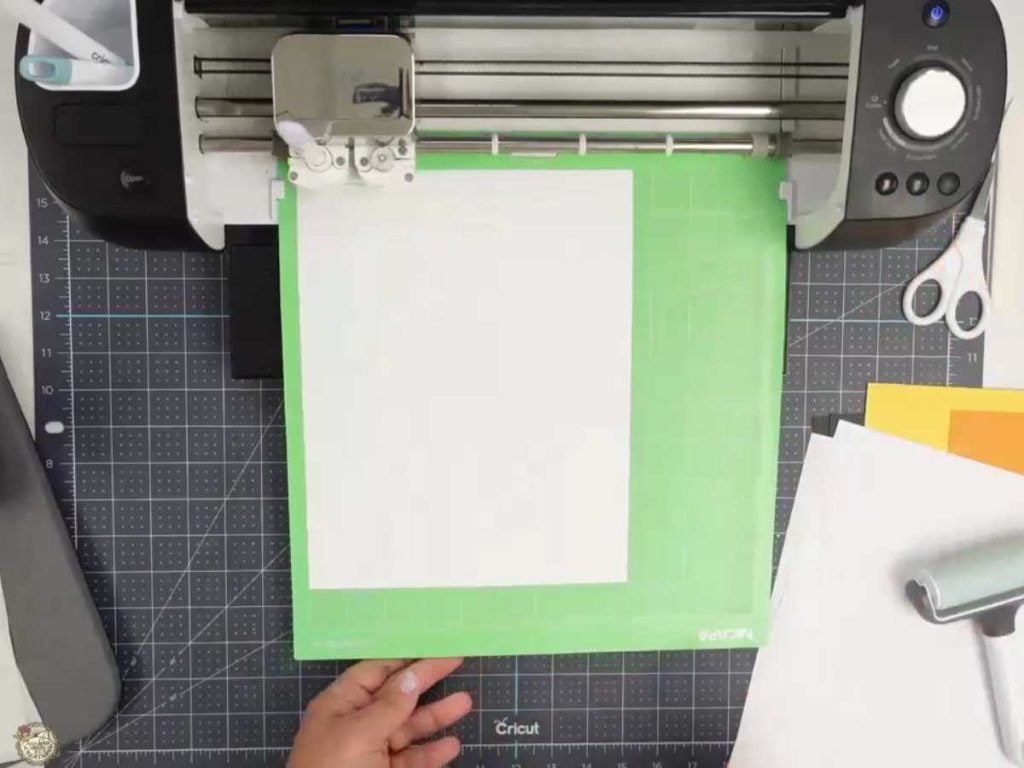
Place the cardstock on the cutting mat and use a brayer to press it down so it stays flat while cutting. Once the cardstock is secure, load the mat into the Cricut and begin the first cut.
Cut the Remaining Pieces for Your Halloween Sign
Continue cutting the remaining cardstock and HTV pieces, switching mats and material settings as needed. I like to use more than one cutting mat and leave some of the smaller pieces in place after cutting. That way, I can see exactly where everything belongs when it is time to assemble the skeletons, and I am much less likely to put a tiny hand or finger on backward.
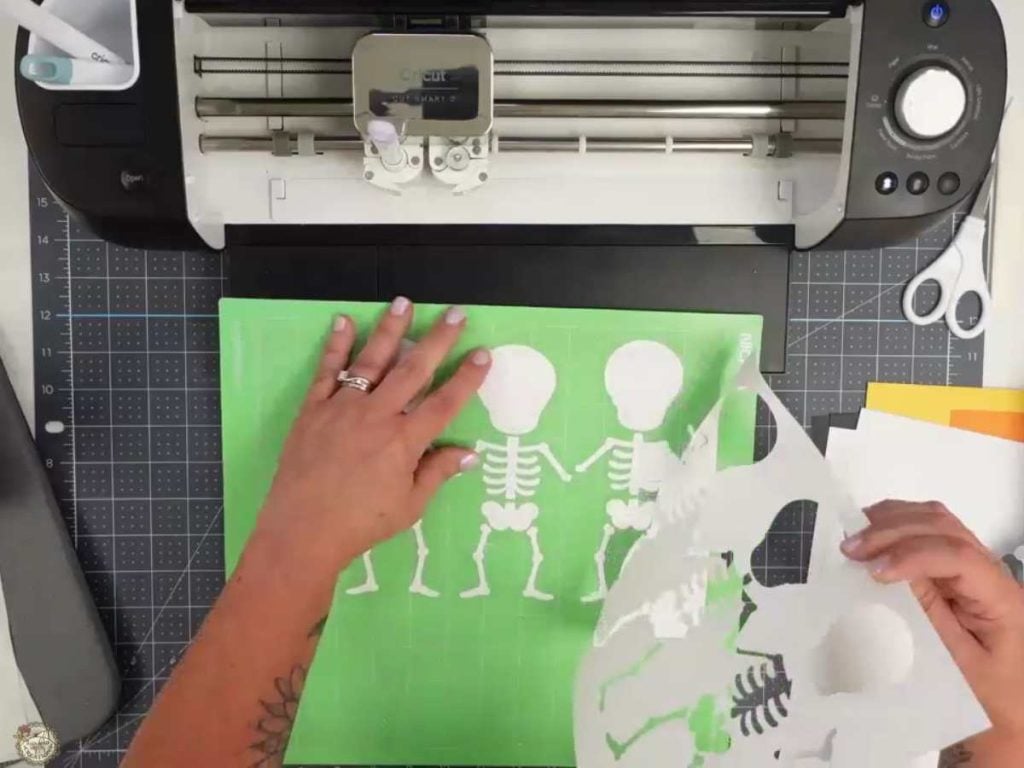
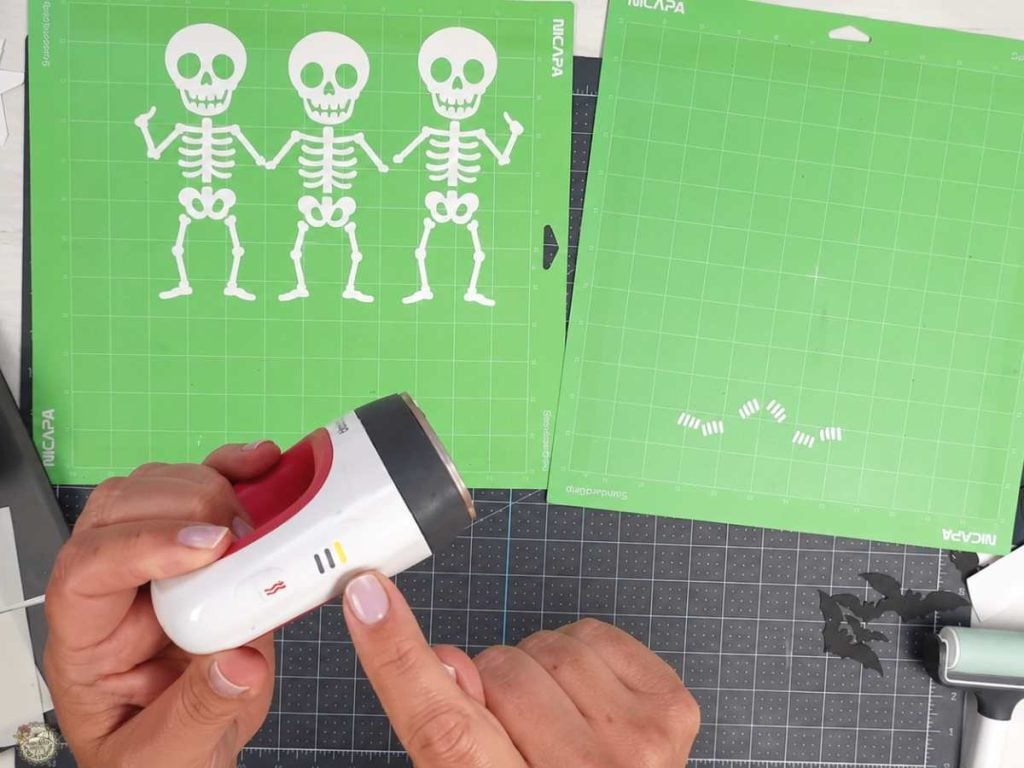
Turn on the Cricut EasyPress Mini so it can begin warming up while you weed the HTV. Press the button once to use the low heat setting.
Apply the HTV to the Cardstock
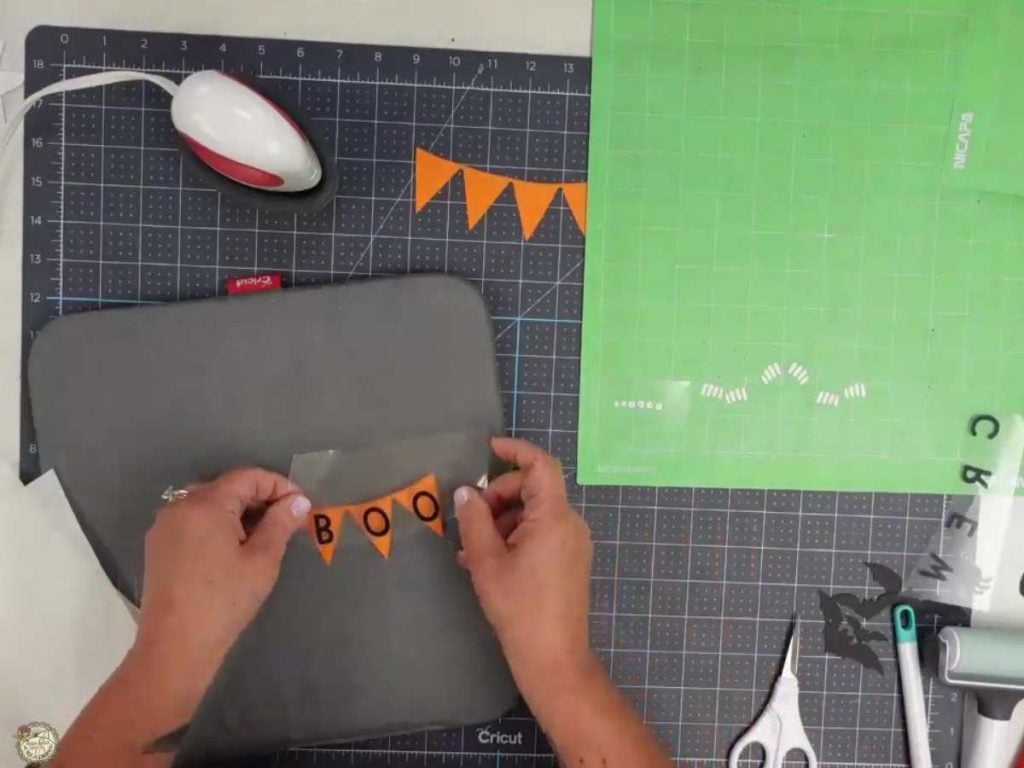
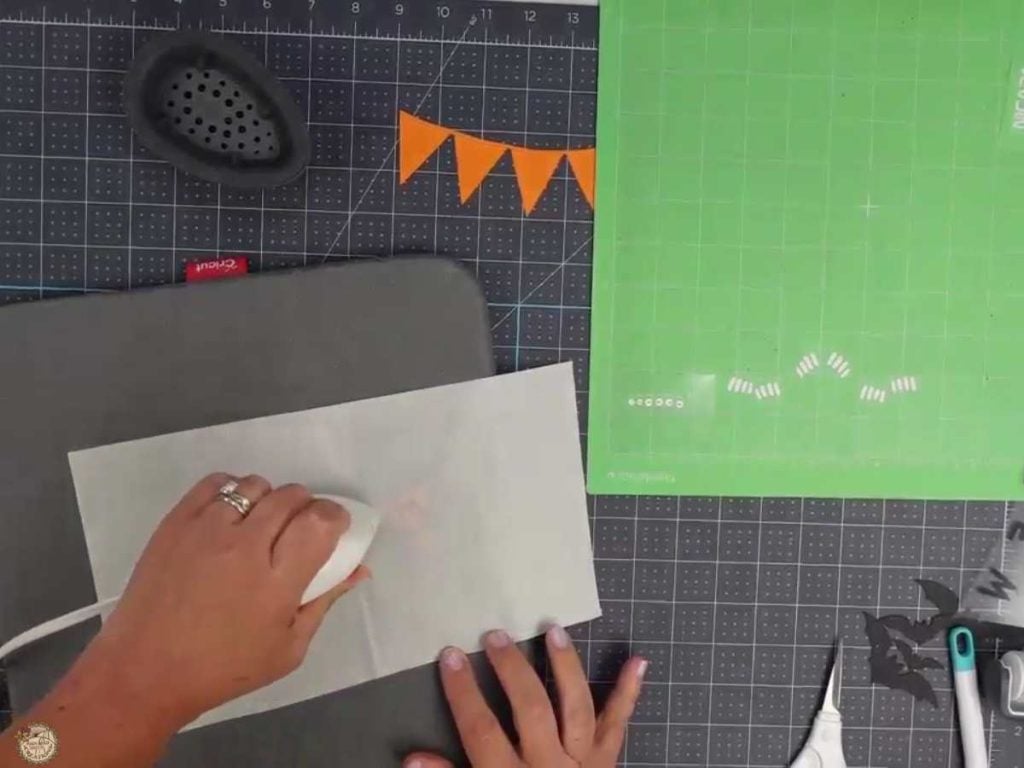
Position the weeded HTV on the orange banner pieces, making sure the letters are lined up before pressing. Cover the cardstock with a Teflon sheet, then move the EasyPress Mini over the design until the HTV is attached. Lift the carrier sheet slowly. If any part of the HTV has not released, lay it back down and press it again for a few more seconds.
Assemble the Cardstock Stands
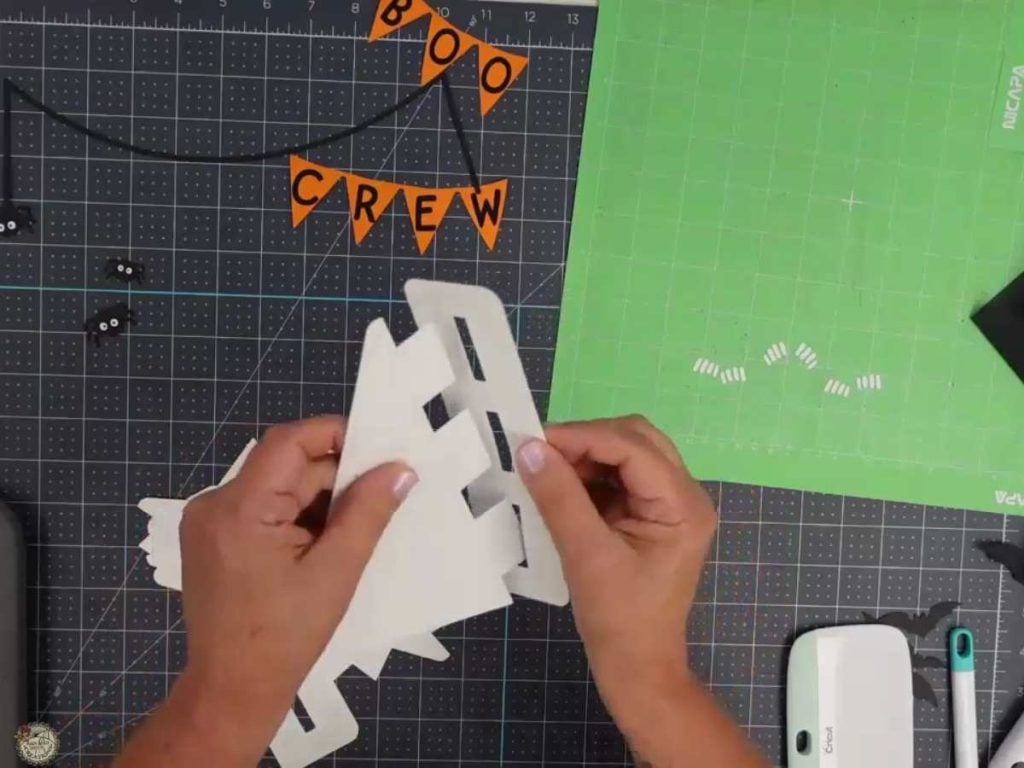
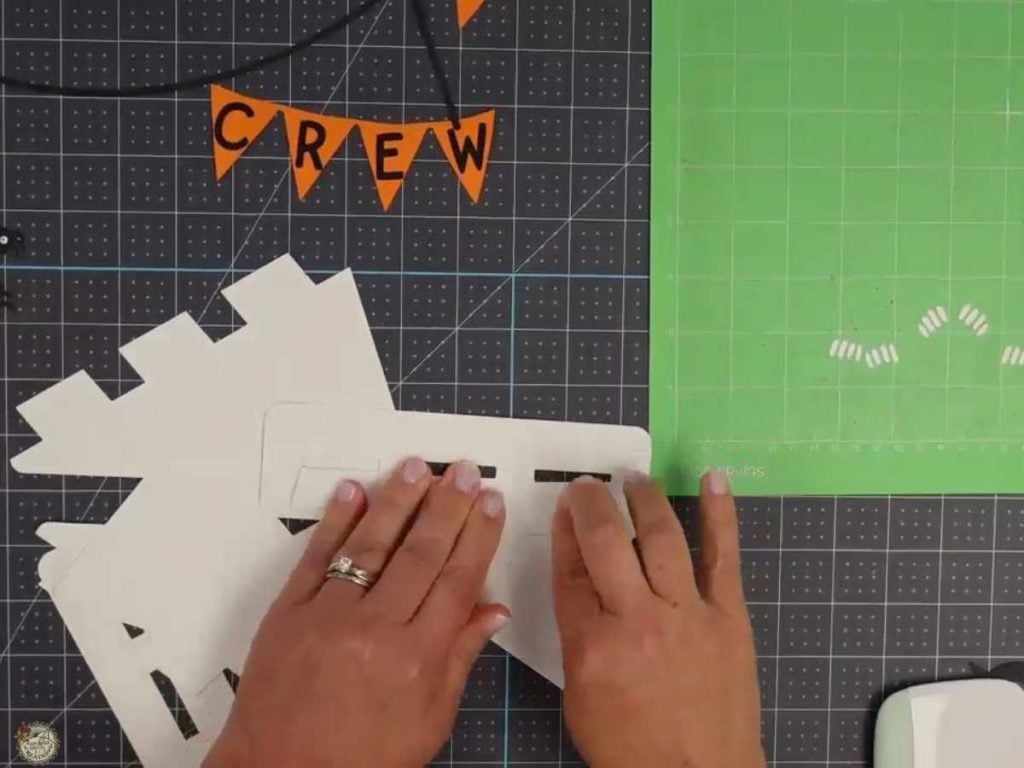
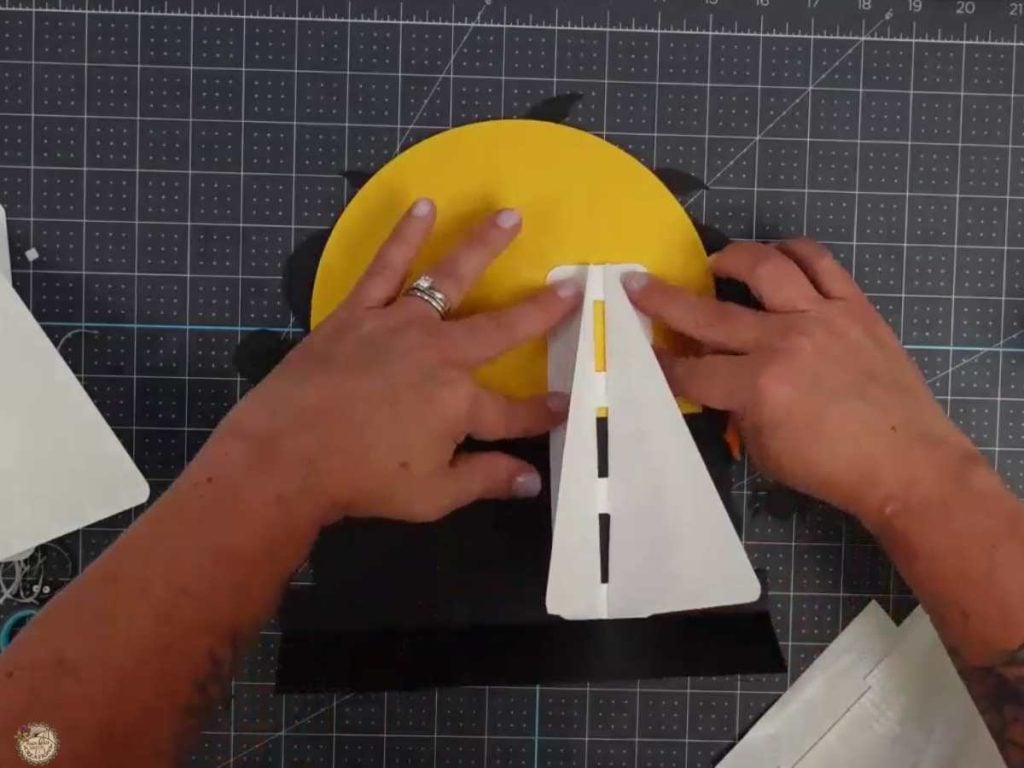
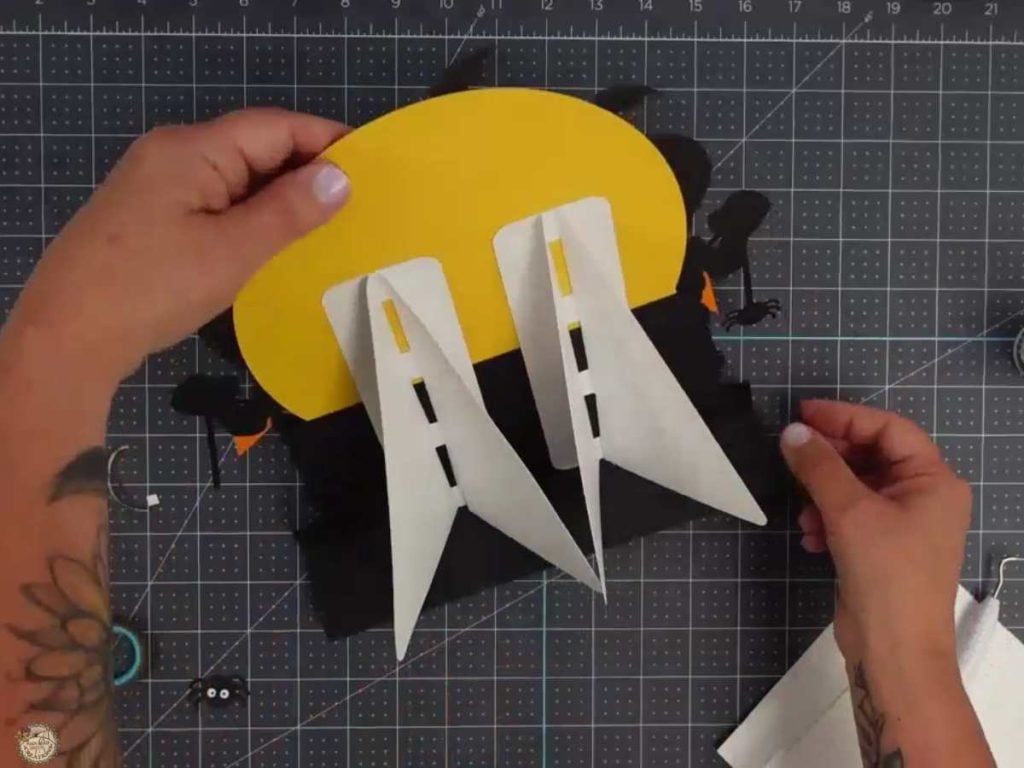
Slide each stand piece through the openings in the long cardstock strip. If it does not fit correctly, flip the piece over and try again. Once it is in place, fold the small tabs to the sides, add a little glue underneath, and press them down until they hold. Repeat these steps to make the second stand, then set both aside to dry before attaching them to the back of the sign.
Assemble the Skeletons and Add the Moon
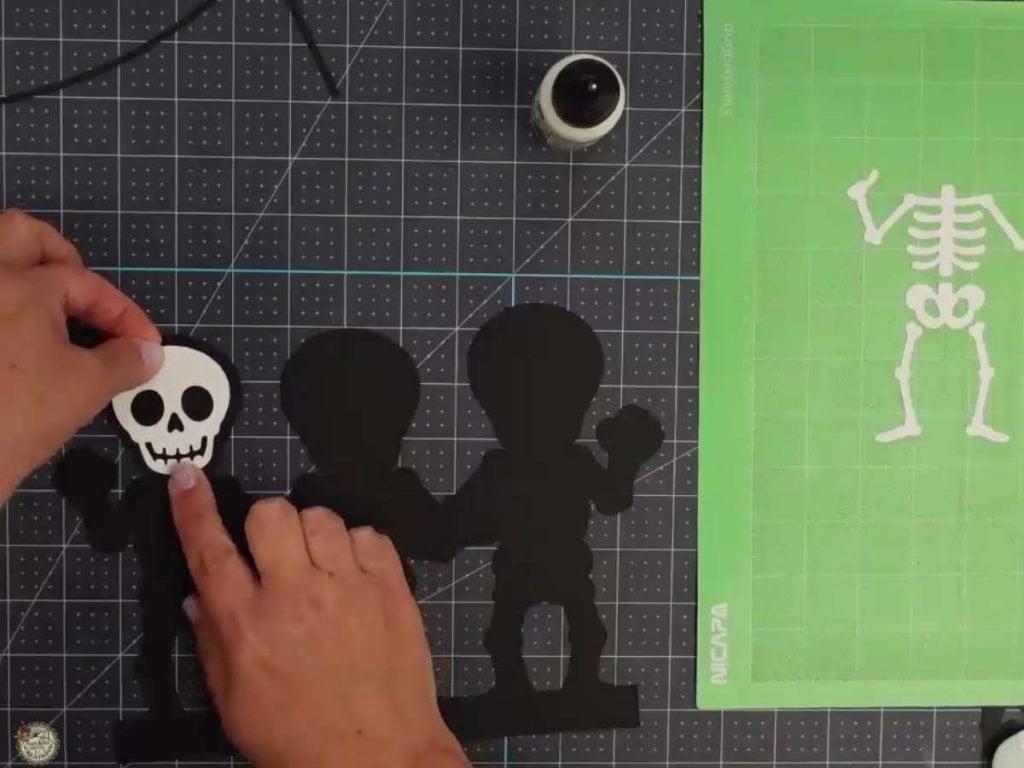
Begin assembling the sign by removing the white skeleton pieces from the cutting mat one at a time and gluing them onto the black backing. Leaving the pieces on the mat makes it much easier to keep everything in the correct order while you work. I show how to line up and attach each skeleton piece in the video tutorial.
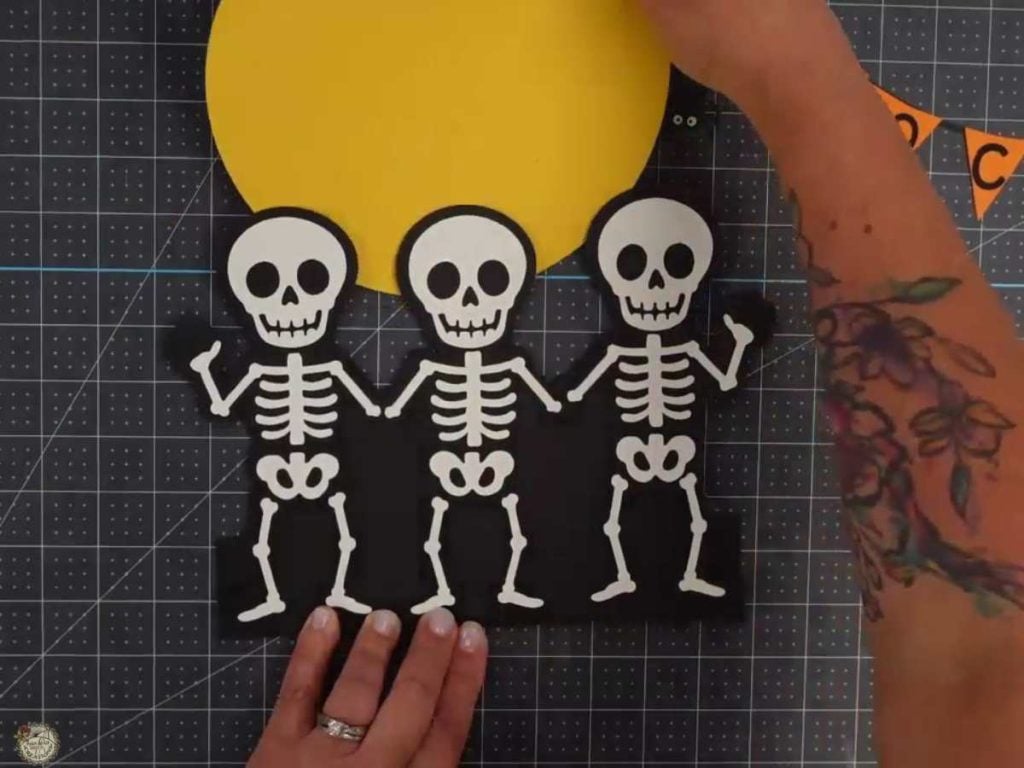
Once all three skeletons are assembled, position the large yellow moon behind them and glue it in place. Take a minute to check the placement before pressing everything down so the moon sits evenly behind the Boo Crew.
Add the Skeleton Layer to the Sign
Add foam tape to the back of the assembled skeleton layer, placing it only where it will touch the sign. The foam tape raises the skeletons and gives the finished project more dimension.
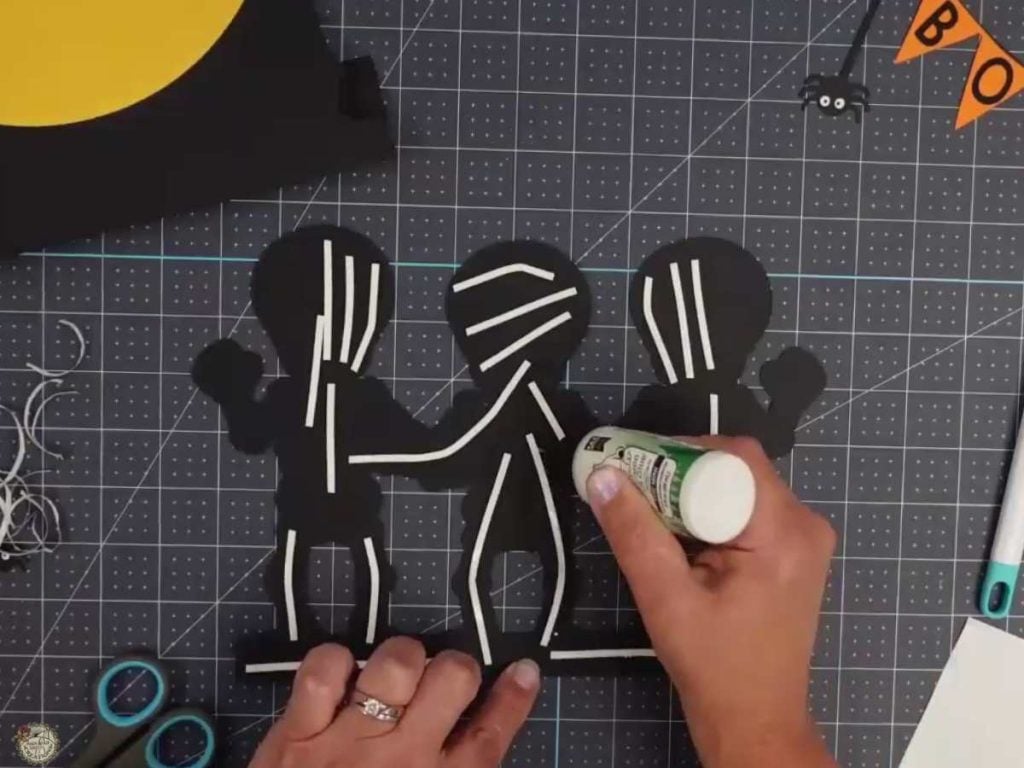
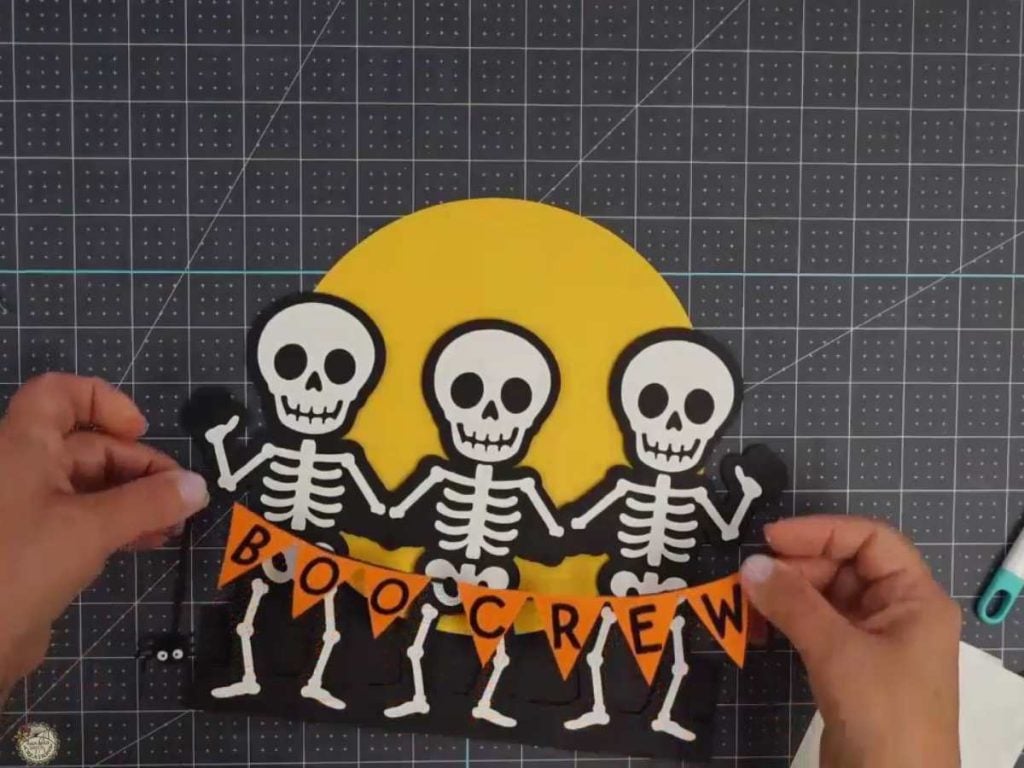
Before positioning the layer, add a small amount of glue to the back of the foam tape. That gives you a little extra time to slide and reposition the piece before the adhesive grabs the cardstock. Once everything is lined up, press the skeleton layer firmly over the moon and base.
Use Contact Paper to Position the Skeleton Fingers
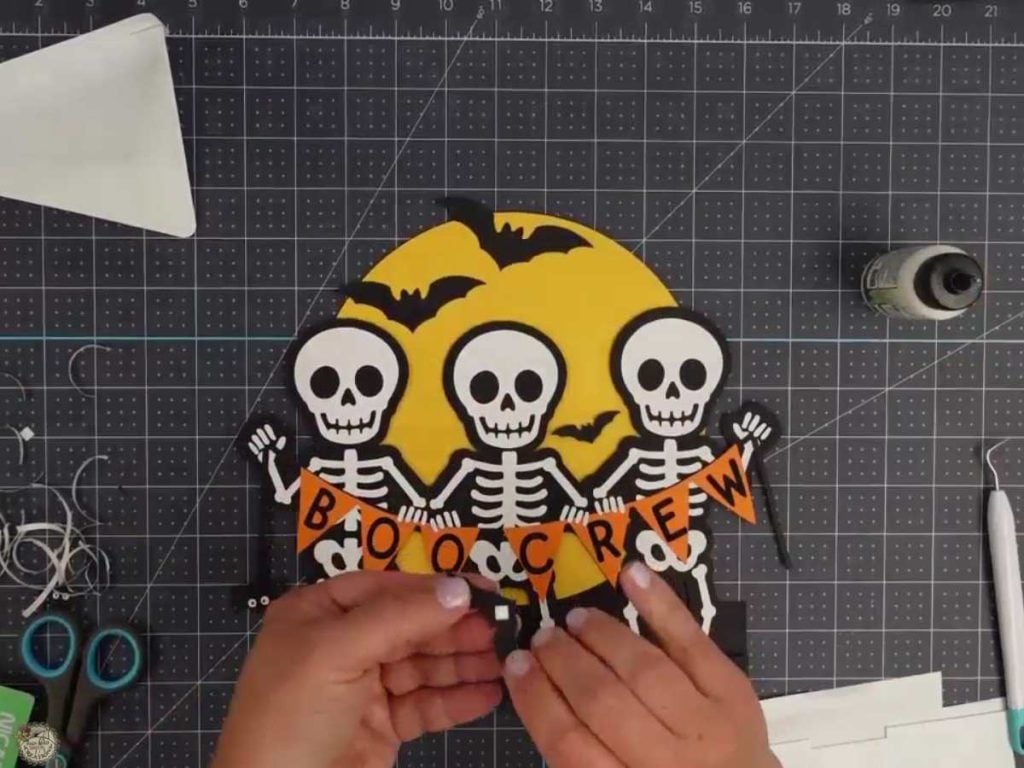
The tiny skeleton fingers are much easier to place when you use a small piece of contact paper to keep them together. Peel the contact paper away from its backing, then press it over the fingers while they are still on the cutting mat. Lift slowly so the pieces stay in the correct order.
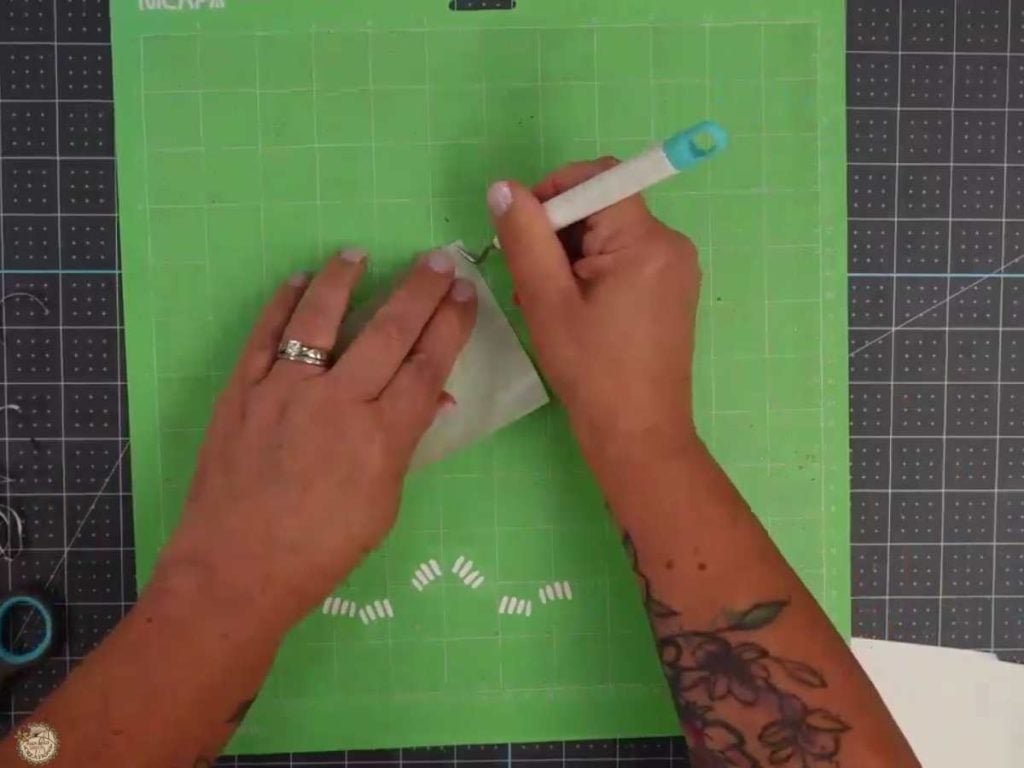
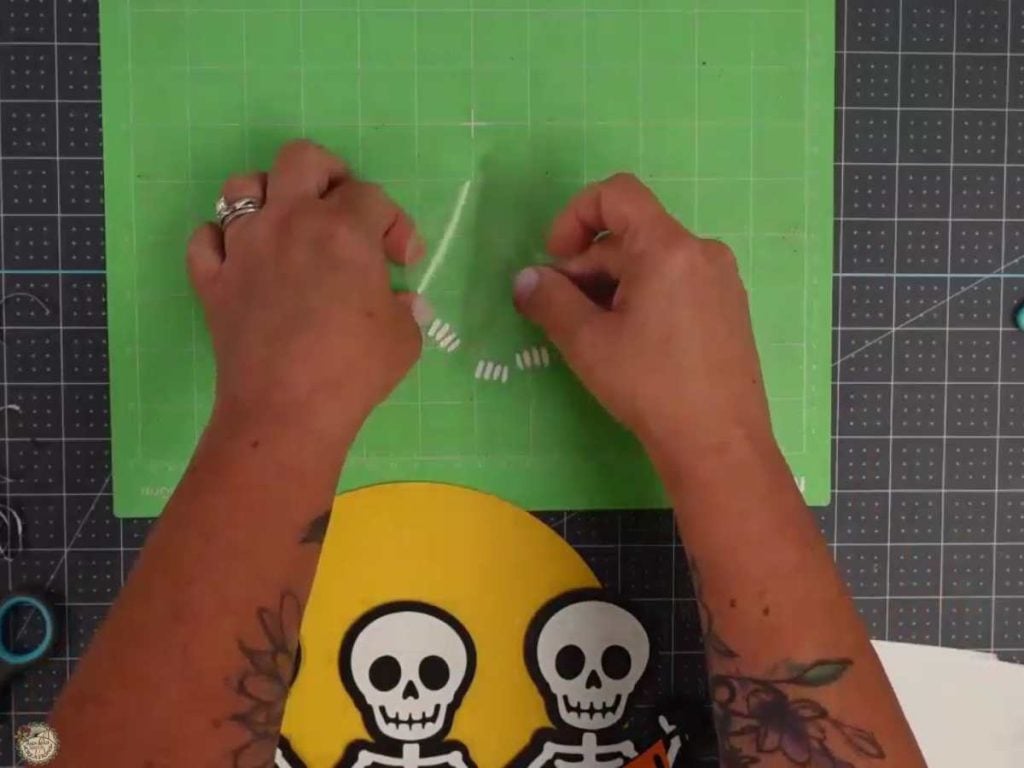
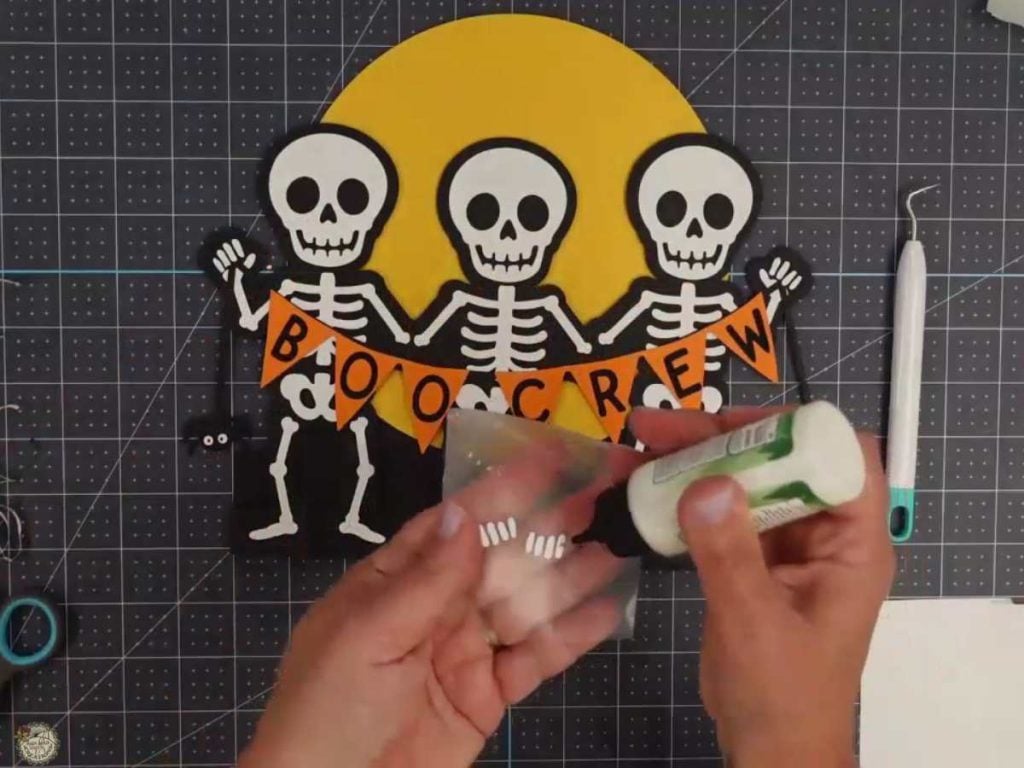
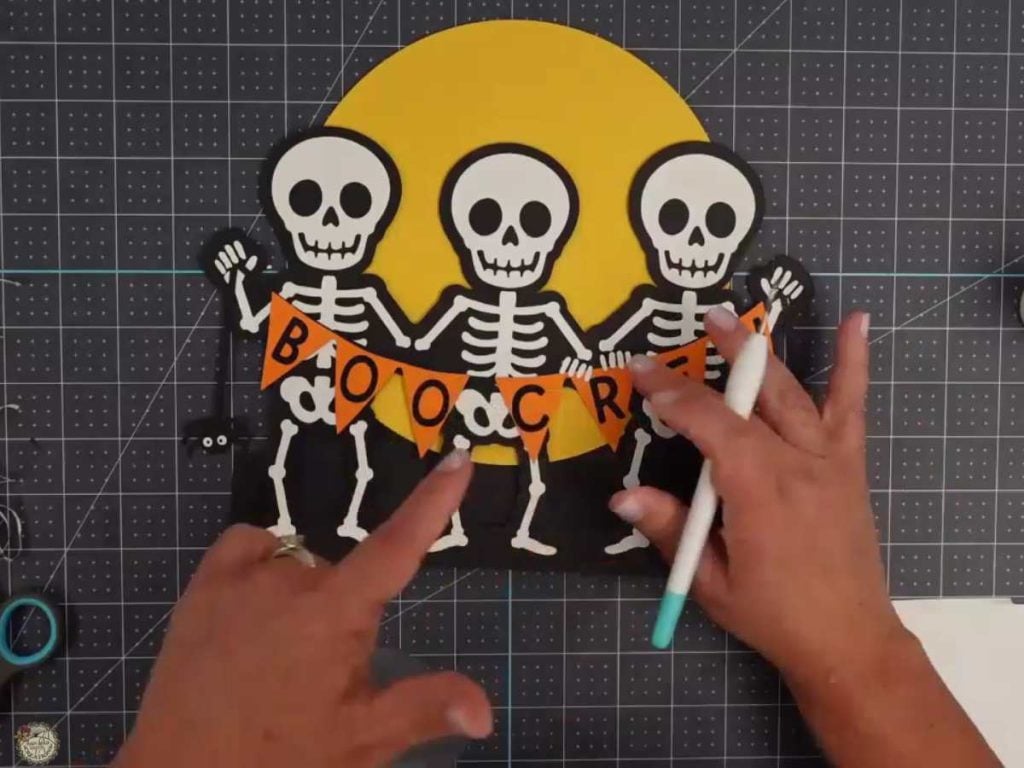
With the fingers still attached to the contact paper, add a small amount of glue to the back of each piece. Position them over the banner, press them into place, and slowly peel the contact paper away. This keeps those tiny pieces lined up and saves you from trying to place each little finger one at a time.
Add the Bats and Spiders and Attach the Stands
Glue the bats onto the yellow moon, using foam squares on a few of them to add dimension. You can place them wherever they look best, so there is no need to overthink where every bat belongs. They are bats. They will be fine.
Turn the sign over and glue the first cardstock stand to the back. Make sure it is positioned straight and low enough to support the sign when it is standing. Then attach the second stand in the same way and allow the glue to dry completely before displaying your finished Boo Crew.
Finished DIY Halloween Boo Crew Sign
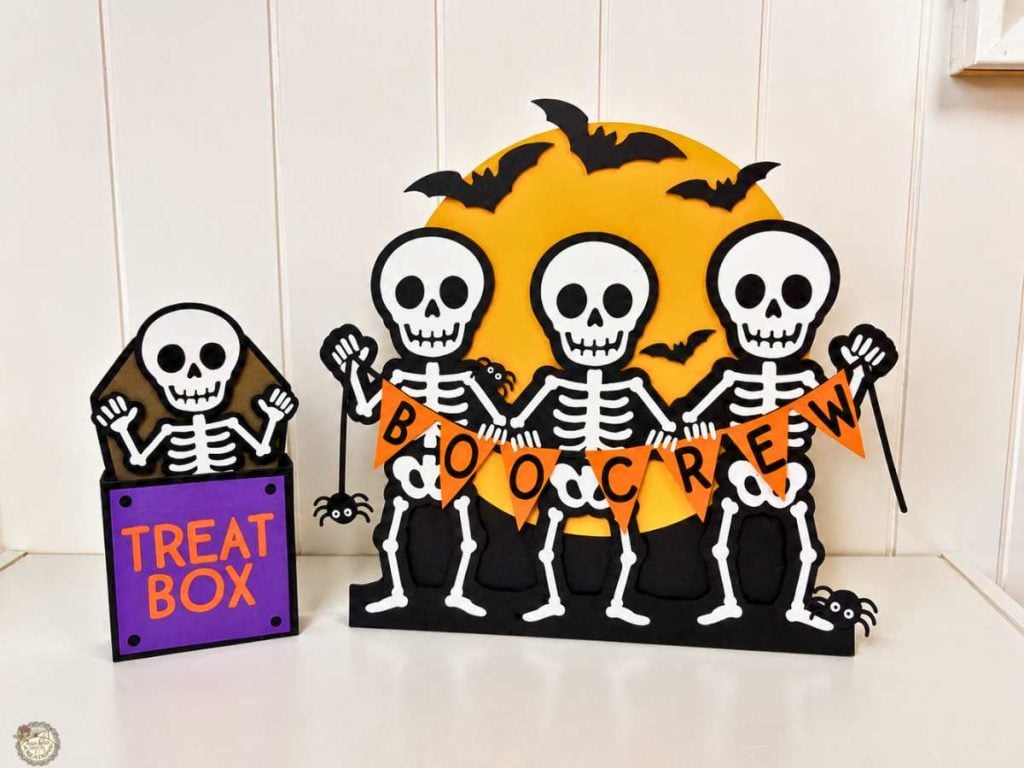
Your Boo Crew is ready for Halloween! Add it to a shelf, table, or mantel, and pair it with the matching Skeleton Treat Box for a fun Halloween display. Don’t forget to grab your matching Treat Box SVG in my shop!
Watch the Boo Crew Sign Video Tutorial
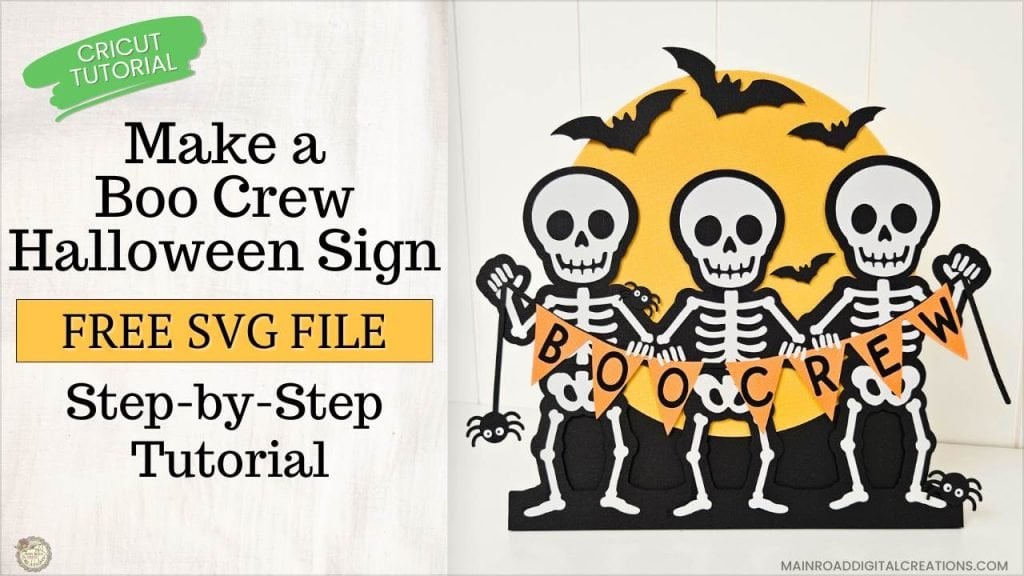
Watch the full video tutorial to see how I set up the SVG in Cricut Design Space, prepare the mats, cut the cardstock and HTV, assemble the skeletons, add the banner and tiny fingers, and attach the stands to the back. I’ll walk you through each step in more detail so you can follow along from the first cut to the finished Halloween sign.
Share your Creations
I can’t wait to see how you use this design in your projects! Be sure to share your creations in our Facebook group.

Are you on Facebook?
Join our group!
We’d love to have you!
All of the Free Files on my website are for Personal and Commercial use. Check out my Terms of Use (TOU) here.
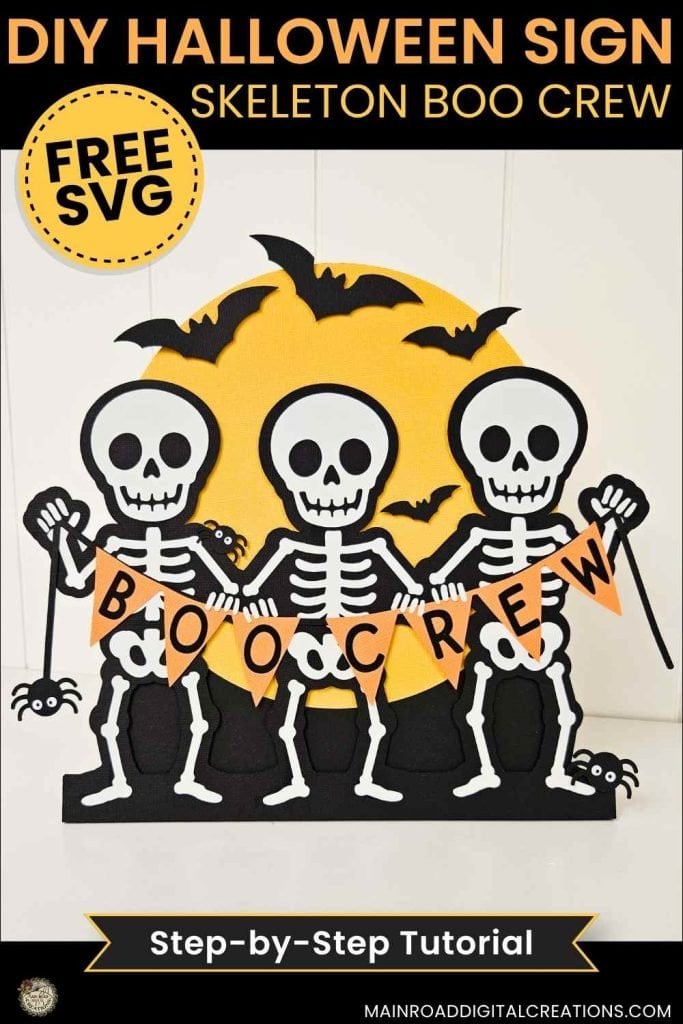
I’d love it if you could take a moment to pin the Free SVG image above to Pinterest. By sharing, you’re helping my business grow, which allows me to keep bringing you the free SVG files you adore. Thanks a bunch for your support. It means the world to me!
Here’s where to find your Free SVG download!
Design #284 – Boo Crew Skeleton SVG is available in my freebie library. To get the Password, click the button below and Join our Freebie Club!
Love this week’s Free SVG? Try another Fun Cricut Project!

Check out my shop for fun and creative designs you can use in your projects!

Join the Creative Fabrica Membership

Fonts, designs, and so much crafty goodness! Over 16 million digital files are waiting! In partnership with Main Road Digital Creations, your first 10 downloads are totally free. After that? It’s just $47 a year (yep, that’s $3.99/month) with full commercial and POD use included. Sign up for Free!