
Free Pumpkin SVG: xTool M2 Project Ideas
Using One SVG for Engraved Slate and Layered Wood
This post may contain affiliate links. As an Amazon Associate, I earn from qualifying purchases. Please see my privacy policy for full details.
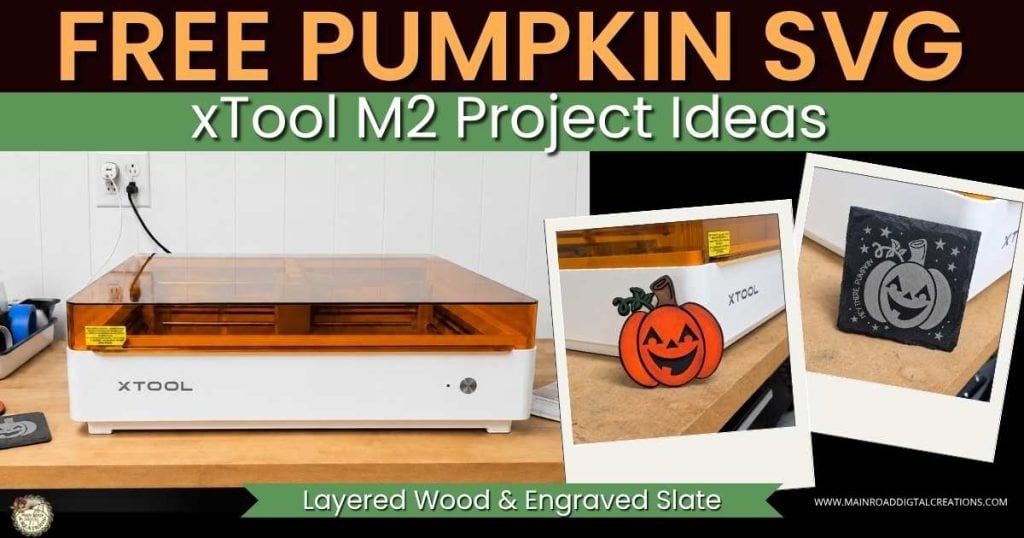
I often tell crafters in my Facebook group that SVG files don’t have to stay in one craft lane, and this project is a perfect example. I took one of my free pumpkin SVG files and tested it with the xTool M2 to see how the same design could work with different materials. Instead of using it only for the original Halloween card project, I used the pumpkin SVG to create an engraved slate piece and a layered wood pumpkin.
Disclosure: xTool provided the M2 for this post, but all opinions and project ideas are my own.
Testing My Free Pumpkin SVG with the xTool M2
I’m still in the testing stage with the xTool M2, so this post is more of a first look at what I made instead of a full step-by-step tutorial. For this project, I wanted to start simple and see how the pumpkin details would work on different materials.
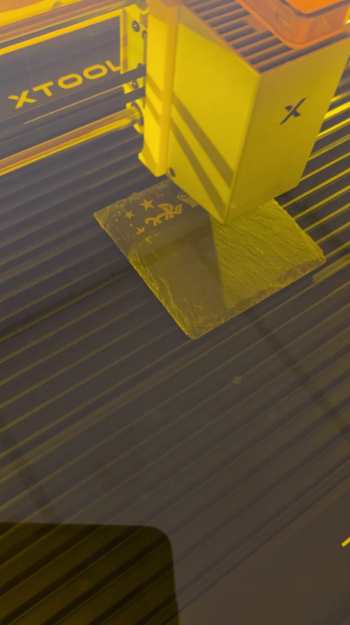
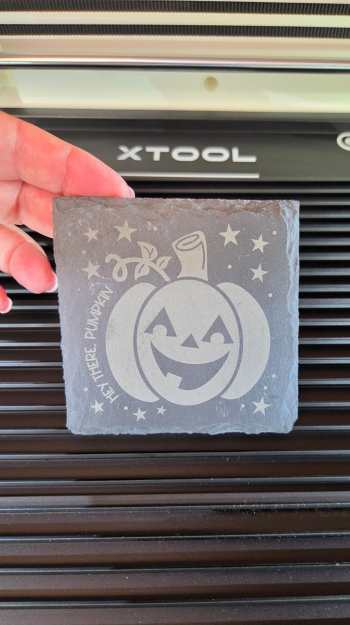
I started by testing the pumpkin SVG on a slate coaster blank. This gave me a chance to see how the details would engrave before trying the same design as a layered wood project. The slate engraving took about 10 minutes, and I loved seeing how different the same SVG looked on a new material.
Engraving the Pumpkin SVG on Slate
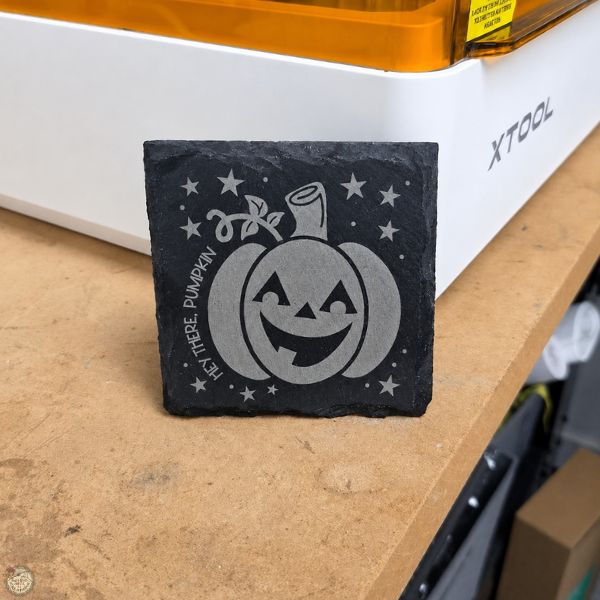
I love how the slate turned out. The engraved pumpkin has a softer, more subtle look than the colorful card version, but the details still show up really well. This test made me realize how much the material changes the feel of the design, even when the SVG itself stays the same.
Cutting the Pumpkin SVG from 3mm Basswood
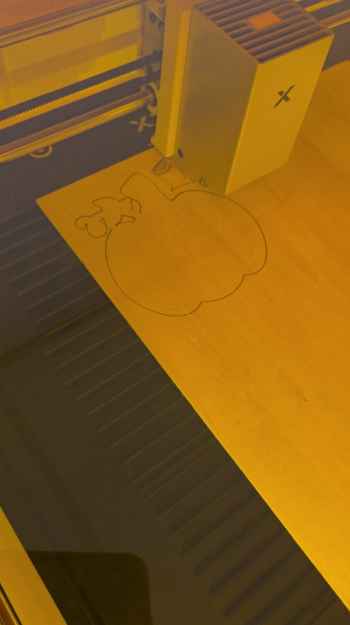
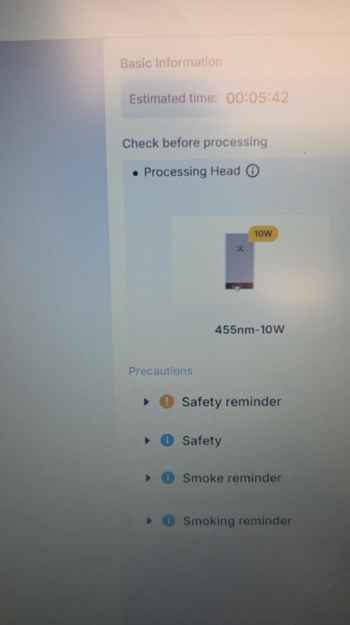
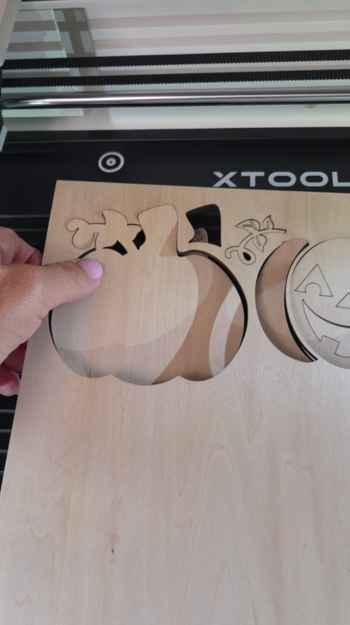
The basswood test took about 5 minutes, and this is where the project started to feel more like a finished craft. Instead of cardstock layers, I had wood pieces that I could paint, glue, and turn into a layered pumpkin project.
Painting and Assembling the Layered Wood Pumpkin
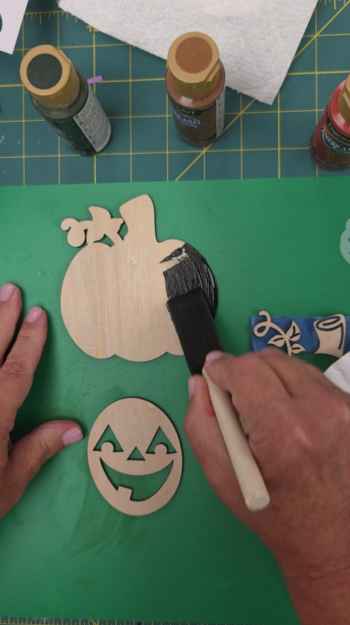
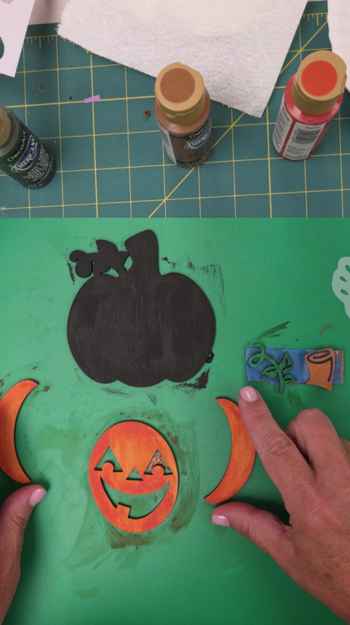
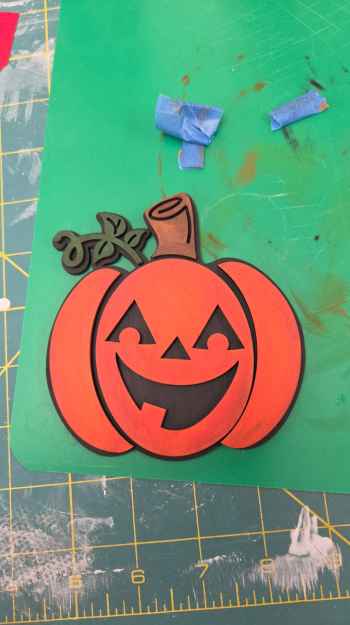
After cutting the pumpkin pieces from 3mm basswood, I painted them with acrylic paint and let everything dry before assembling the layers. I used wood glue to attach the painted pieces to the black backing layer, which helped the face and outline details stand out. Seeing the finished pumpkin come together made me even more excited to keep testing what the xTool M2 can do!
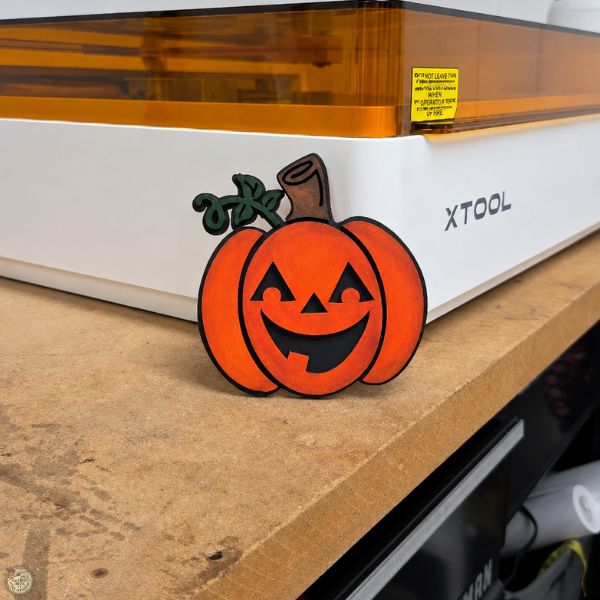
The layered wood pumpkin turned out so cute, and I can see this becoming a small shelf sitter, a Halloween magnet, or even an accent piece for a tiered tray. It started as the same pumpkin SVG from my card project, but cutting it from basswood gave me a whole new way to use the design.
What This Project Taught Me About SVG Files and the xTool M2
This project reminded me why I love working with SVG files. The same pumpkin design looked completely different depending on the material I used. On slate, it had a softer engraved look. Cut from basswood, it turned into something I could paint, layer, and use as a small Halloween decoration.

You can find the original Free Pumpkin SVG and cardstock card tutorial here.
I’m still learning the xTool M2, but this was such a fun first look at how my SVG designs can work with a craft laser cutter. As a Cricut crafter and SVG designer, I love that I can take a file I already created and start thinking about it in a whole new way.
Supplies and Materials I Used
Here are the supplies and materials I used while testing my free pumpkin SVG with the xTool M2.
What Surprised Me While Testing the xTool M2
One thing that surprised me was how approachable the xTool M2 felt once I started testing. I expected a bigger learning curve, especially coming from Cricut, but it was easier to get started than I expected.
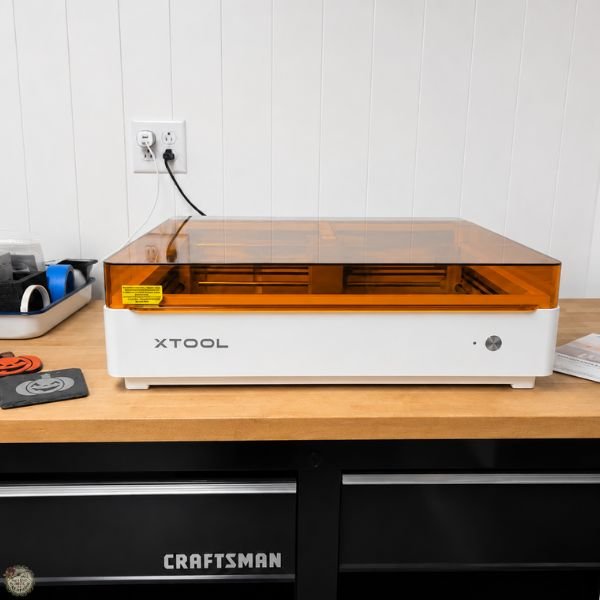
I was also pleasantly surprised by xTool Creative Space, which is the design software for the M2. If you’re used to working in Cricut Design Space, the basic idea feels similar. You bring in your design, place it on your material, and choose what each part should do, which made it pretty easy for me to follow as I started testing my projects.
One thing that made testing less intimidating was having material settings already loaded in xTool Creative Space. For the materials I tested, I could choose the material and start with the suggested settings instead of guessing from scratch. I can adjust them if I need to, but having those starting points made these first projects feel much easier than I expected. That might be one of my favorite parts so far.
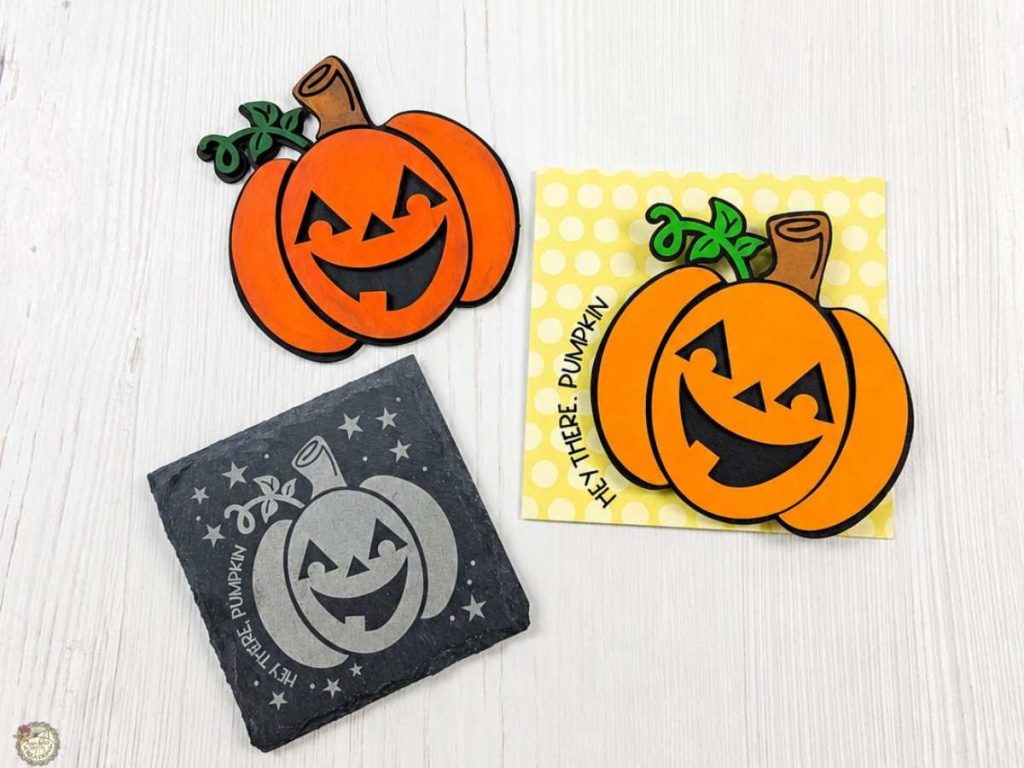
One pumpkin SVG, three different project ideas. Seeing them together is exactly why I’m excited to keep testing the xTool M2 with more of my designs.
More xTool M2 Projects Are Coming
This pumpkin project was a fun first project with the xTool M2, and it already has me thinking about what I want to make next. Some projects may use SVG files I already have, and some will be brand-new designs I create for the laser.
I’ll use the xTool M2 with different materials, learn as I go, and share more step-by-step tutorials along the way. I’m excited to see how this machine fits with the kind of projects I already love making, and I have a feeling my project list is about to get even longer!
Share your Creations
I can’t wait to see how you use this design in your projects! Be sure to share your creations in our Facebook group.

Are you on Facebook?
Join our group!
We’d love to have you!
All of the Free Files on my website are for Personal and Commercial use. Check out my Terms of Use (TOU) here.
I’d love it if you could take a moment to pin the Free Pumpkin SVG project ideas image above to Pinterest. By sharing, you’re helping my business grow, which allows me to keep creating free SVG files and sharing new ways to use them with tools like the xTool M2 laser. Thanks so much for your support. It means the world to me!
Here’s where to find your Free Pumpkin SVG download!
The Free Pumpkin SVG is available in my Freebie Library as Design #259 – Hey There, Pumpkin Card. This is the same pumpkin design I used for the engraved slate and layered wood pumpkin in this post. To get the password, click the button below and join our Freebie Club!
Note: This download was originally created for the pumpkin card project, so the SVG includes the card and envelope pieces too. For these xTool M2 project ideas, I only used the pumpkin design from the file. If you want to try something similar, ungroup the SVG and use the pumpkin pieces you need. I kept the “Hey There, Pumpkin” phrase for the slate coaster and added the stars separately in xTool Creative Space while testing the design.
Another Free Pumpkin SVG You’ll Love

If you enjoyed the Free Pumpkin SVG, you’ll love my Hello Pumpkin SVG too! Check it out here.
Check out my shop for fun and creative designs!
Join the Creative Fabrica Membership

Fonts, designs, and so much crafty goodness! Over 16 million digital files are waiting! In partnership with Main Road Digital Creations, your first 10 downloads are totally free. After that? It’s just $47 a year (yep, that’s $3.99/month) with full commercial and POD use included. Sign up for Free!
Hi! Love your files and information you share. I went from using my Cricut Maker to the XTool S1 10w, I absolutely love it! I went from Creative Space to Studio- it had more features. There are also free designs you could use. I’ve really improved my painting skills and have started selling a few things. Enjoy and looking forward for more things to come from you! Thank you for all you do for us crafters. Happy Crafting!!
HI Rose! Thank you so much for your comment. This makes me even more excited!! I appreciate your kindness. Happy crafting! 😊
This is super cute….Although now I want the Xtool M2. Are they really easy to understand and set up and use? This coming from a person that left my first cricut explore air 2 in the box, untouched for 4 months. I was scared of it.
I will be completely honest with you, so far I have found the xTool M2 to be very beginner-friendly and surprisingly easy to use.
I also have the xTool F1, which is a smaller portable laser. I really like that machine, but as a beginner, one of the things I found challenging was figuring out the correct settings for each material. With the M2, xTool has made that part much easier. There are tons of preset material settings already built into the software, so you aren’t starting from scratch trying to figure everything out.
If you’re already familiar with Cricut Design Space, I don’t think you’ll have a hard time figuring out the xTool software. Of course, there’s a learning curve with any new machine, but so far I’ve been pleasantly surprised by how easy this one has been.
I’m still very new to it myself, so I don’t want to make it sound like I’m an expert. I’ve only completed a few projects so far. I’ve cut materials, engraved a project, and I also tried the print head that came with mine and printed on photo paper.
And I completely understand leaving a new machine in the box because it feels intimidating! 😂 I’ve definitely had that feeling with new equipment. But based on my experience so far, I think the M2 is a really nice option for someone who is just getting started with a laser.
Hope that helps 😊