
Free Halloween Ghost SVG
DIY Hey Boo Halloween Ghost Sign with Cardstock and Cricut
This post may contain affiliate links. As an Amazon Associate, I earn from qualifying purchases. Please see my privacy policy for full details.
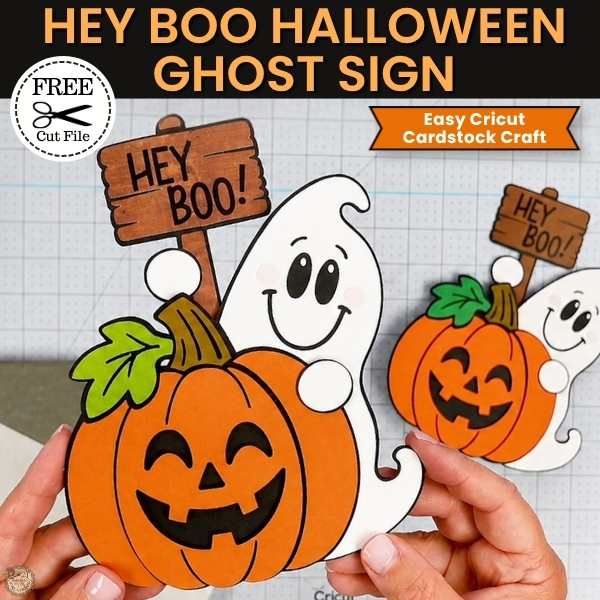
This week’s freebie is a Free Halloween Ghost SVG that turns into the cutest little cardstock sign! I have this friendly ghost a happy jack-o’-lantern to peek around, plus a little “Hey Boo!” sign that you can make with HTV. I also added an optional cardstock stand to the back, so you can display it for Halloween, or leave the stand off if you want to use it another way.
Make an Easy Halloween Cardstock Craft with Cricut
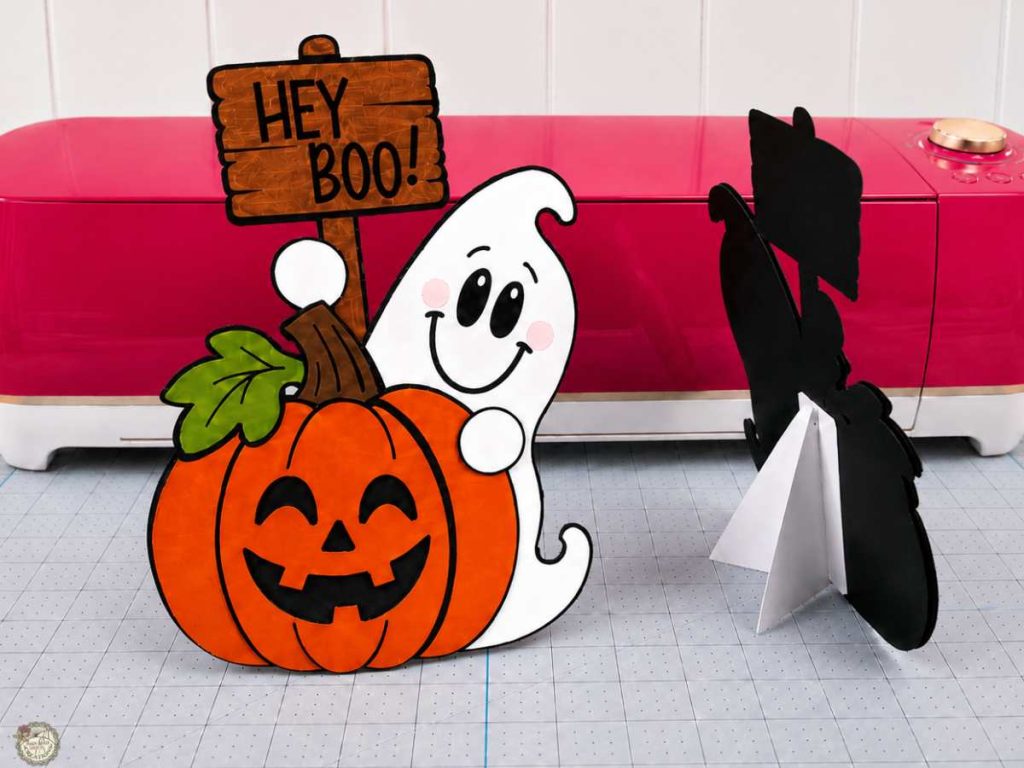
This is one of those projects that looks like it has a lot going on, but the layers are actually really easy to put together. I used different cardstock colors for the pumpkin, ghost, leaf and sign, then added foam tape to a few of the pieces for a little extra dimension. You can easily make this Halloween craft your own by changing up the cardstock colors, patterns, or even the saying on the sign.
What’s that font?
This is the font I used for this week’s Free Halloween Ghost SVG and the “Hey Boo!” wording on the sign. You can change the saying if you’d like; just watch the small cutout lines in the wooden sign so your letters don’t overlap the openings.

Supplies for the Halloween Ghost Cardstock Craft
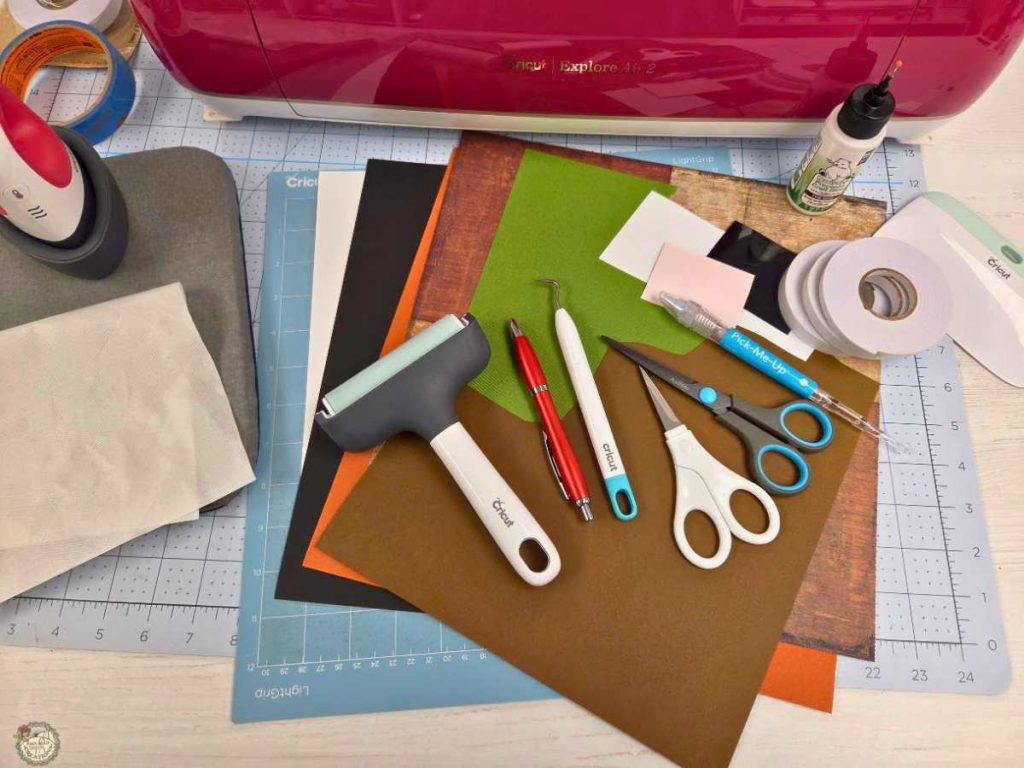
- Cricut (I used my Explore Air 2)
- Light Grip Mat
- Cardstock
- HTV (Heat Transfer Vinyl)
- Brayer
- XL Scraper
- Weeding Tools
- Pin Pen
How to Make the Halloween Ghost Sign with Cricut
I’m keeping this part simple and just covering the main steps so you can see how the project comes together. If you want to follow along from start to finish, be sure to watch the full video tutorial below.
Set Up the Halloween Ghost SVG in Cricut Design Space
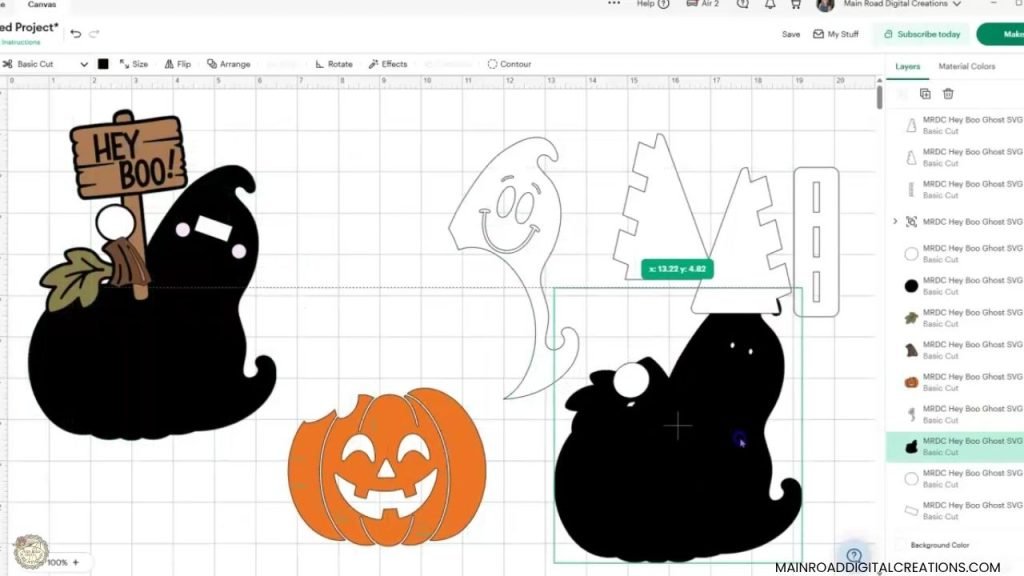
Upload the SVG into Cricut Design Space and ungroup the design so you can see all the individual pieces. The file includes the layered ghost and pumpkin, the “Hey Boo!” sign, and the optional stand for the back. Before cutting, double-check your cardstock colors and remember to mirror the “Hey Boo!” HTV mat.
Cut the Pieces and Get Ready to Assemble
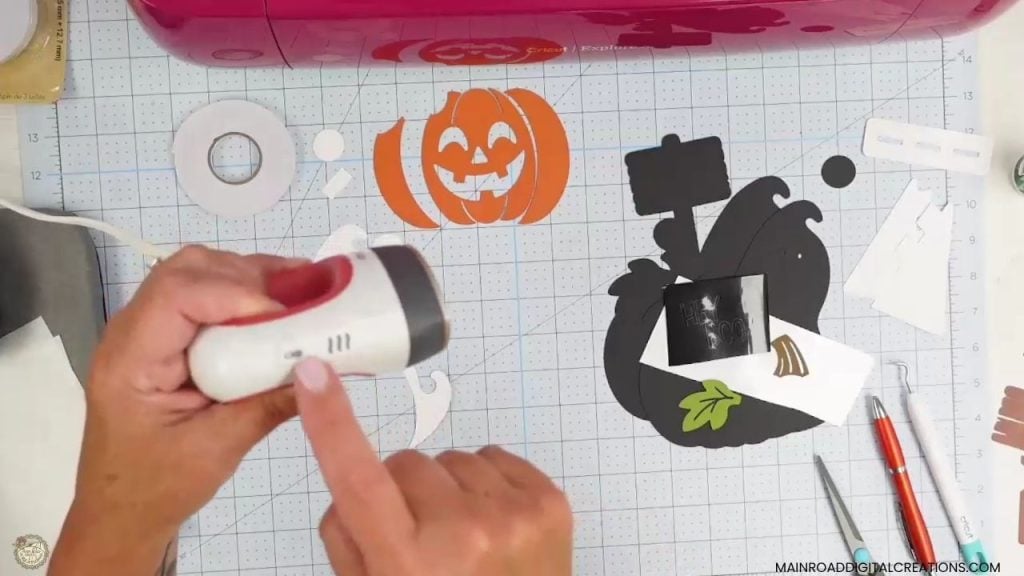
Once all the cardstock and HTV pieces are cut, it’s time to start putting everything together. I turned on my EasyPress Mini first so it could warm up while I weeded the “Hey Boo!” HTV and got the cardstock pieces organized for assembly.
Add the “Hey Boo!” HTV to the Sign
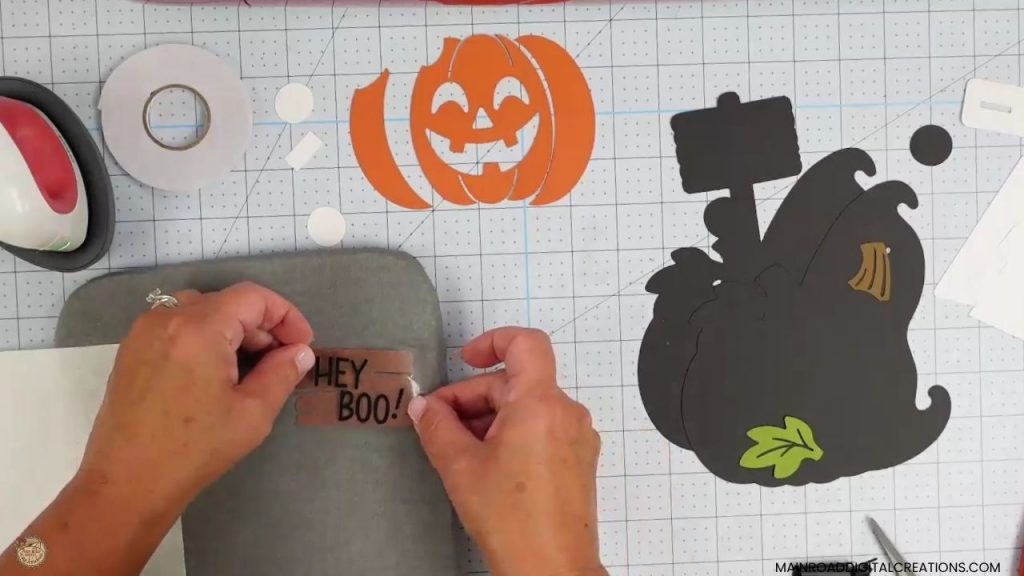
Next, I added the weeded “Hey Boo!” HTV to the cardstock sign using my EasyPress Mini. It only takes a few seconds to get the HTV to release, so I like to go slowly when I peel back the carrier sheet and make sure everything is stuck down before moving on.
Layer the Cardstock Pieces
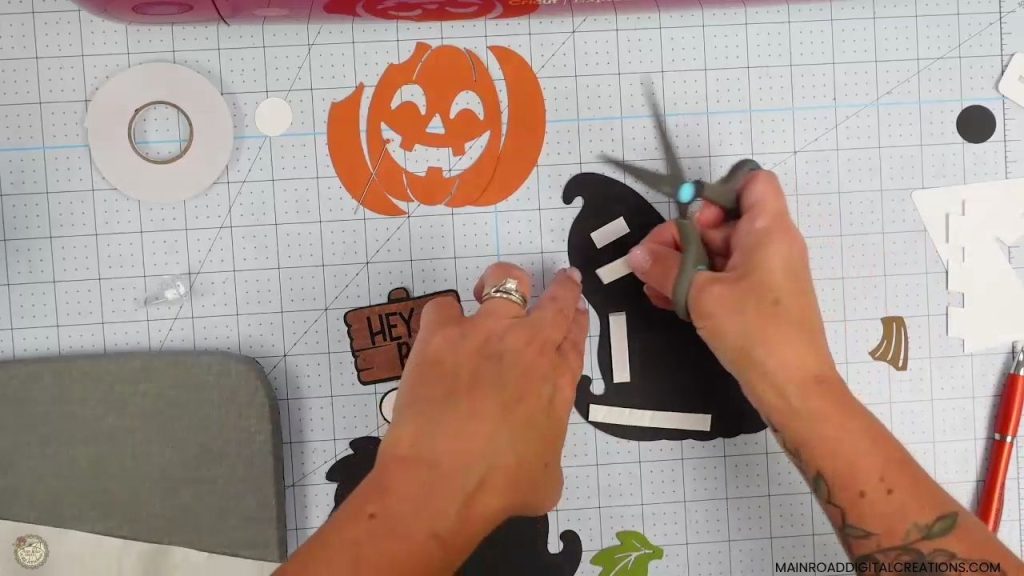
As the design comes together, some of the cardstock pieces are glued flat while others get foam tape on the back for a little extra dimension. I like mixing the two so the layers stand out without making the project too bulky.
Assemble the Cardstock Stand
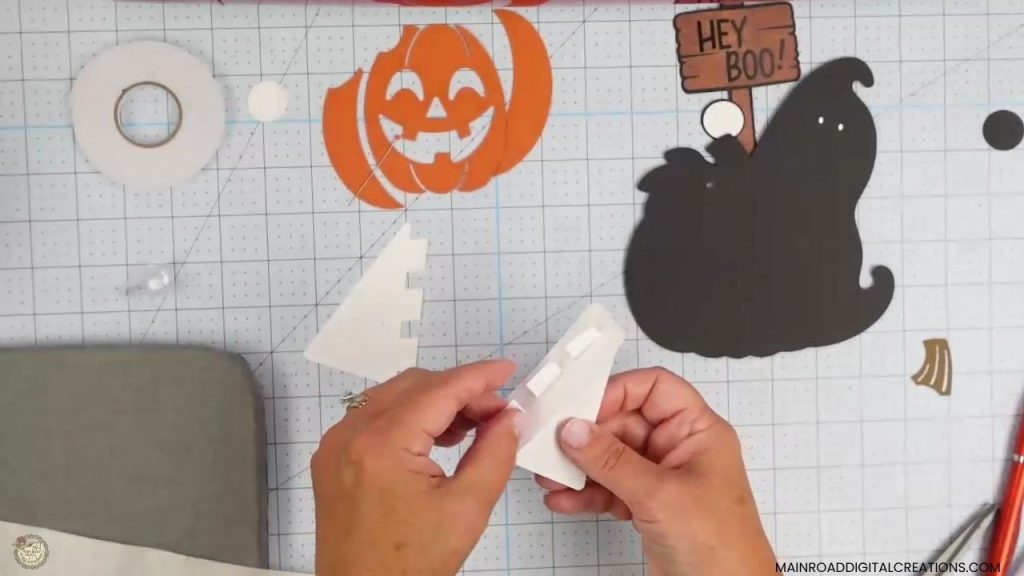
The optional stand is made from a few simple cardstock pieces that fit together and are glued in place. Once it’s assembled, you can attach it to the back of the project so the finished Halloween sign can stand up for display.
Finish Layering the Pumpkin
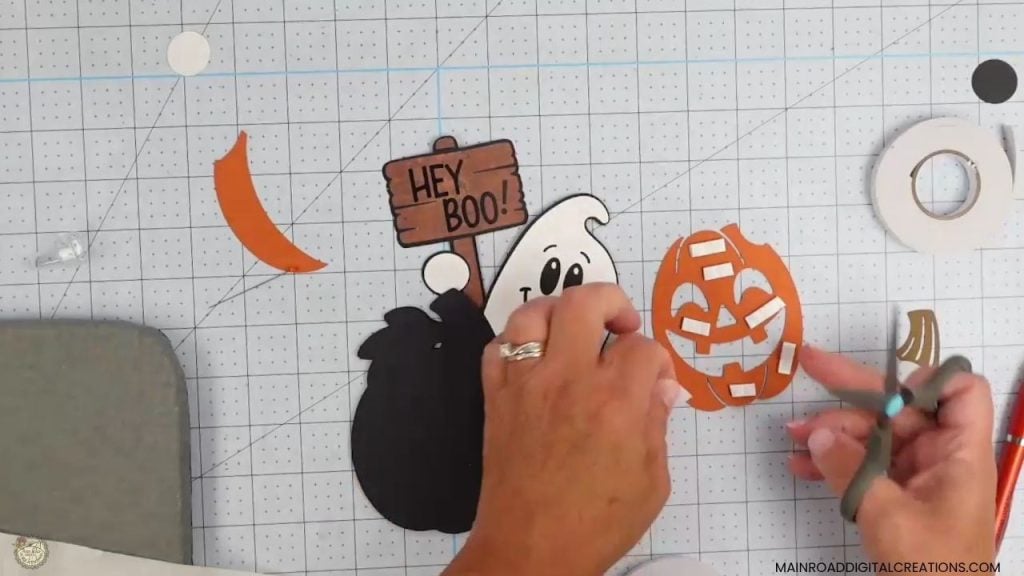
Continue adding the pumpkin layers, using foam tape on selected pieces to keep that layered look going. Once those pieces are in place, the front of the project really starts to come together.
Add the Finishing Details to Your Halloween Sign
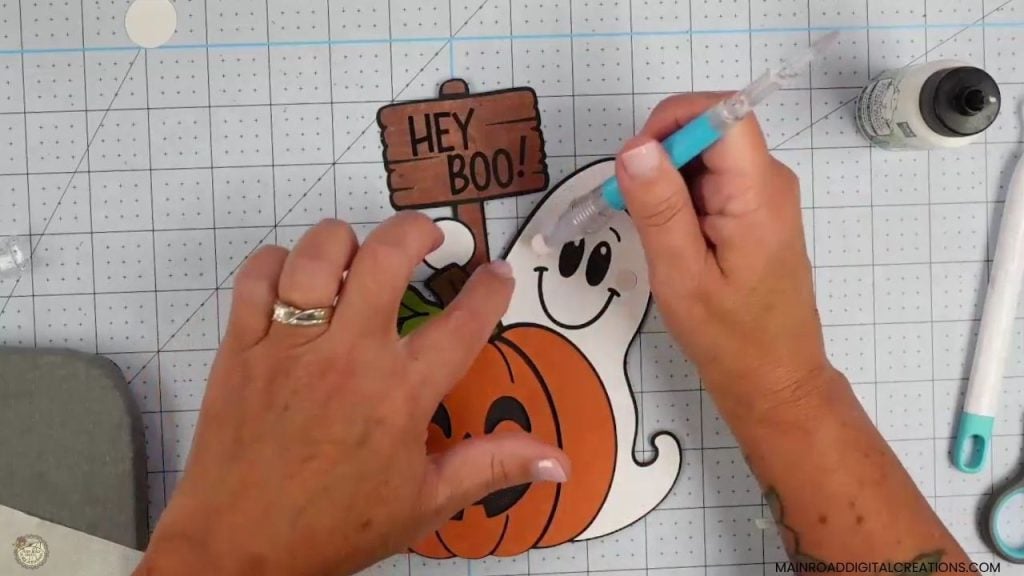
Now it’s really starting to look cute! Once the main layers are together, I add the little finishing pieces like the ghost’s cheeks and hand, and those small details really bring the whole design to life.
Finish the Halloween Ghost Sign
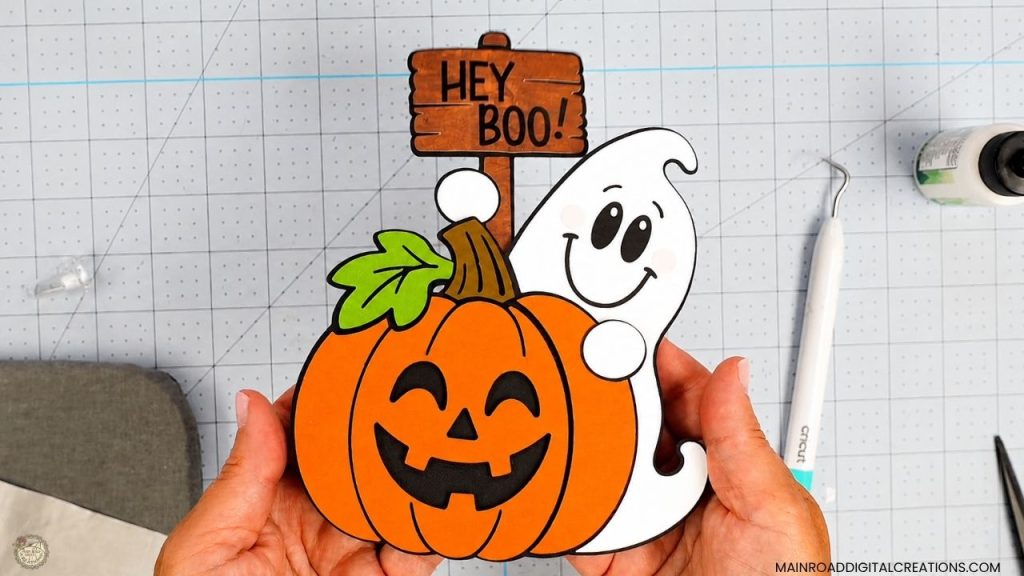
And here it is all finished! I love how the ghost peeks out from behind the pumpkin and how the foam tape gives the cardstock layers just a little extra dimension. It’s such an easy Halloween Cricut project once you see how the pieces fit together, so be sure to watch the video tutorial to see exactly how I assemble the whole thing from start to finish.
Watch the Halloween Ghost Sign Video Tutorial
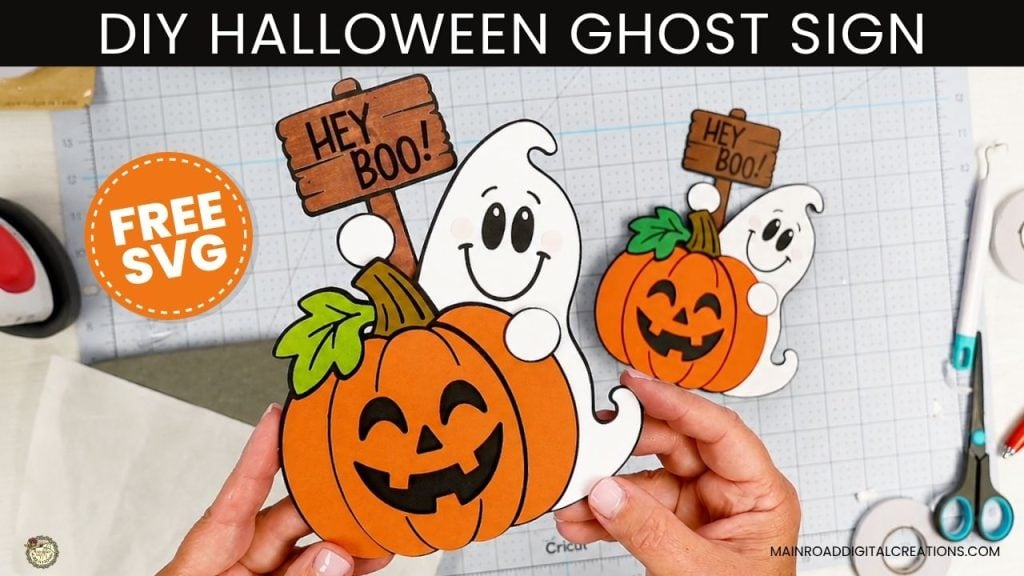
Want to see exactly how this cute little ghost comes together? Watch the full video tutorial below, and I’ll show you how I set up the SVG in Cricut Design Space, cut the cardstock and HTV, layer the pieces, add the foam tape and put the stand together.
Share your Creations
I can’t wait to see how you use this design in your projects! Be sure to share your creations in our Facebook group.

Are you on Facebook?
Join our group!
We’d love to have you!
All of the Free Files on my website are for Personal and Commercial use. Check out my Terms of Use (TOU) here.
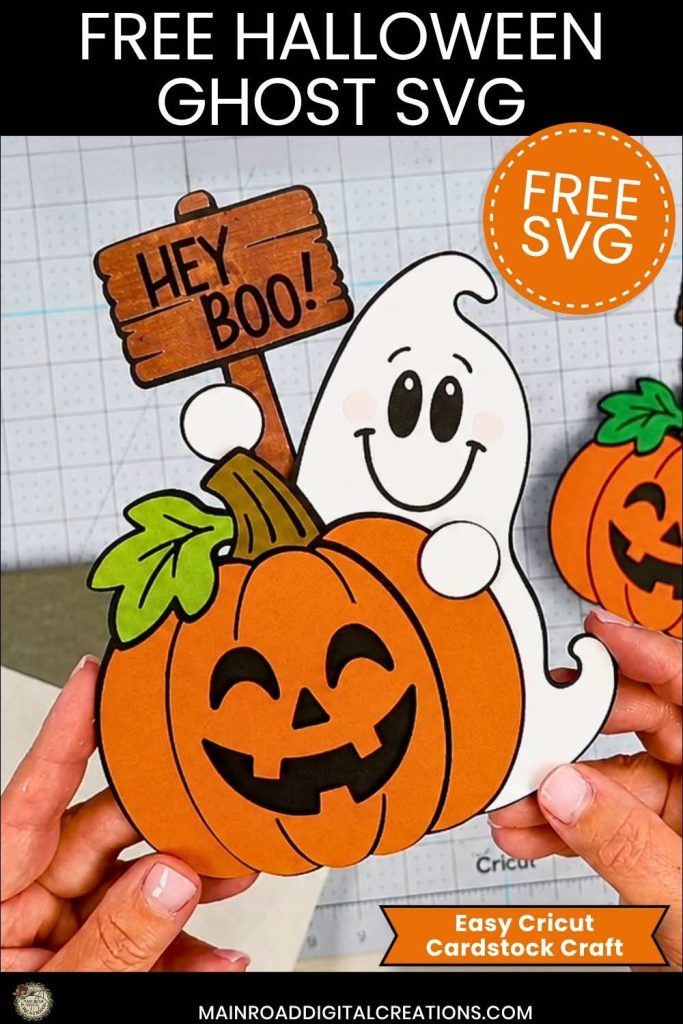
I’d love it if you could take a moment to pin the Free SVG image above to Pinterest. By sharing, you’re helping my business grow, which allows me to keep bringing you the free SVG files you adore. Thanks a bunch for your support. It means the world to me!
Here’s where to find your Free SVG download!
Design #285 – Hey Boo Halloween Ghost SVG is available in my freebie library. To get the Password, click the button below and Join our Freebie Club!
Love this week’s Free SVG? Try another Fun Cricut Project!
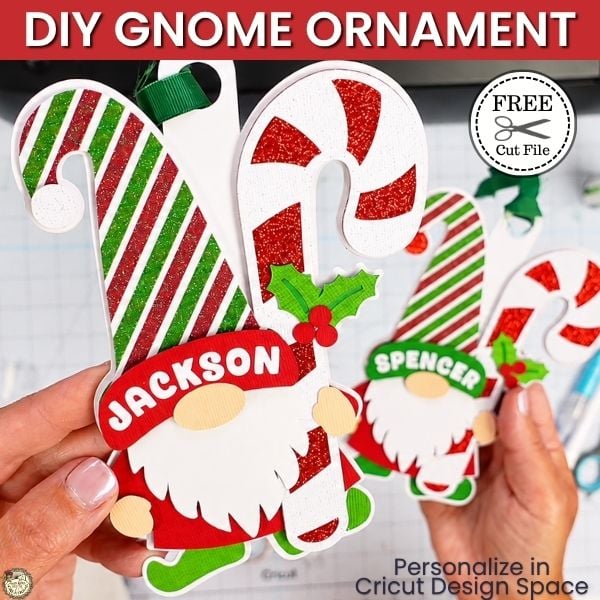
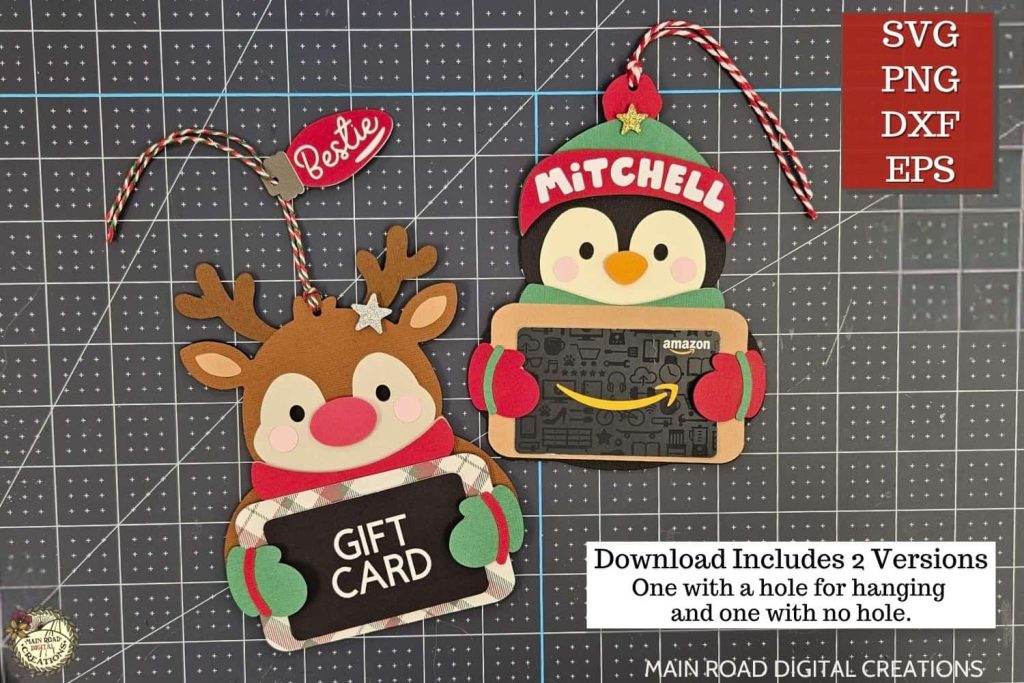
Check out my shop for fun and creative designs!

Join the Creative Fabrica Membership

Fonts, designs, and so much crafty goodness! Over 16 million digital files are waiting! In partnership with Main Road Digital Creations, your first 10 downloads are totally free. After that? It’s just $47 a year (yep, that’s $3.99/month) with full commercial and POD use included. Sign up for Free!
Soooo grateful for THE MOST ADORABLE Halloween ghost project EVER!!!! Your video is excellent–professionally done– and a pleasure to watch!! I intend to personalize each ghost sign with my little-little’s names. You have inspired this old grandma to craft today!!!! BTW…I thought your Gnome ornaments were amazing, as well!!!!! THANK YOU for creating things that make us look special in the recipients’ eyes!!!!!!!
Omgoodness 🥰 Thank you so much! You’ve put the biggest smile on my face. I’m so grateful for your comment and kindness. Happy crafting,Valerie. 😊