
How to Apply Adhesive Vinyl to Tumblers
Free Holiday Tumbler SVG Files
This post may contain affiliate links. As an Amazon Associate, I earn from qualifying purchases. Please see my privacy policy for full details.

Get ready to make some festive tumblers! Today, I’ll show you how to apply adhesive vinyl to tumblers using two free holiday SVGs: a cute snowman face and a cozy Christmas movie quote. Whether you’re gifting these or enjoying them yourself, this tutorial has everything you need for a seamless process. Grab the free SVGs, follow along with the step-by-step guide, and let’s start crafting!
Supply List for Holiday Tumblers

- White Tumbler
- Colored Tumblers*
- *Please read below
- Standard Grip Mat
- Cricut-I used my Maker
- Transfer Tape
- Contact Paper
- Measuring Tape
- Weeding Tools
- Squeege
- Pin Pen
- Brayer
- Rubbing Alcohol
- Lint Free Cloth
- An old pool noodle or towel- something to keep your tumbler from rolling
- Adhesive Vinyl (Snowman)
- Black, White, Orange, Powder Pink
- Adhesive Vinyl (Christmas Movie)
- Cream, Green, Glitter Diamond, Glitter Red
Finding the Right Tumblers for Your Project
I purchased the 16-oz tumblers in the plus section of my local Dollar Tree. The link I posted in the supplies section says they are no longer available, but as of today (October 31st, 2024), they still have them in my local store.
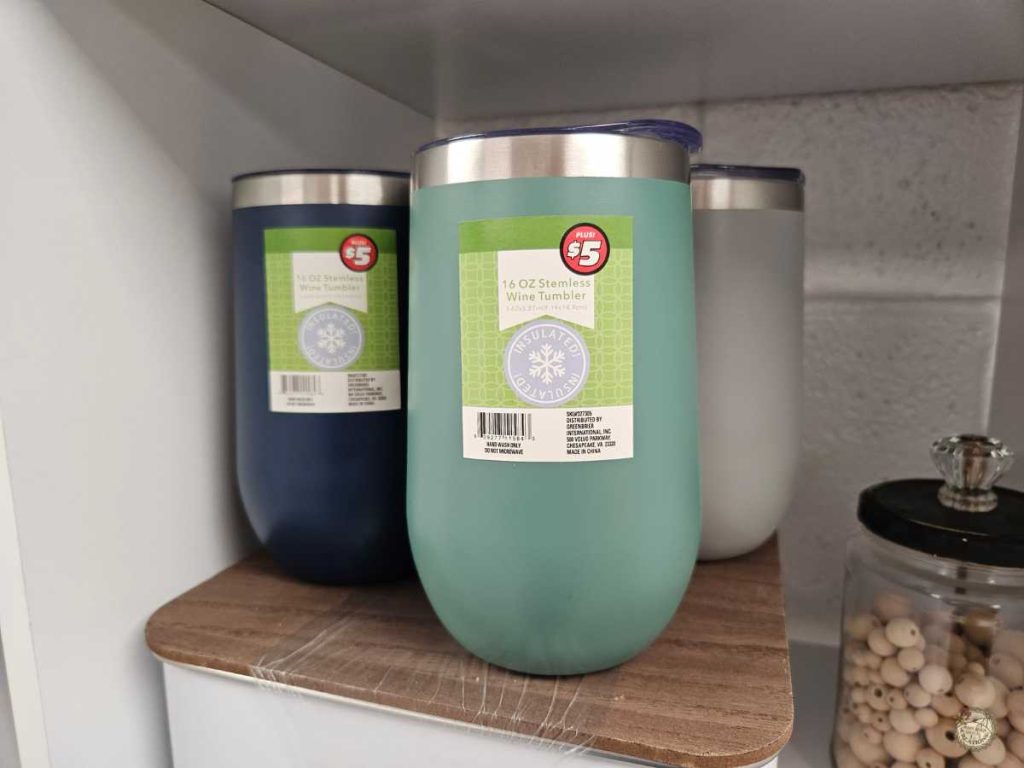
If you can’t find the exact 16-oz tumblers from Dollar Tree, don’t worry! You can still create beautiful holiday tumblers by using similar-sized cups or experimenting with different shapes. Just keep in mind the tips I share in the video—especially about measuring, testing with the Print Then Cut feature, and adjusting your design placement. With these tricks, you’ll be able to adapt the SVGs to fit various tumbler styles and sizes, so you’re not limited to a specific brand or size. Get creative and make the design work for whatever tumblers you find!
Adhesive Vinyl on Holiday Tumblers
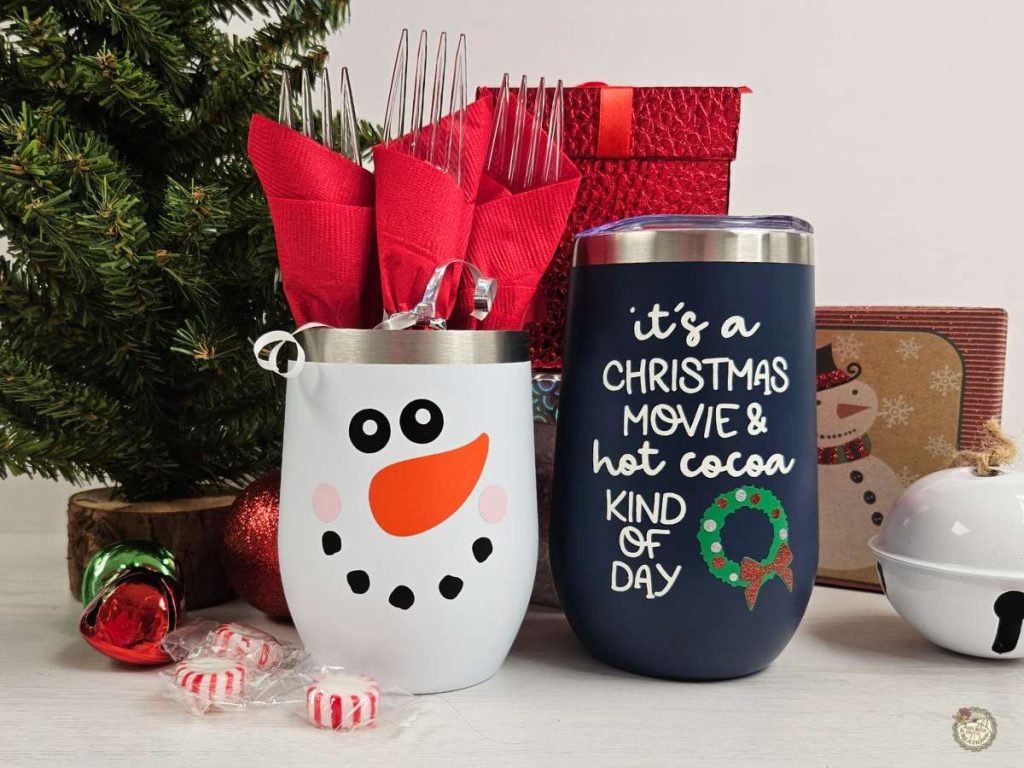
These free tumbler designs would be adorable for your holiday party. You could use them as silverware holders or fill them with treats for your guests as a special one-of-a-kind gift!
What’s that font?
- Free Holiday Tumbler SVG Designs
- Christmas Movie- Unicorn Farts
- Hot Cocoa – Bright Candy
- Fonts Used in the Bundle of Additional Tumbler Designs
- Caffeine/And –Okra + Christmas Lights- Stickers
- Holly Jolly Vibes – Groovy Love
- This Wine/With Holiday – Uncle Grump + Pairs Well/Cheer –Christmas Seasonal
- Sippin/Christmas –Christmas Seasonal + On/Spirit –Ask Why
- Here/Cookies –Stickers + For The –Earth’s Mightiest

Add More Holiday Cheer with Our Exclusive Bundle!
Love the two free designs? Get even more holiday spirit with my Holiday Tumbler SVG Bundle! This bundle includes five festive designs, including the two additional designs I demonstrated in the video. Whether you’re crafting gifts or adding a personal touch to your drinkware, this bundle gives you even more options to celebrate the season.

How to Add Adhesive Vinyl to a Tumbler
Here’s a step-by-step guide on how to add adhesive vinyl to your tumblers. For the complete video tutorial, check it out below to see these steps in action!


Prepare Your Tumblers
First, clean each tumbler with rubbing alcohol and a lint-free cloth to remove oils or dust. Measure where you want your design to go, avoiding the curved bottom area to prevent bubbles or creases.


Test Placement with Print Then Cut
To ensure the perfect placement on your tumbler, I use Cricut Design Space’s Print Then Cut feature to print a test of my design. This way, I can cut out the printed design, hold it up to the tumbler, and make sure the sizing and placement are just right before moving on to vinyl. In the video, I show exactly how to set this up and use it to avoid mistakes and save on vinyl. This step is optional but is a great trick if you want that extra confidence in your layout!
Cutting and Weeding the Vinyl
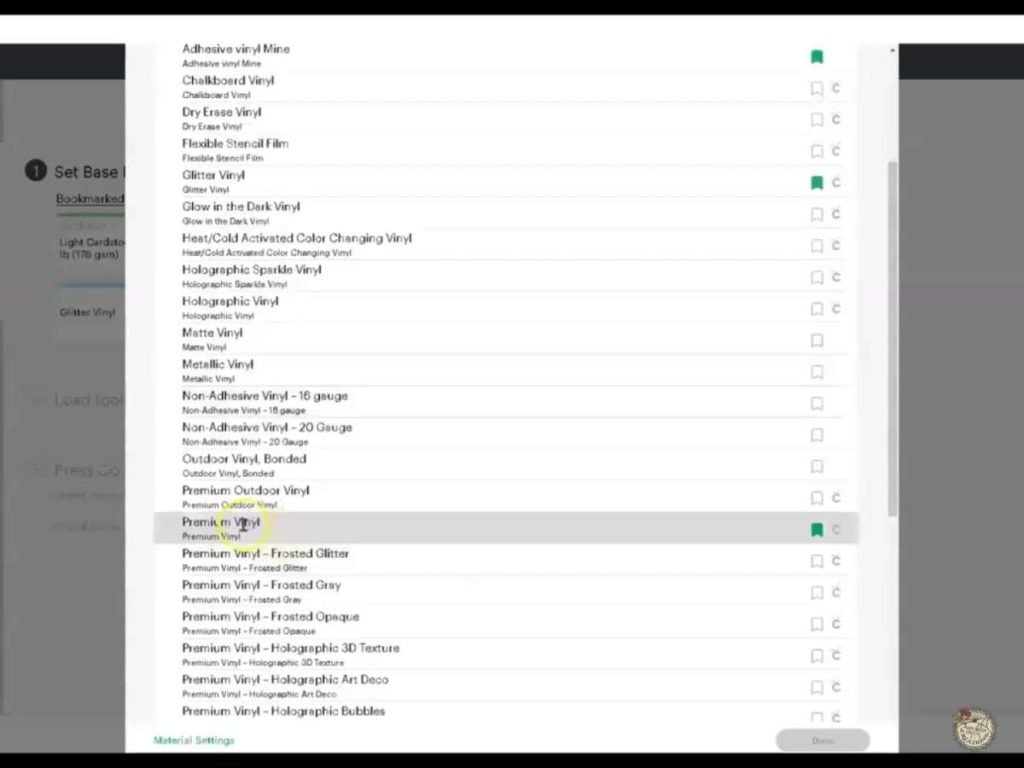

Cut the Vinyl
Select your vinyl settings based on the type, such as glitter or regular adhesive vinyl. Arrange smaller pieces on one mat to save time, and remember to mirror the designs if needed.

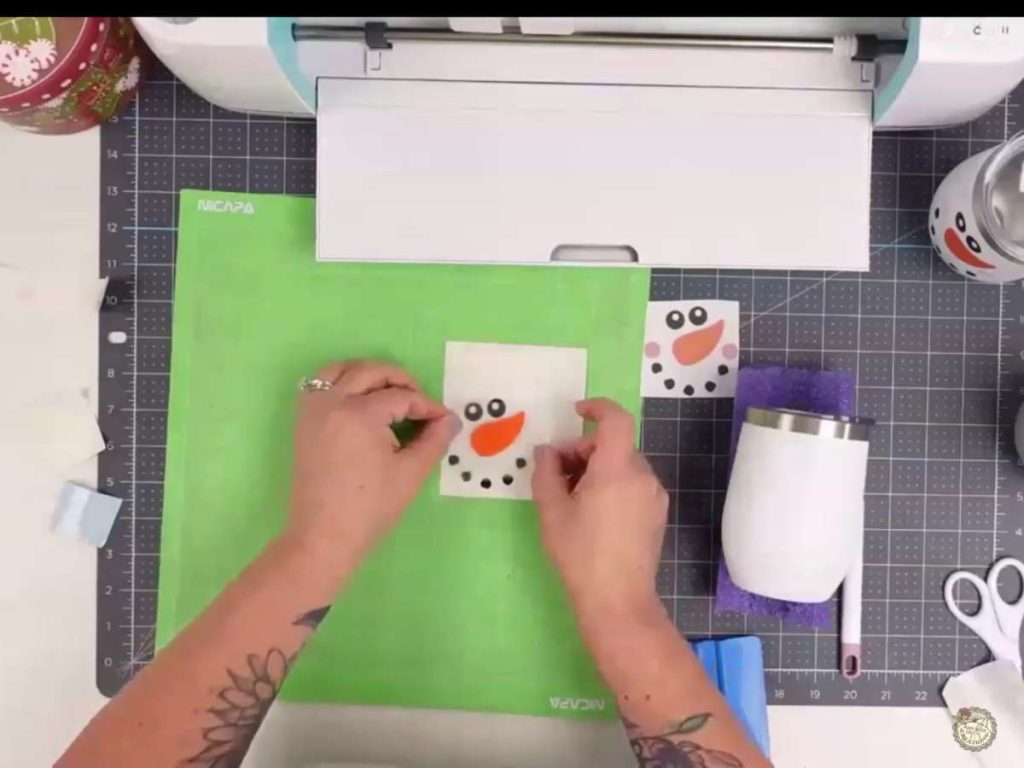
Weed and Layer Your Design
Use weeding tools to remove excess vinyl. For layering, use contact paper on vinyl pieces, starting with the base layers and working up. Use your design image as a guide to ensure accurate placement.
Applying the Vinyl to the Tumbler
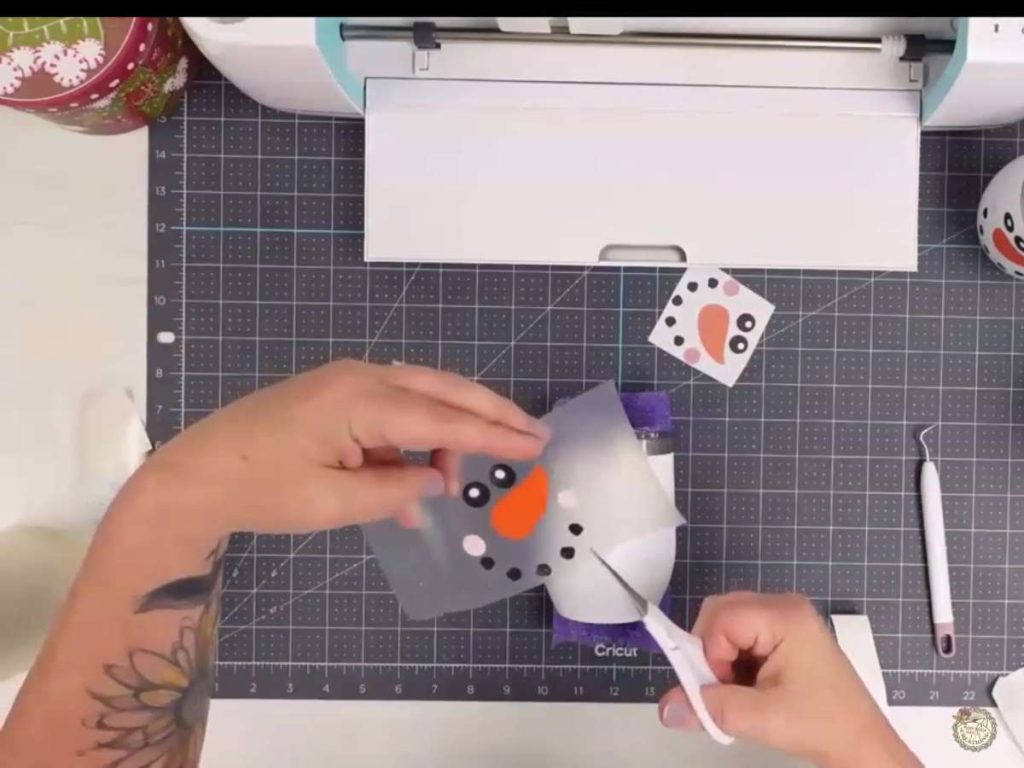

Apply the Design to the Tumbler
Pick up the entire design with transfer tape. Place the tumbler on a stable surface (like a cut pool noodle) to keep it from rolling. Position the design carefully, using small slits in the transfer tape. Start from the center, pressing outward, and slowly roll off the transfer tape for a smooth finish.
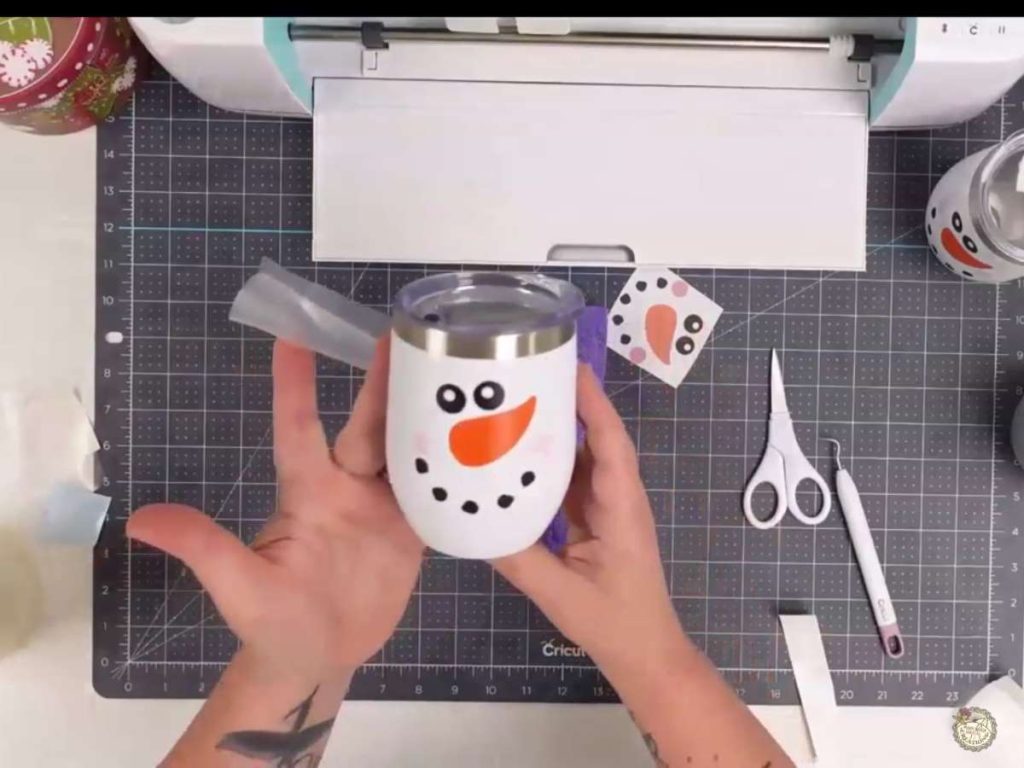
Optional: Personalize and Heat Set
Add a name or custom text for personalization, and heat-set the vinyl with a hairdryer if you want extra adhesion. Note: These tumblers are hand-wash only to preserve the vinyl!
Adhesive Vinyl Tumbler Tutorial Video
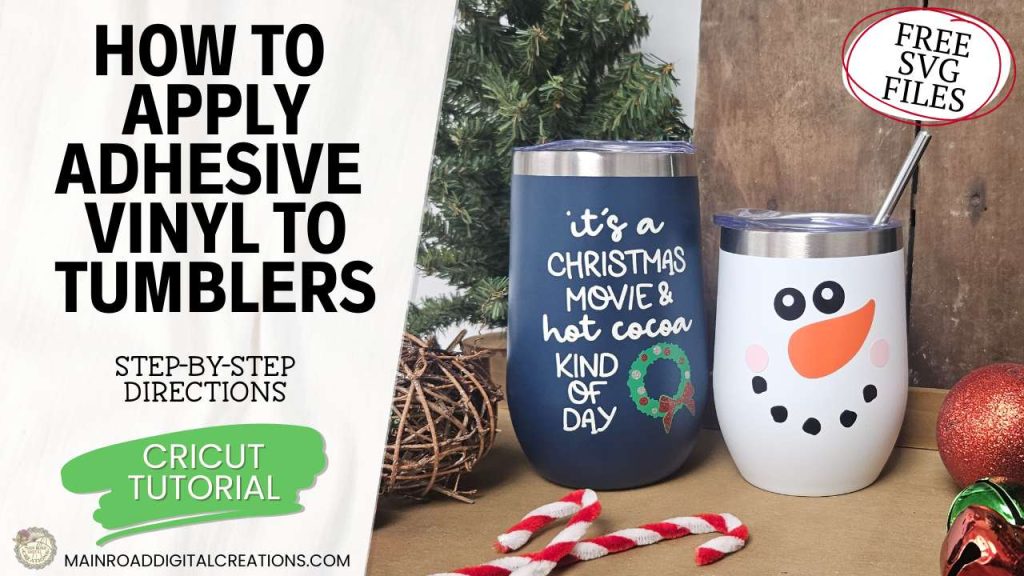
Watch the full step-by-step video tutorial below to learn how to apply adhesive vinyl to your tumblers! This fun holiday project is easy to follow, and I’ll walk you through each part—from preparing your tumbler to layering and applying the vinyl designs.
Show Off Your Holiday Tumblers!
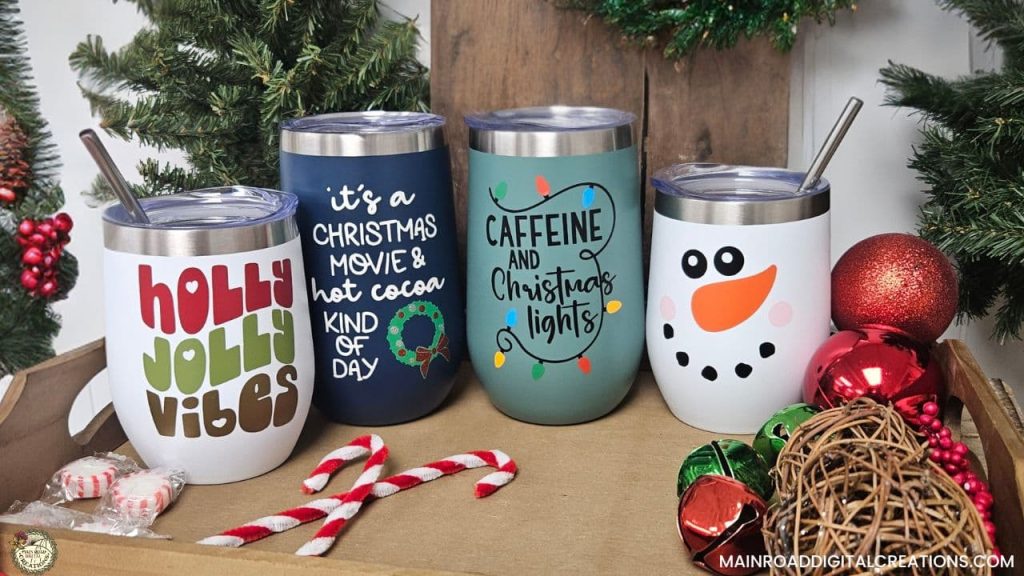
I hope you enjoyed this holiday tumbler tutorial and feel inspired to create your own! These designs are perfect for gifting or keeping for yourself, and I can’t wait to see how you make them your own. Be sure to share your finished tumblers in our Facebook group—I’d love to see your creativity in action and celebrate your amazing work!

Are you on Facebook?
Join our group!
We’d love to have you!
All of the Free Files on my website are for Personal and Commercial use. Check out my Terms of Use (TOU) here.

I’d love it if you could take a moment to pin the Free SVG image above to Pinterest. By sharing, you’re helping my business grow, which allows me to keep bringing you the free SVG files you adore. Thanks a bunch for your support. It means the world to me!
Here’s where you can find your Free SVG download!
Design #227— Christmas Movie & Snowman SVG files are available in my freebie library. To get the Password, click the button below and Join our Freebie Club!
If you enjoyed this week’s Free SVG & Tutorial, here’s another you will love!

Join the Creative Fabrica Membership

Fonts, designs, and so much crafty goodness! Over 16 million digital files are waiting! In partnership with Main Road Digital Creations, your first 10 downloads are totally free. After that? It’s just $47 a year (yep, that’s $3.99/month) with full commercial and POD use included. Sign up for Free!