
Free Layered Christmas Ornament SVG – DIY Tutorial
How to Make a Layered Christmas Ornament with Cardstock
This post may contain affiliate links. As an Amazon Associate, I earn from qualifying purchases. Please see my privacy policy for full details.

Christmas is right around the corner, and this Free Layered Christmas Ornament SVG is the perfect DIY project for decorating your tree or adding a personal touch to holiday gifts. With a mix of 80-pound cardstock, glitter cardstock, and vellum, this layered ornament brings an extra sparkle to the season. Using just a few supplies, you can create these ornaments for teachers, friends, or your tree—and yes, they make adorable gift tags, too!
Supplies Needed to Make Layered Cardstock Ornaments
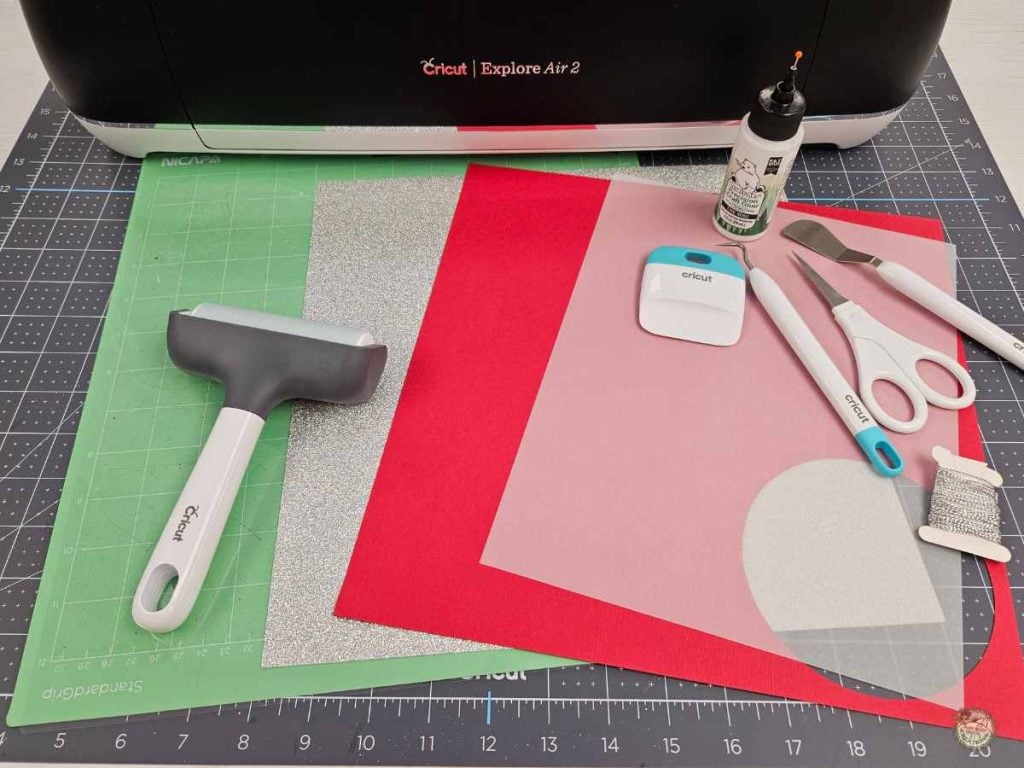
Let’s get crafting, and be sure your cutting mat has a good grip to handle those intricate cuts!
- Cricut- I used my Explore Air 2
- Standard Grip Mat -or a new Light Grip Mat
- Cardstock- I used 80 lb
- Encore Brand -I used the colors All-American Red, Forest Moss, and Sea Mist.
- Glitter Cardstock- I used white and silver glitter. The blue glitter is called Mermaid Teal Glitter Luxe.
- Vellum
- Brayer
- Weeding Tools
- Glue
- Foam Squares (optional)
- Metallic Cord or Hanger of your choice
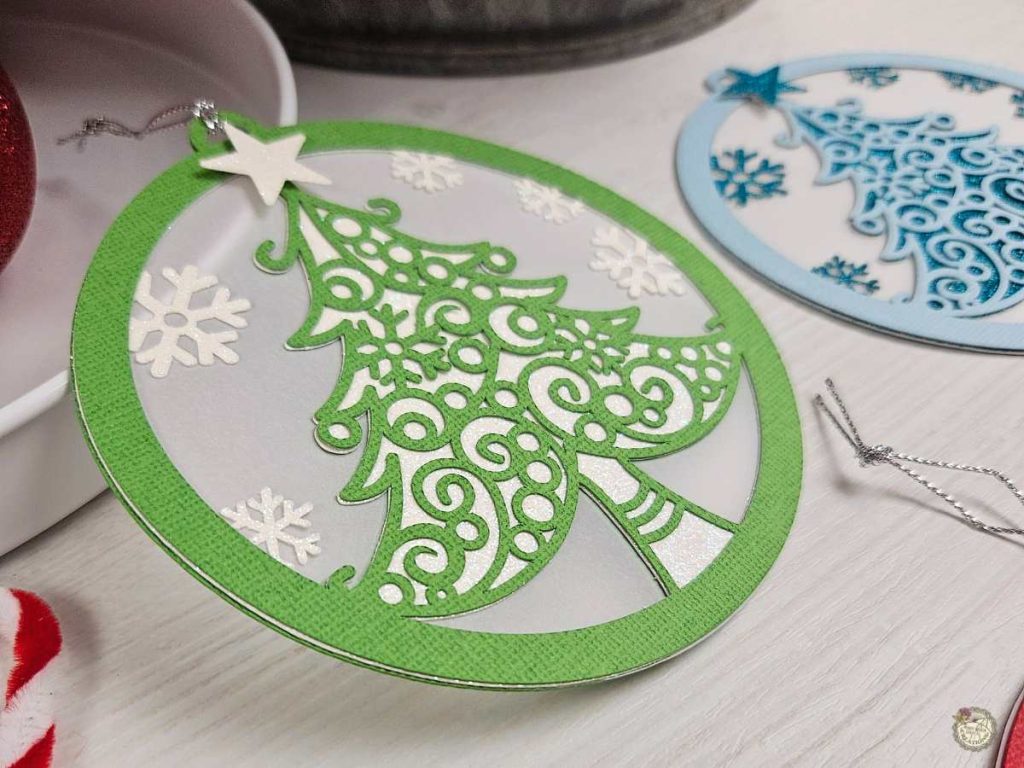
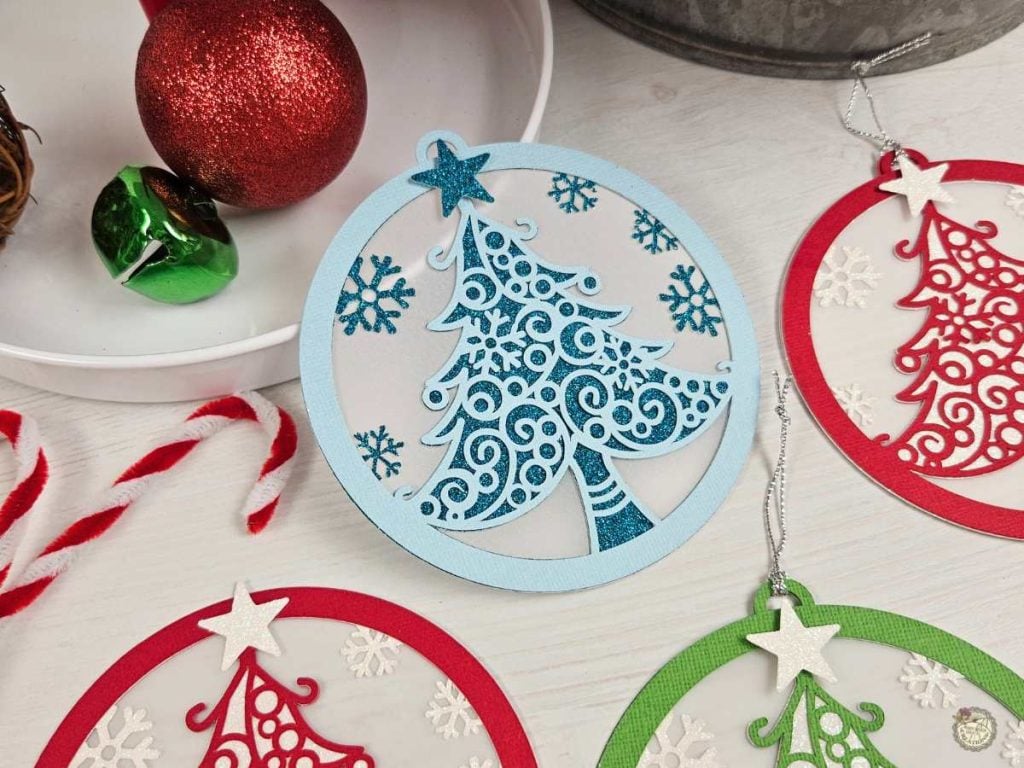
Two Ornament Designs for Your Holiday Projects
This week’s free SVG includes two versions of the ornament—one with a hanger and one without. Why? I wanted to give you options! Whether you’re planning to hang it on the tree or add it to a card, you’ve got both designs ready to go!

Step-by-Step Instructions Layered Cardstock Ornament
Here’s a step-by-step guide on how to make your layered cardstock Christmas tree ornament. For the complete video tutorial, check it out below to see these steps in action!
Preparing the SVG in Cricut Design Space
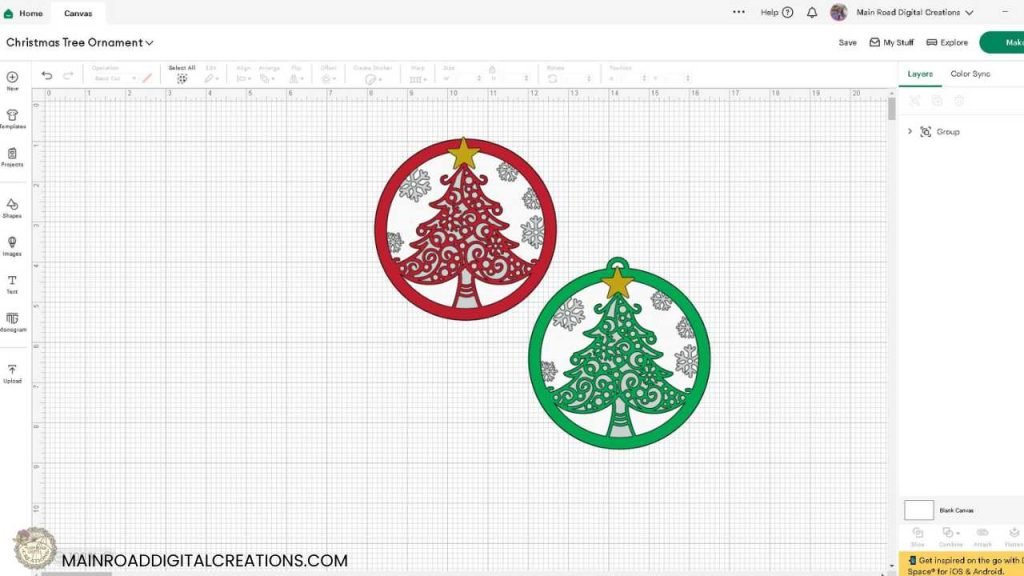
Open Cricut Design Space and upload the layered Christmas tree ornament SVG. You’ll see two versions: one with a hanger and one without. Choose whichever fits your project best.
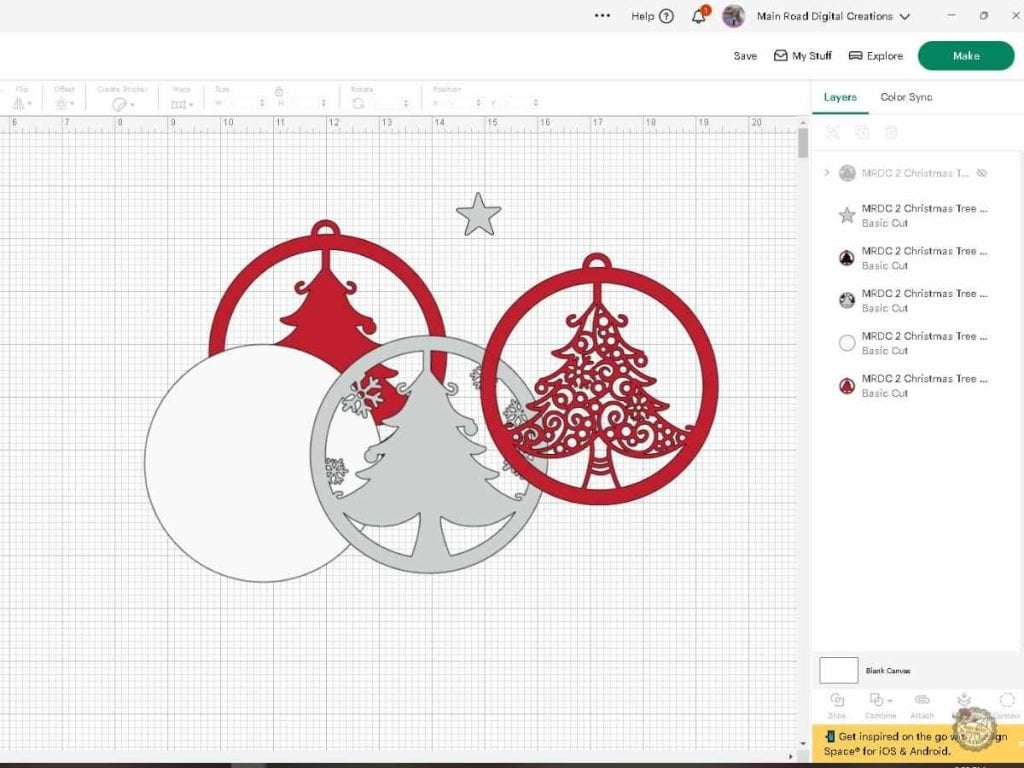
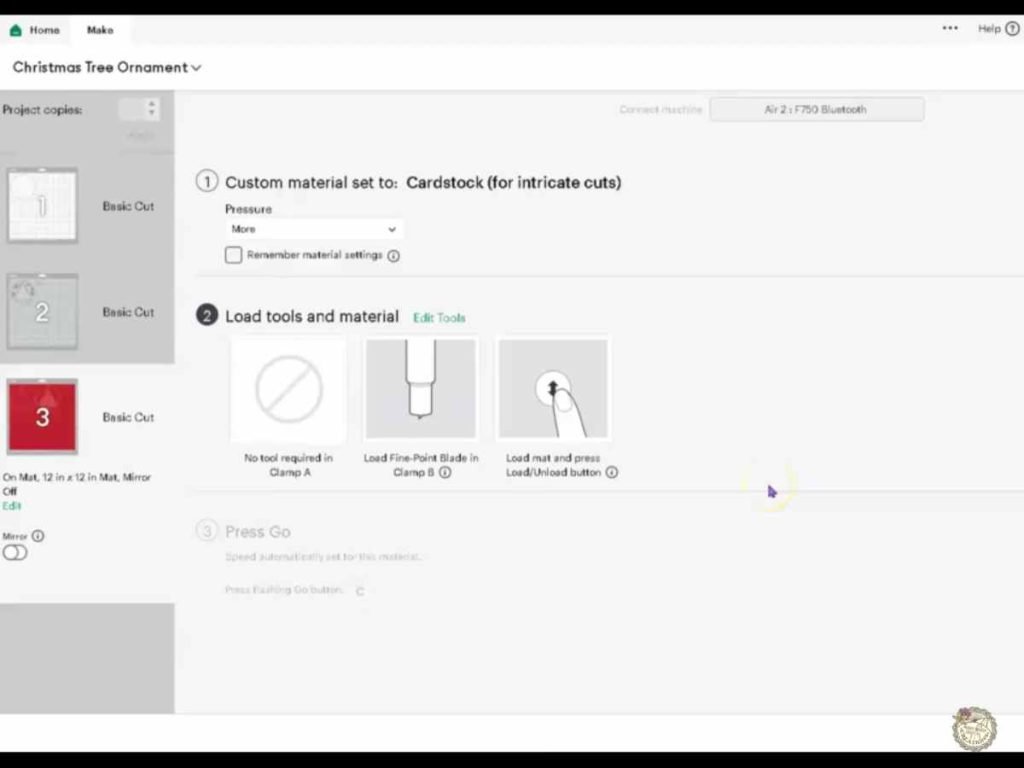
Ungroup the layers to customize the colors. Select settings for cardstock and vellum where needed.
Cutting and Removing the Cardstock
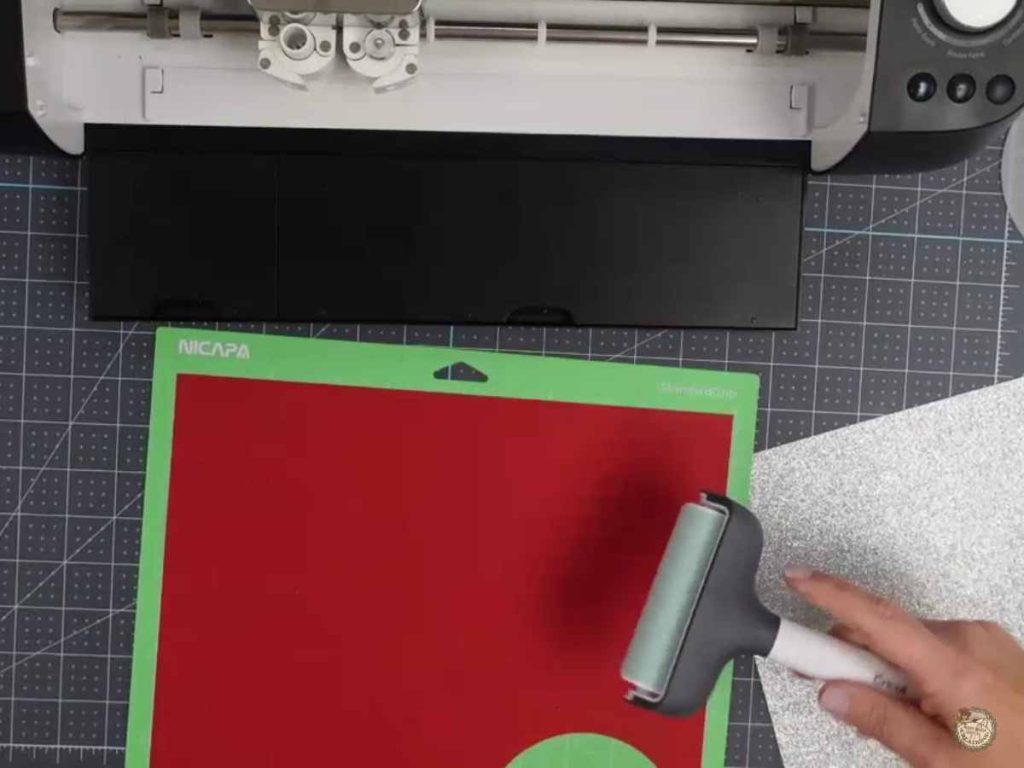
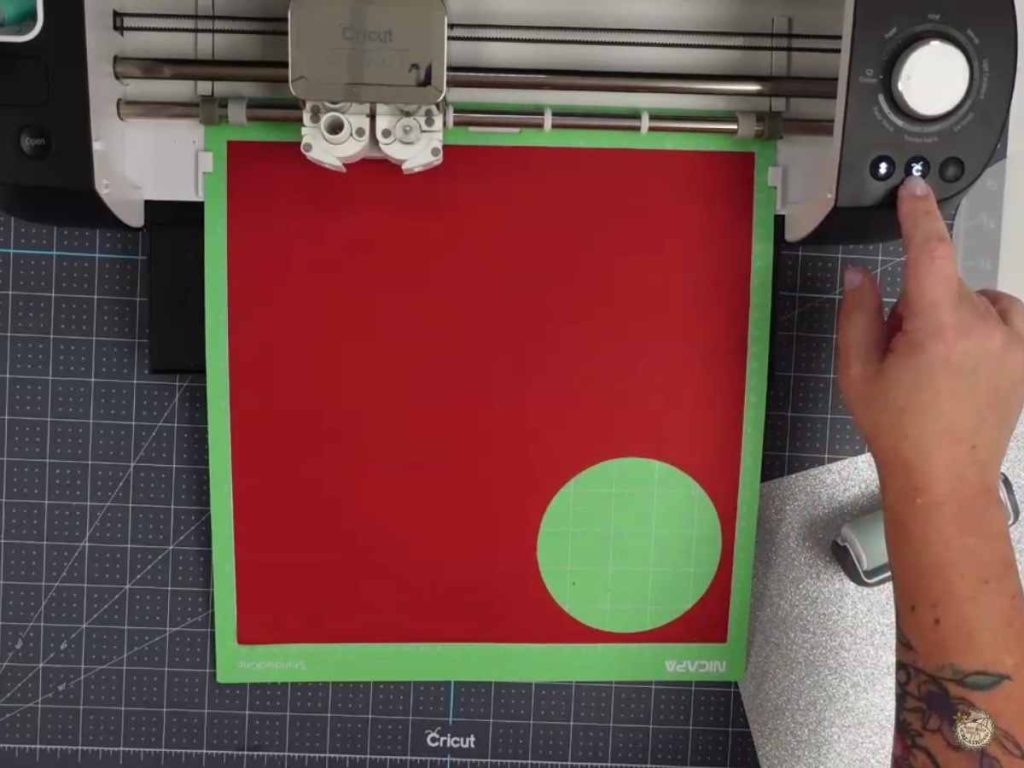
Place the vellum, glitter cardstock, and regular cardstock on separate mats. Use a brayer to ensure each piece is firmly adhered to the mat.
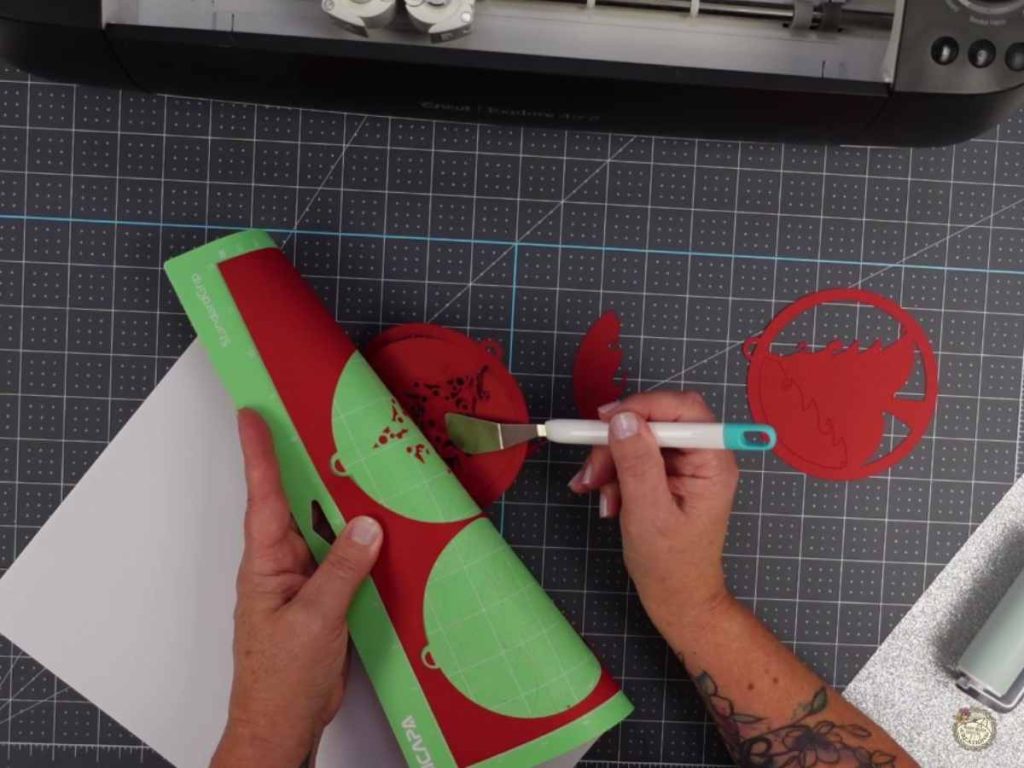
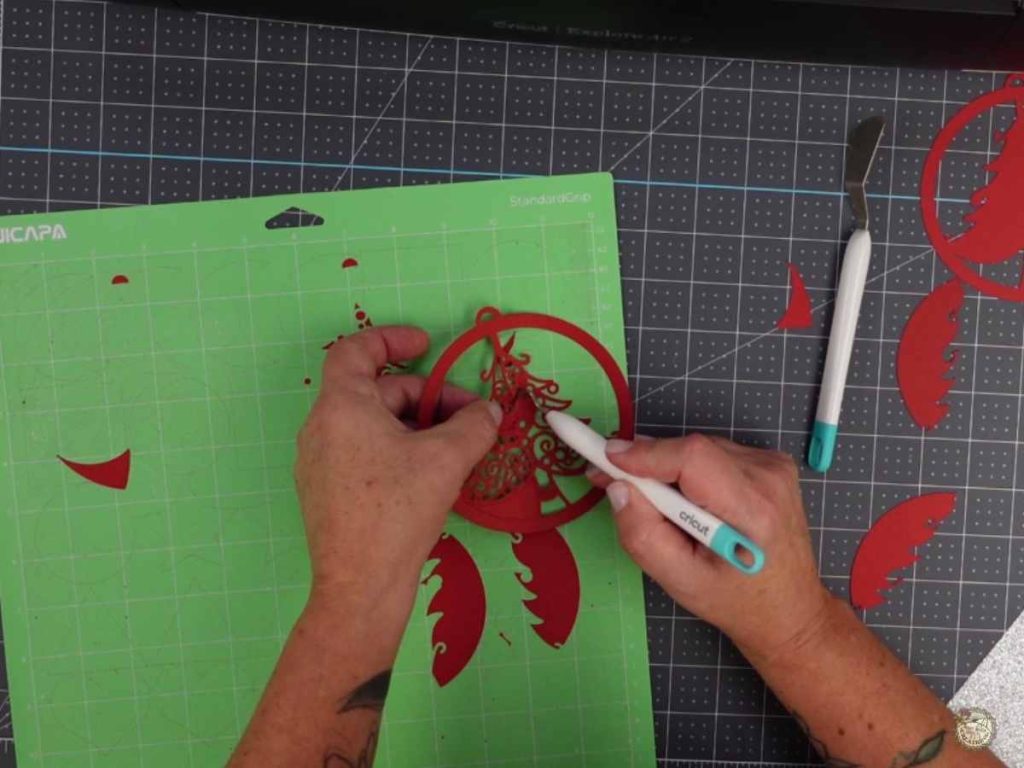
Carefully peel the mat away from the cardstock (flip the mat over and pull it back slowly) to prevent tearing. Use a scraper or weeding tool to gently release any intricate areas.
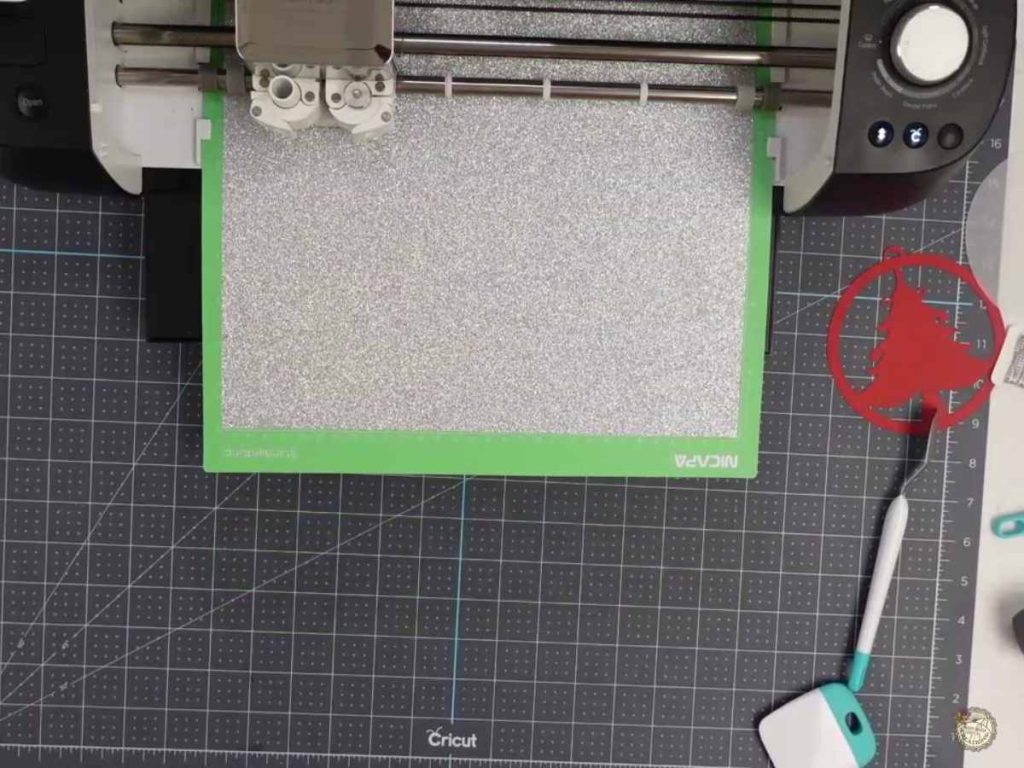
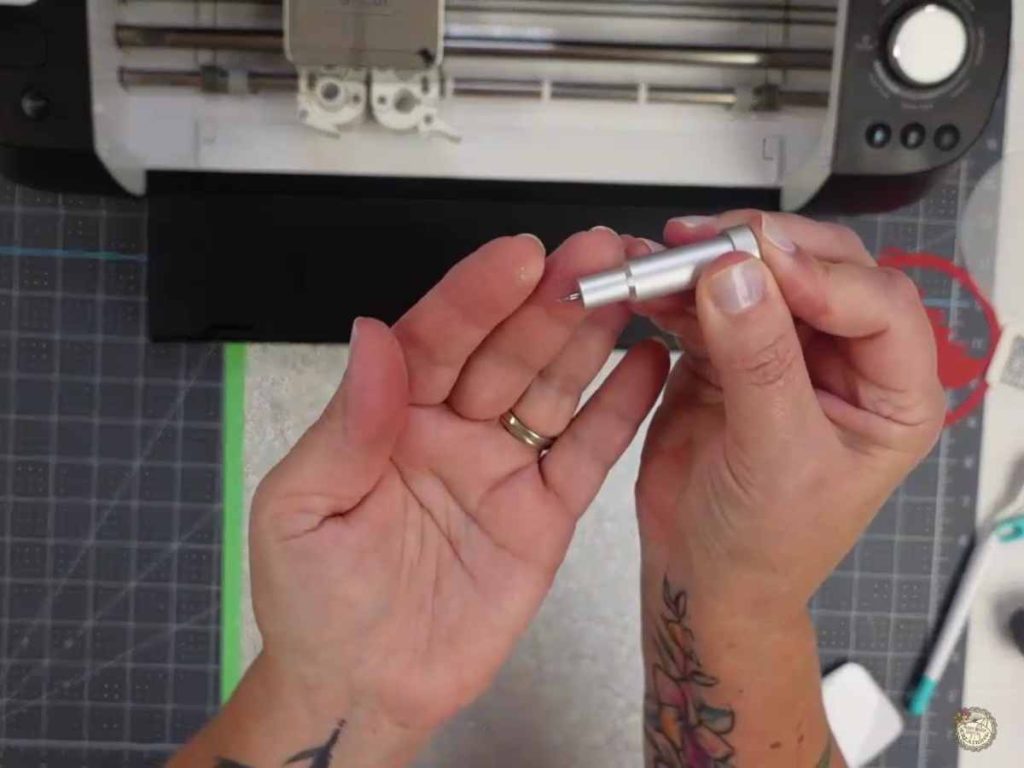
Tip: After cutting glitter cardstock, clean the blade by pressing the plunger to remove any buildup. This helps keep cuts sharp and clean for the next material.
Assembling the Layered Cardstock Christmas Ornament
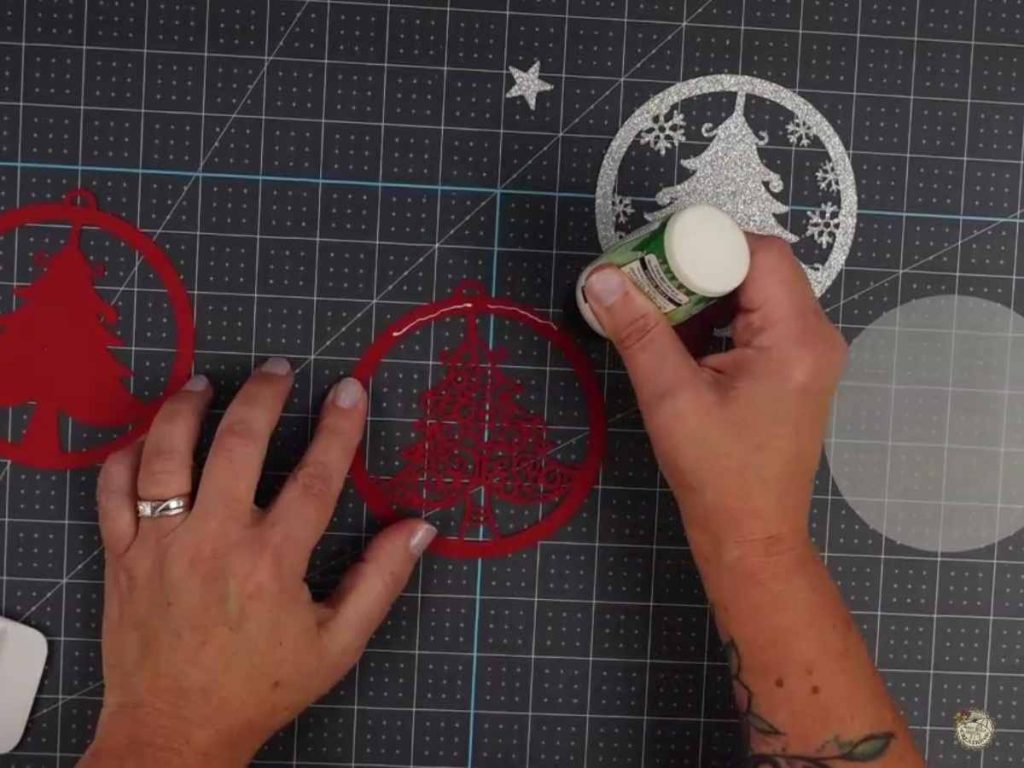
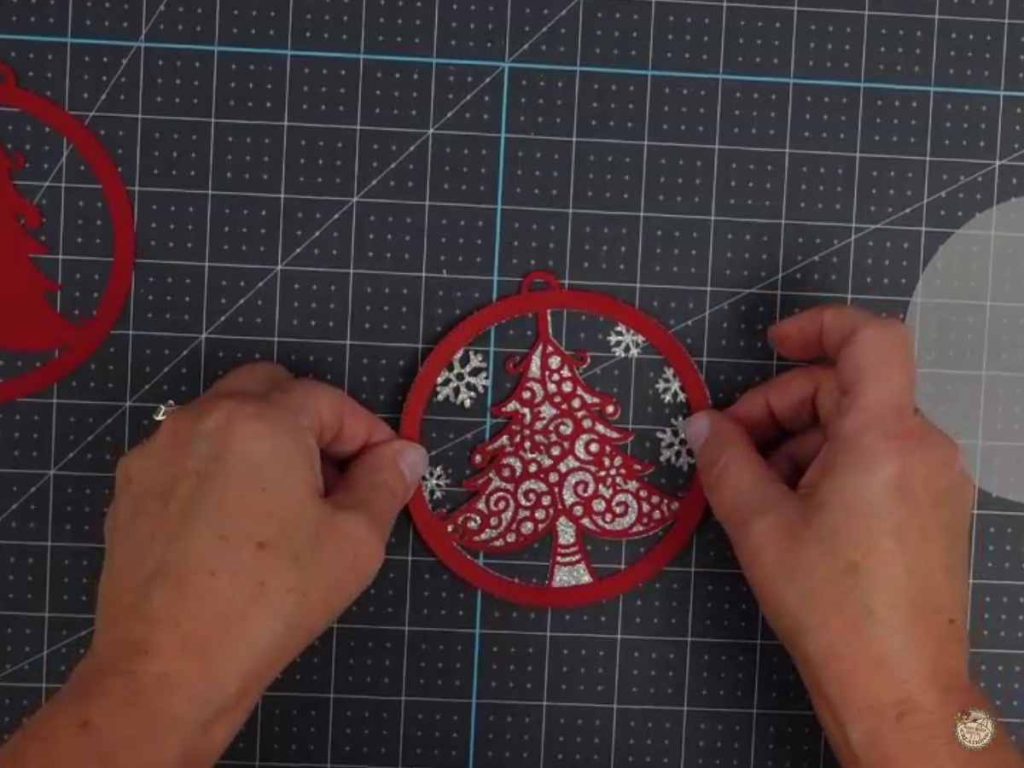
Apply glue to the back of the top layer and attach it to the glitter layer, pressing gently to secure.
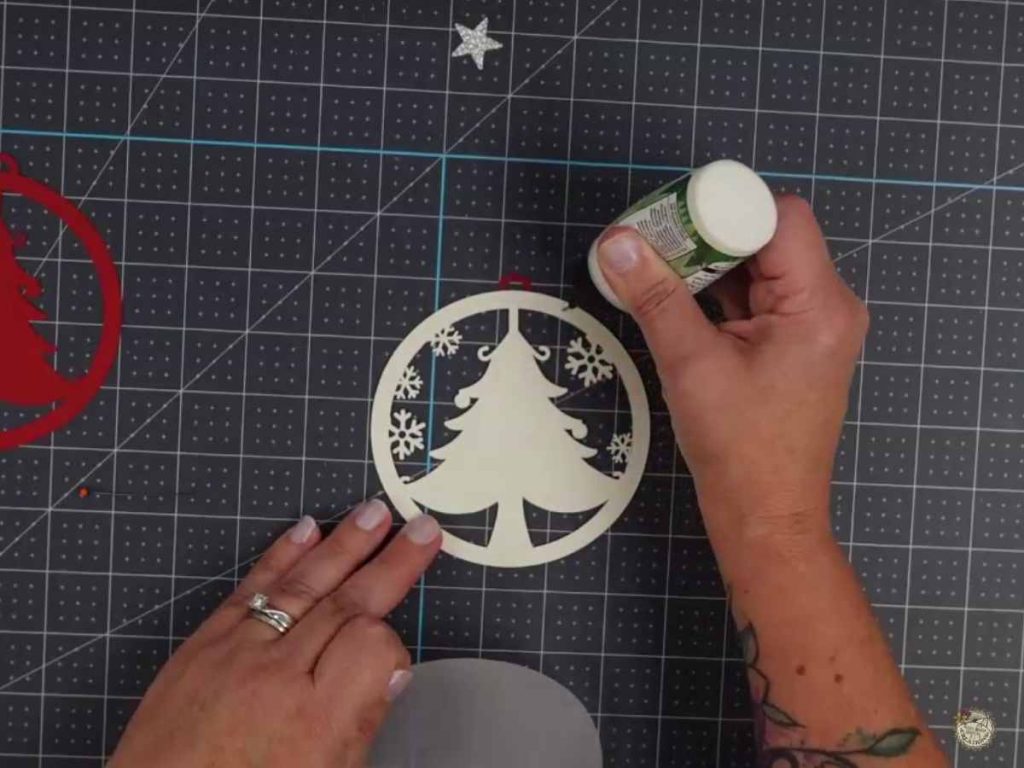
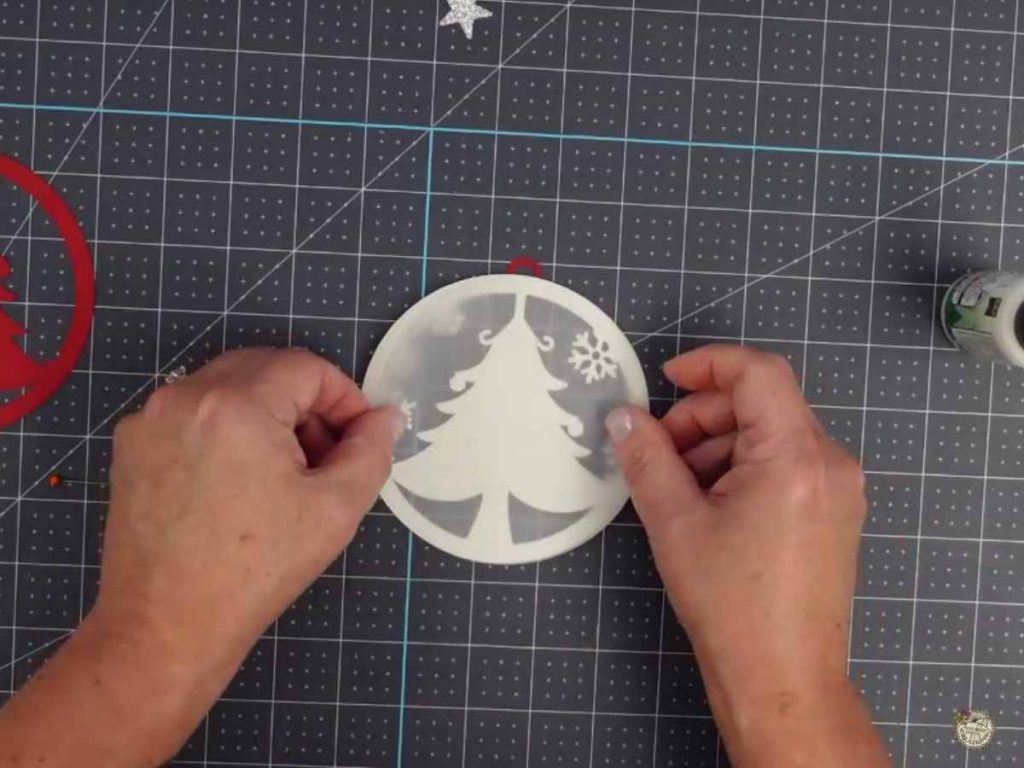
Next, add glue to the back of the glitter layer and attach the vellum layer, creating a beautiful, layered effect. Add glue to the back layer and add it to the vellum layer.
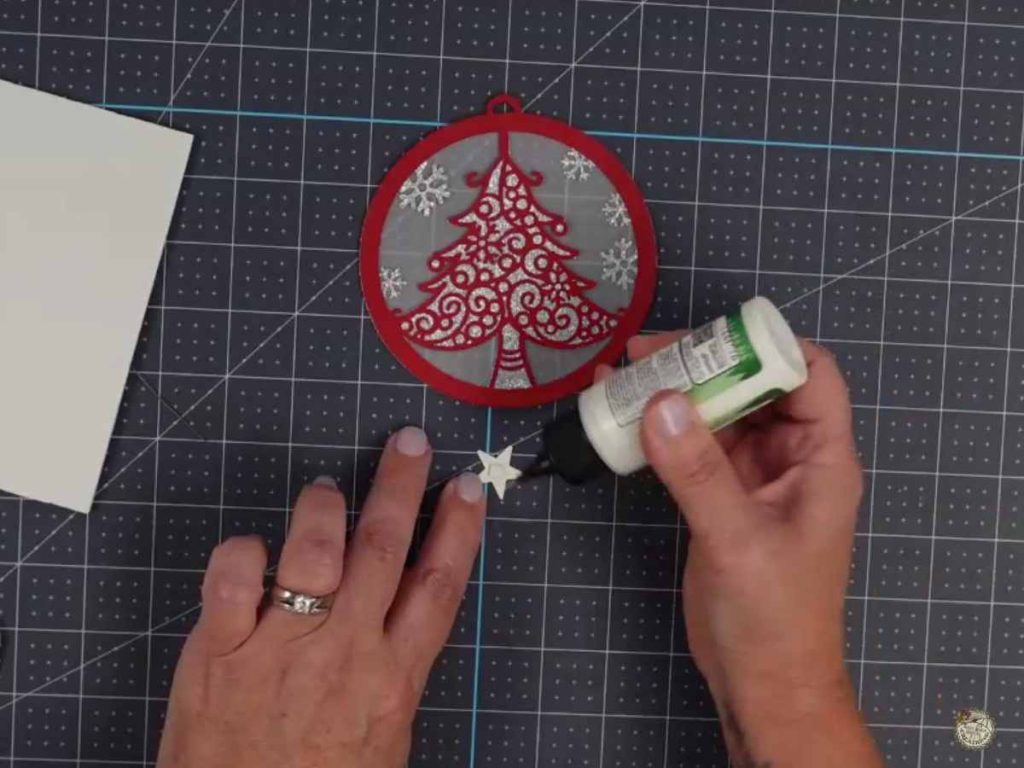
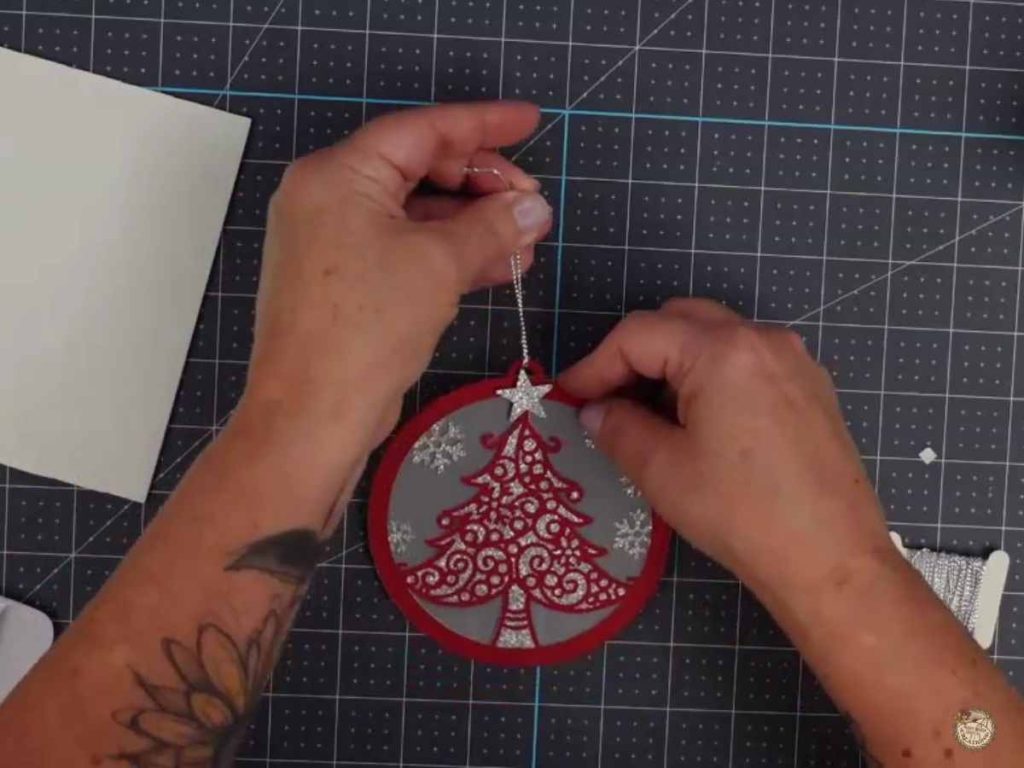
Finish by attaching the star to the top with a small foam square for added dimension, then secure your choice of ribbon, jute, or twine as the hanger.
Cardstock Christmas Tree Ornament
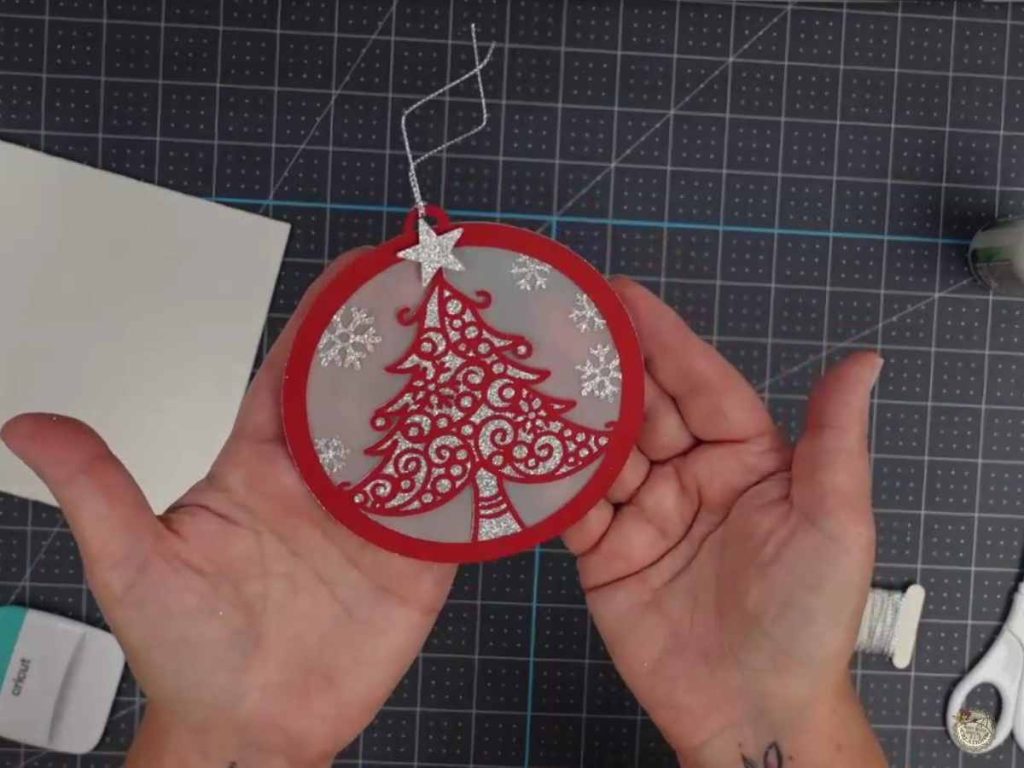
That’s it! Your layered Christmas ornament is complete! Isn’t it satisfying to see all those layers come together? This ornament is all set to bring some handmade charm to your holiday decor. Enjoy showing it off on your tree or gifting it to someone special!
Customize Your Layered Cardstock Christmas Ornament
With this Free Layered Christmas Ornament SVG, you can customize your ornament with different cardstock colors to match your style. This project is perfect for anyone looking to add a handmade touch to their Christmas decor.
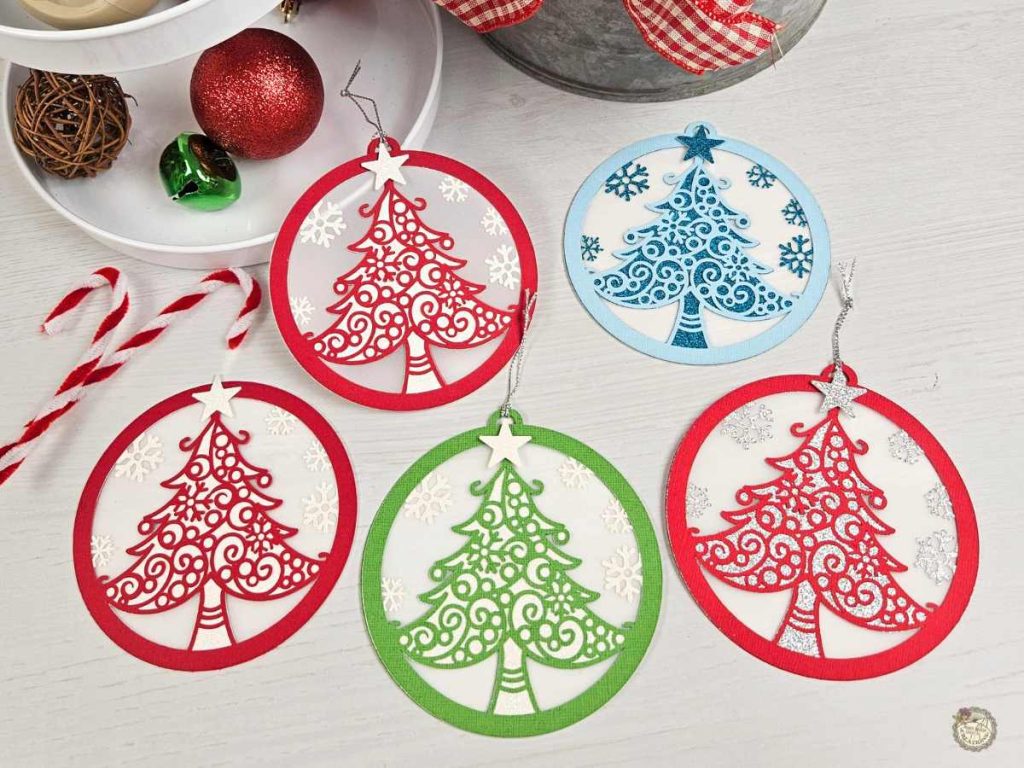
Be sure to show off your finished ornaments in our Facebook group! I love seeing the creative ways you use my free SVG files to make them your own. Can’t wait to see your holiday creations!

Are you on Facebook?
Join our group!
We’d love to have you!
Video Tutorial: How to Make Layered Cardstock Ornaments
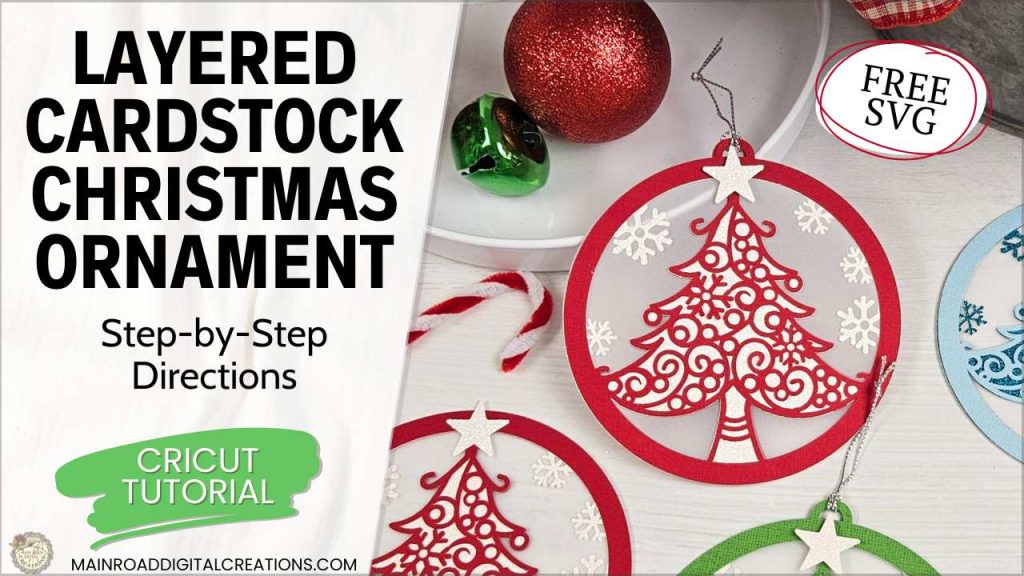
Check out the full step-by-step video tutorial below to see how to create your own layered Christmas tree cardstock ornament!
All of the Free Files on my website are for Personal and Commercial use. Check out my Terms of Use (TOU) here.
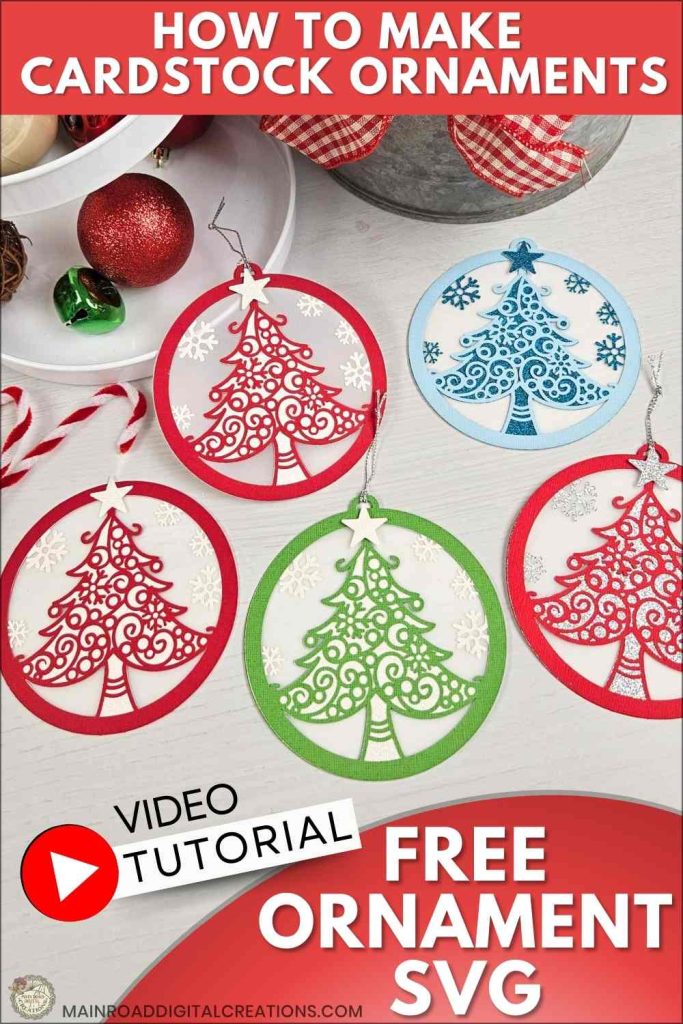
I’d love it if you could take a moment to pin the Free SVG image above to Pinterest. By sharing, you’re helping my business grow, which allows me to keep bringing you the free SVG files you adore. Thanks a bunch for your support. It means the world to me!
Here’s where you can find your Free SVG download!
Design #229—Christmas Tree Ornament SVG files are available in my freebie library. To get the Password, click the button below and Join our Freebie Club!
If you enjoyed this week’s Free SVG & Cricut tutorial, here’s another you will love!
Check out my shop for fun and creative designs!


Join the Creative Fabrica Membership

Fonts, designs, and so much crafty goodness! Over 16 million digital files are waiting! In partnership with Main Road Digital Creations, your first 10 downloads are totally free. After that? It’s just $47 a year (yep, that’s $3.99/month) with full commercial and POD use included. Sign up for Free!
OK. I have searched high and low but I can’t see how to get the svg for any project (but a specifically looking for #229). I joined the free library, but the links to svgs just aren’t apparent to me! Please help!
Hi Elsie! I replied via email to help with your question but wanted to also answer here in case my message didn’t reach you. You can find design #229 in my Freebie Library 2:
https://mainroaddigitalcreations.com/free-library-two/
Just scroll until you see the ornament image, then click the Download button right below it — the file will automatically save to your computer. Each design in the library works the same way. Hope that helps! ❤️