
Free Christmas Card SVG and Easy Cricut Tutorial
Make Custom Christmas Cards with Your Cricut – Free SVG Included!
This post may contain affiliate links. As an Amazon Associate, I earn from qualifying purchases. Please see my privacy policy for full details.

This week I’ve got a fun and festive Cricut card project for you! I designed a folded Christmas card SVG that includes a matching envelope and a sweet “Merry Christmas” phrase written using your Cricut pen. You’ll also learn how to customize the message using a writing font in Design Space. I used black matte HTV to add detail to the ornaments on the front of the card -simple, quick, and so cute!
Free Christmas Card SVG – Perfect for Handmade Holiday Greetings
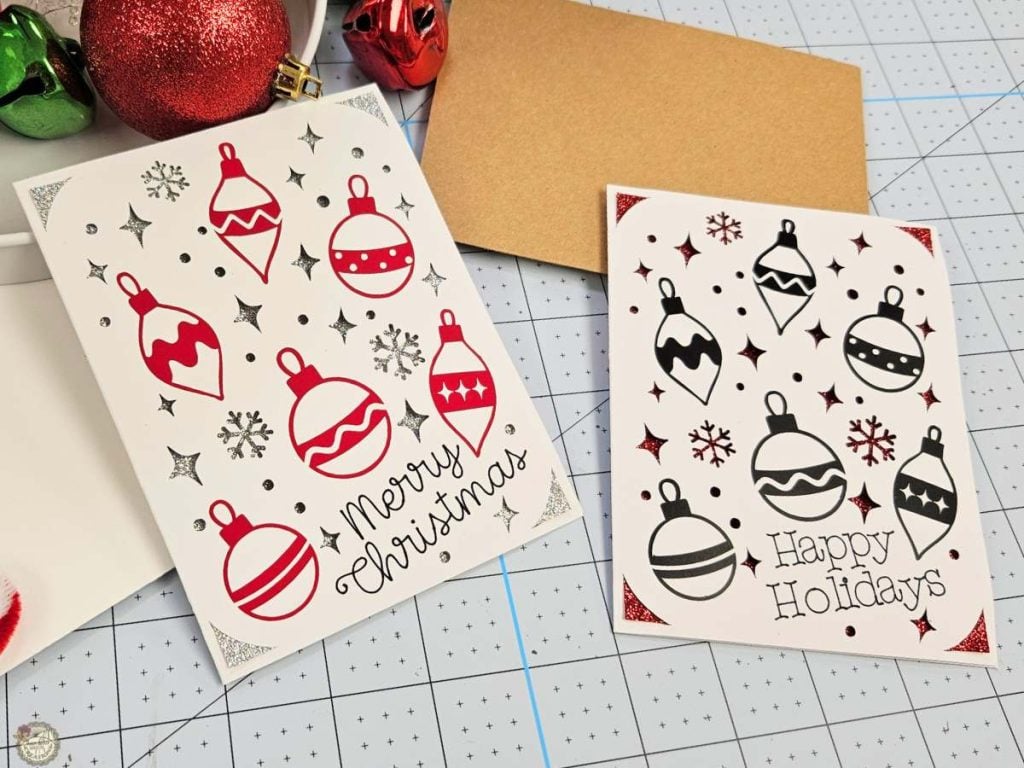
This free Christmas card SVG features a folded card with adorable hanging ornaments and decorative stars and snowflakes. Inside Cricut Design Space, you can swap the “Merry Christmas” phrase for anything you like. I made one that says “Happy Holidays”, and I’ll show you exactly how to do it, too!
Use this Free Christmas Card SVG file to create:
- Handmade Christmas cards
- Personalized greetings with names or messages
- Teacher gifts
- Cards to tuck into stockings or gift baskets
Whether you use glitter cardstock, patterned paper, or keep it classic with white and red, this card adds a personal touch your friends and family will love.
What’s that font?
If you’re planning to personalize your message, make sure you use a writing font (also called single-line fonts) so your Cricut pen draws instead of cuts. Design Space has several writing fonts available, and if you don’t have Cricut Access, there are great options on places like Creative Fabrica, too. This is the font I used for Merry Christmas on the free card SVG.

Supplies I Used to Make This Cricut Christmas Card
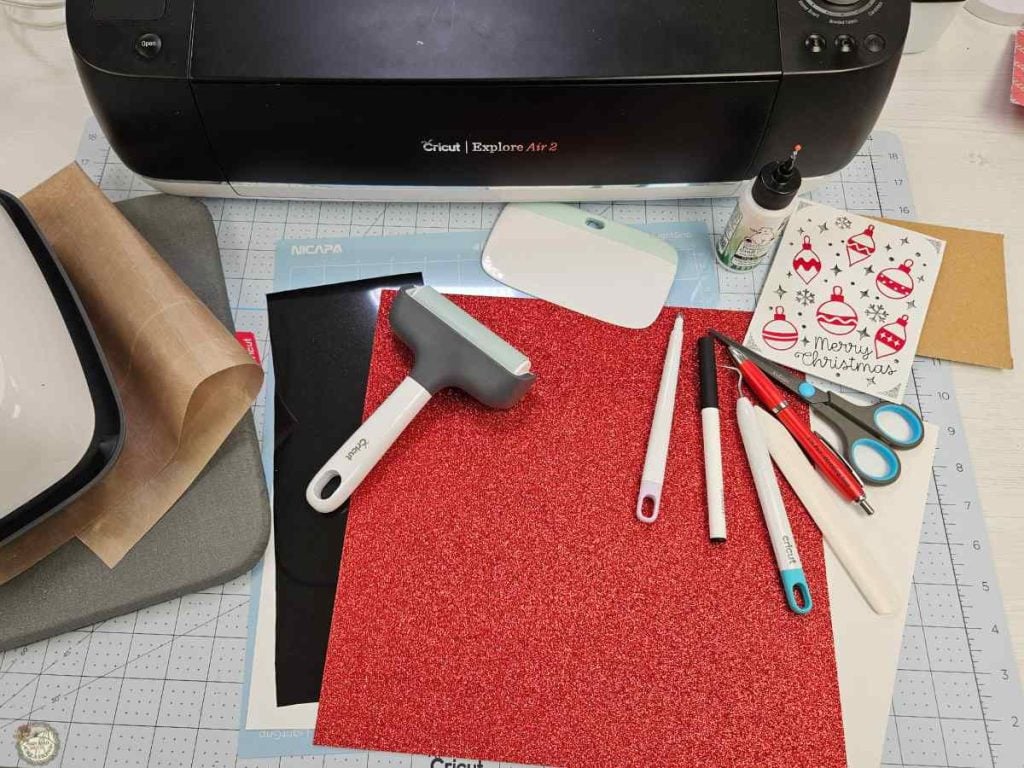
- Cricut- I used my Explore Air 2
- Scoring Sylus
- Cricut Pen
- Light Grip or Standard Grip Mat
- Brayer
- Cardstock
- White for card, Red Glitter, White for Envelope
- Matte Black HTV
- Bone Folder
- Weeding Tools, Pin Pen, Scraper
- Cricut EasyPress
- Heat-Resistant Mat
- Teflon Sheet
Step-by-Step Christmas Card Instructions
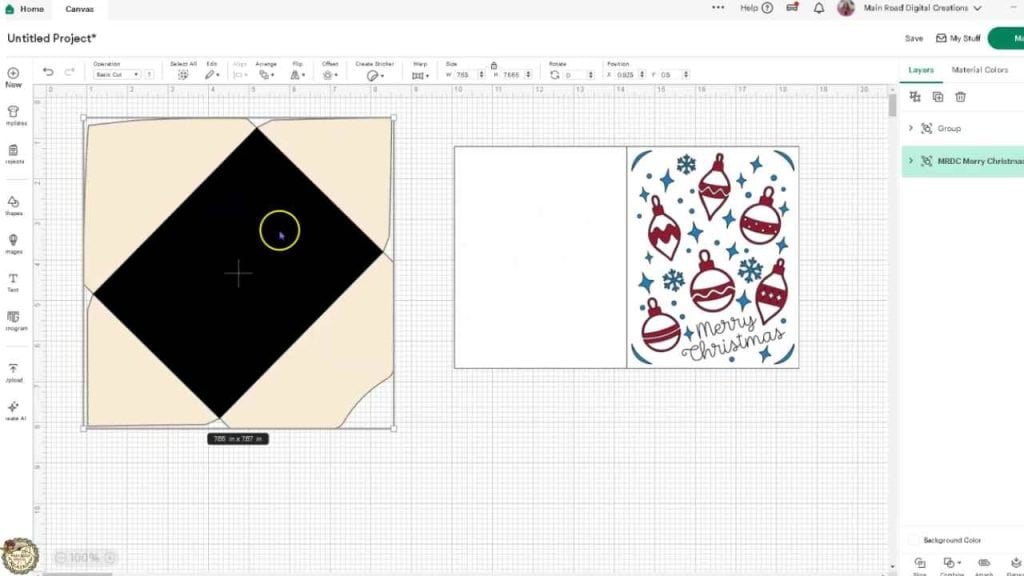
- Upload the free Christmas card SVG into Cricut Design Space and ungroup all elements.
- Select the envelope’s center, change it to Score, and then attach it to the envelope shape.
- On the card, change the fold line to Score and the “Merry Christmas” phrase to Pen under the operation setting.
- Want to change the message? Detach and delete the default text, then add your own message using a writing font. Adjust letter spacing and size to fit your card layout. I used the font called Cricut Alphabet in Design Space to write “Happy Holidays”.
- Once your text is ready, attach all card elements (fold line, message, and card base) so Cricut knows to score, write, and cut in the correct order.
- Cut your card base -I used 110lb white cardstock and the “Cardstock for Intricate Cuts” setting to help with small decorative details.
- Cut the backer and envelope using glitter or patterned cardstock. For the envelope, make sure the score and cut lines are attached before sending to cut.
Apply HTV and Assemble Your Christmas Card
- Cut the ornament part of the design from matte HTV. Be sure to mirror the design before cutting and place the shiny side down on your mat.
- Weed the HTV carefully. If the design is hard to see, try tilting your head under a light to catch the reflections.

- Preheat your Easy Press to 260°F. Lightly press the card for a few seconds to warm it up before applying HTV.
- Fold your card along the score line and use a scraper or bone folder to get a crisp fold.
- Place the HTV design on the front of your card, cover it with a Teflon sheet, and press for about 10–15 seconds. Peel slowly to check if it adheres properly.
- Add the backer behind the card front, aligning it behind the ornament cutouts. Secure it with glue if desired.
- Fold the envelope along the score lines and glue the side flaps. Let it dry before inserting your card.
- If mailing your card, use a plain white envelope. If gifting in person, try patterned cardstock for a more decorative look.


That’s it! Your handmade Cricut Christmas card is ready to go. This is such a fun way to personalize your holiday greetings, and you can change the message for each card you make! Check out the video tutorial below for a visual walkthrough.
Video Tutorial: Make Your Own Cricut Christmas Card
Watch the full video below to learn how to make your own Cricut Christmas card from start to finish. I’ll walk you through how to personalize the card using a writing font, prepare your layers in Design Space, and apply HTV directly to cardstock. If you’re new to using pens with your Cricut or want to try HTV on paper, this tutorial is the perfect guide to get you started!
Share your Creations
I can’t wait to see how you use this design in your projects! Be sure to share your creations in our Facebook group.

Are you on Facebook?
Join our group!
We’d love to have you!
All of the Free Files on my website are for Personal and Commercial use. Check out my Terms of Use (TOU) here.
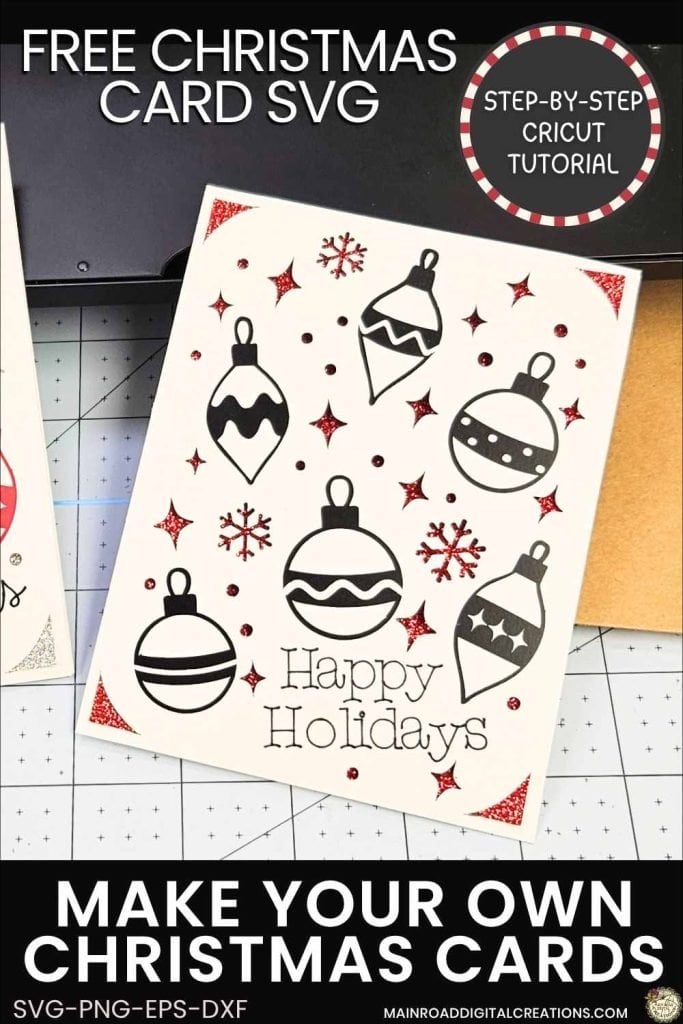
I’d love it if you could take a moment to pin the Free SVG image above to Pinterest. By sharing, you’re helping my business grow, which allows me to keep bringing you the free SVG files you adore. Thanks a bunch for your support. It means the world to me!
Here’s where you can find your Free SVG download!
Design #263- Merry Christmas Card SVG is available in my freebie library. To get the Password, click the button below and Join our Freebie Club!
If you enjoyed this week’s Free SVG & Cricut tutorial, here’s another you will love!

Check out my shop for fun and creative designs!

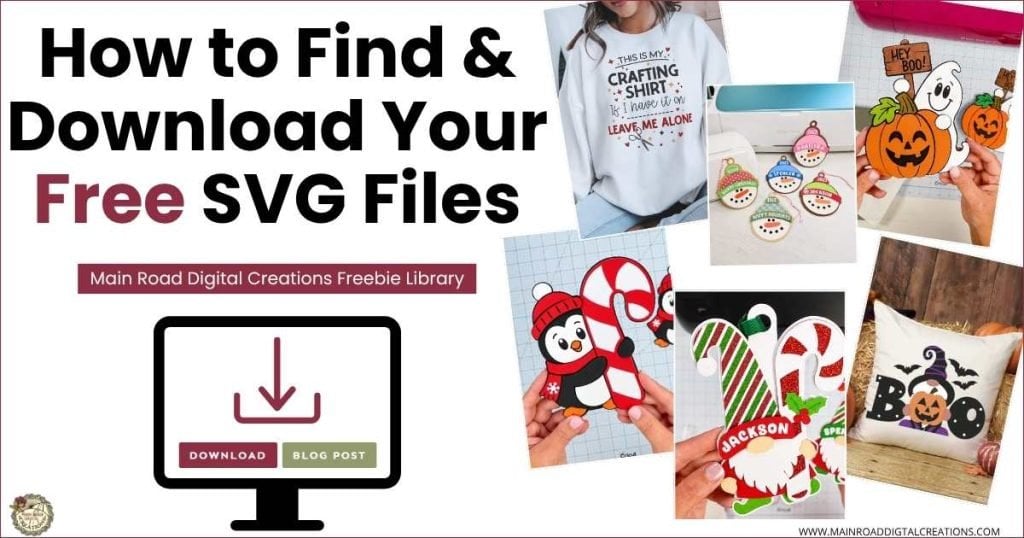
Not sure where the free download is? Start here.
This page shows you where to find your design, how to get into the Freebie Library, and what to click to download your file.
Join the Creative Fabrica Membership

Fonts, designs, and so much crafty goodness! Over 16 million digital files are waiting! In partnership with Main Road Digital Creations, your first 10 downloads are totally free. After that? It’s just $47 a year (yep, that’s $3.99/month) with full commercial and POD use included. Sign up for Free!