
Free Gnome Gift Card Holder SVG | Easy Cricut Tutorial
DIY Gnome Gift Card Holder with Free Christmas Gnome SVG
This post may contain affiliate links. As an Amazon Associate, I earn from qualifying purchases. Please see my privacy policy for full details.

Gift cards are one of the most popular gifts to give (and let’s be honest, one of the most fun ones to get!) But handing someone a plain card isn’t nearly as exciting as giving them one tucked inside an adorable handmade holder! That’s where this week’s Free Gnome Gift Card Holder SVG comes in!
Make a Gift Card Holder for Teachers, Friends & Family with Your Cricut
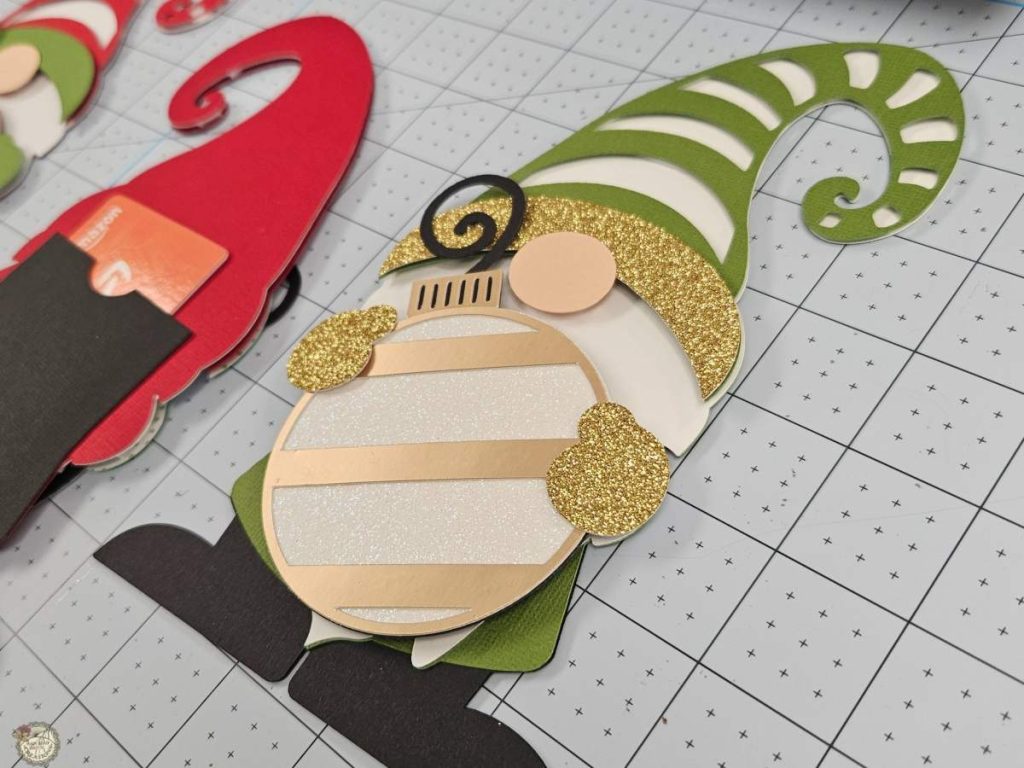
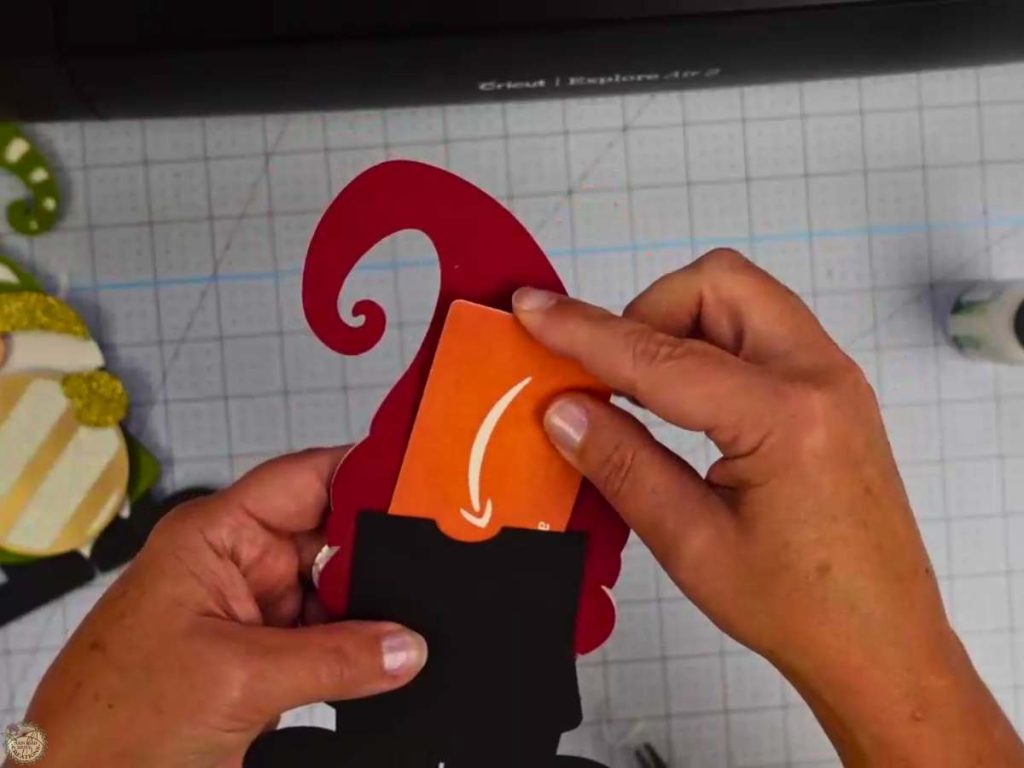
This little guy is holding a Christmas ornament, and when you flip him over, there’s a spot in the back to slide in a gift card. Perfect for holiday gifting, teacher presents, or simply adding a touch of crafty cheer to your gift-giving.
Supplies Needed to Make a Gift Card Holder With Your Cricut
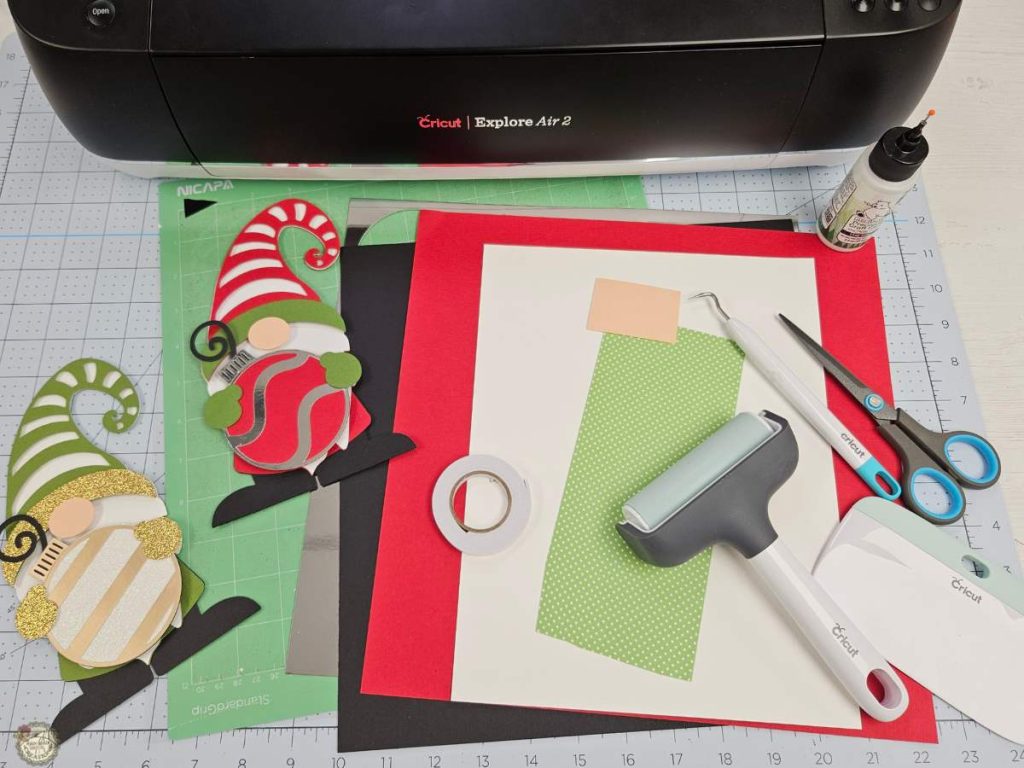
Here’s what I grabbed to make my gnome gift card holders. Use what you have on hand, or pick your favorite papers and adhesives to make yours unique.
- Cricut – I used my Explore Air 2
- Standard or Light Grip Mat
- Cardstock
- White
- Encore Textured (Jet Black, All American Red, Peach Sherbert, Forest Moss
- Gold/Silver Mirror Foil Board
- Green Dots from this Petite Prints bundle
- Gold Glitter
- Brayer
- Weeding Tools
- Bearly Art Glue
- Foam Tape- I used this from Dollar Tree
- Non-Stick Scissors
How to Make a Gnome Gift Card Holder
Here’s the step-by-step tutorial to help you make your gift card holder using the Free SVG file. If you’d like to see these steps in action, check out the full video tutorial below!
Step 1: Download the Free SVG File- Find the Free Gnome Gift Card Holder SVG in the Freebie Library– (design #261).
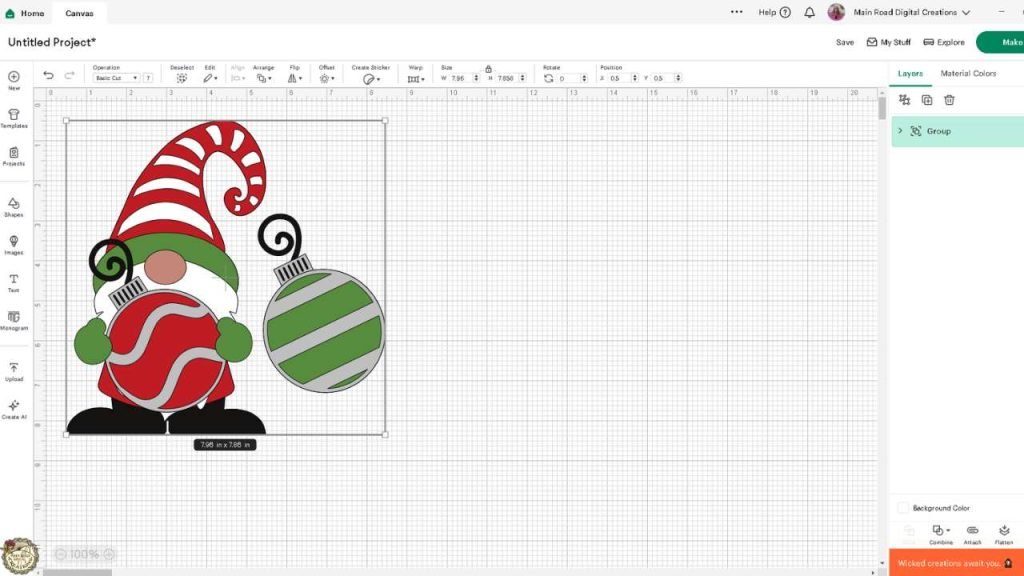
Step 2: Upload the SVG to Cricut Design Space. Add the SVG to your canvas, ungroup the design, and select the bulb ornament design you’d like. Select colors and cut out shapes from your favorite cardstock.
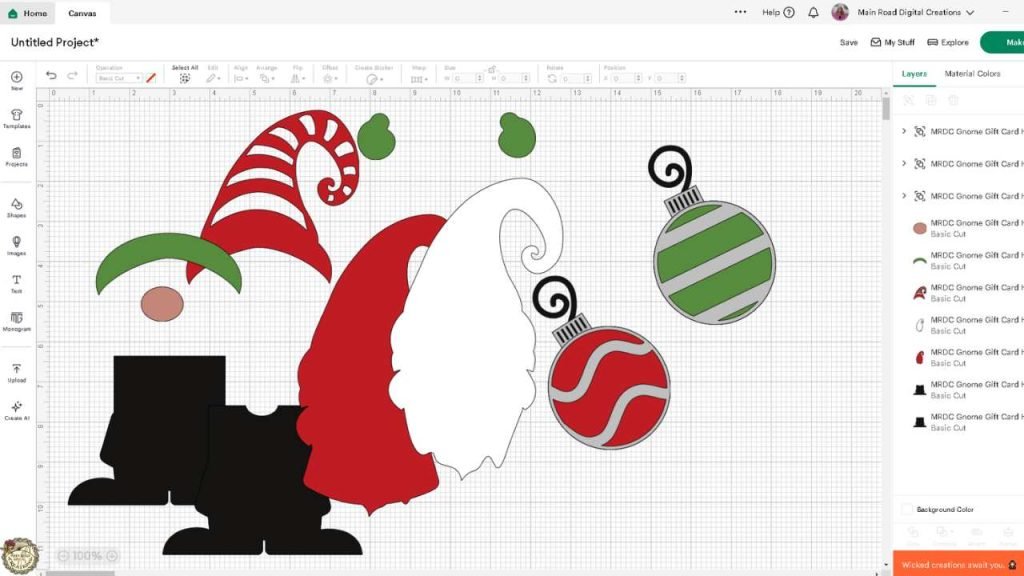
Step 3: Sort, Assemble Base and Beard- Arrange your pieces. Glue the beard layer to the base.
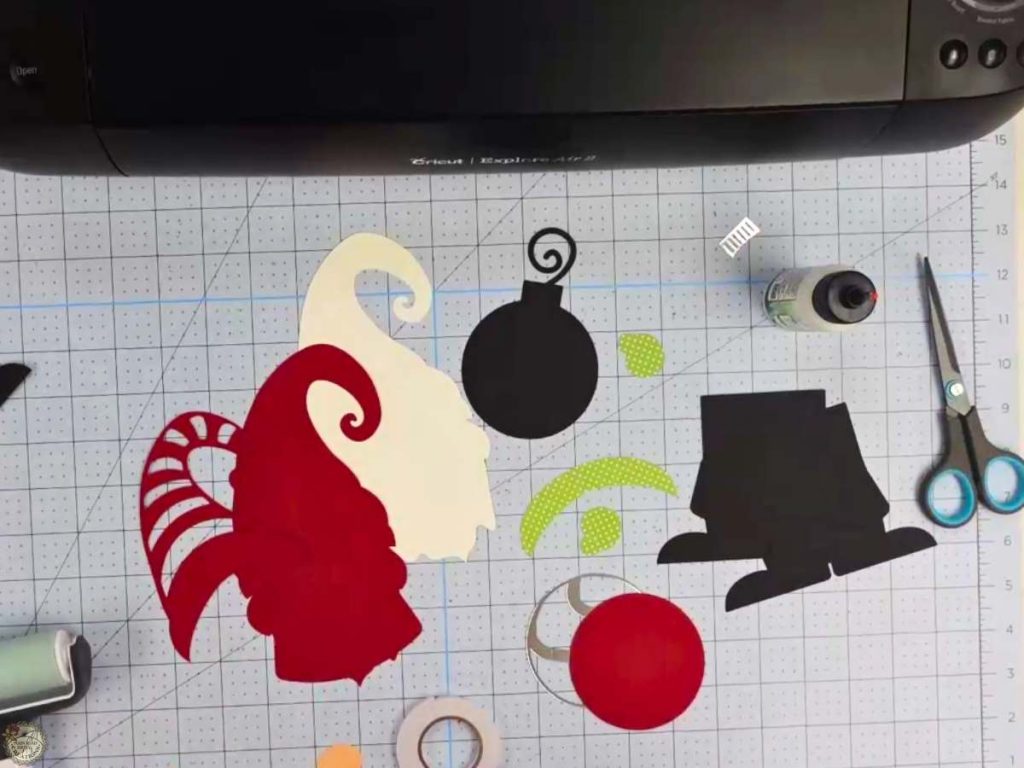
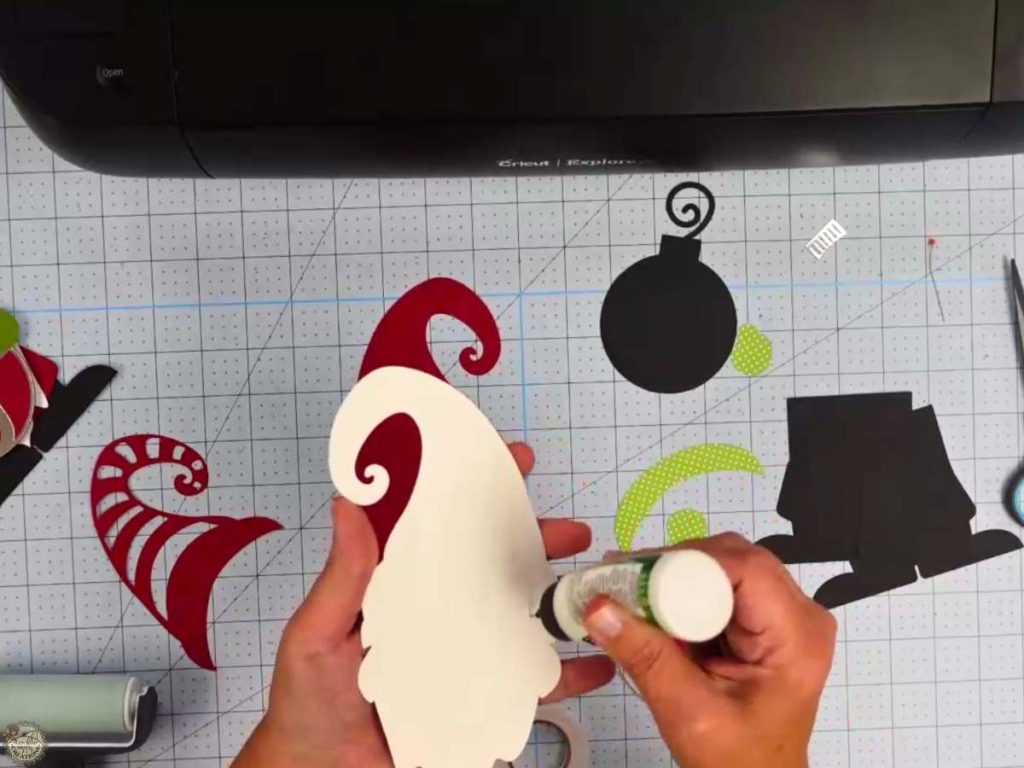
Step 4: Add the Hat to the Base- Use foam tape to add dimension to the hat.
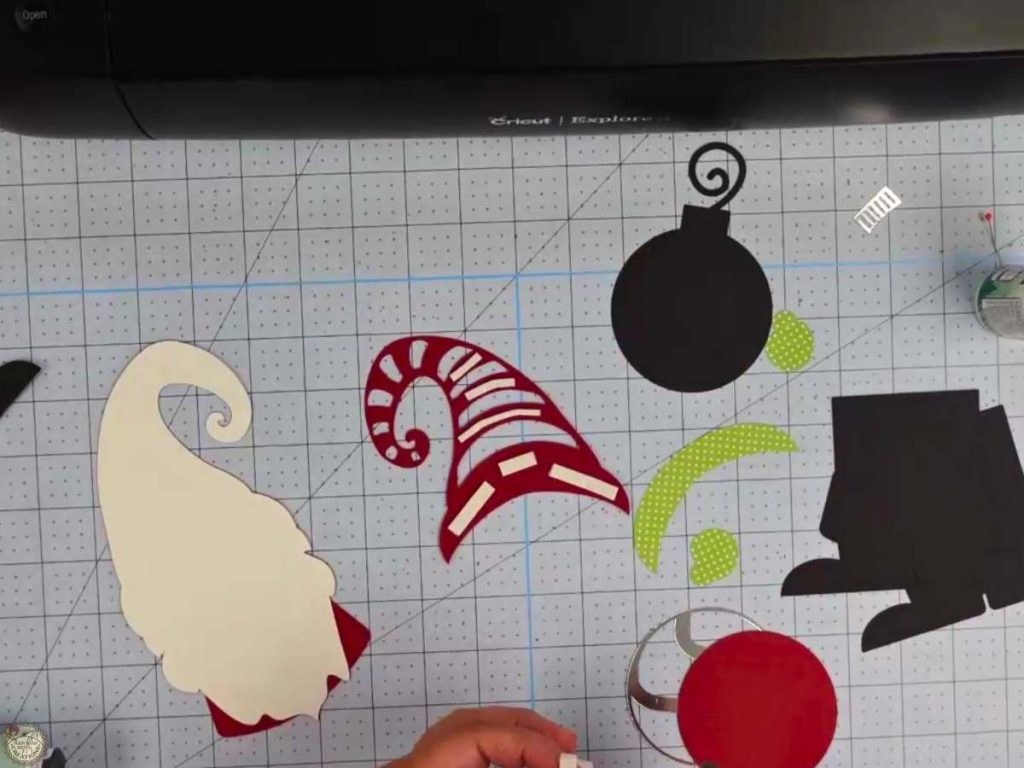
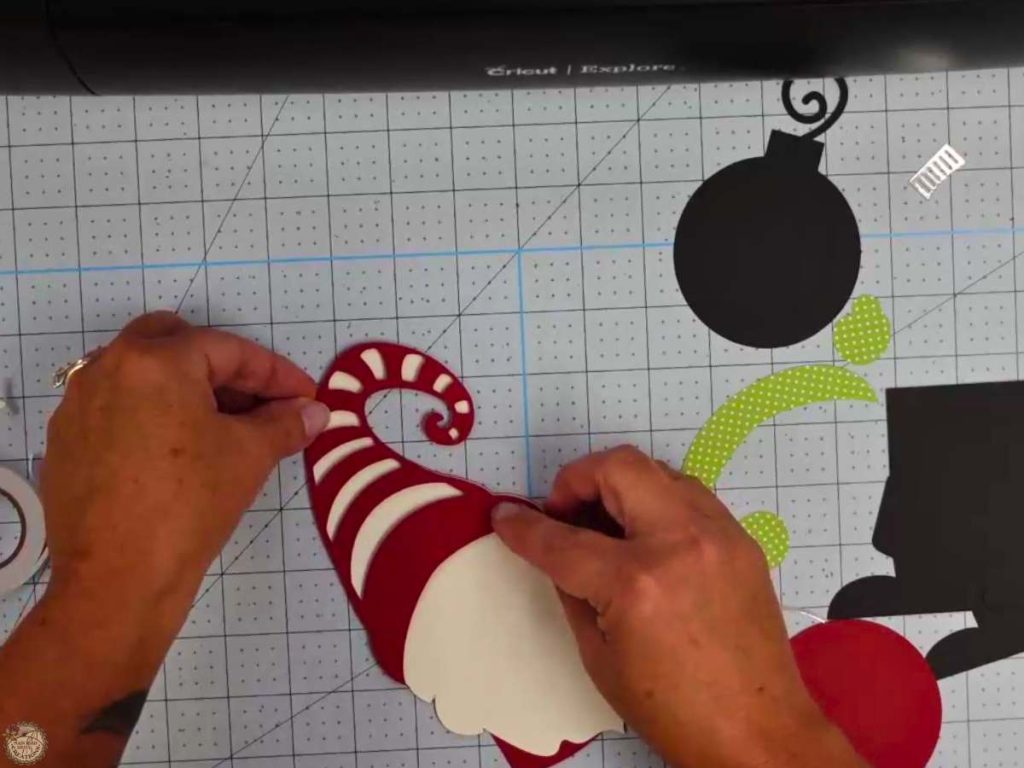
Step 5: Create the Gift Card Pocket- Glue the two pant pieces together, using the gift card as a guide.
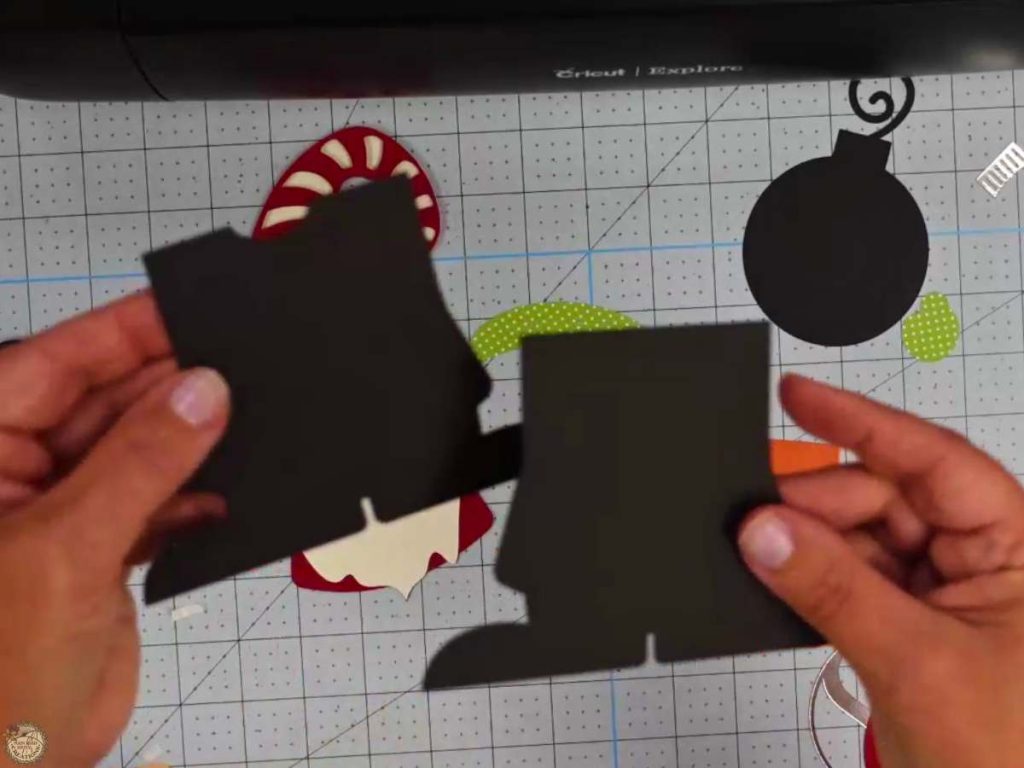
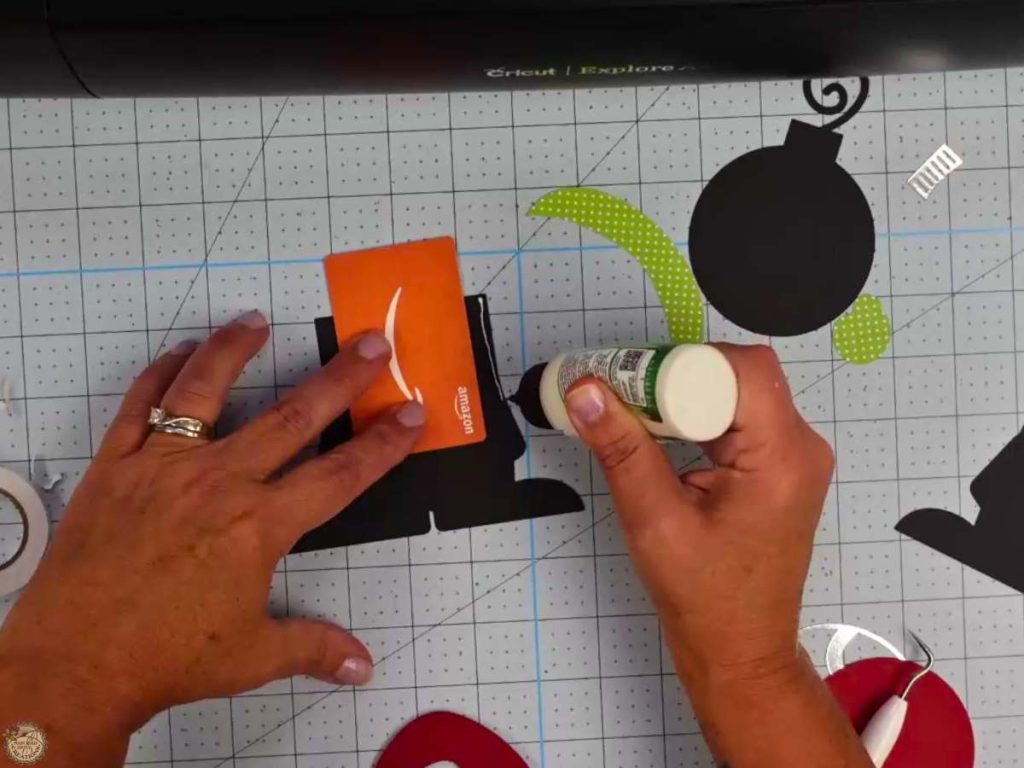
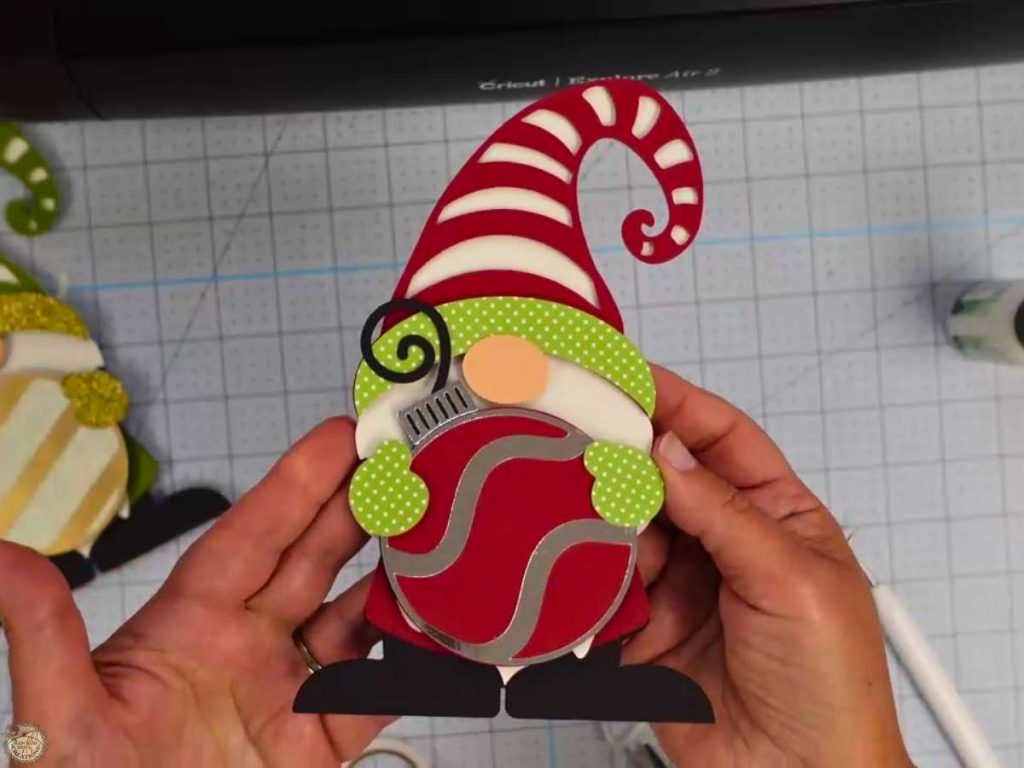
Step 6: Hat Brim and Ornament – Add foam tape and glue to the hat brim, then attach it to the hat. Glue the ornament pieces together.
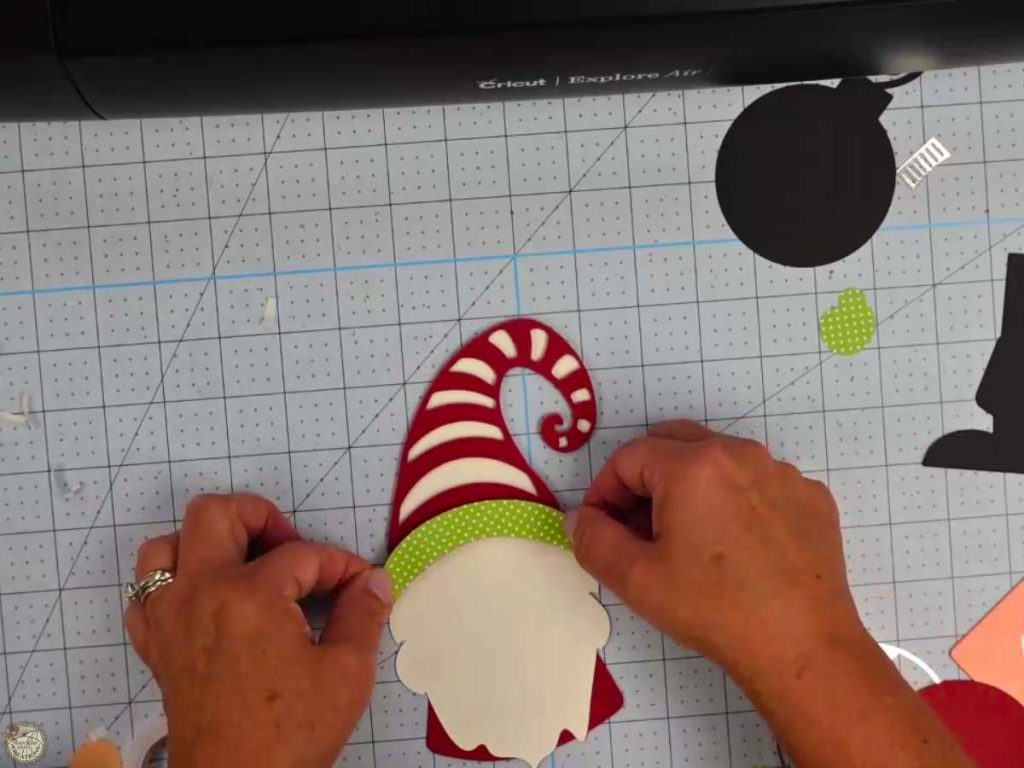
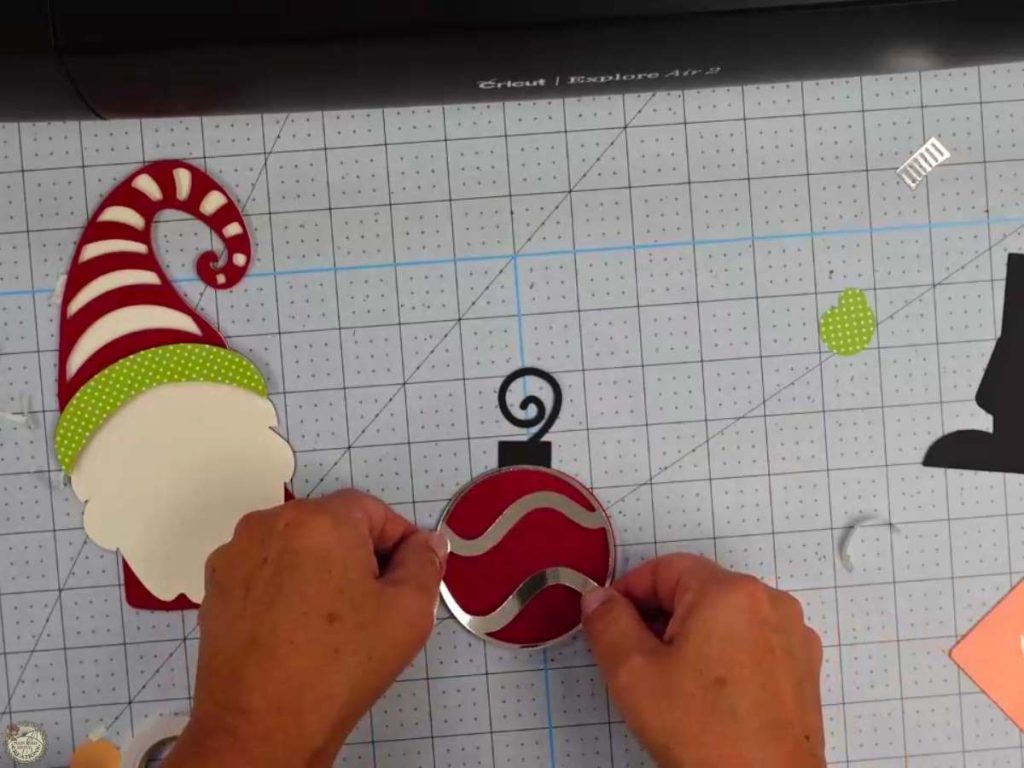
Step 7: Attach Details- Add two layers of foam tape for extra dimension to the nose and the back of the ornament. Glue and attach.
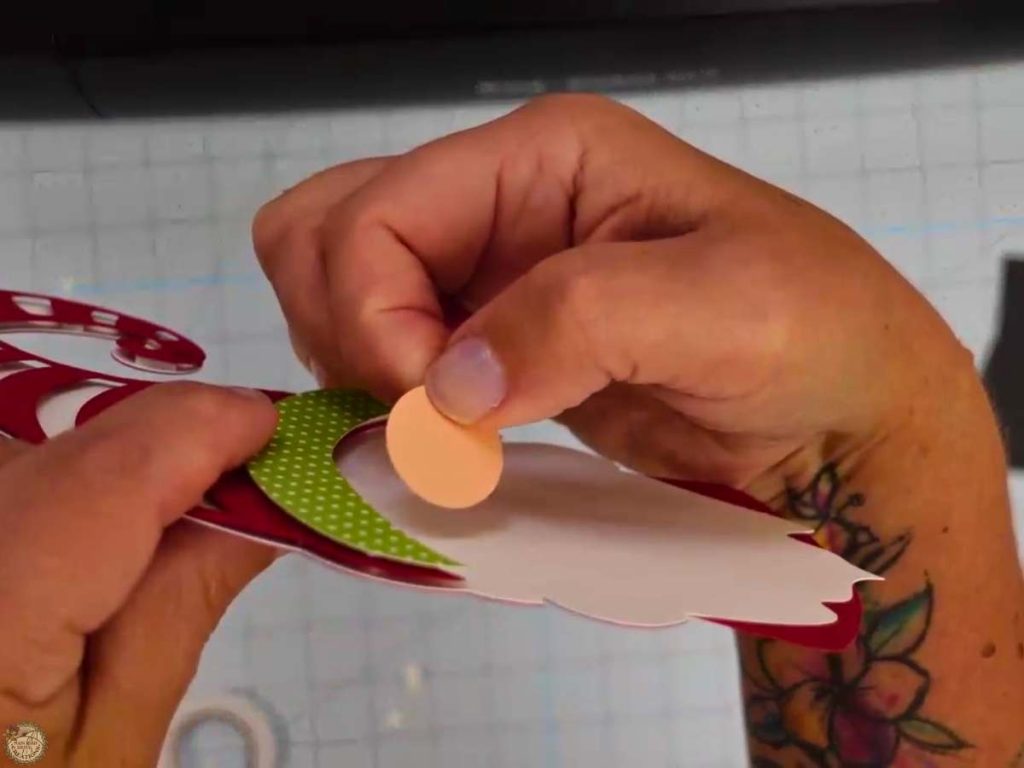
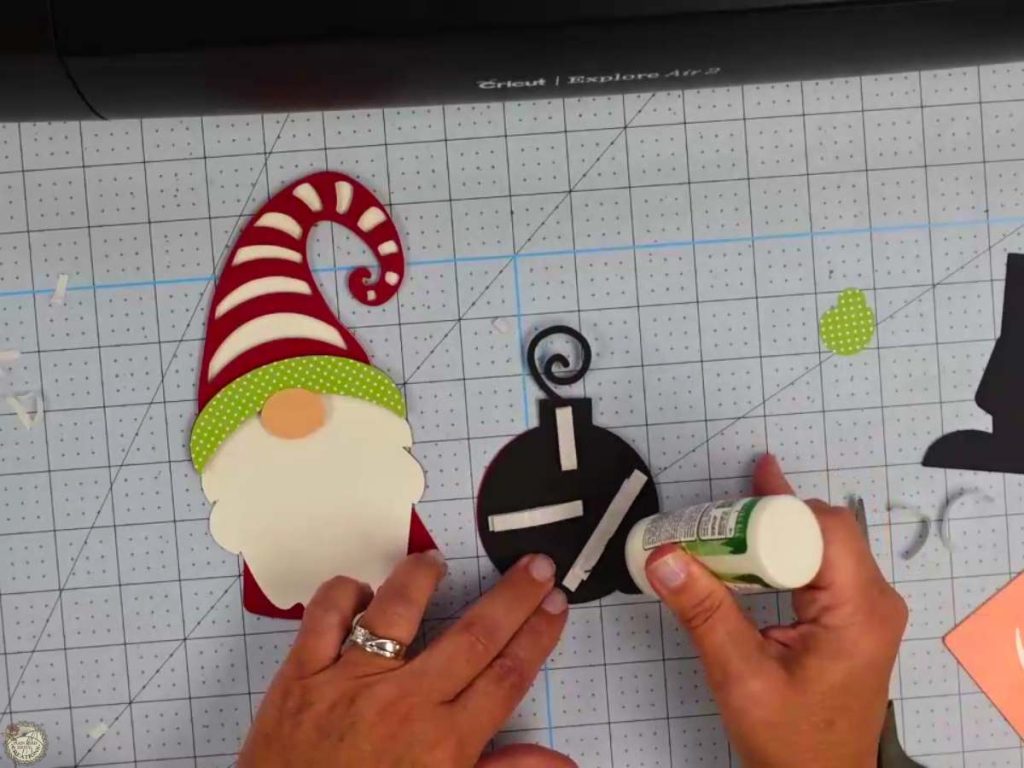
Step 8: Attach the Pocket and Mittens – Flip the project over and glue the gift card holder pocket in place. Use two layers of foam tape to attach the mittens to the front.
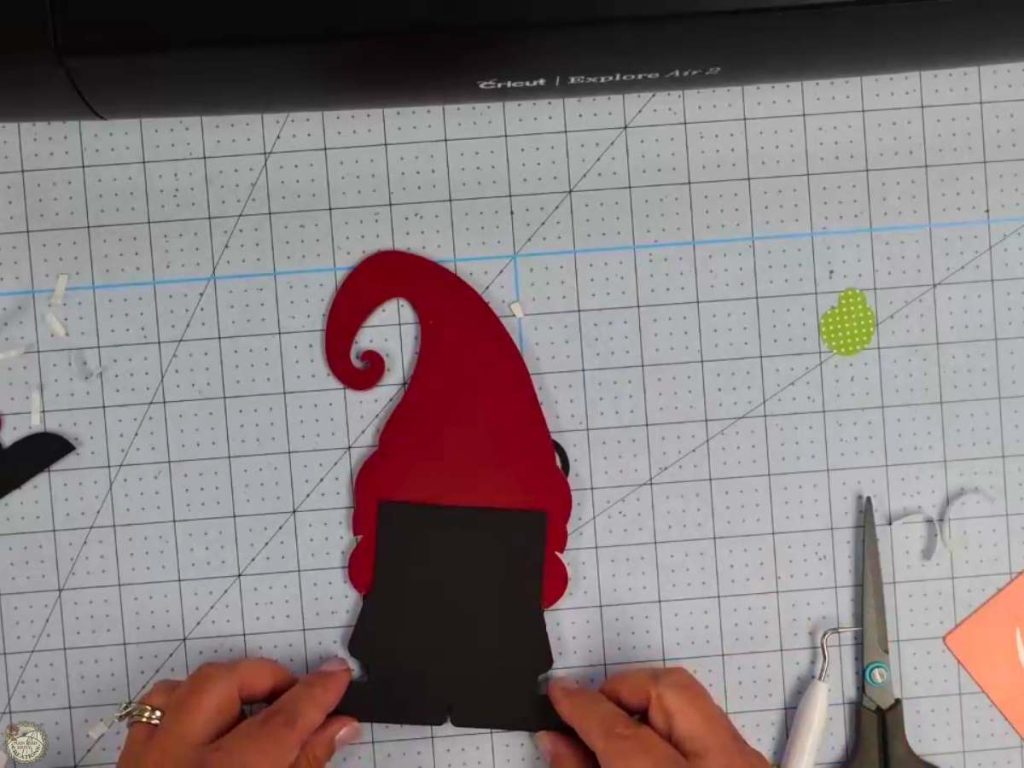
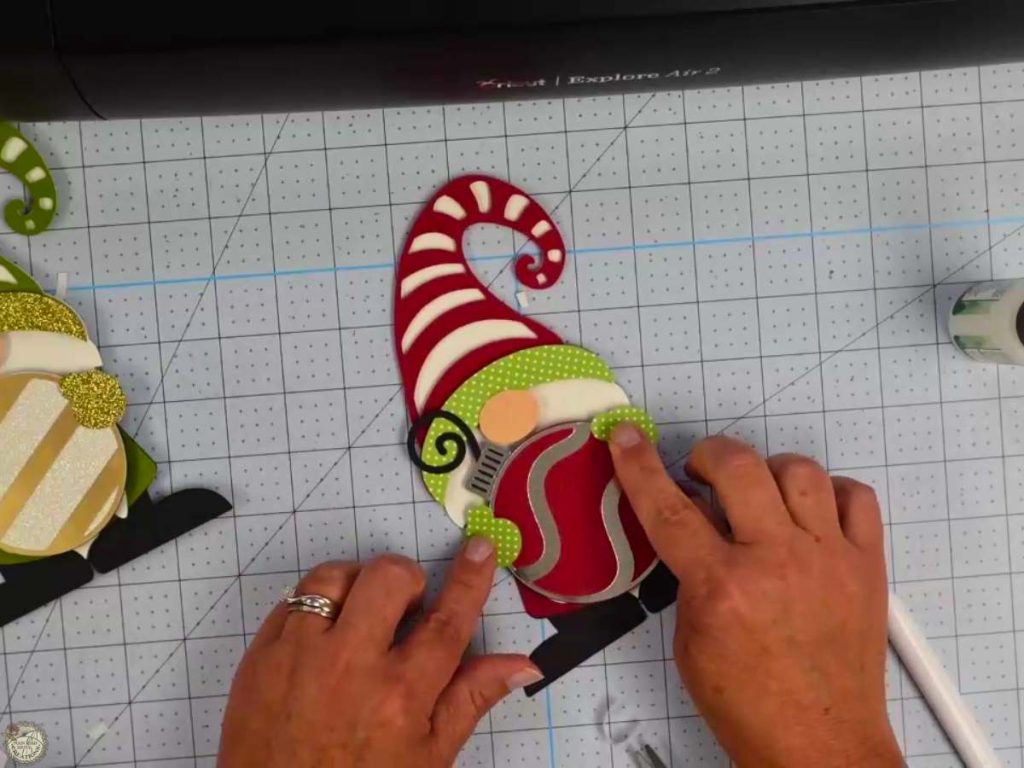
Step 9: Add the Gift Card- Slide the gift card into the gnome gift card holder to complete the project.
Free Gnome Gift Card Holder SVG for Holiday Gifts
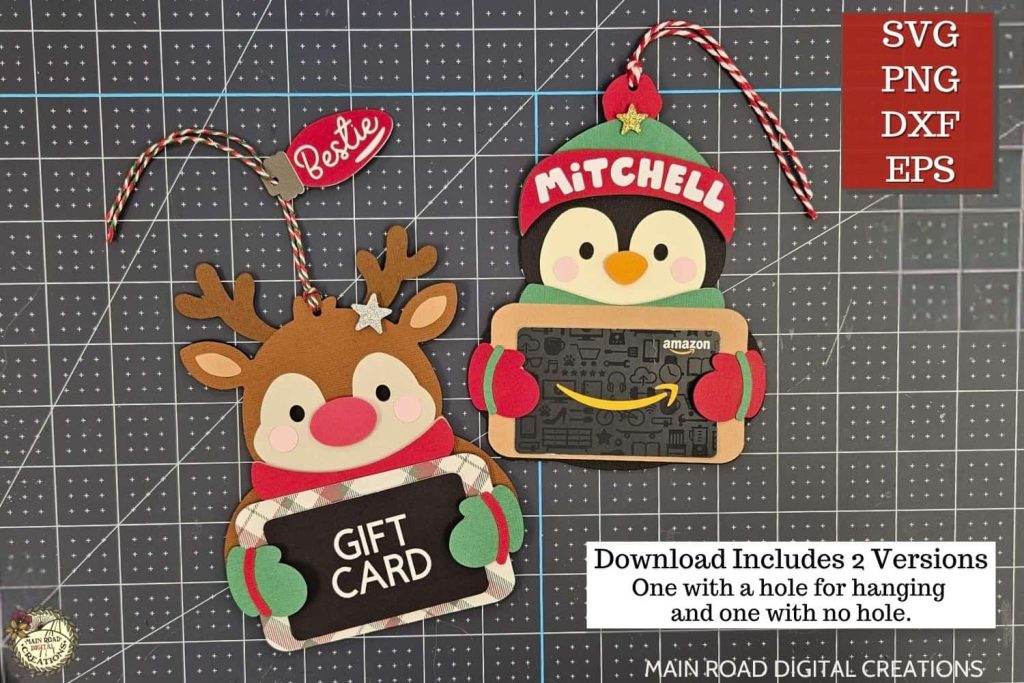
These little gnomes are so easy to customize! Switch up the cardstock colors, make the ornament sparkle with glitter paper, or add a name or year with HTV. You can even punch a hole in the top to turn them into ornaments for your Christmas tree.
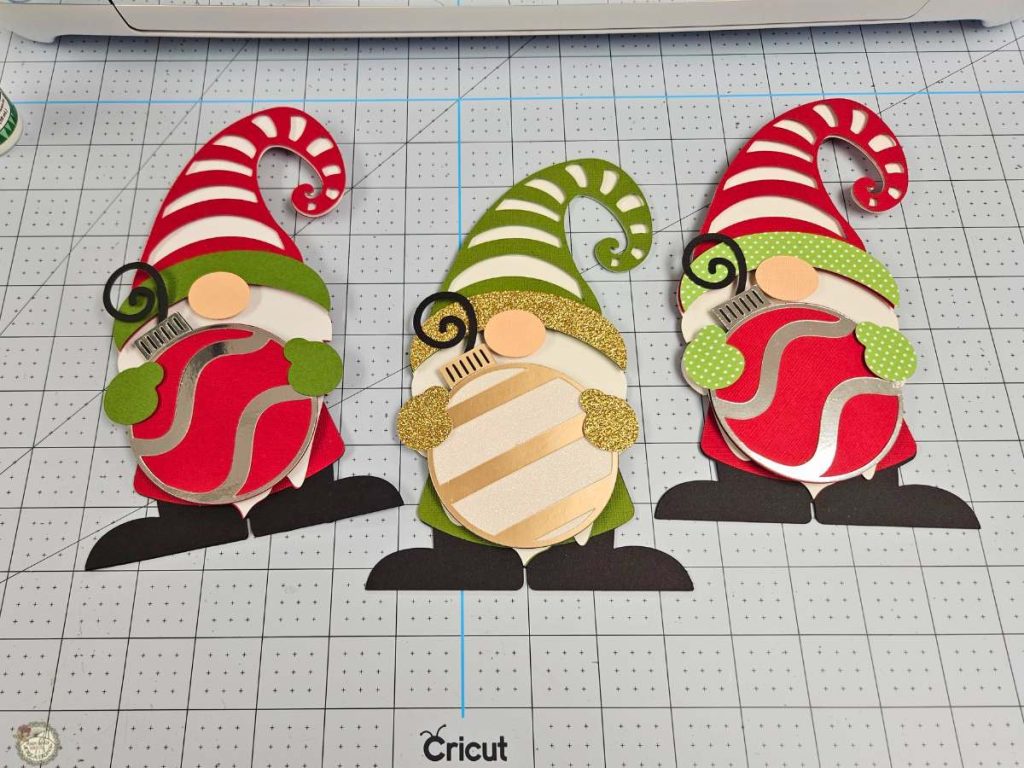
I love that you can make a whole set of these, and each one can look different. It’s a fun and easy way to craft something personal for everyone on your holiday list.
Video Tutorial – How to Make Gift Card Holders with your Cricut
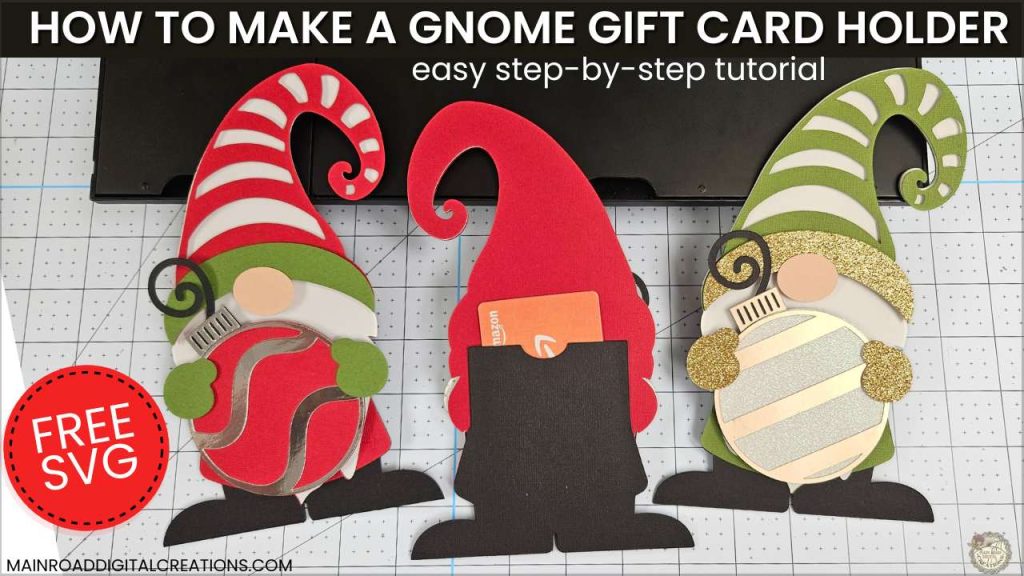
Want to see the whole process in action? Watch the full step-by-step video below, where I show you how to cut, layer, and assemble your gnome gift card holder from start to finish.
Personalize Your Cardstock Projects HTV
If you love how cute this gnome turned out, you’ll also want to check out my Snowman Gift Card Holder SVG! Just like the gnome, it’s simple to cut and assemble, and you can make it extra special by personalizing it. Have you ever tried adding HTV (heat transfer vinyl) to cardstock? It’s so easy and gives you a great way to add a name, year, or short message. Check out the video tutorial from this blog post to see exactly how to do it!

More Free Cardstock and HTV Projects to Check Out
Want to make your gnome gift card holder extra special? Try adding a name, date, or even the year with HTV. It’s a simple way to personalize your holiday projects, making each one unique for the person receiving it. If you’ve never used HTV on cardstock before, don’t worry, I have tutorials on my site that show you exactly how easy it is.
Here are just a few:
- Snowman Gift Card Holder – See how I used HTV to personalize a holiday gift card holder.
- Halloween Treat Box -Make a Wicked Treats Box. Change the text to a name or custom message with HTV.
- Personalized School Photo Frames – Easily add a name and year with HTV.
- Easy Personalized Snowman Ornament – See how to add a name and year to your cardstock using HTV for a Christmas ornament they will cherish.
- DIY Birthday Cupcake Topper – Make a Happy Birthday cupcake topper with cardstock and HTV.
- Positive Quotes Notebooks – See how easy it is to add HTV or Adhesive Vinyl to Notebooks.
Share your Creations
I can’t wait to see how you use this design in your projects! Be sure to share your creations in our Facebook group.

Are you on Facebook?
Join our group!
We’d love to have you!
All of the Free Files on my website are for Personal and Commercial use. Check out my Terms of Use (TOU) here.
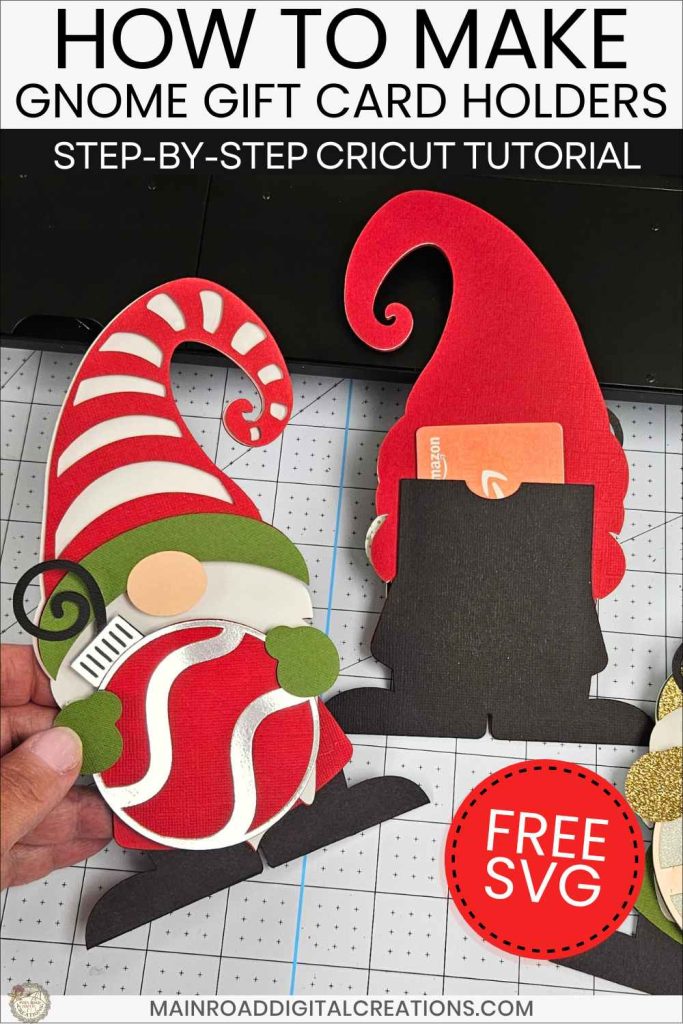
I’d love it if you could take a moment to pin the Free SVG image above to Pinterest. By sharing, you’re helping my business grow, which allows me to keep bringing you the free SVG files you adore. Thanks a bunch for your support. It means the world to me!
Here’s where you can find your Free Gnome Gift Card Holder SVG download!
Design #261- Gnome Gift Card Holder SVG is available in my freebie library. To get the Password, click the button below and Join our Freebie Club!
If you enjoyed this week’s Free SVG & Cricut Tutorial, here’s another you will love!

Check out my shop for fun and creative designs!
Join the Creative Fabrica Membership

Fonts, designs, and so much crafty goodness! Over 16 million digital files are waiting! In partnership with Main Road Digital Creations, your first 10 downloads are totally free. After that? It’s just $47 a year (yep, that’s $3.99/month) with full commercial and POD use included. Sign up for Free!